Fresh Homemade Udon Noodles Recipe
Christy, Sinkology’s food-loving recipe blogger, is here to share some recipes she has created for the Sinkology blog that reflect our view of a copper sink: simple, timeless, affordable, and beautifully rustic.
My oldest daughter loves the Japanese Pan Noodles from the restaurant Noodles & Company and asked me to replicate it at home. I thought that was a great idea! The first time I made them, they were a hit and since then, they’ve been part of our dinner rotation. I like to make them on a lazy day since there is a process, easy enough, but extra time is required.
We love to eat them pan fried and caramelized with a sticky sauce like teriyaki with lots of fresh stir fried veggies and a protein such as chicken, shrimp or steak. They’re also great in Asian broth soup. The beauty of these noodles is that they are easily customizable to your own personal tastes.
The best and unusual part of the udon noodle recipe is that the dough is kneaded using your feet! Yes, your feet! Wouldn’t it be funny to tell your family or guests that these delicious udon noodles were kneaded with your feet and watch their facial expressions? If you have children, get them involved and let them stomp on the dough with their little feet. Fresh udon noodles have a characteristic soft chewy texture, which means the dough has to be kneaded like crazy to develop the gluten. You can use your hands or heavy-duty mixer with a dough hook but it’s definitely not as much fun as stomping with your feet. Bread flour is normally used because of its higher protein gluten.
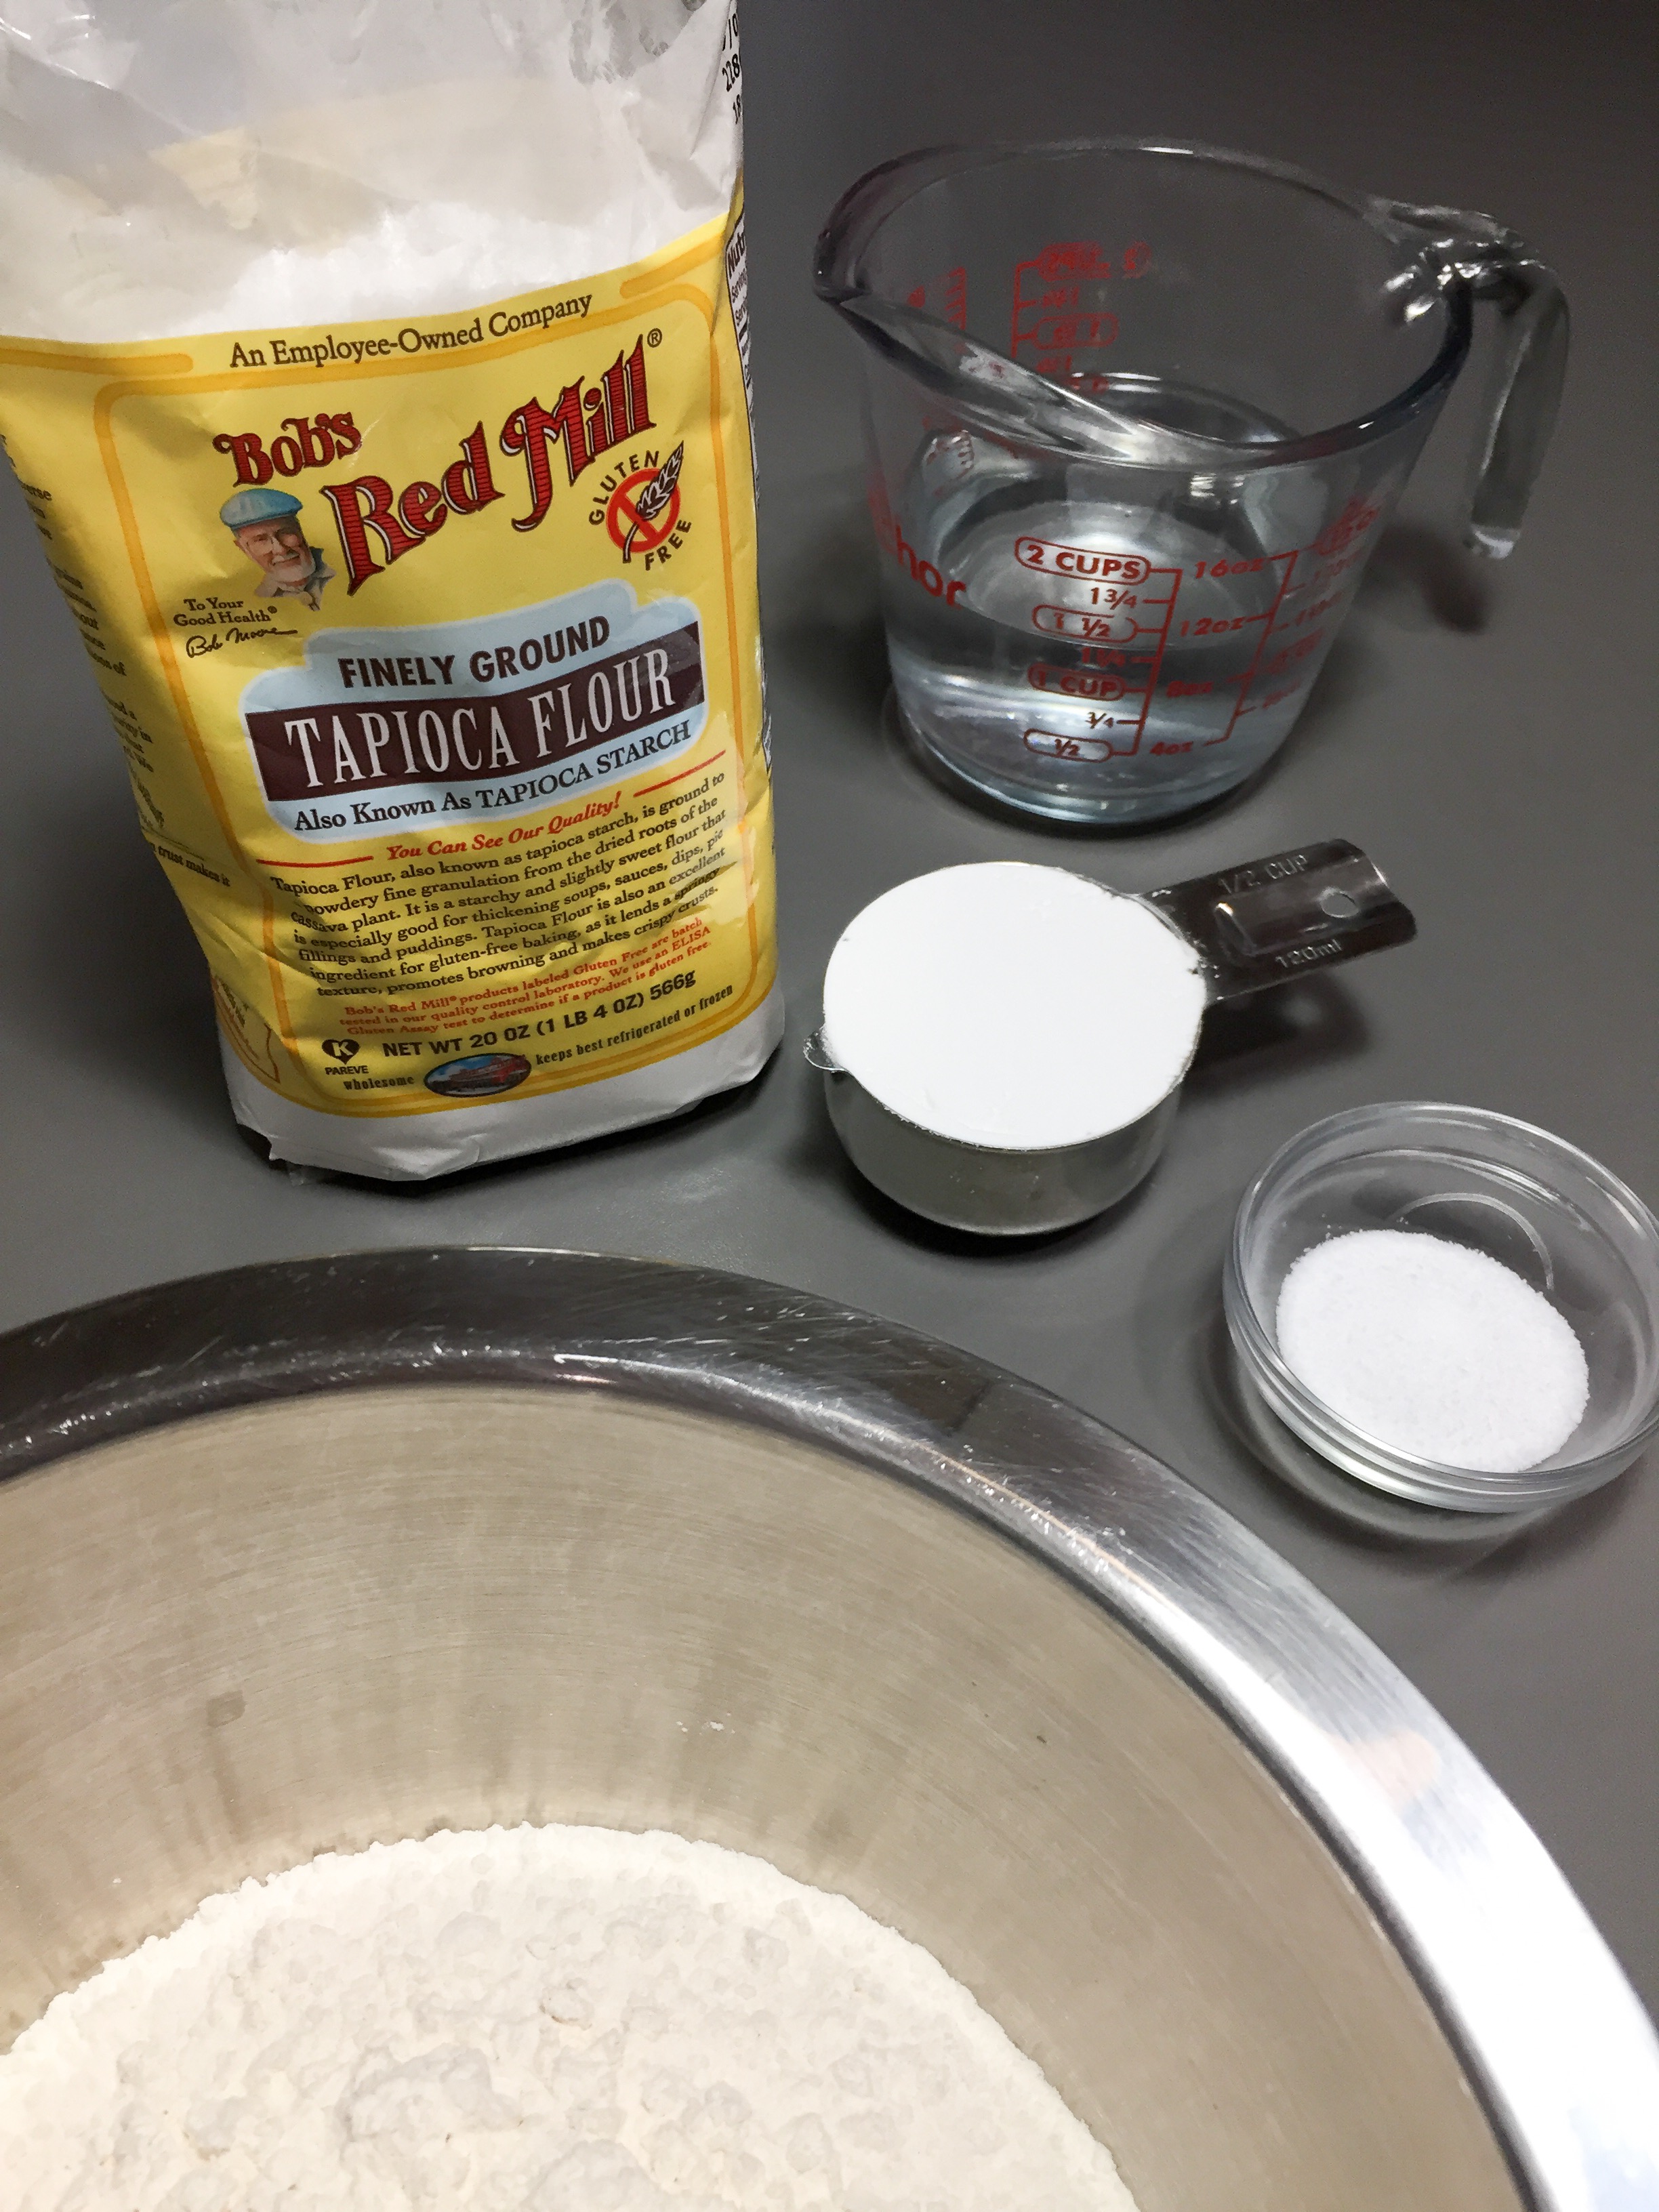
In a mixing bowl, add 3 ¼ cups bread flour and ½ cup tapioca flour. In a liquid measuring cup, add 1 1/4 cup warm water and 4 teaspoons kosher salt. Stir the salt to dissolve in the warm water then pour the water into the flour bowl.
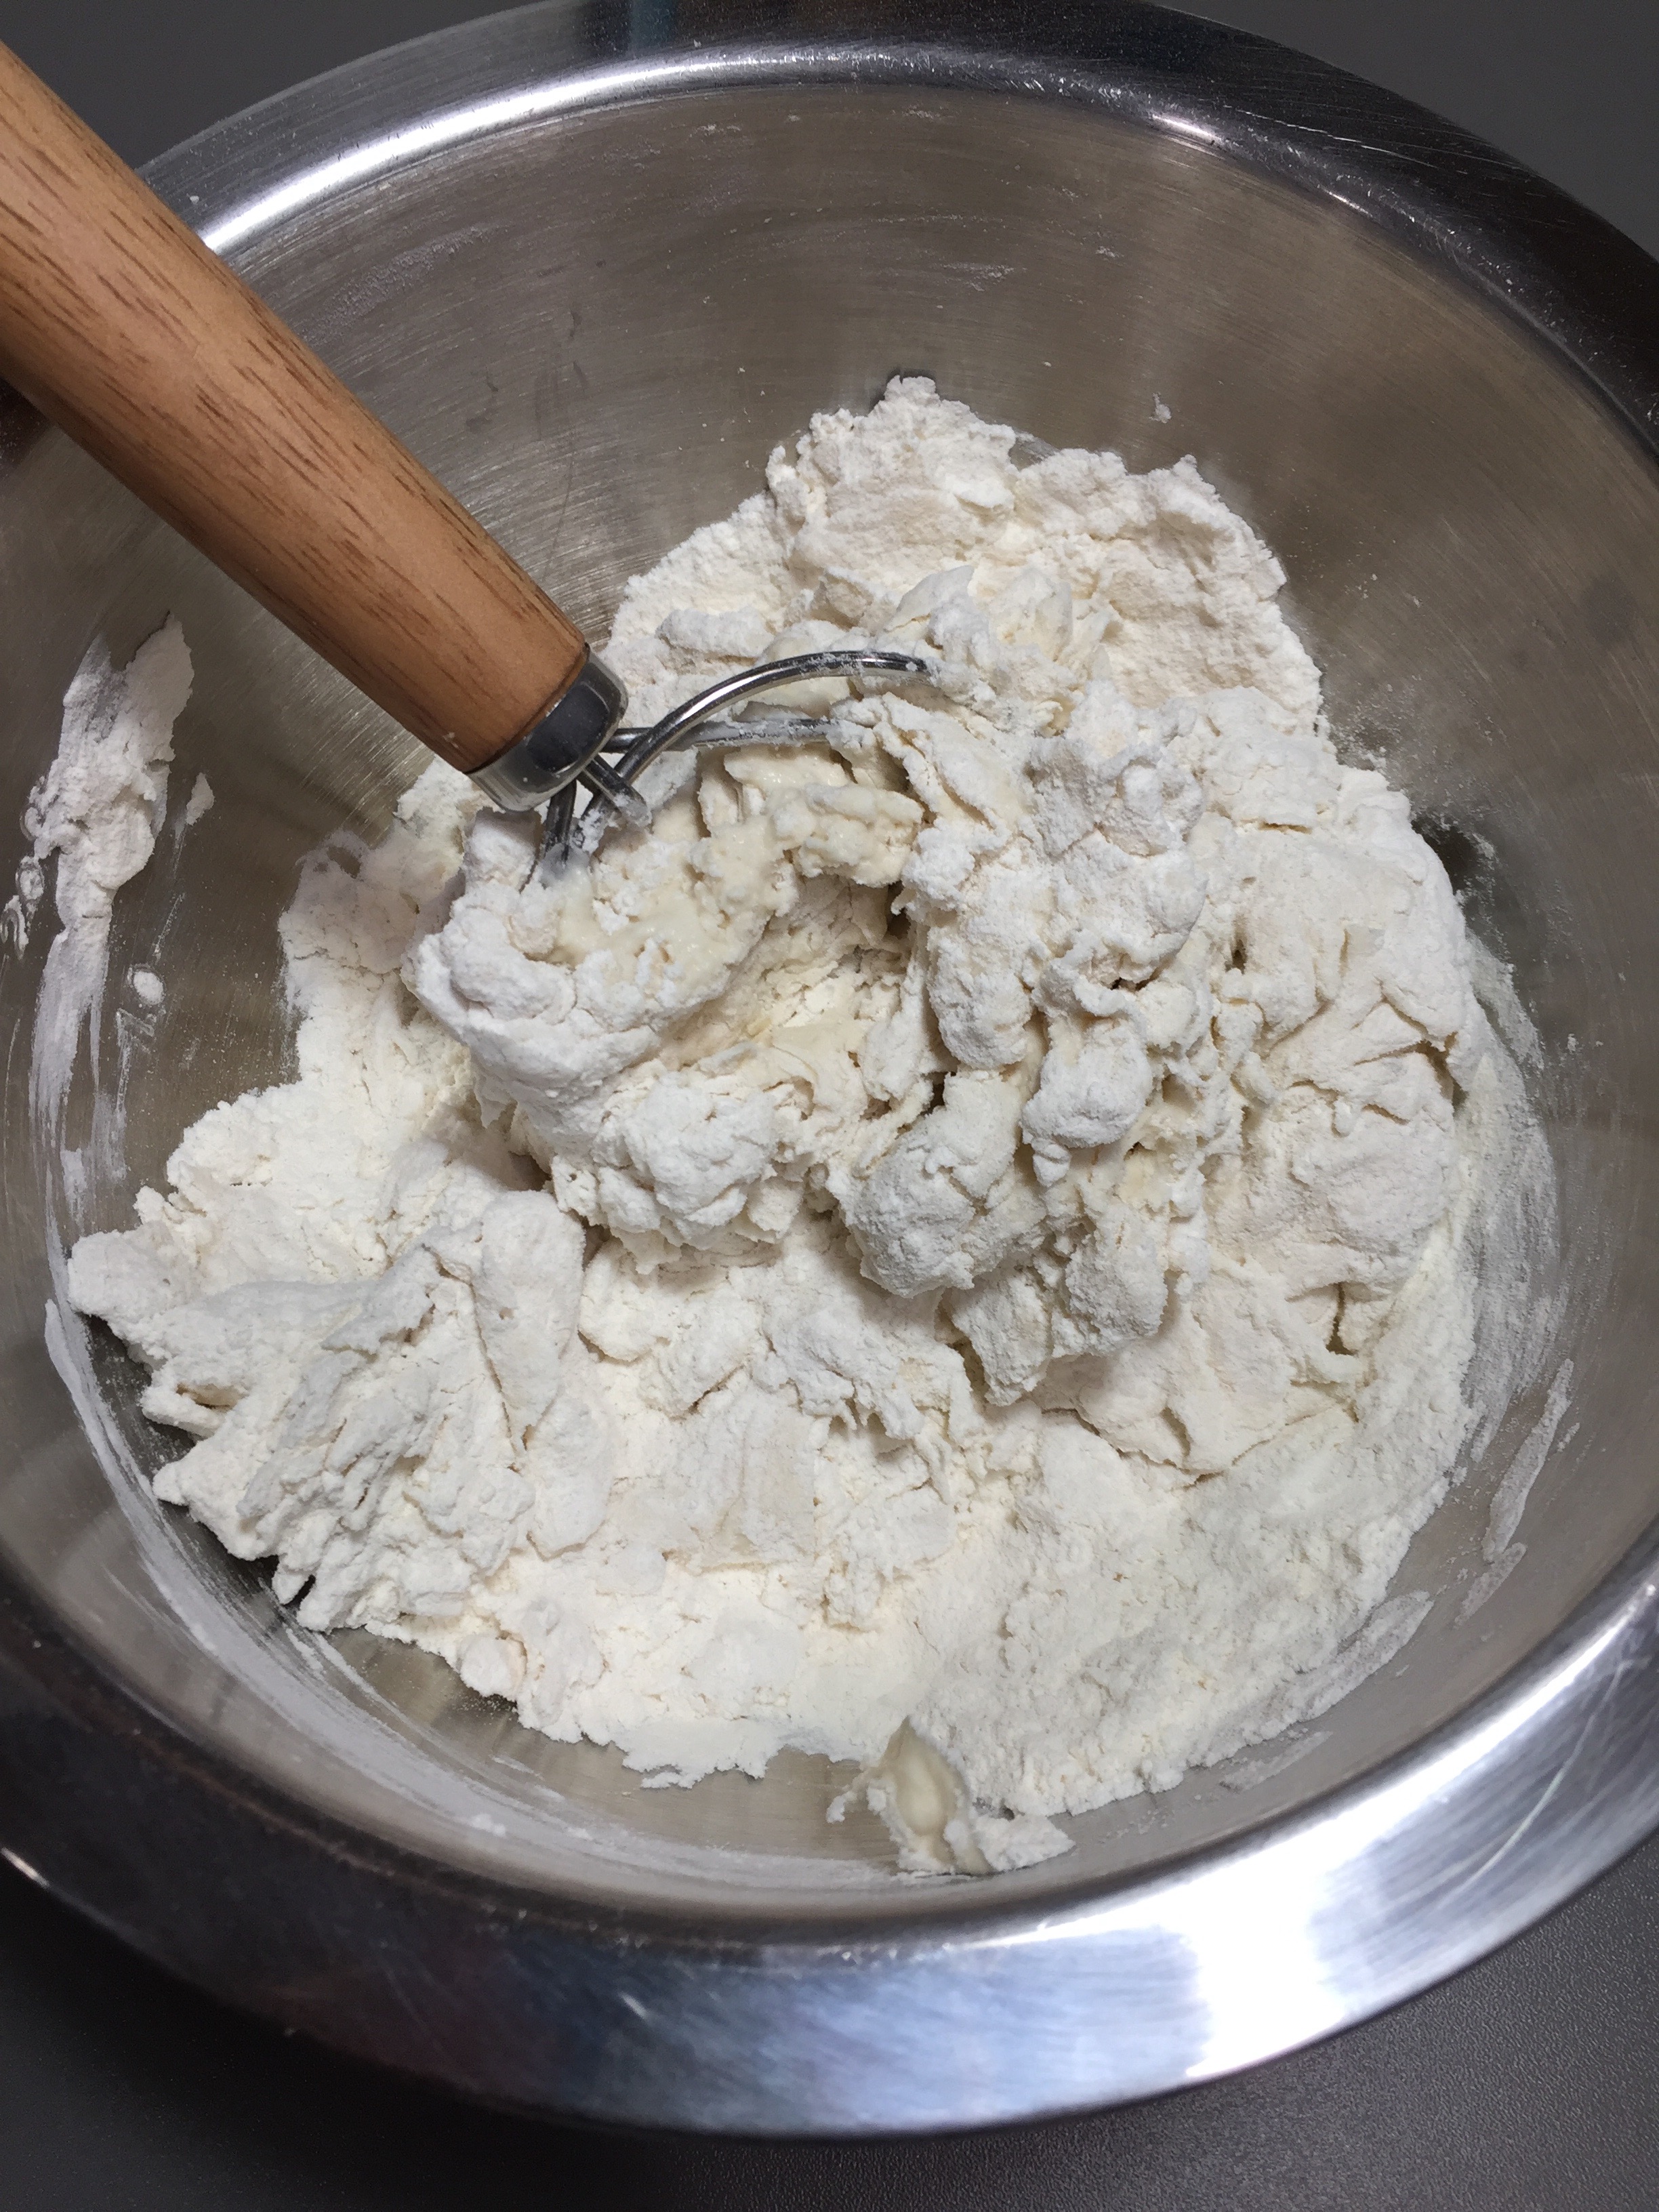
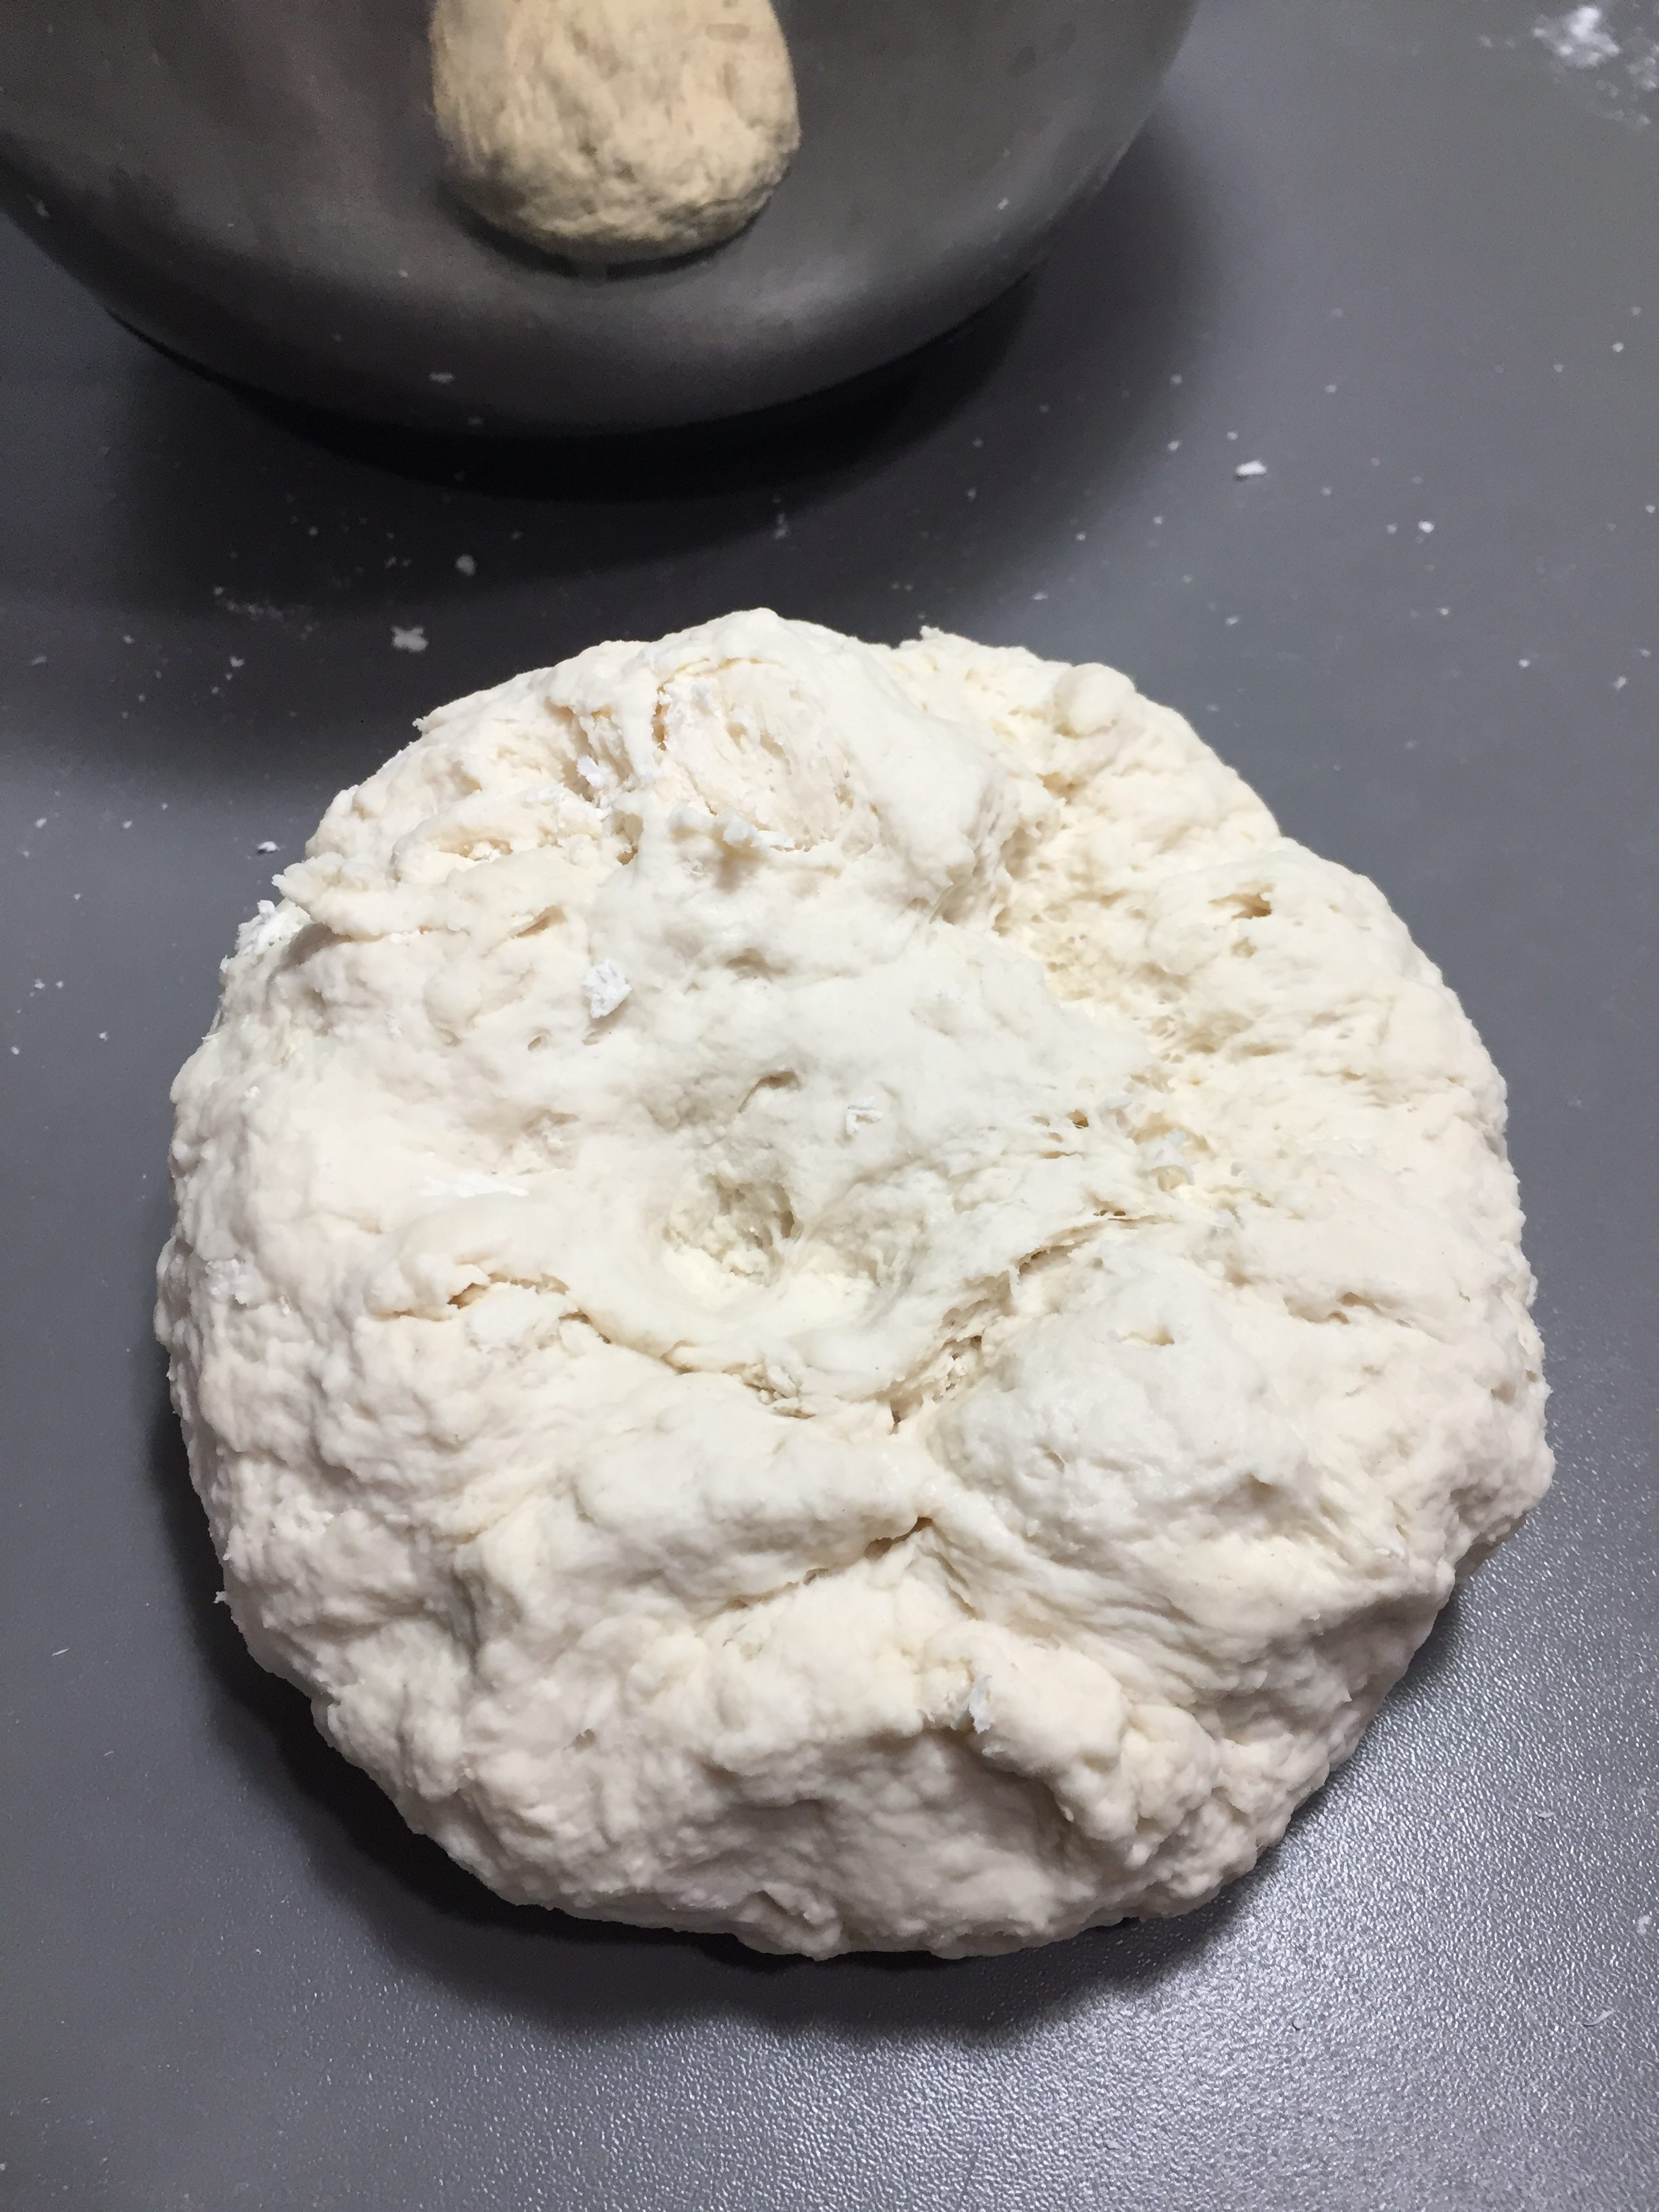
Stir the dough until it comes together, it will look very shaggy. Continue to knead the dough with your hands in the bowl until it comes together – it shouldn’t be so dry that it falls apart or too wet that it is sticky. If it’s too dry and crumbly, add a tsp more water, only till the dough ball comes together. Don’t worry if it’s not very smooth at this point. It will become smoother and pliable the more it’s kneaded later.
Put the dough ball in a gallon ziplock bag, let all the air out and seal. Place the dough bag on the floor and have fun kneading with your feet (clean feet or socks but no shoes). Massage/knead all over the dough with your feet for a few minutes until the dough becomes elastic. If it becomes too flat, you can remove the dough and ball it up then return to inside the bag and continue to knead. You can also knead by hand or mixer with dough hook but kneading by feet is faster as it allows your body weight to do the work. Plus, it is apparently the most authentic way of making udon noodles. My girls were so disappointed that they weren’t home when I took a picture of my feet kneading, as they wanted to show off their nice pedicure. And yes, I put on clean pair of socks for this.

Take the dough out, form into a ball and put back inside a ziplock bag or cover with plastic wrap. Let rest for 4 hours (up to 6 hours). This allows the gluten to properly relax. This also makes the dough much easier to roll later too.
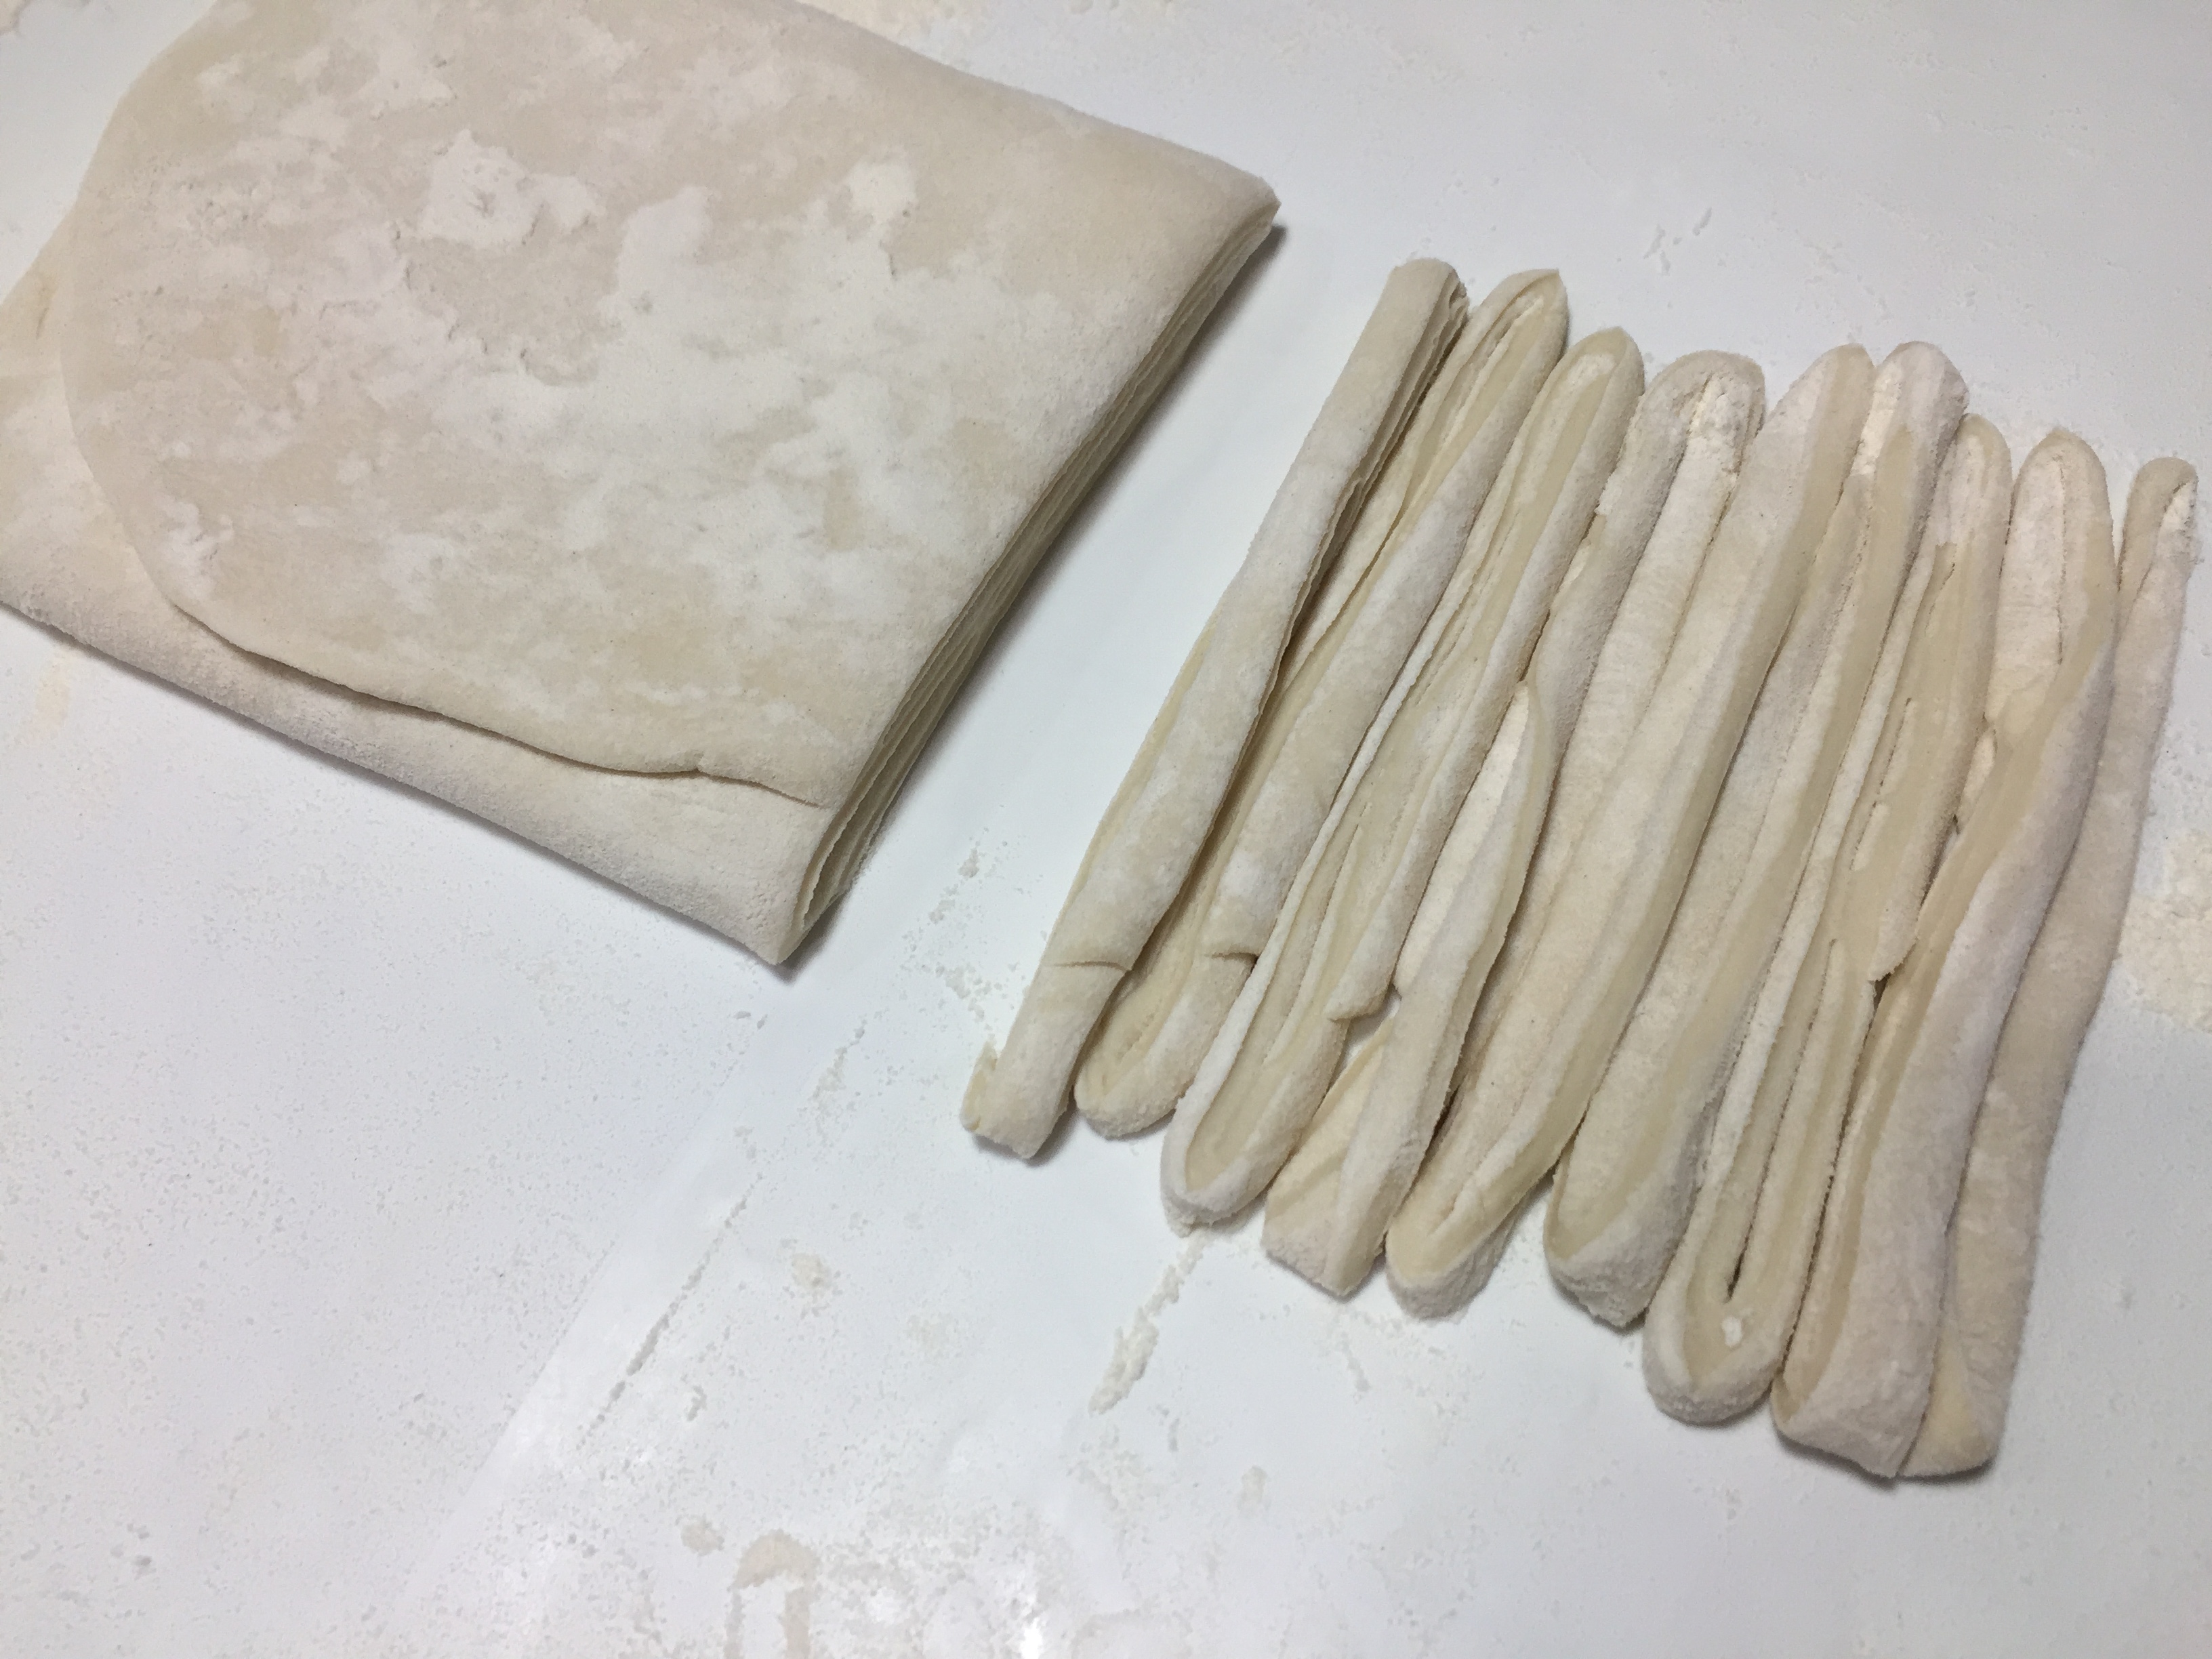
Once the dough has rested, divide into two sections. On a floured surface, roll one section into a large rectangle about 1/8 inch thick and flour the top before cutting. There are two ways of cutting the noodles – simply cut the strands with a pizza cutter like I do (my preferred) or the folded letter method, which is faster.
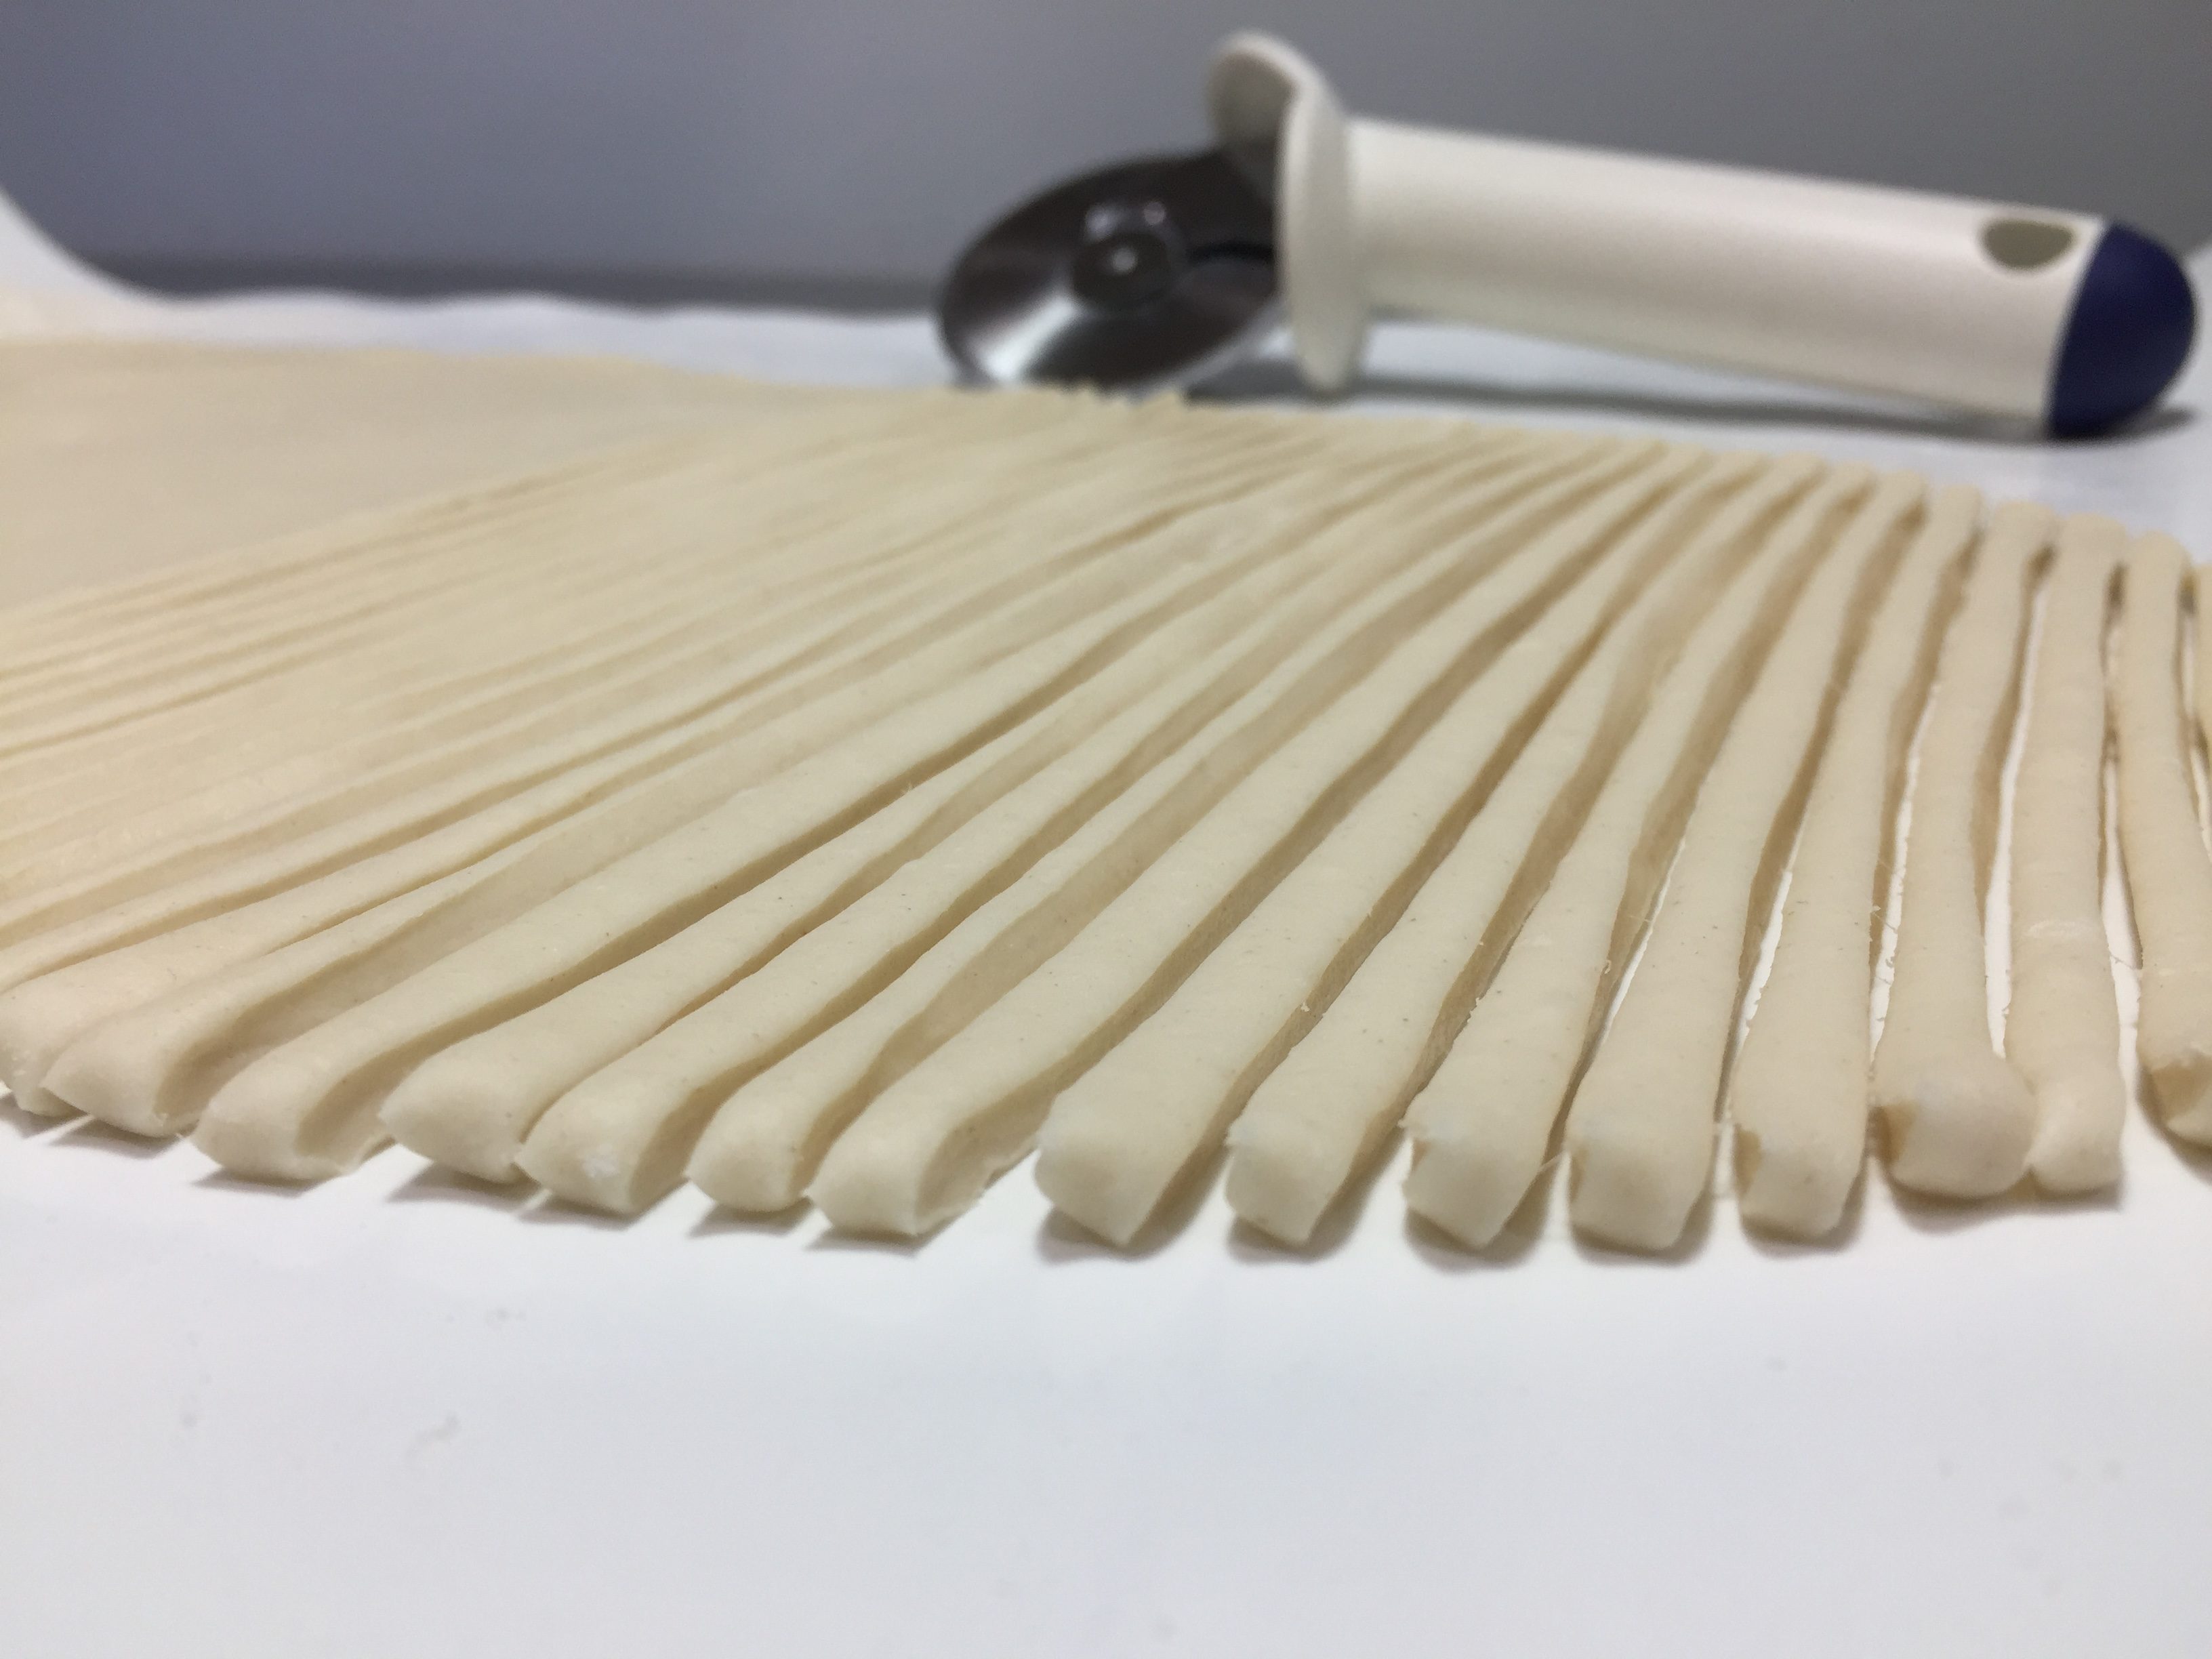
Folded letter method: heavily dust the top with flour and fold the rolled dough to form a letter. Cut the folded dough into 1/8-1/4” strips with a sharp knife or pizza cutter. Separate the cut strips and dust with more flour to keep them from sticking together. The first time I cut the dough using the folded letter method, I didn’t dust with enough flour so the strips stuck together like glue – add more than you think you need as you can dust it off later.
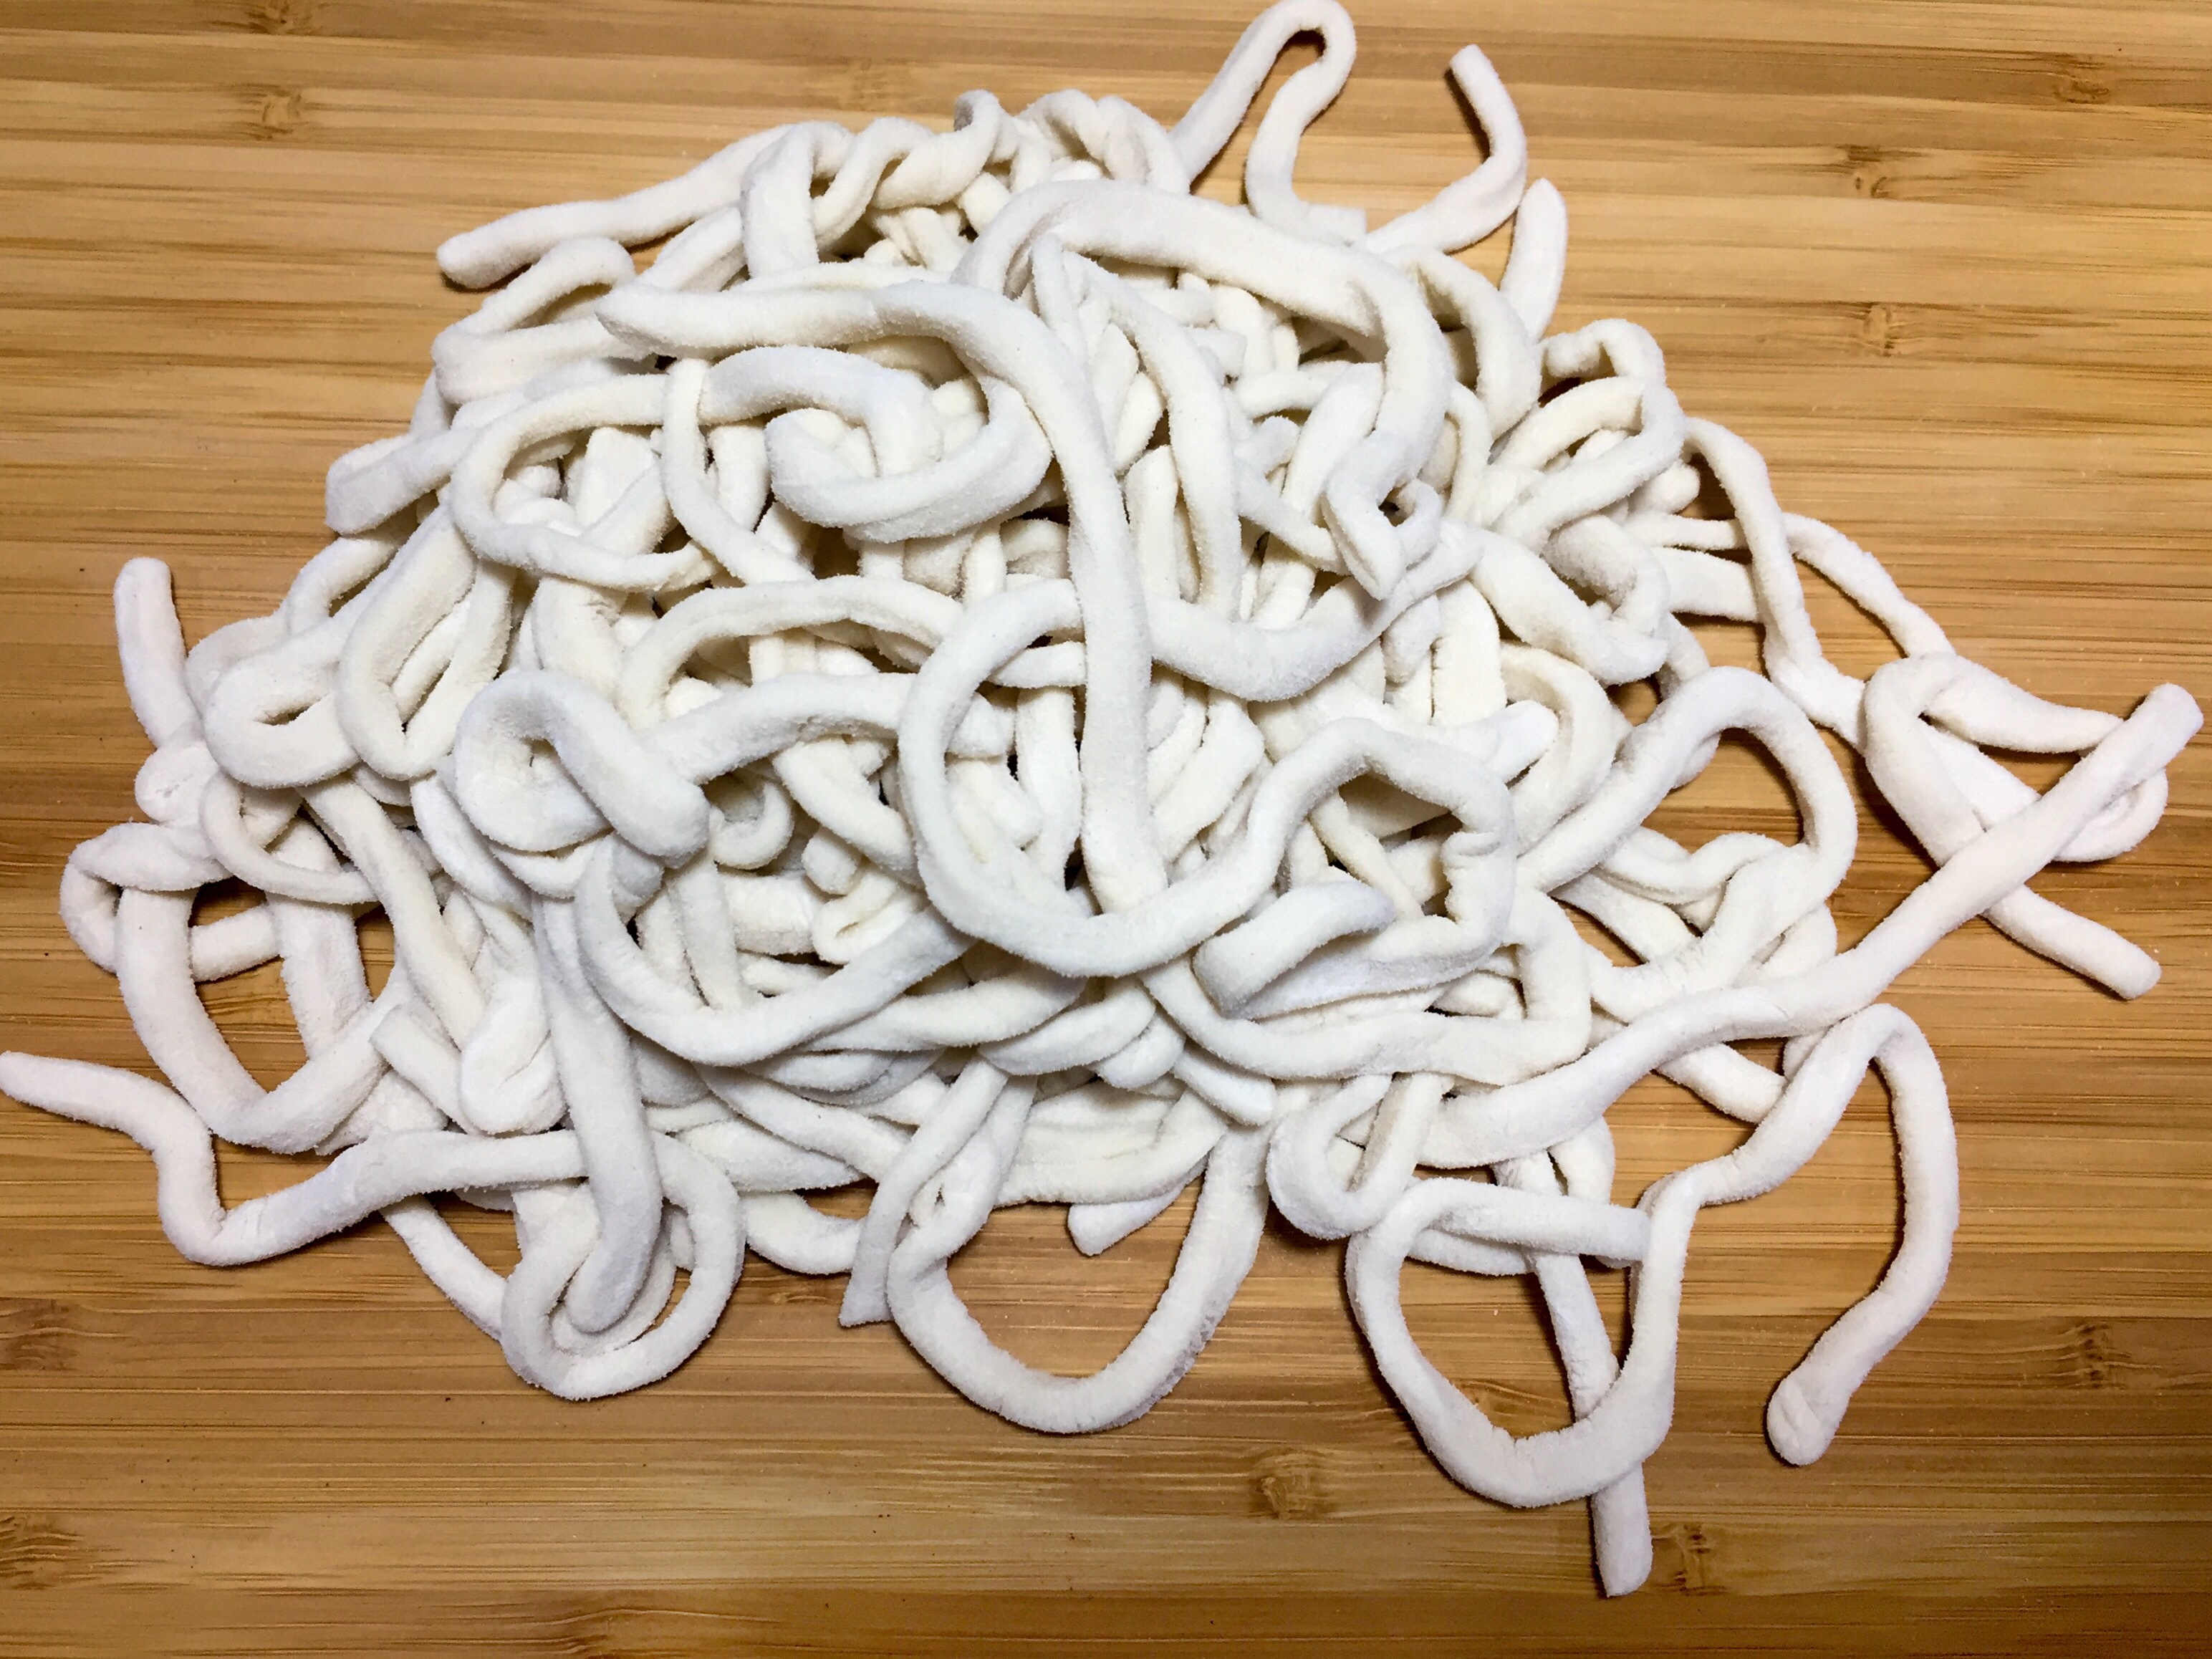
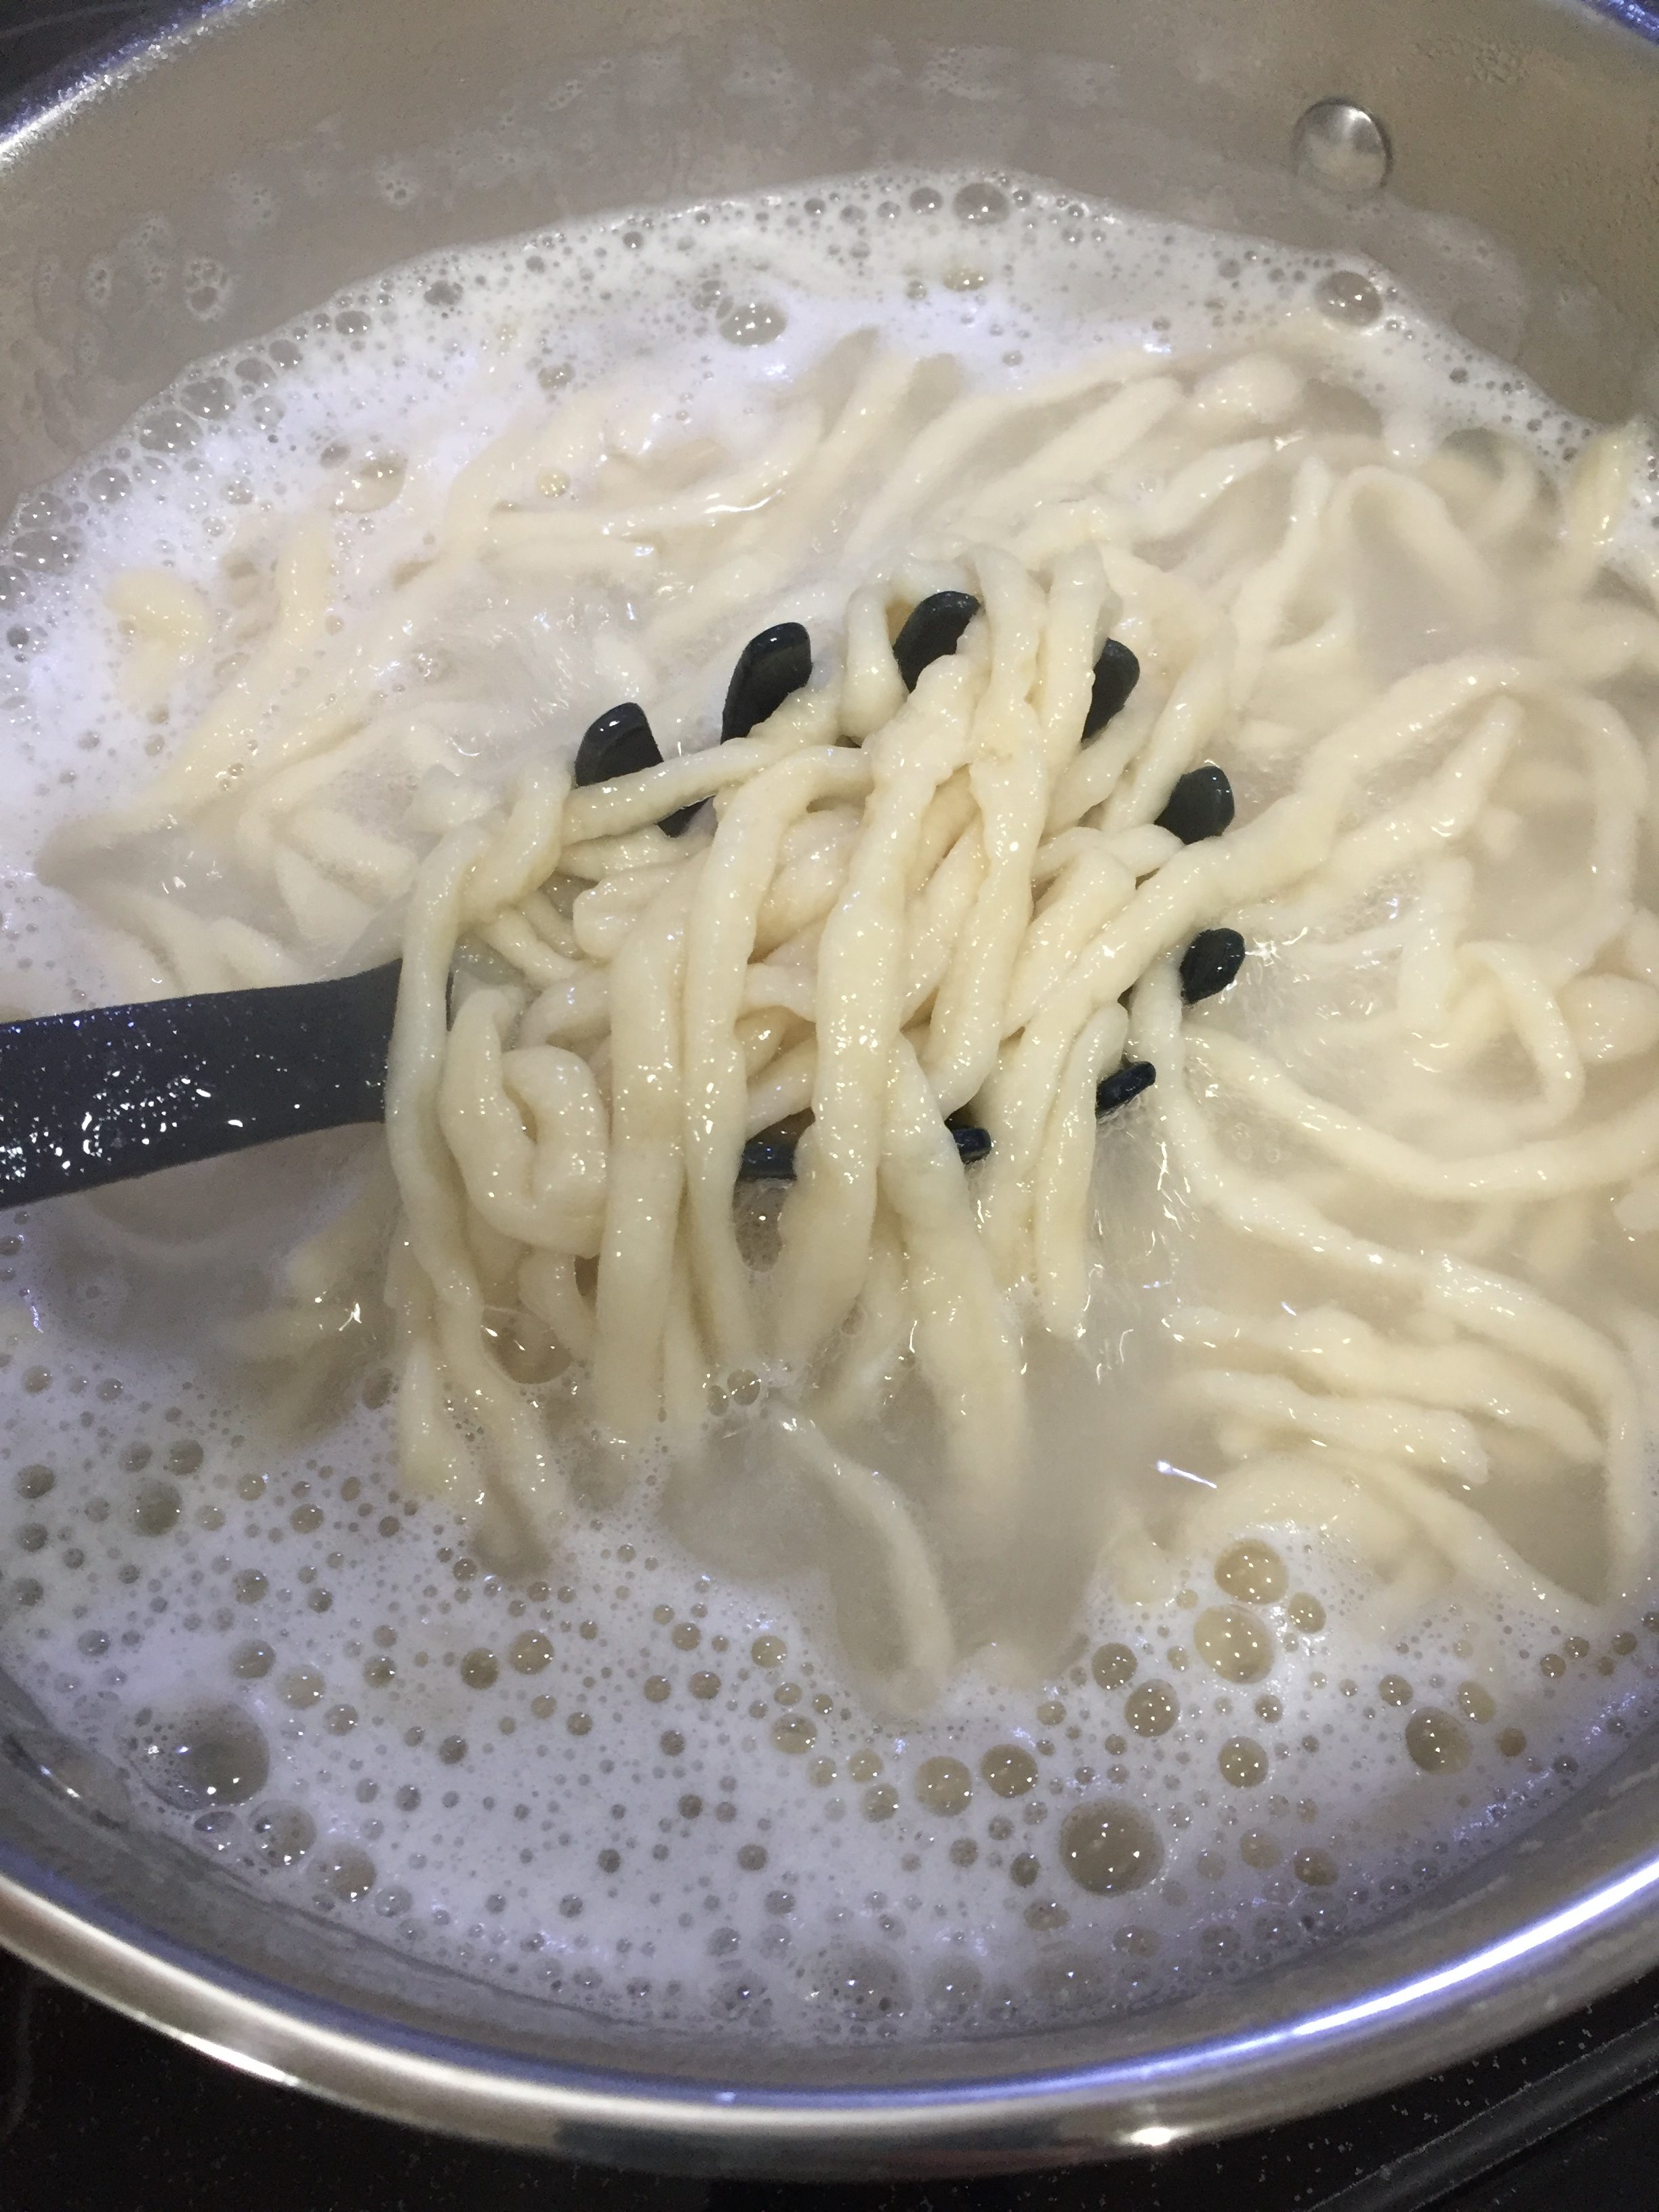
The fresh noodles should be cooked right away for the best texture. Use the largest pot filled with a large amount of water to cook the noodles. Since the noodles are starchy and covered with a lot of flour during the dusting and cutting, cooking them in too little amount of water will make them gummy and mushy. I cook mine in two batches in plenty of water and use fresh water again for the second batch.

Bring the water to a rapid bowl then add the noodles. Lower the heat to let them boil gently – separate them with a chopstick or pasta utensil if needed. Let boil for 5-6 minutes (take a thick piece and taste for doneness first), remove from heat and drain the noodles in a colander. Rinse with cold water until they’re cool to the touch. Now the noodles are ready to be used in recipes.

- 3 ¼ cups bread flour
- ½ cup tapioca flour (also known as tapioca starch)
- 1 ¼ cup warm water
- 4 tsp kosher salt
- In a large mixing bowl, combine both flours. In a liquid measuring cup, dissolve salt in warm water. Pour the water into the mixing bowl and stir the dough until it comes together. The dough will look shaggy but knead with your hands until it forms a ball. It won’t look smooth but it should stick together and be cohesive.
- Put the dough in a ziplock bag, let the air out and seal. Place the bag on the floor and knead the dough with your bare feet (or socks) for about 5 minutes or until elastic. If using a mixer with dough hook, knead on low for about 10 minutes. Alternatively, you can knead using your hands. Dough should be smooth, elastic and pliable at the end.
- Remove dough from the ziplock bag and form into a ball. Cover with plastic wrap and let rest at room temperature for 4 hours.
- After the dough has rested, divide the dough into 2 sections. Roll one section on a lightly floured surface into a large rectangle about 1/8-1/4” thickness (thinner is best as it will expand some when cooked). Flour top of rolled dough heavily and fold it letter style. Cut into 1/8-1/4” strands with a sharp knife or pizza cutter. Toss the strands to open and cover with flour to prevent clumping. Repeat with the other section of dough.
- Fill a very large pot with water and bring to a rapid bowl. Place half the noodles in the boiling water. Lower the temperature and boil gently for 6 minutes. Taste for doneness first before draining. Drain in a colander and quickly run cold water over it until the noodles feel cool to the touch. Repeat for each batch. Shake off excess water and proceed to use in a recipe.
For more recipes from our copper-loving foodies, check out our blog. If you have any questions about copper or copper sinks, our Sinkologists are here to help. Contact us or follow us on Facebook, Twitter, Houzz, Pinterest, or Instagram for helpful tips, recipes, and design ideas.