Before & After: A Historic Home Half Bathroom Renovation
Sinkology is proud to present Jennifer Panehal-Pelayo, our guest blogger from Flowertown Charm. Jenna is here to share her renovation story and inspiration around designing her new half bathroom around her copper sink. You can view the original story on her website here.
No More Procrastinating!
I can finally say that our historic home half bathroom renovation is complete!!! We started this project about 9 months ago when we knew it was time to gut and renovate our half bathroom downstairs. Our historic home has 2 1/2 bathrooms, all 3 in need of a complete renovation. If you remember back to last year around this time we had just finished our guest bathroom renovation. If you have not checked that out yet, click here! After we finished that project, we moved onto our chicken coop, you can also see that here, and then we started on the half bathroom.
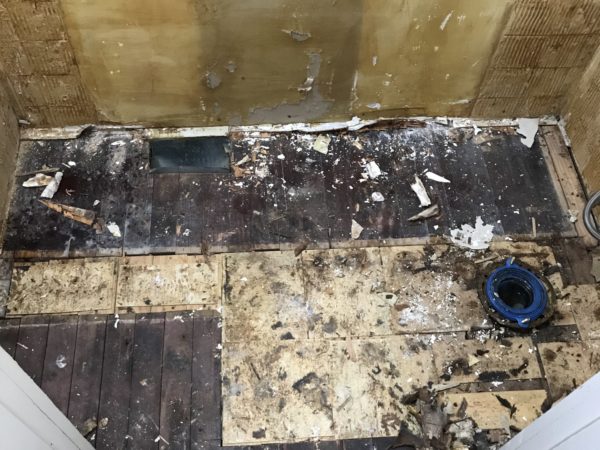
The Before
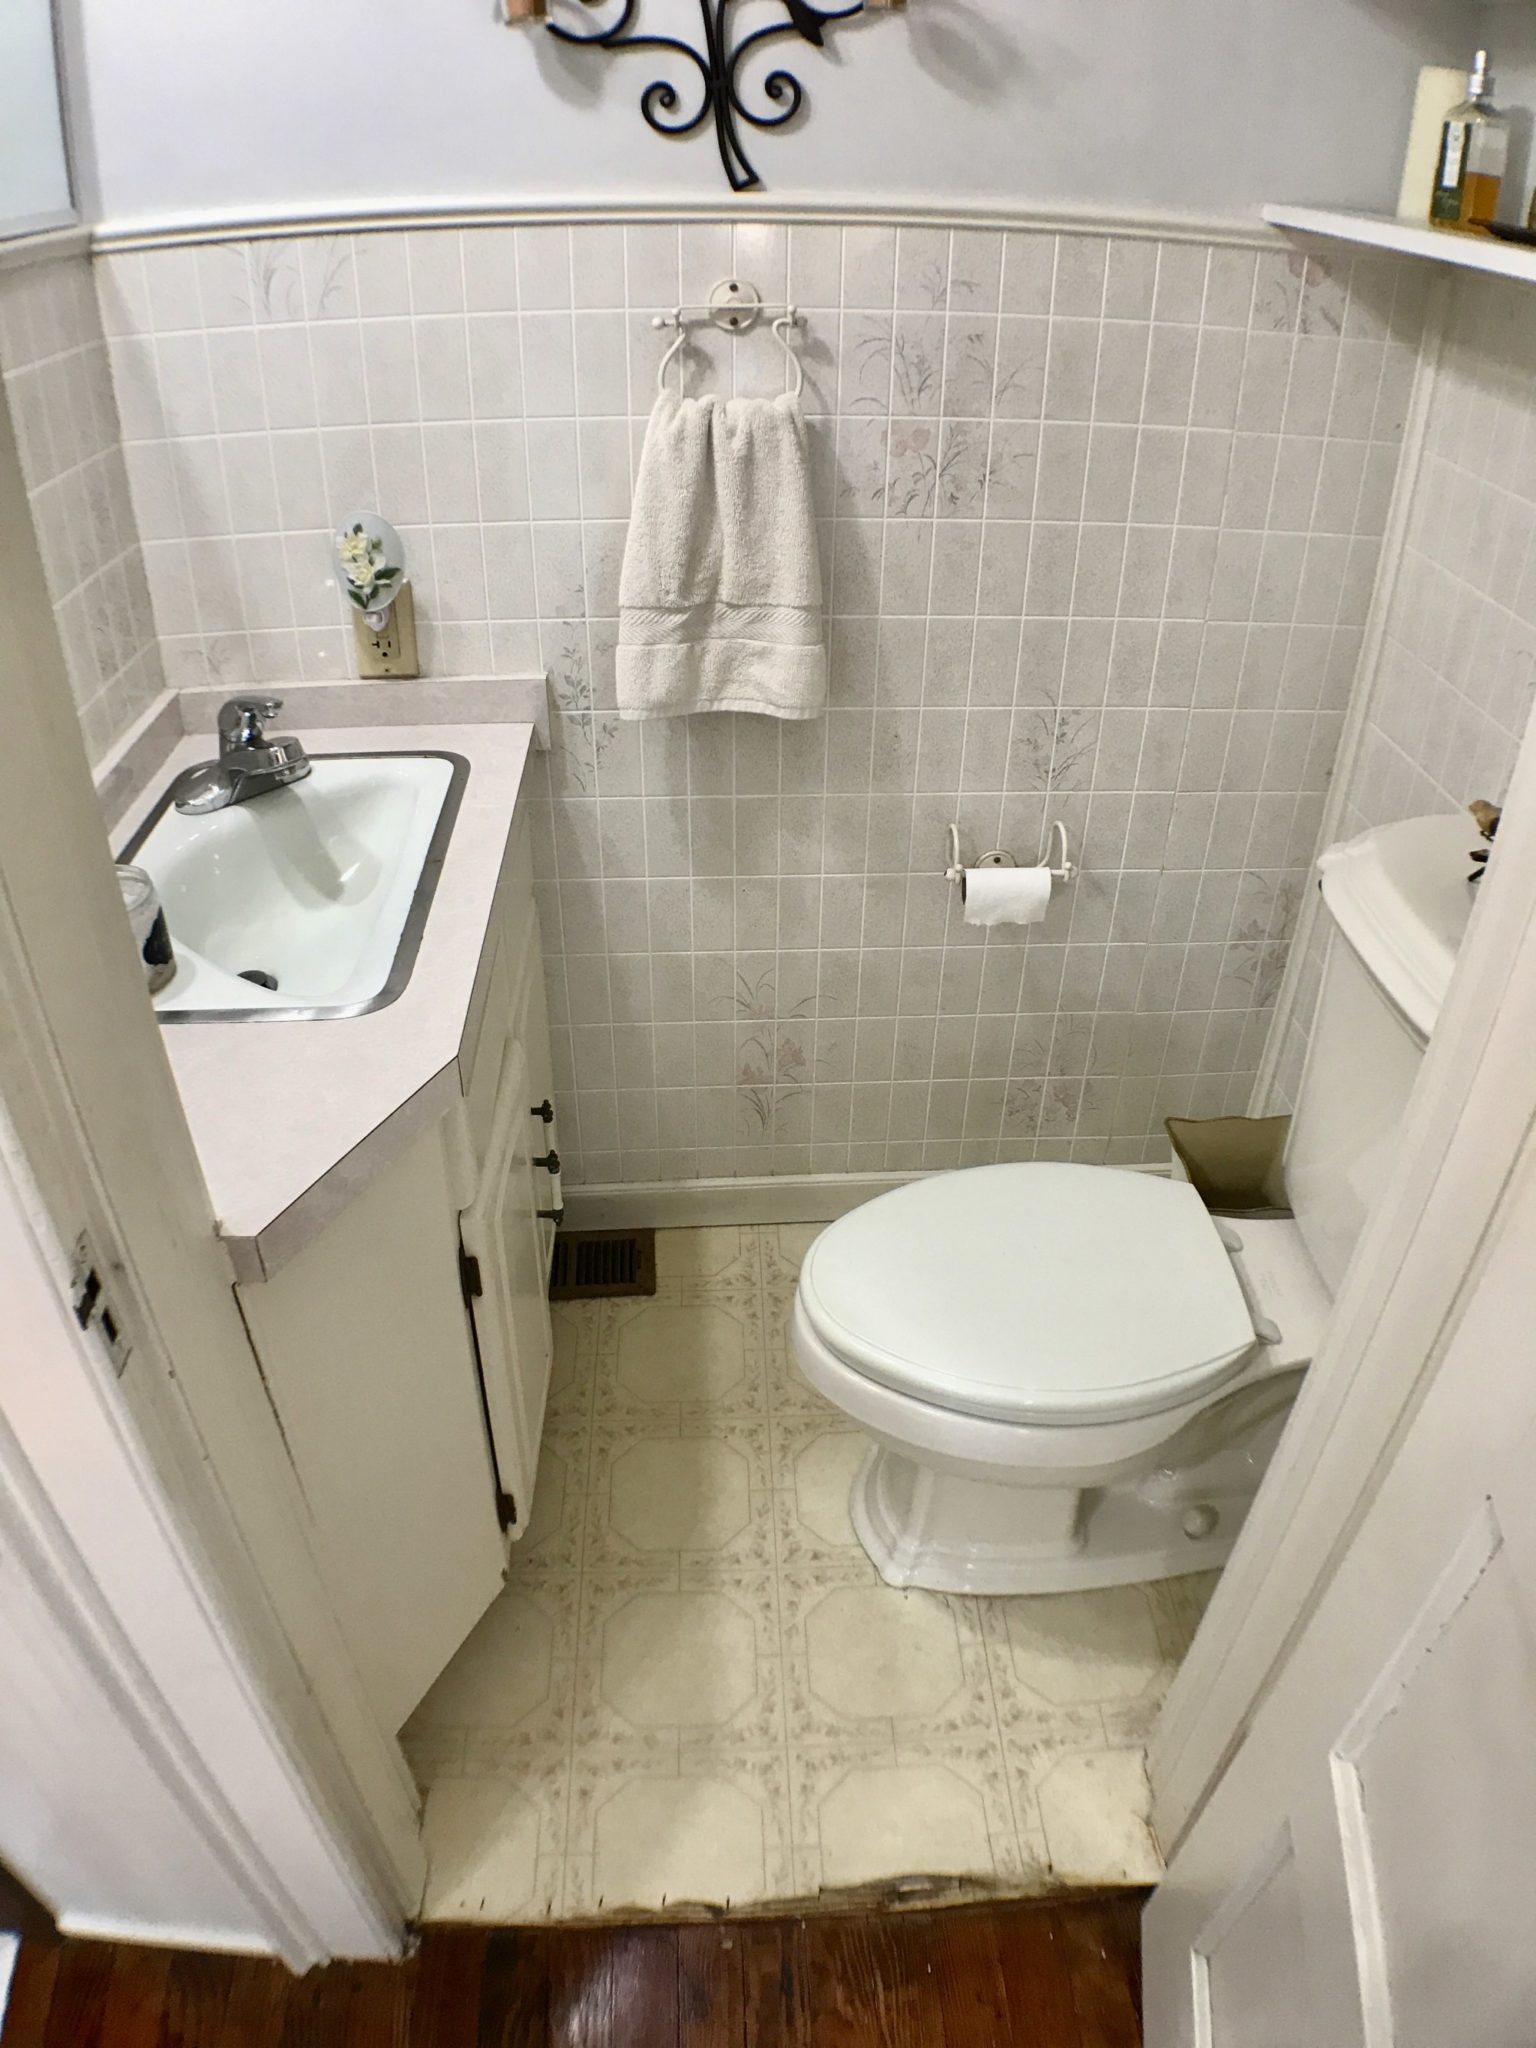
This half bathroom in our historic home is very very small. I kid you not while you sat on the toilet and you were 5′-10″ or taller your legs would hit the sink vanity. It had dated floral laminate flooring, a falling apart sink, and a 1950’s toilet. It was time for it to be renovated! Especially since it is the only restroom downstairs and is used most frequently. Here is a picture of before.
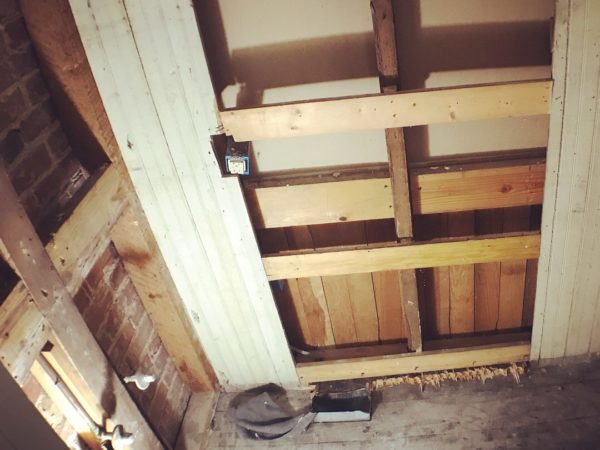
Demo Day
Demo day is always a DIY’ers favorite because not only do you get to destroy things, but you also get to discover what may be hidden underneath! In our case, we found some brick and original beadboard! We came upon this by taking out the sink, we noticed some beadboard hiding behind a hole in the drywall. This drywall not only was hiding it, but it also took away space in this tiny bathroom. We went for it and ripped it all out! This gave us over 5″ of space behind the sink to the brick, and also an inch of space around the perimeter of the bathroom. And we got to expose the brick and the old beadboard in the process, giving the bathroom a historic feel which matches our home.

Starting the Renovation Process
We began with replacing some beadboard that at some point was removed, and then replacing the wood floors. Unfortunately, the original wood floors were missing a lot of pieces to bring in plumbing, so we decided on new oak floors that were the same size. Next, we painted and added a copper tin ceiling. The accent we wanted to incorporate into the bathroom was copper, and we also had a lot of this copper tin laying around the house, and it turned out perfect! This ceiling is shorter in the bathroom than the rest of our downstairs, so this way it draws your eye up and makes it feel larger and unique. Then we added the chair rail and crown molding to make it feel cohesive with the rest of our home.
Sink Dilemma
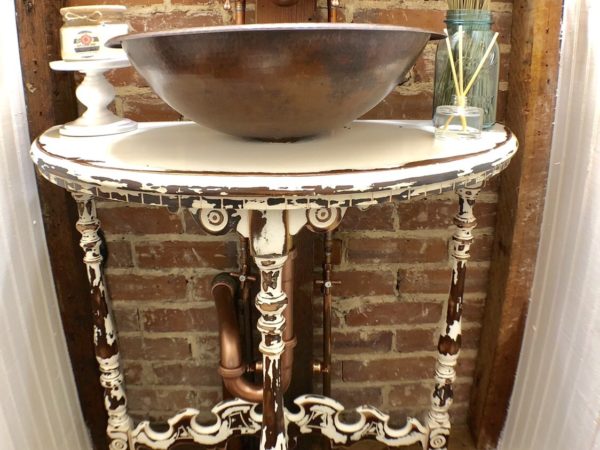
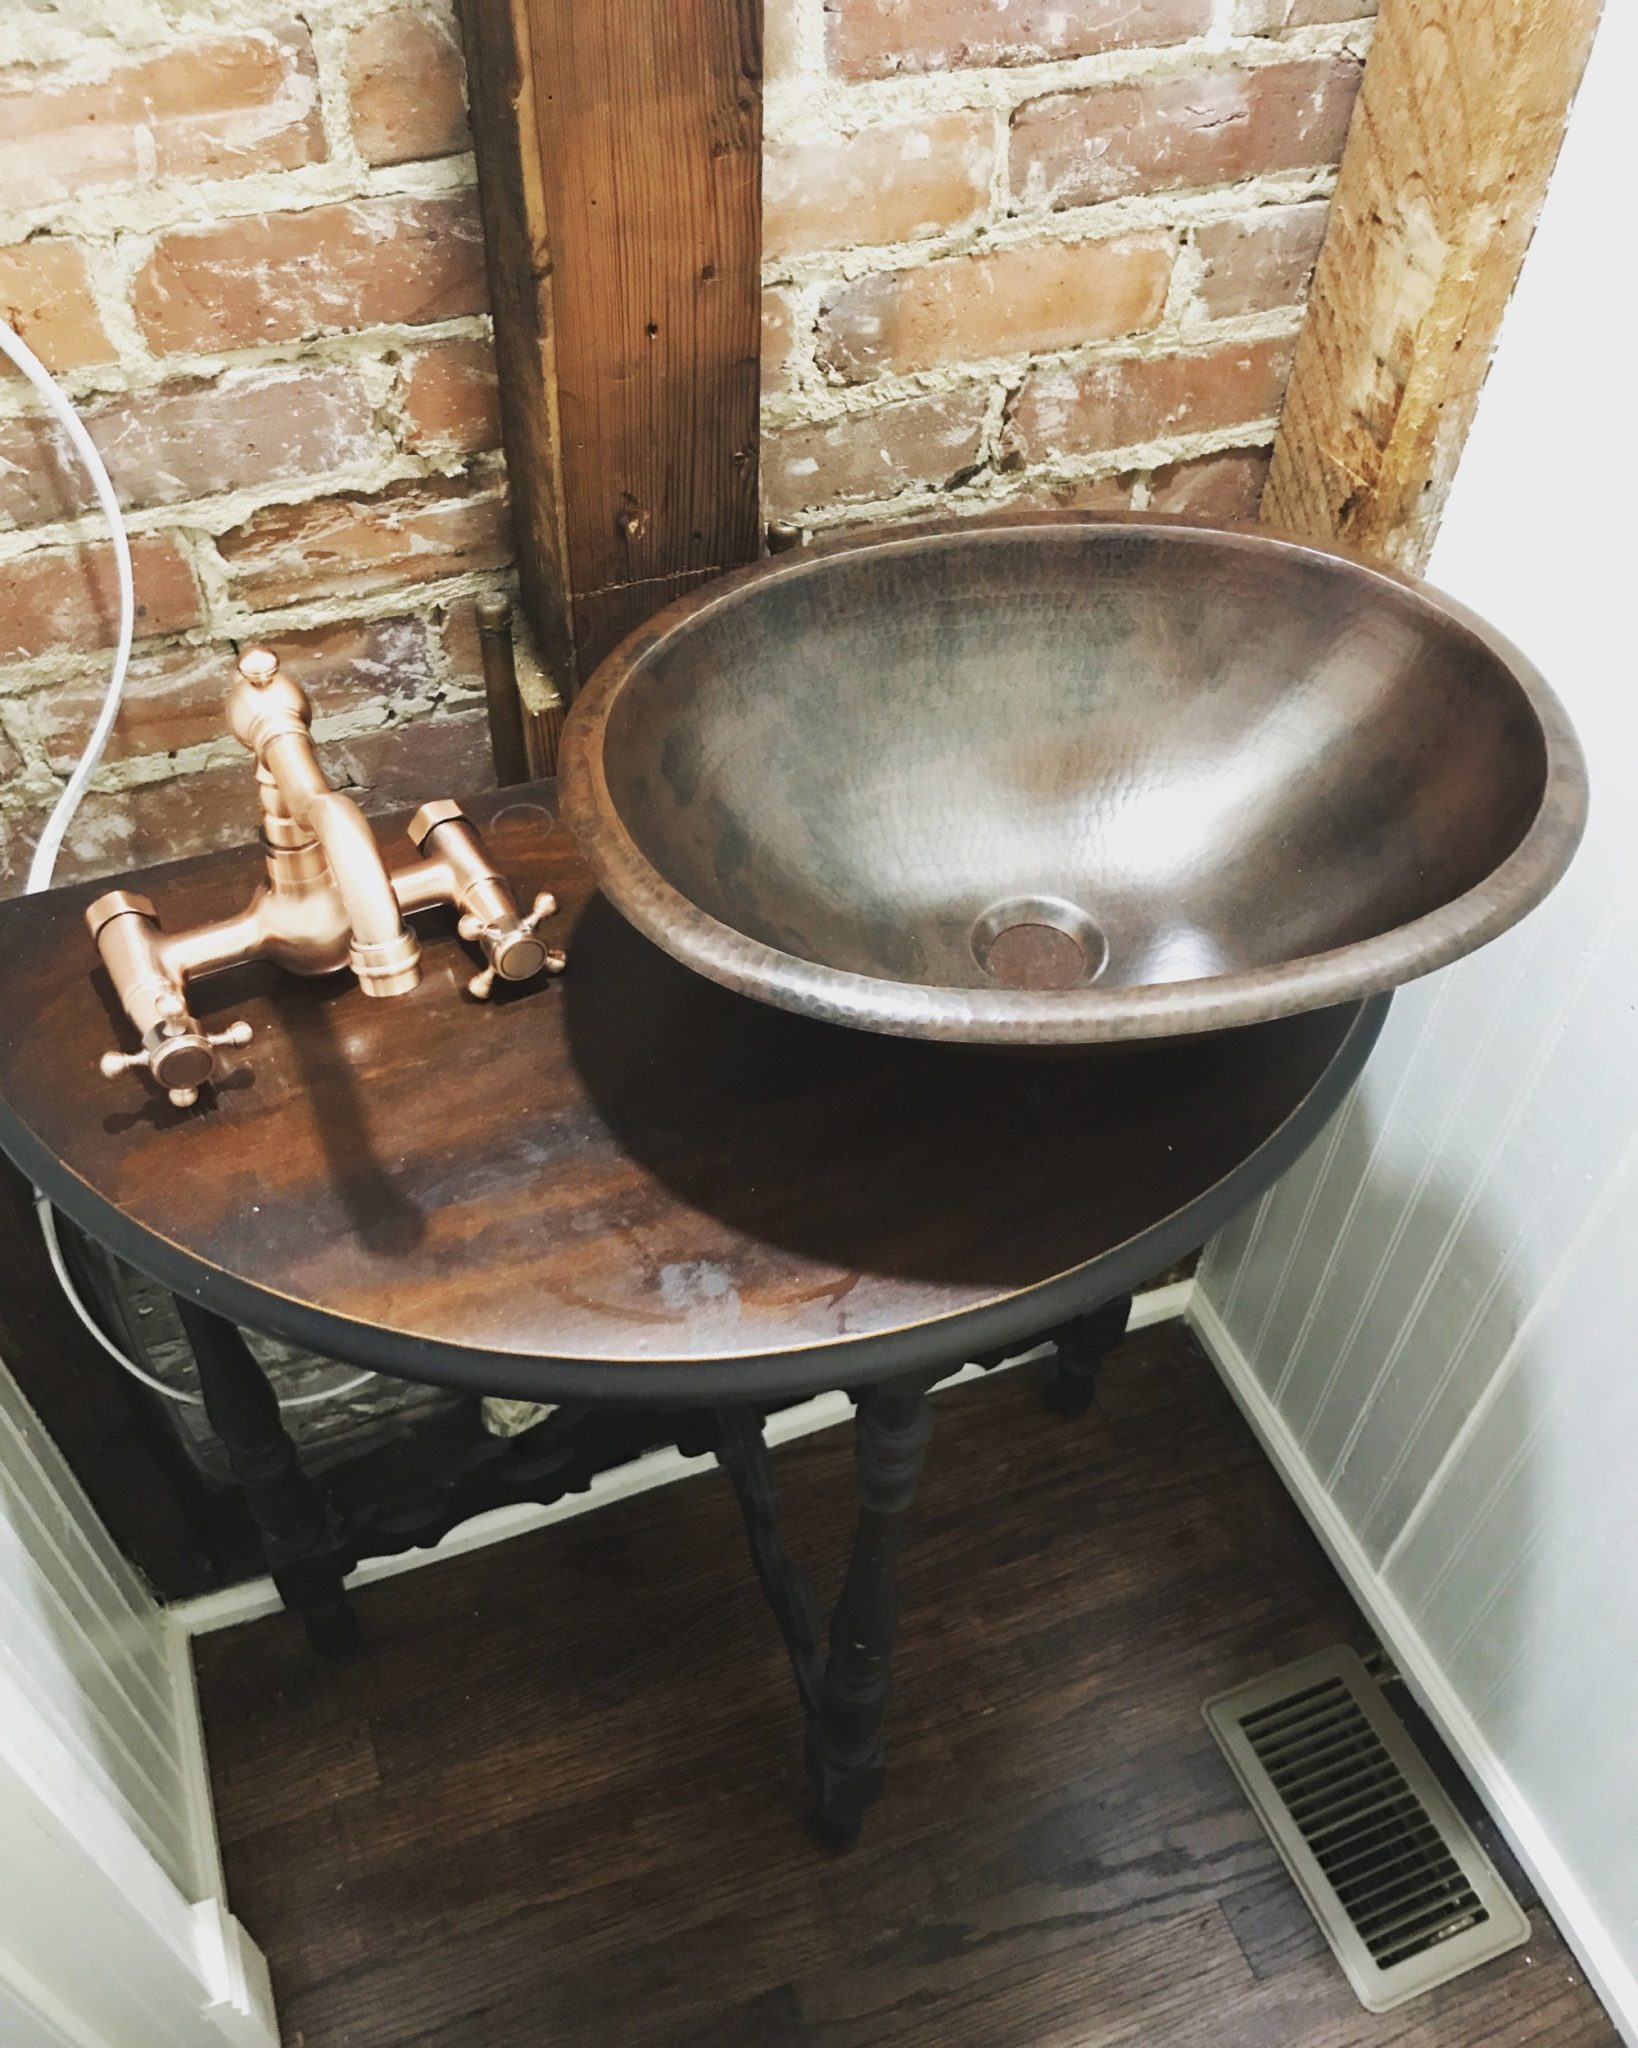
We had purchased a porcelain pedestal sink almost 2 years ago knowing we would use it in this bathroom at some point. When it came time to install it, it was way too large for this space! We were torn because the bathroom is so tiny a standard sink would not work whatsoever, and we had to stop the renovation. We started thinking of ways to make a small sink work and narrowed it down to a vessel because we could use whatever vanity we wanted to keep the space, but still be pretty. I wanted the sink to be the focal point as well, so we really wanted something antique with lots of detail. I then had the idea to use our antique entry table that we had found in our home, and instantly fell in love with the idea! To use something that was old and part of the house, yet be functional and serve a better purpose! PERFECT!
Sinkology Saves the Day
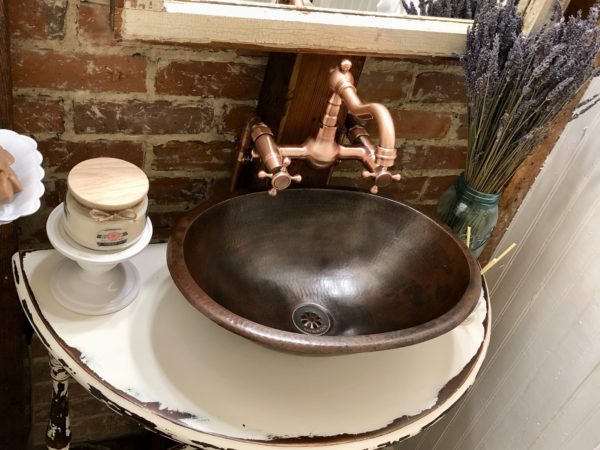
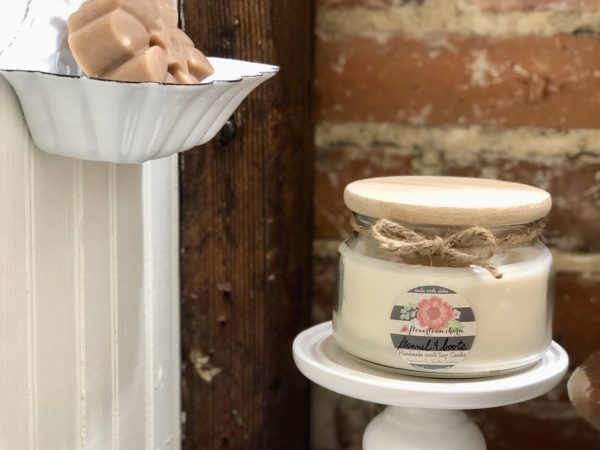
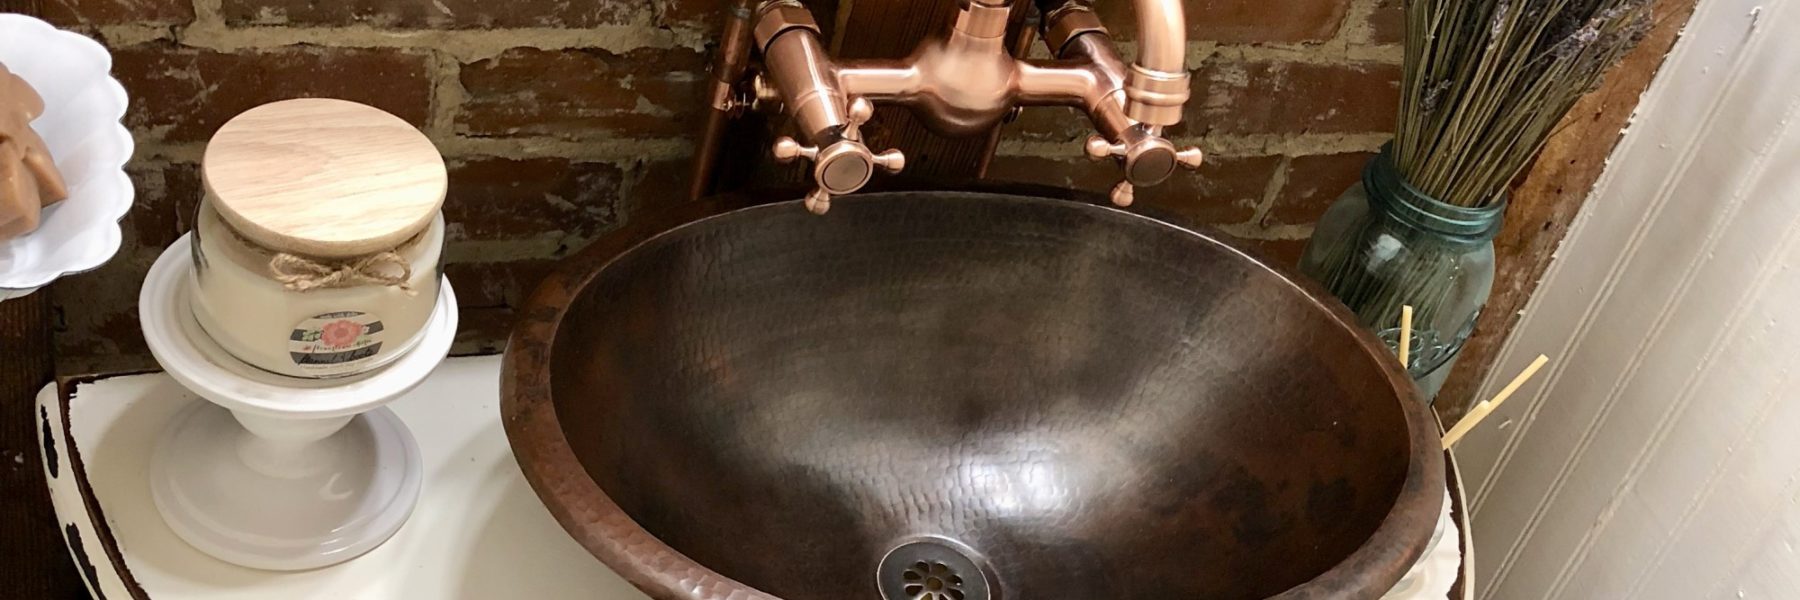
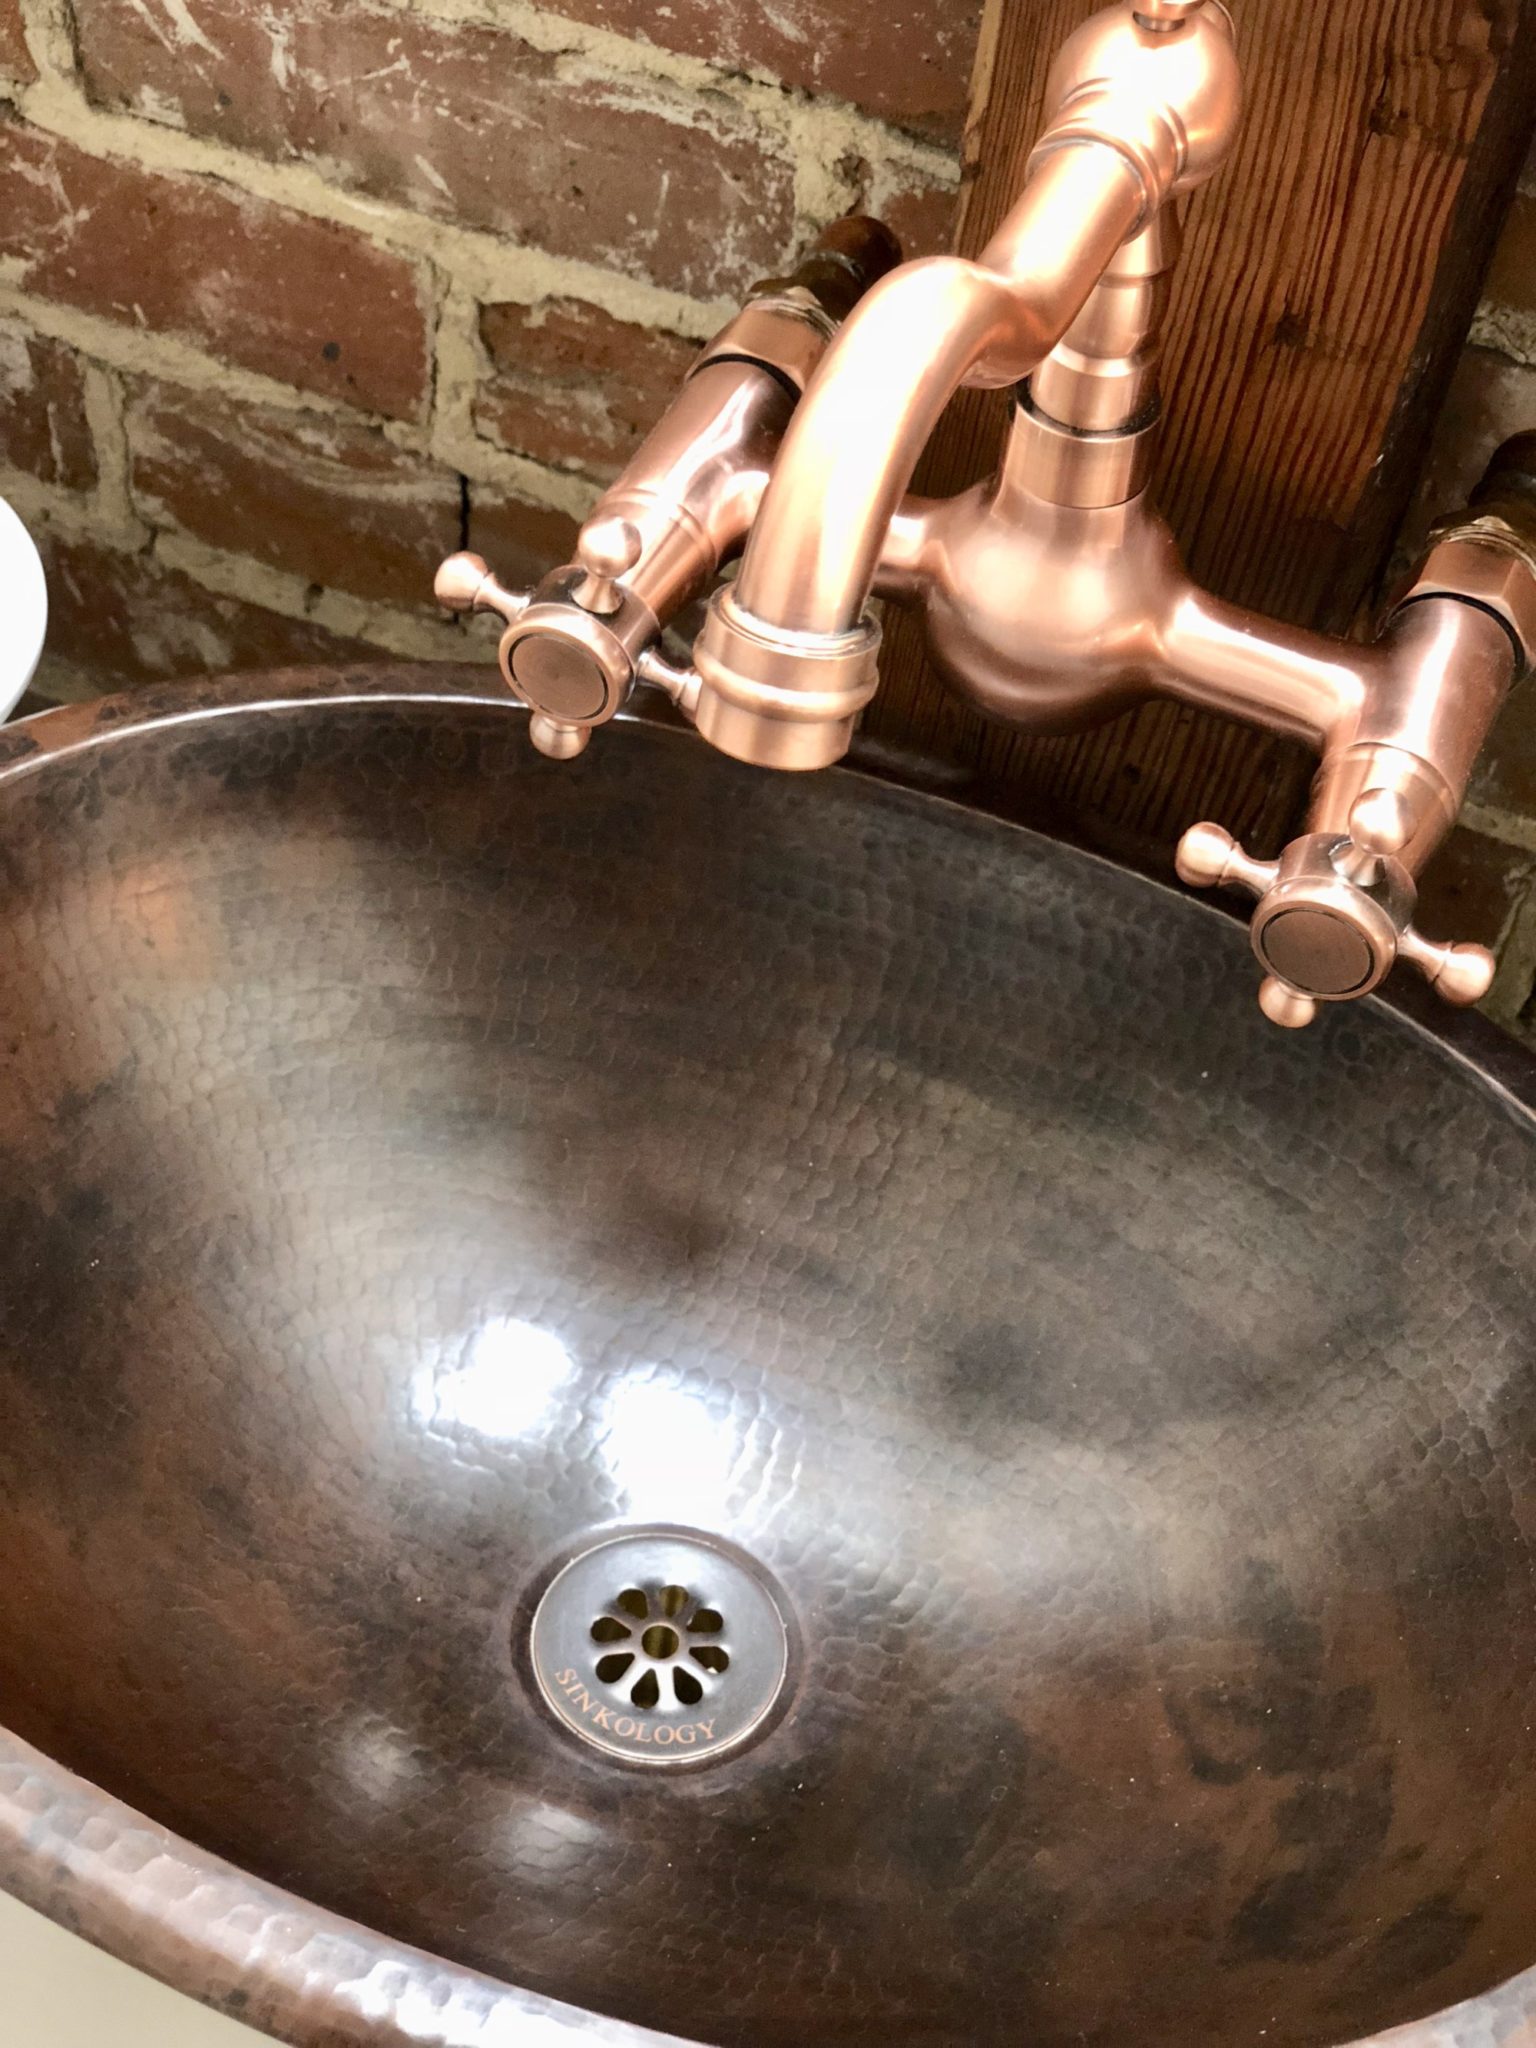
Now it was time to find an actual sink, that would fit our antique table, but also fit the style of our historic home. I knew exactly what I wanted. There is an amazing copper sink company, Sinkology, that I have been following on social media for years! I love every sink they have and I personally reached out to them a few months before this renovation to see if we could work together on our bathroom renovations. They said yes! I had never been more excited!! We decided to go with the Schrodinger Bathroom Copper Sink, because it would incorporate more copper into the bathroom, has a traditional look, and let’s face it, it is just stunning!! Now although this sink is not meant to be a vessel because it has a drop-in rim on it, we personally liked how the rim looked! We feel like it looked more handmade and it worked out perfectly! Not only was the sink beautiful, but the company Sinkology was also there to answer our questions, gave us lots of copper care tips, and helped us with picking out a sink as well. We cannot recommend them enough! We will also be using their sinks in our master bathroom renovation in the near future, so stay tuned for that!
Last Tasks
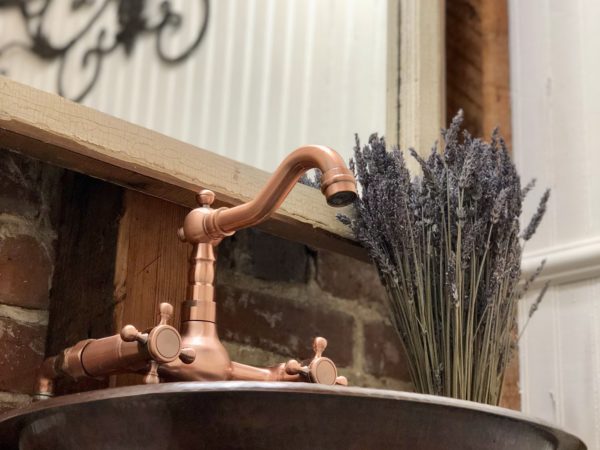
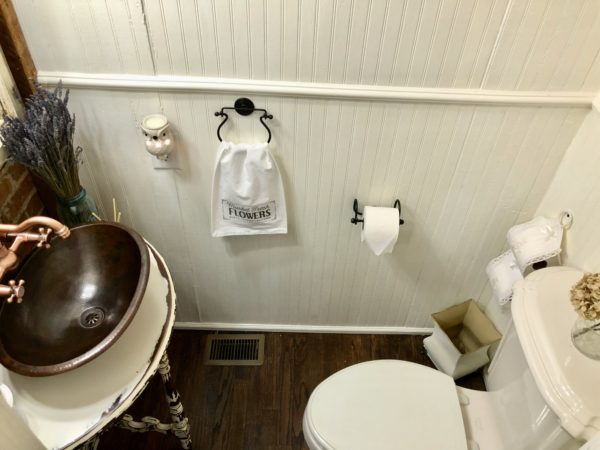
We did have to stall a little longer to have our copper faucet shipped which was coming internationally. Then we started to wrap things up! We brought in more copper by leaving all the copper plumbing exposed. I painted our antique table/vanity and heavily distressed it so it looked old but had some life to it. My husband got to take his first shot at DIY copper soldering! That was a great learning experience for us, and we now think we can handle more in the future. And then I got to do the final touches by adding decorations, a new light fixture, and a mirror! We will probably switch out the mirror to a smaller size down the road. My friend Monica makes these beautiful window mirrors, which you also saw in our guest bathroom renovation, but she doesn’t have a smaller size one right now. But this one works in the meantime! If you would be interested in one, let me know! I got the hookup!
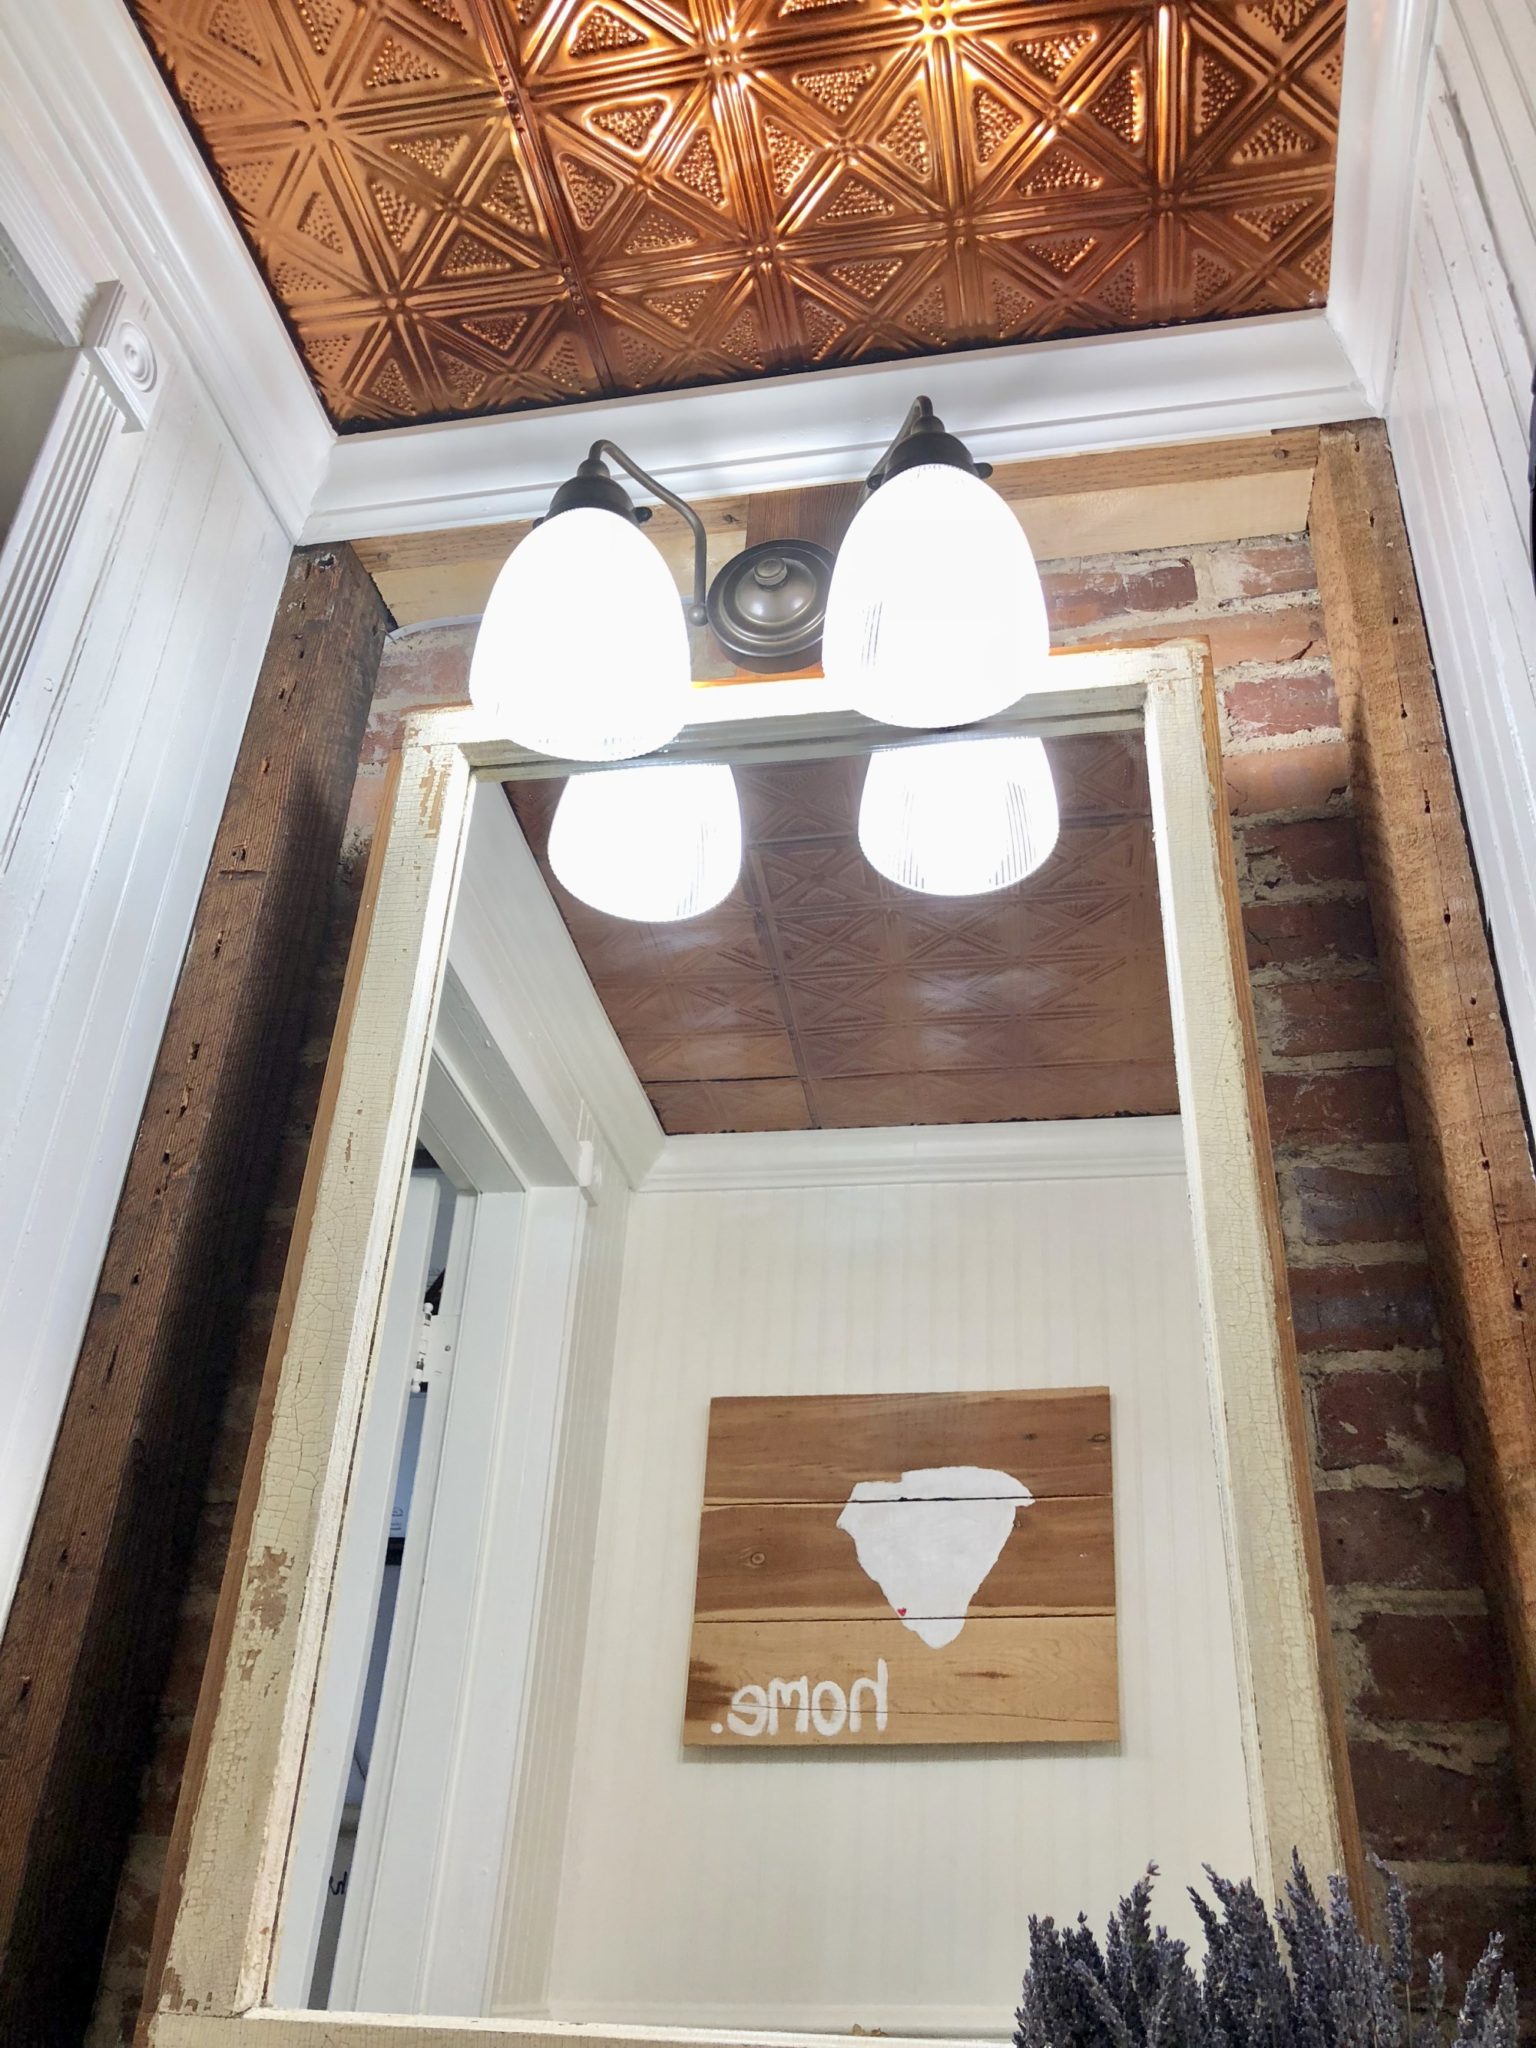
The After