How to Install a Freestanding Bathtub: The Thales Copper Bathtub
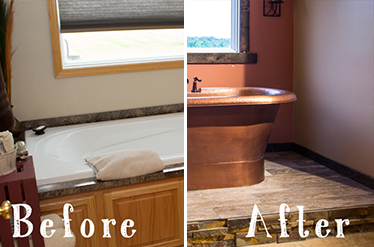
Installing a new freestanding bathtub in your bathroom can make a huge impact on the space. It will make an instant impression on everyone who walks in, make the space feel more open, and add elegance to transform your space in a spa retreat.
The plumbing involved will required assistance from a professional, unless you are simply replacing an old freestanding tub into the same place. Otherwise, consider hiring a professional to assist with the plumbing.
We recently had one of our Sinkology professional plumbers install a freestanding copper bathtub. We documented the installation through video along the way to help demonstrate the proper steps and provide tips that make installation a snap.
In this video, we installed:
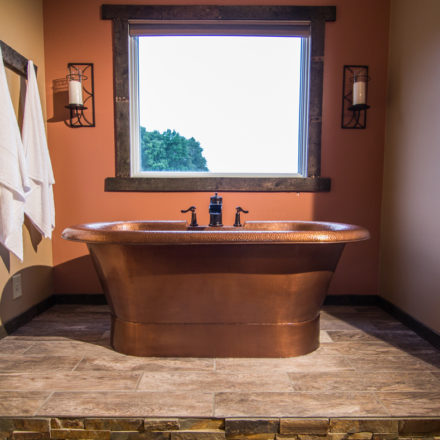
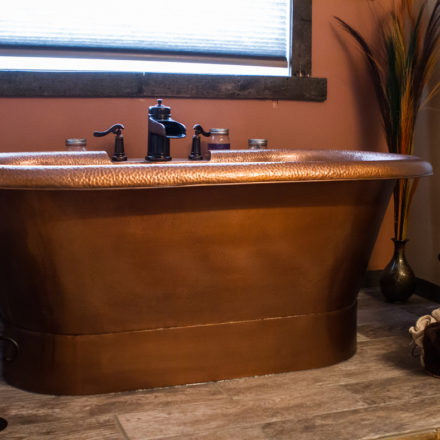
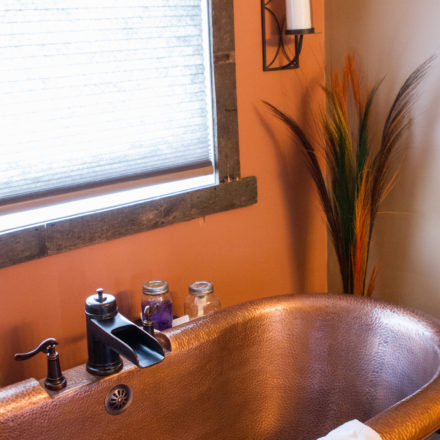
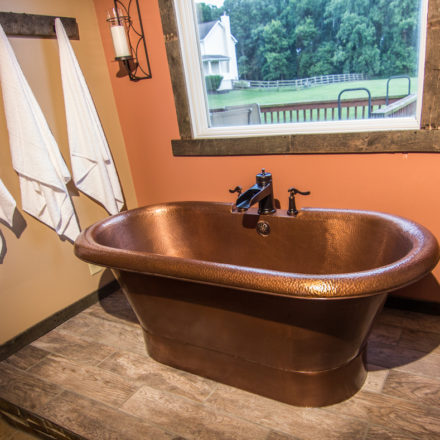
- The Thales Freestanding Copper Bathtub
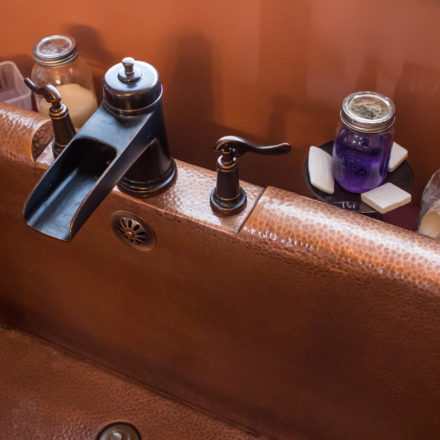
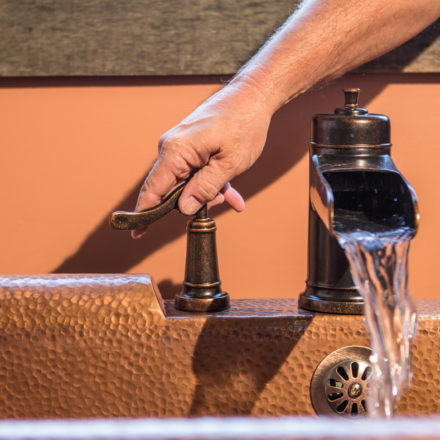
- The Ashfield Single Control Centerset Rustic Bronze Faucet from Pfister
- Bronze Bathtub Drain and Overflow Kit
The tools you will need include:
- Plumber’s putty
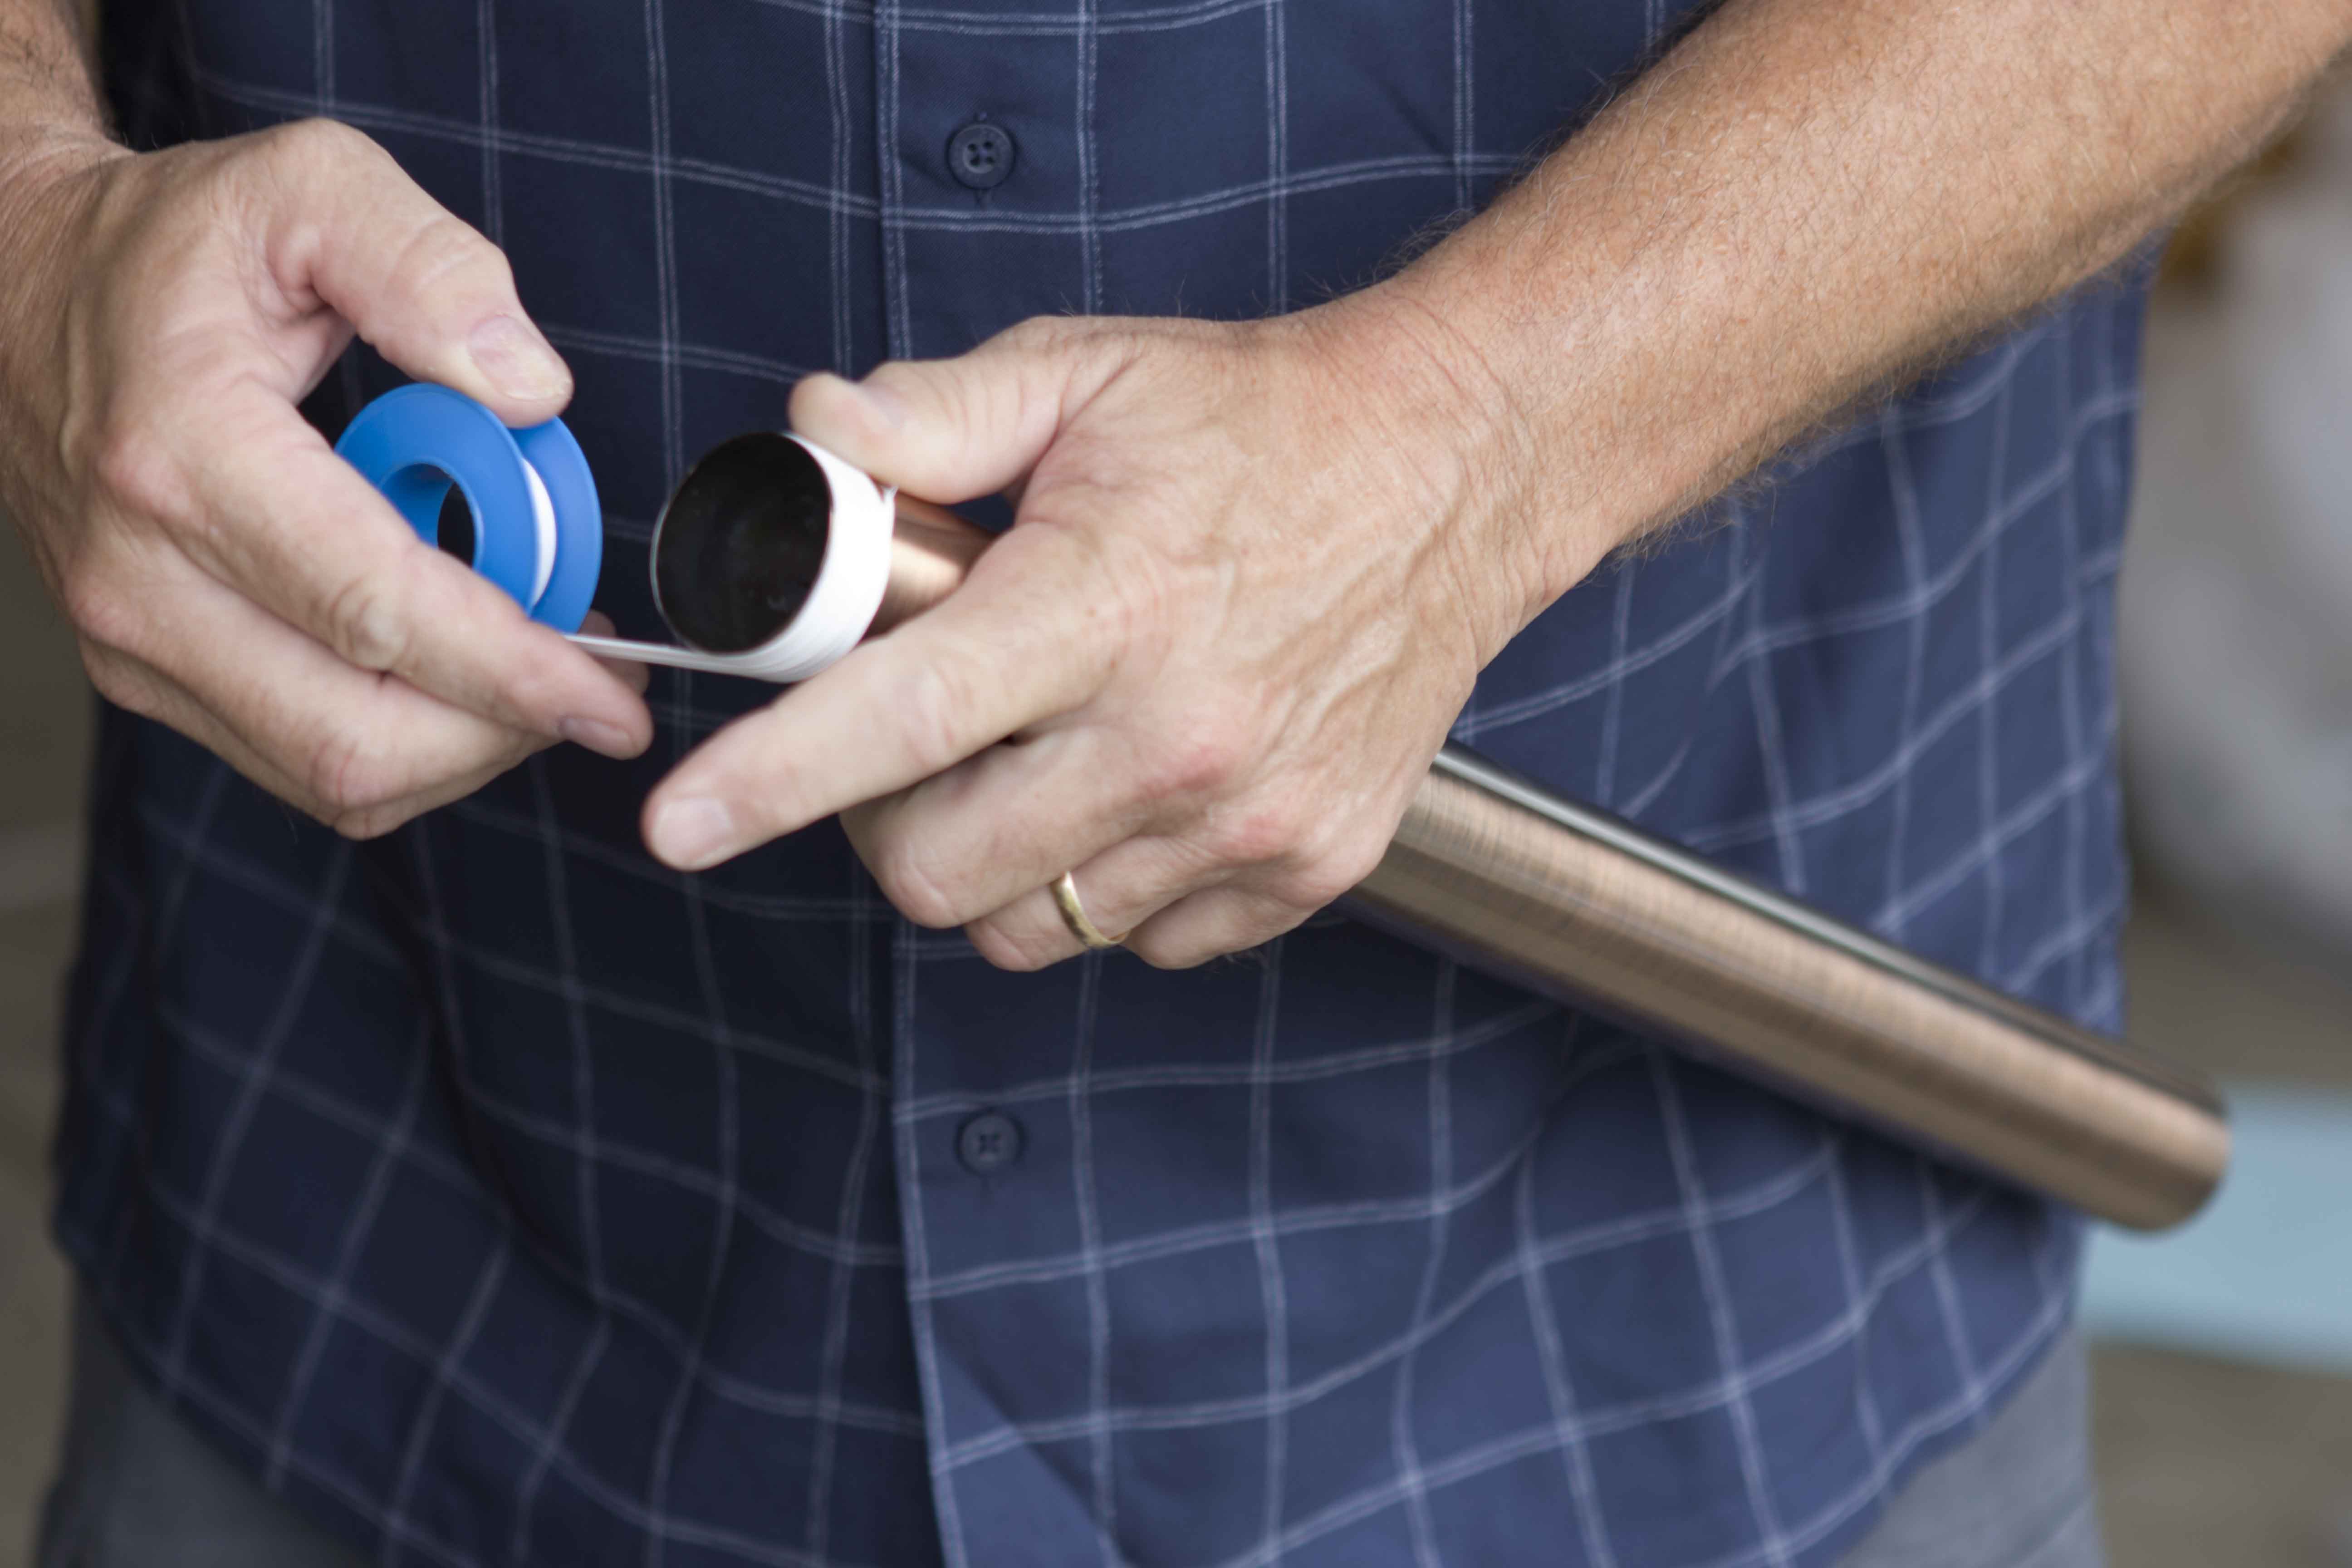
- Plumber’s tape
- Chalk or writing utensil (to mark placement area on the floor)
- Adjustable wrench
- Silicone tube (clear or copper colored)
- Caulk gun
- Pipe saw (to cut drainpipes of overflow kit)
- Needle nose pliers (to tighten drain)
Before getting started, turn off the power, shut off the water, and unplug any nearby electronics. Also, determine the final bathtub location and mark the water lines and placement area on the floor.
Pro tip: Because your new copper bathtub is metal, it can have fine edges. If you plan on placing the tub on the floor during the transition, make sure to protect your flooring with an old blanket or towel.
1. Gather the products being installed and the tools you will need.

Pro-tip: It’s usually easier to install your drain and faucet before placing the tub.
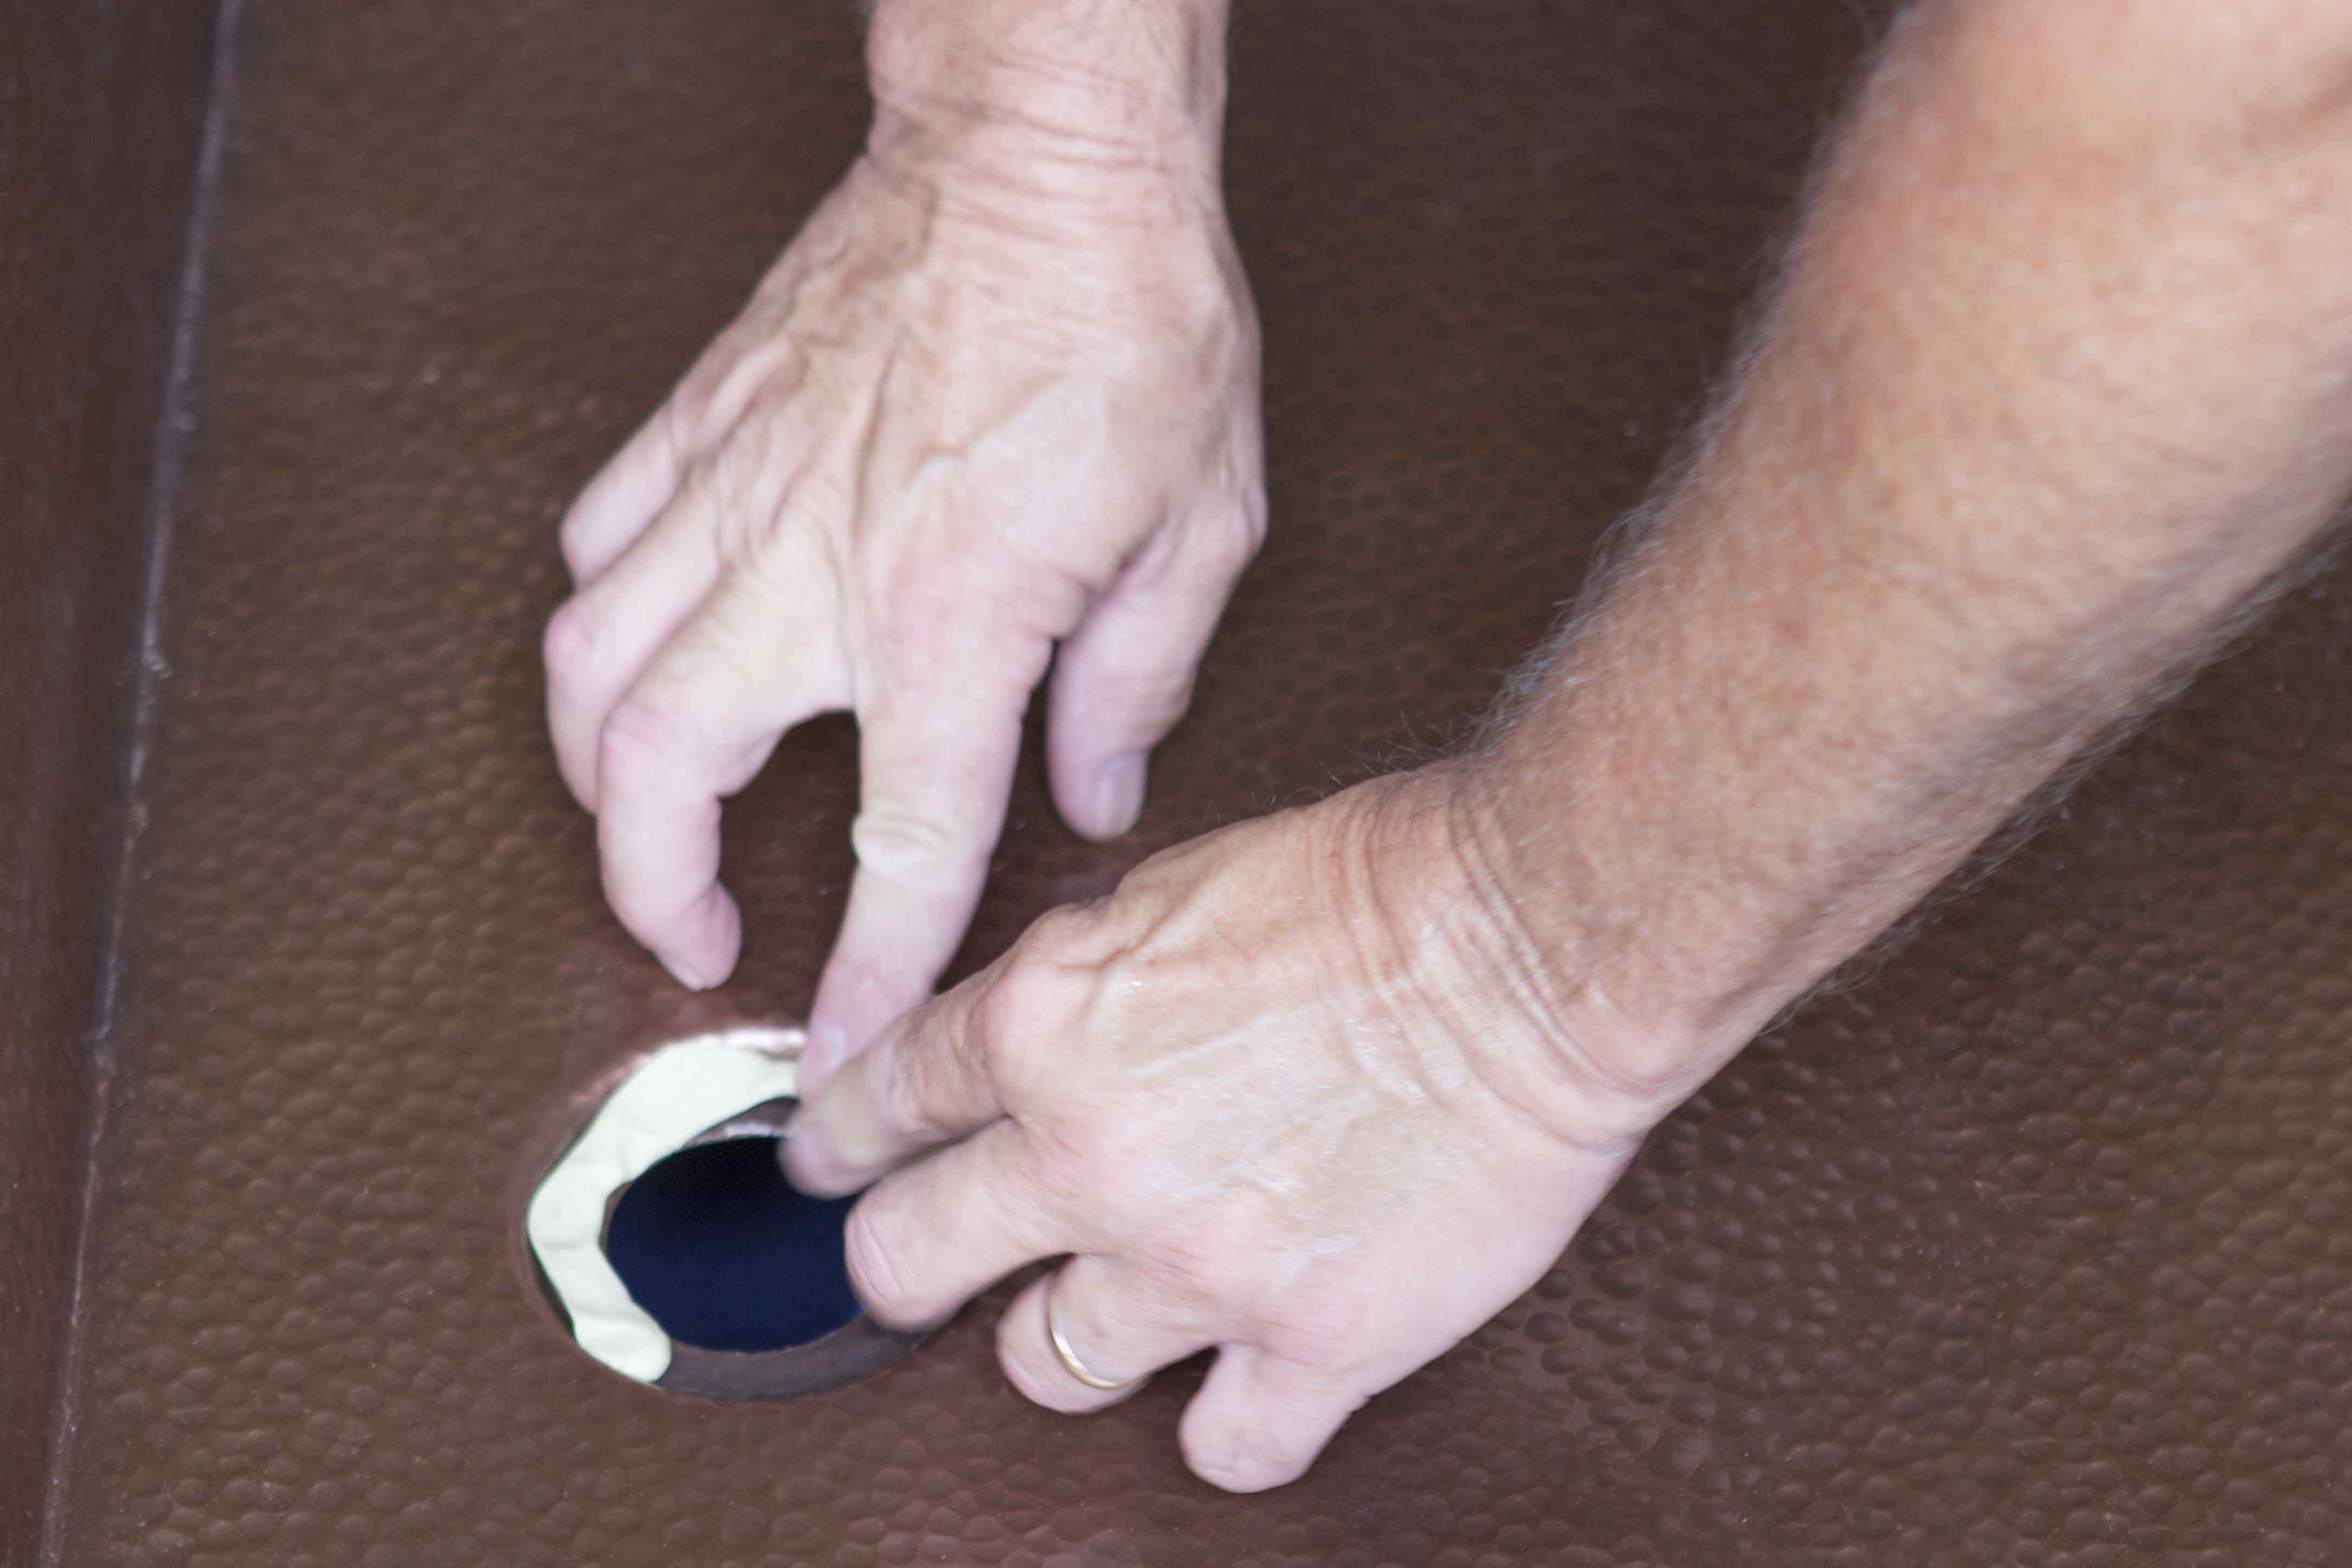
2. Add plumber’s putty around the drain hole.
3. Install the drain and overflow drains.

Pro-tip: Be sure to use plumber’s tape around any threaded pipes or drains.
3. Install drain pipes and overflow grid.

4. After installing, remove excess plumber’s putty from around the drain.
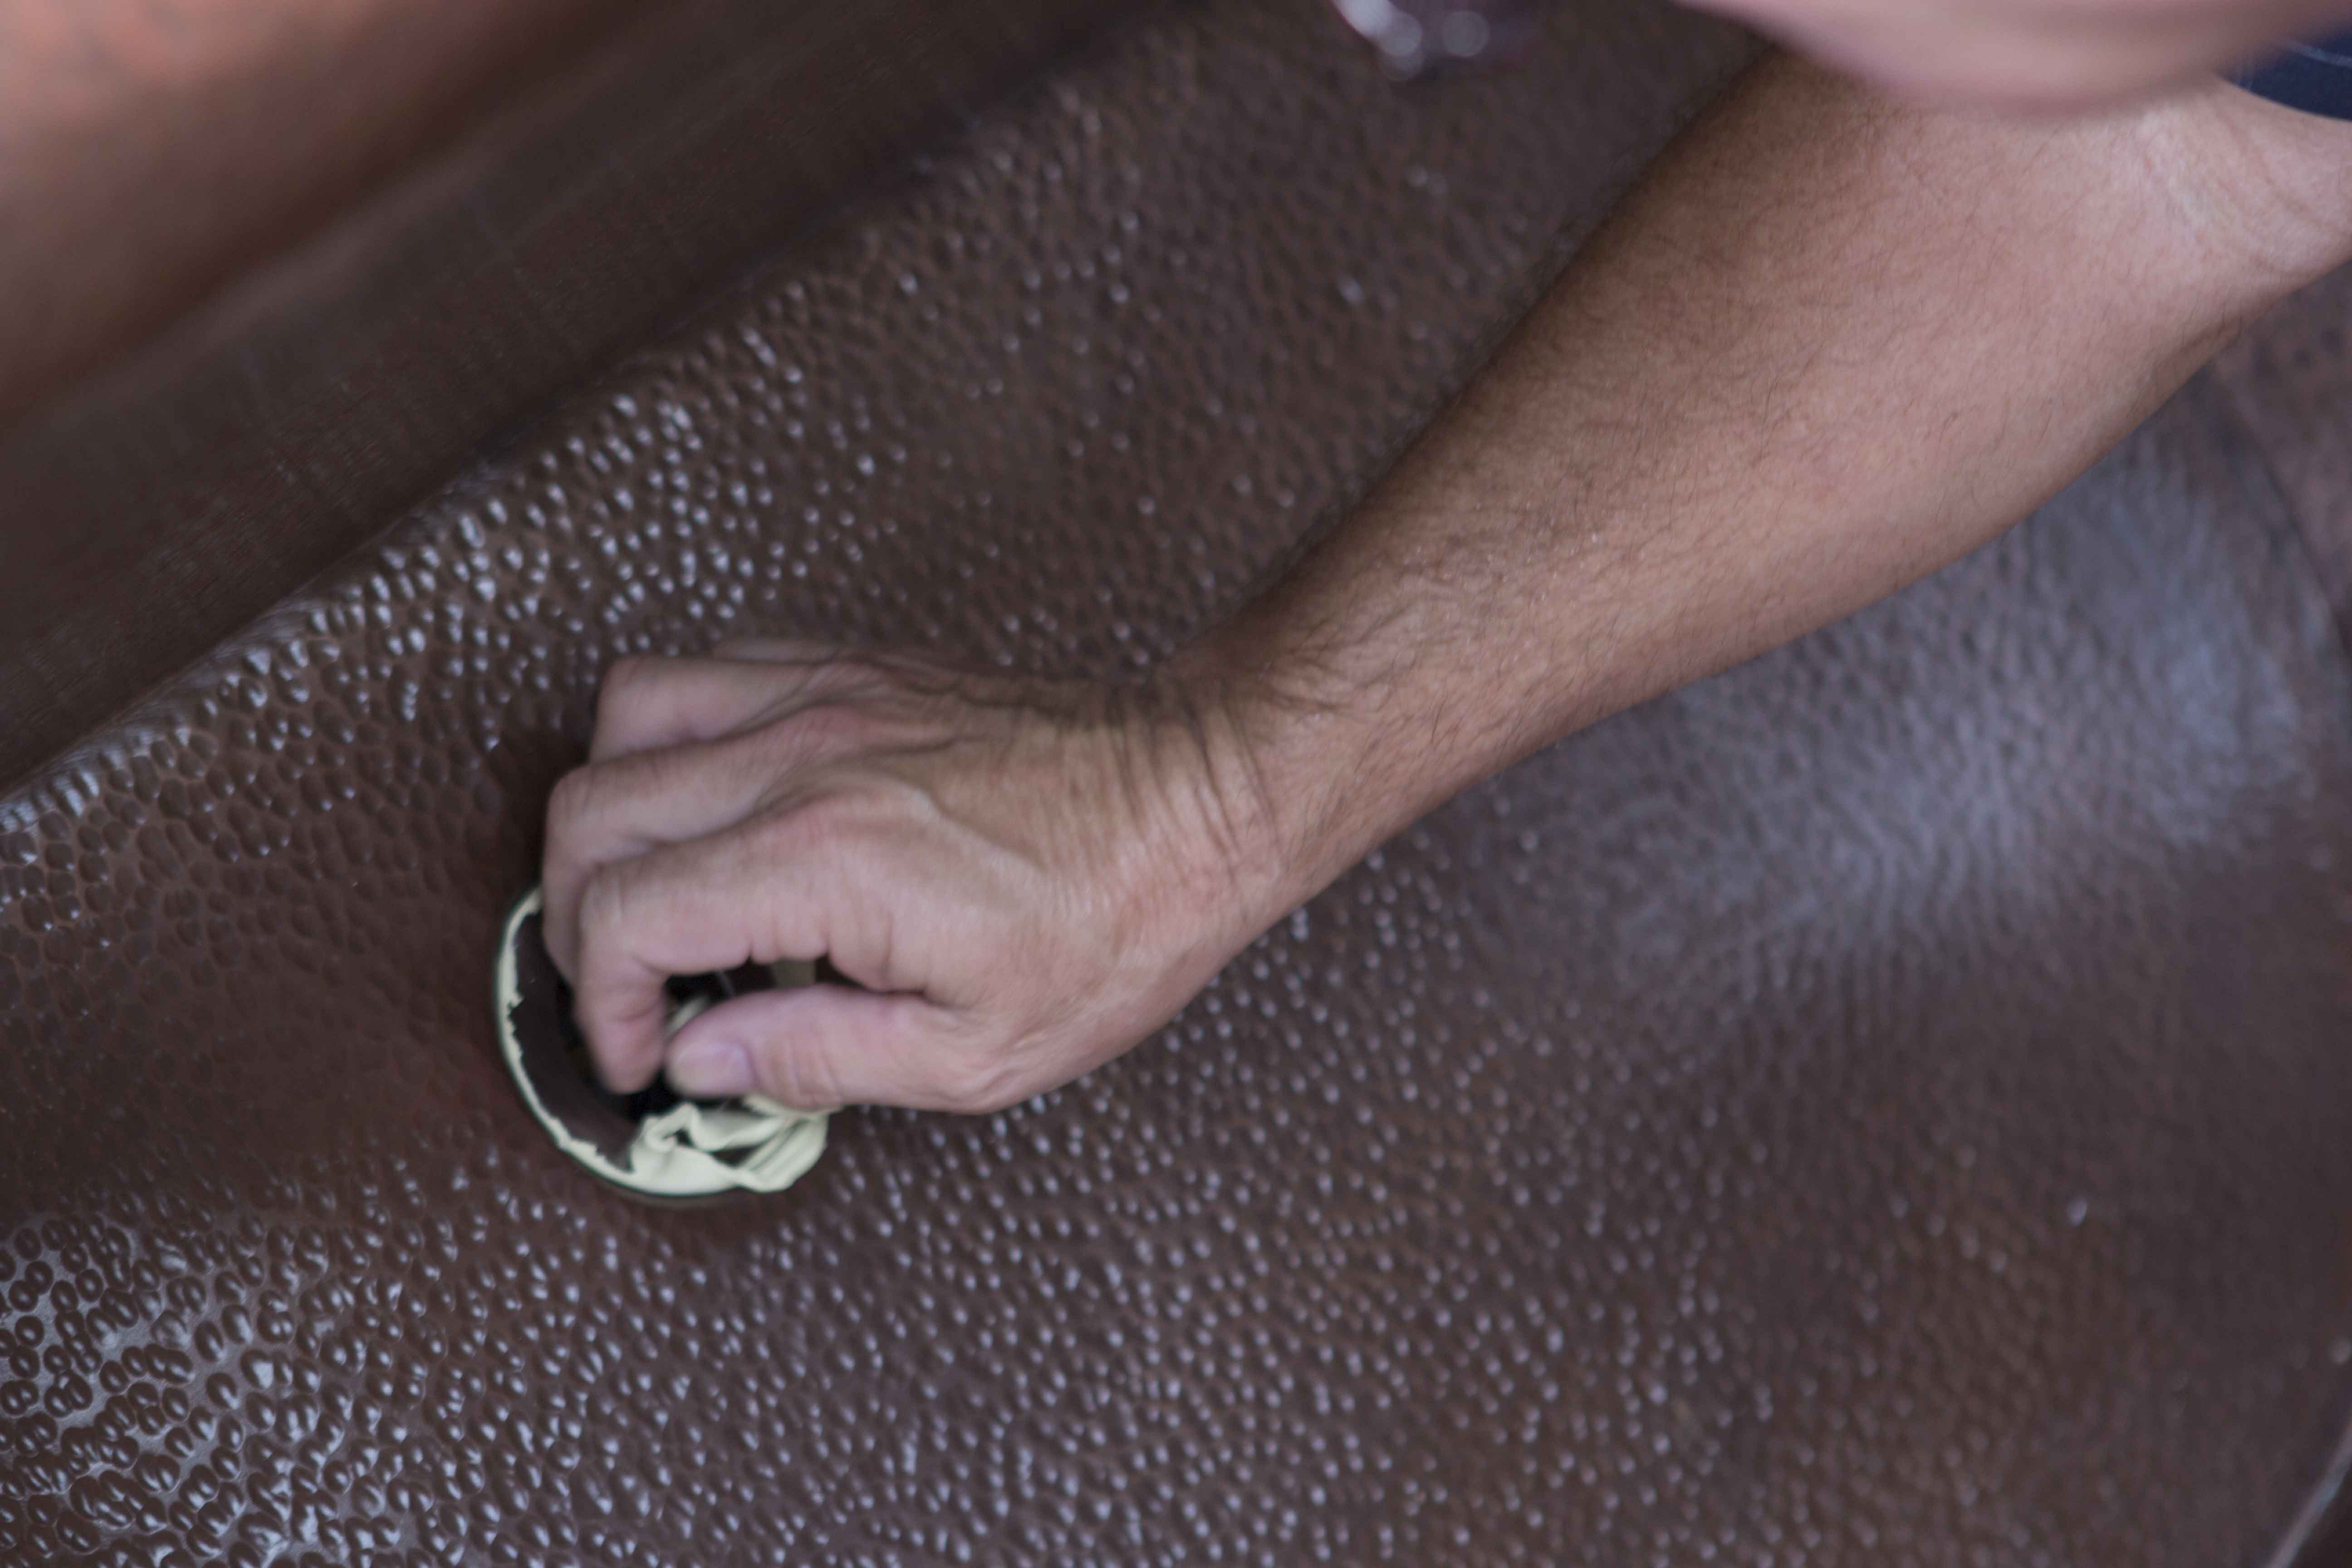
5. Tighten the drain to the copper bathtub, and remove any additional plumber’s putty.
6. Install the remainder of the drain and overflow kit to the copper tub. You may need to cut the drain pipes to fit your specific tub.

7. Ensure the overflow drain and pipes are all properly tightened to prevent leakage.
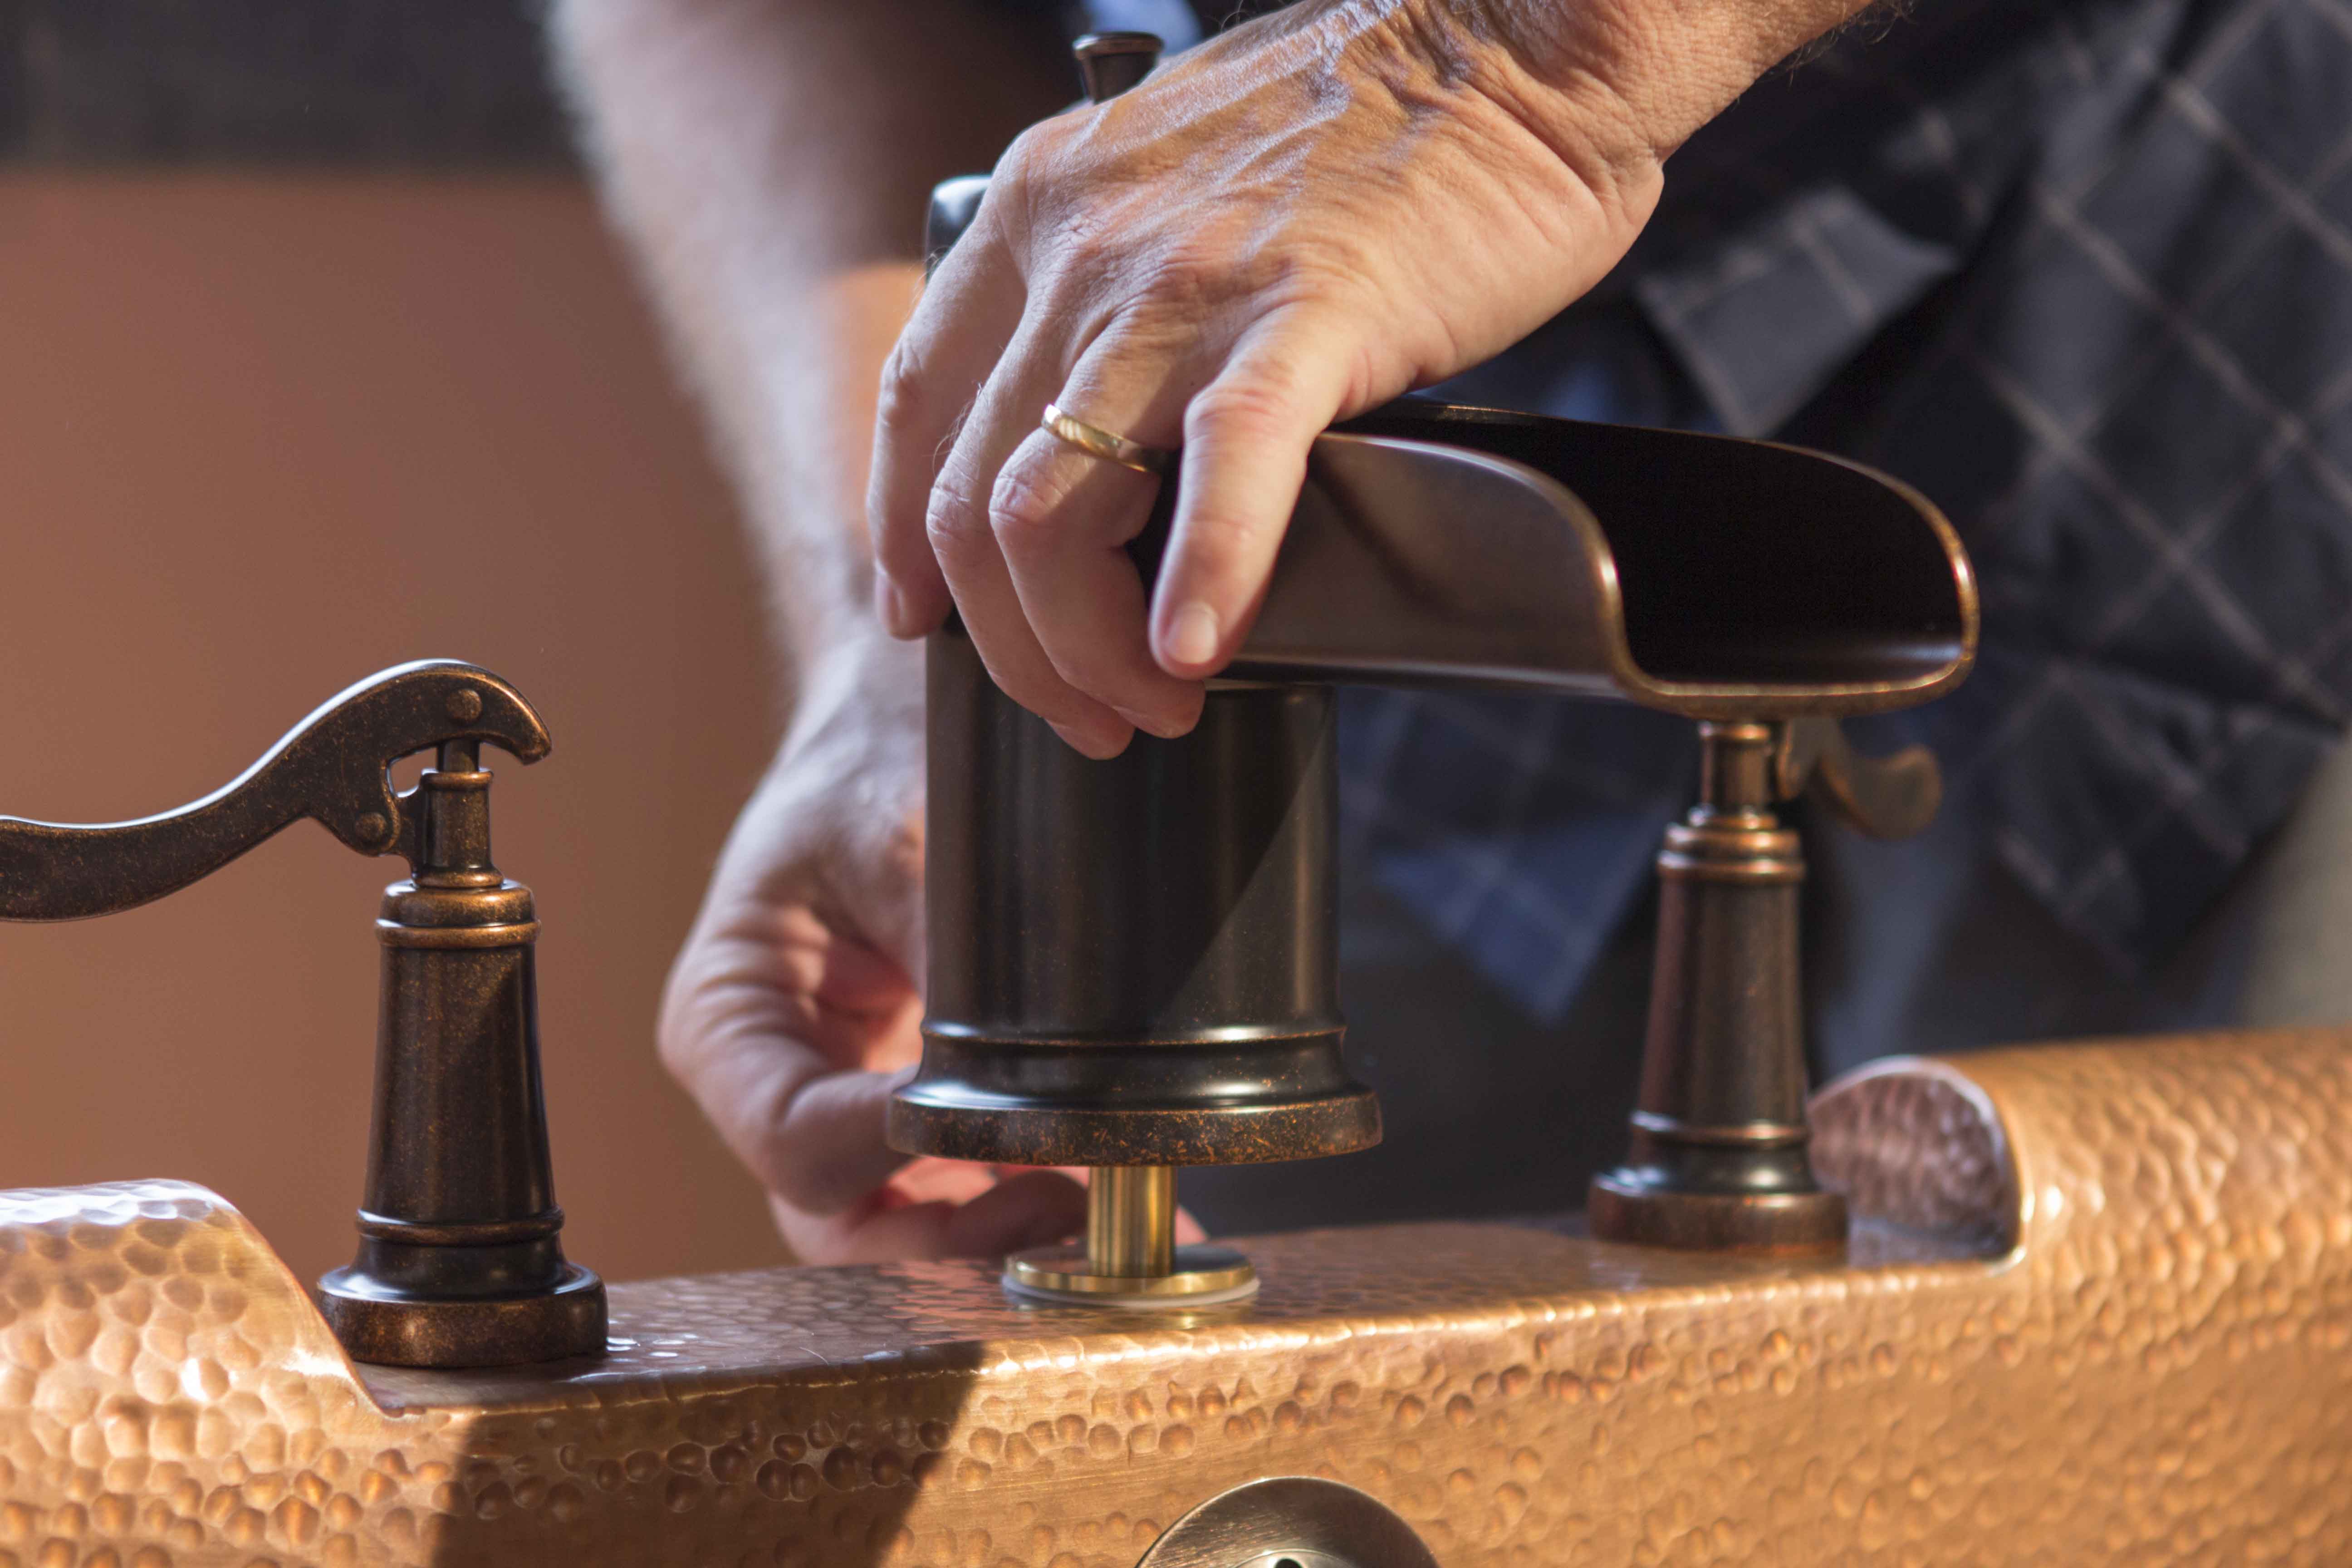
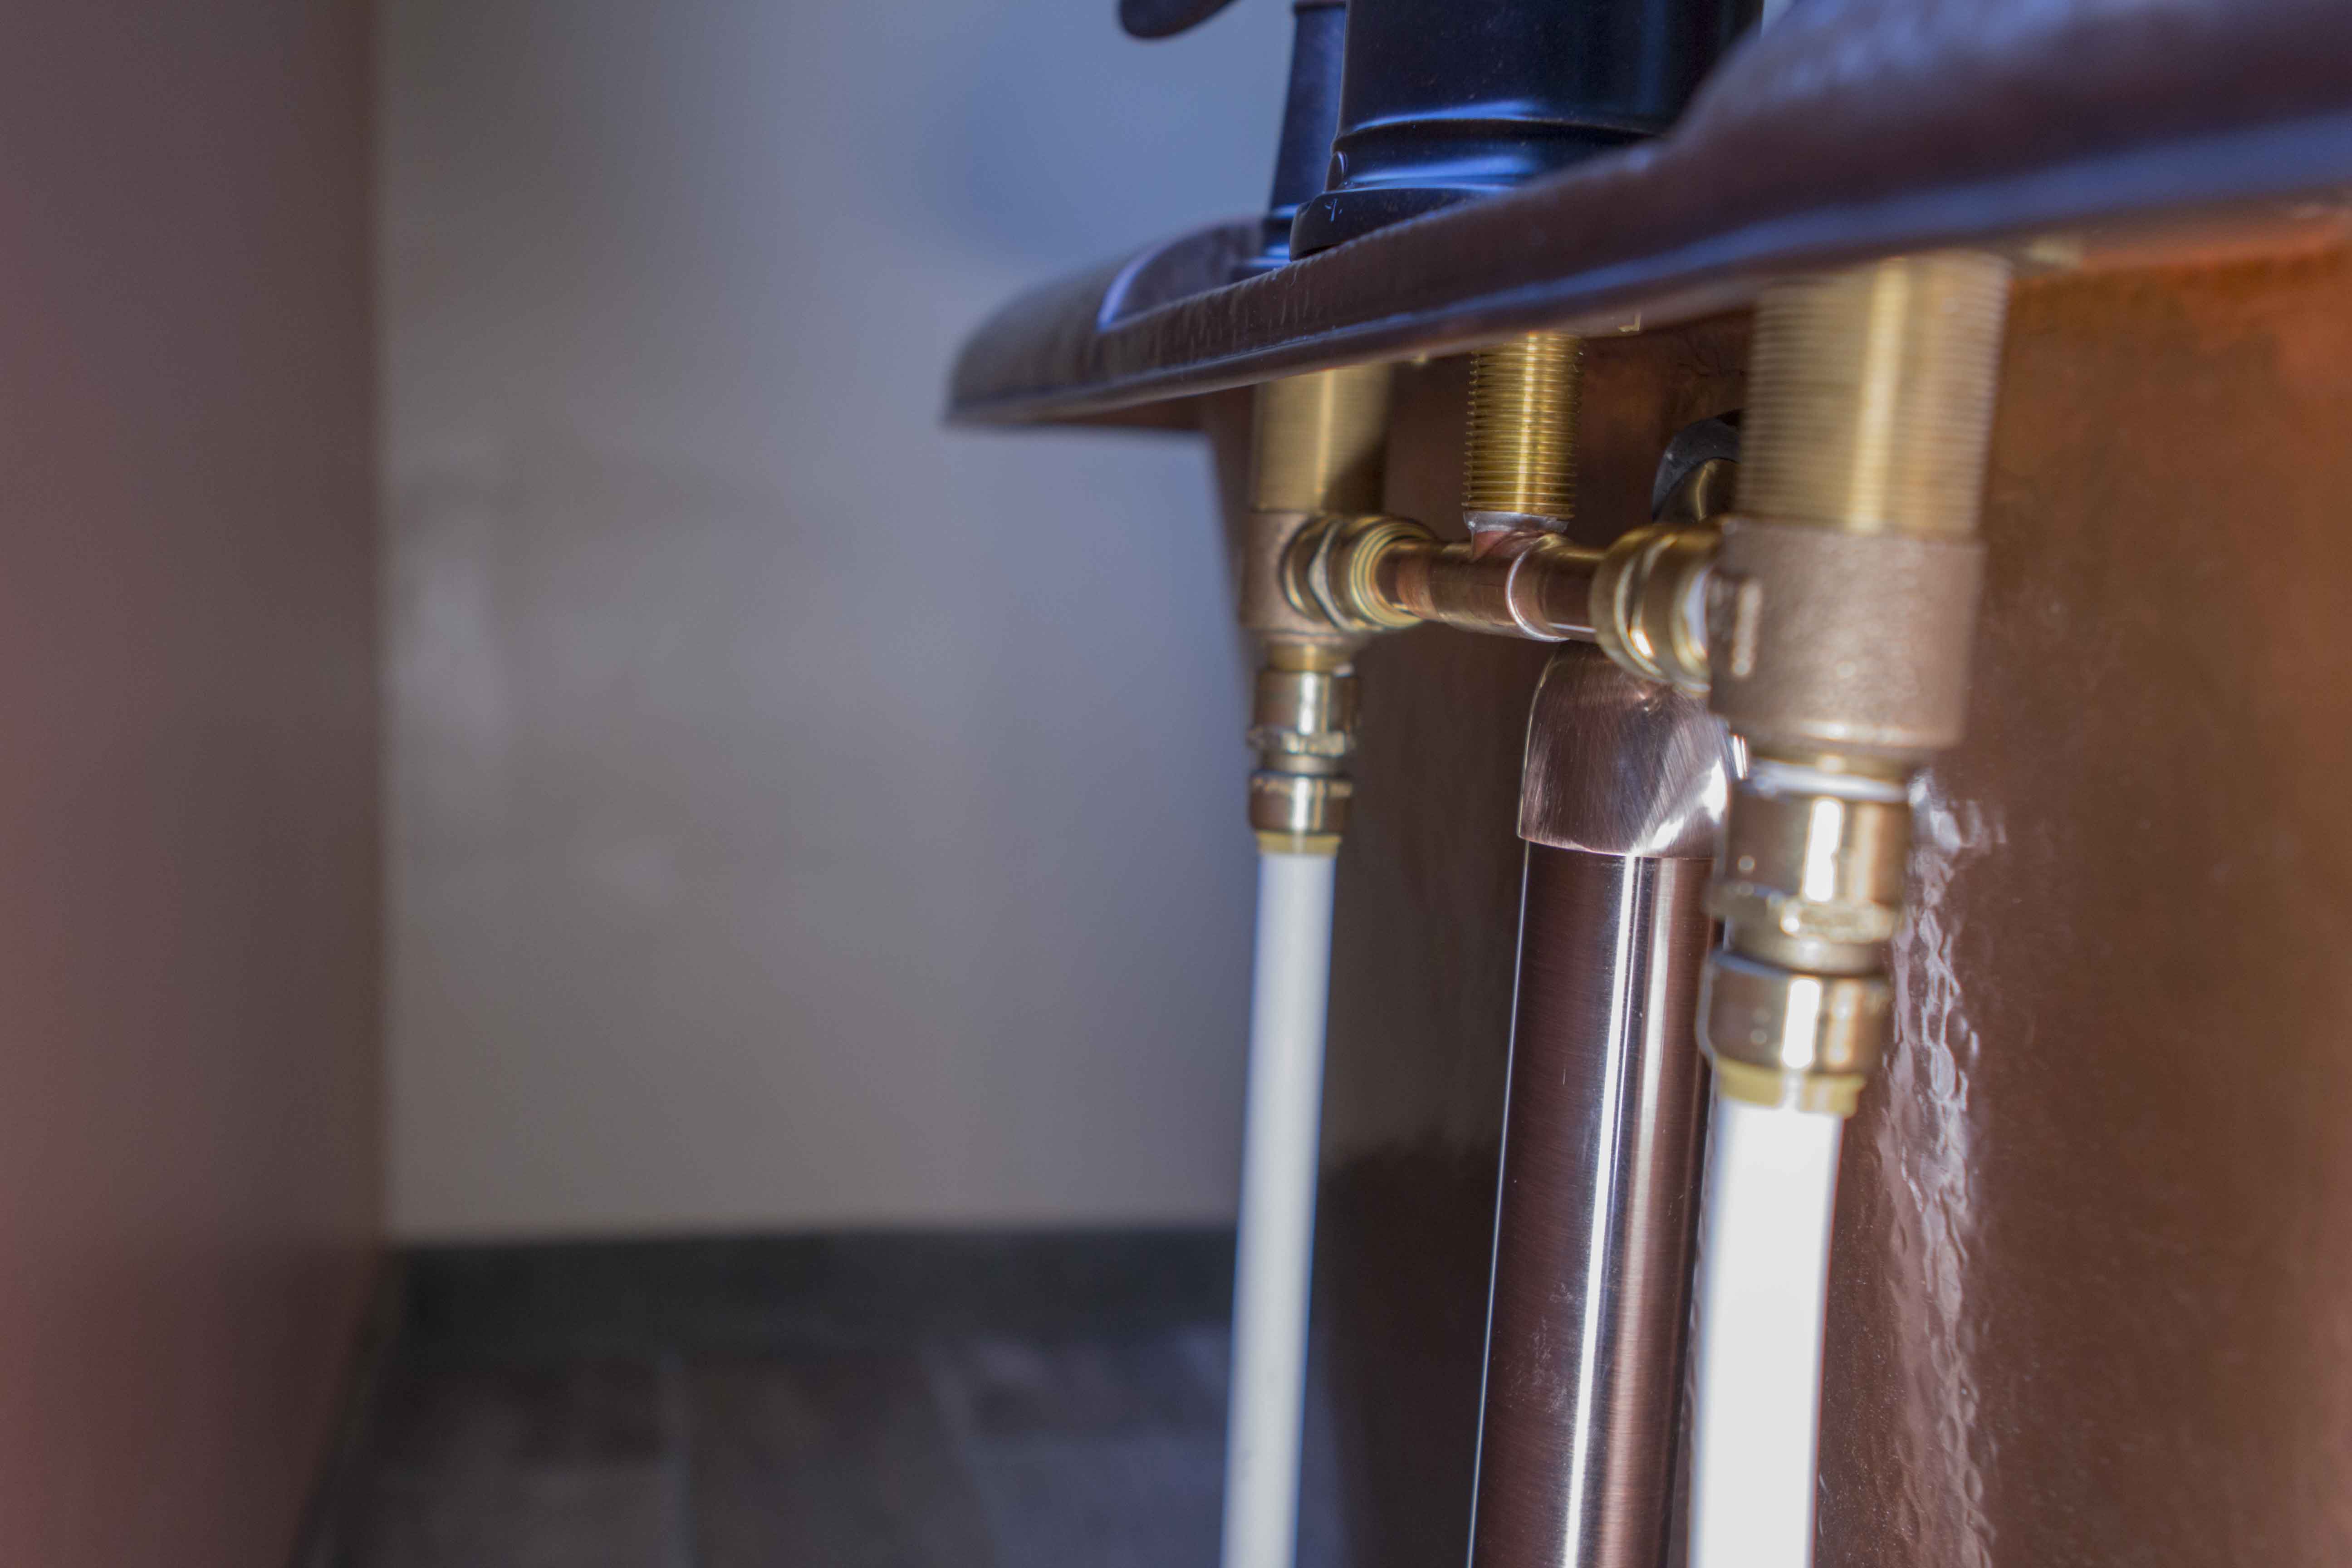
8. Install the faucet (per the manufacturer’s instructions) to the bathtub faucet deck.
9. Install the handles and faucet unit.
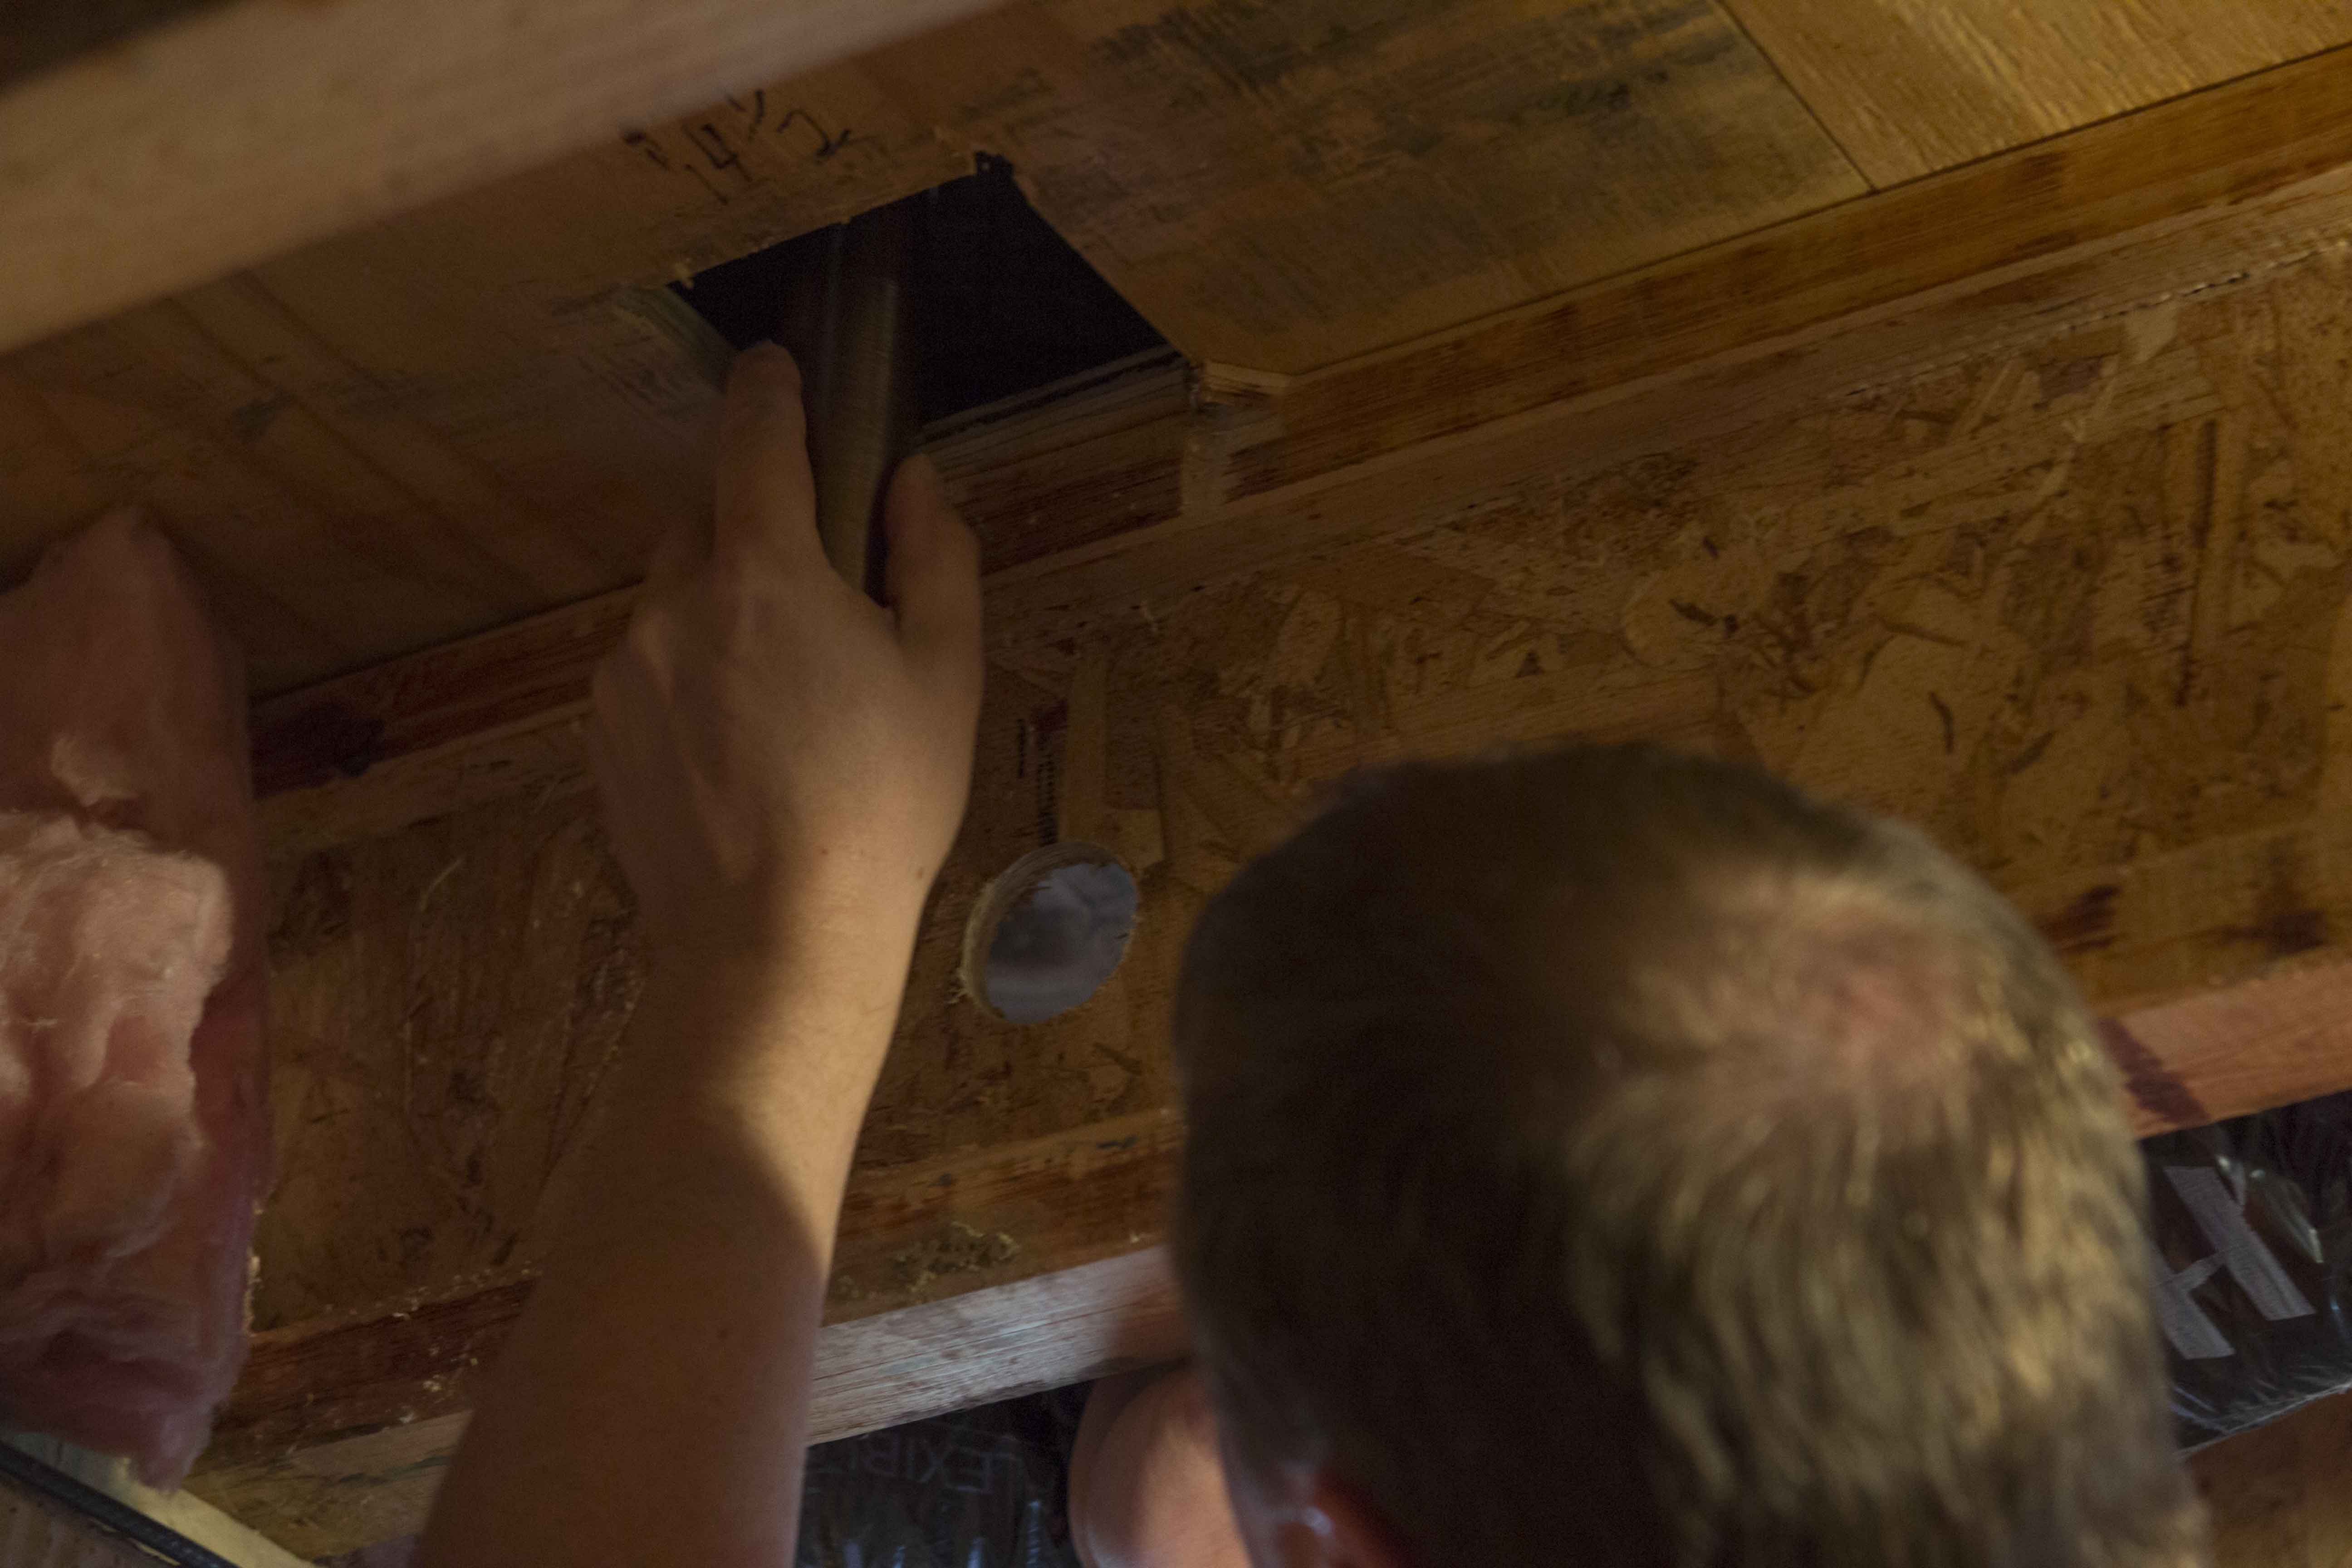
10. Run the drain pipes through the floor and into the plumbing. This step is best handled by a professional.
11. Attach water lines to the faucet and water source. Turn on the water and test the faucet. Look for leaks in the drain fittings.
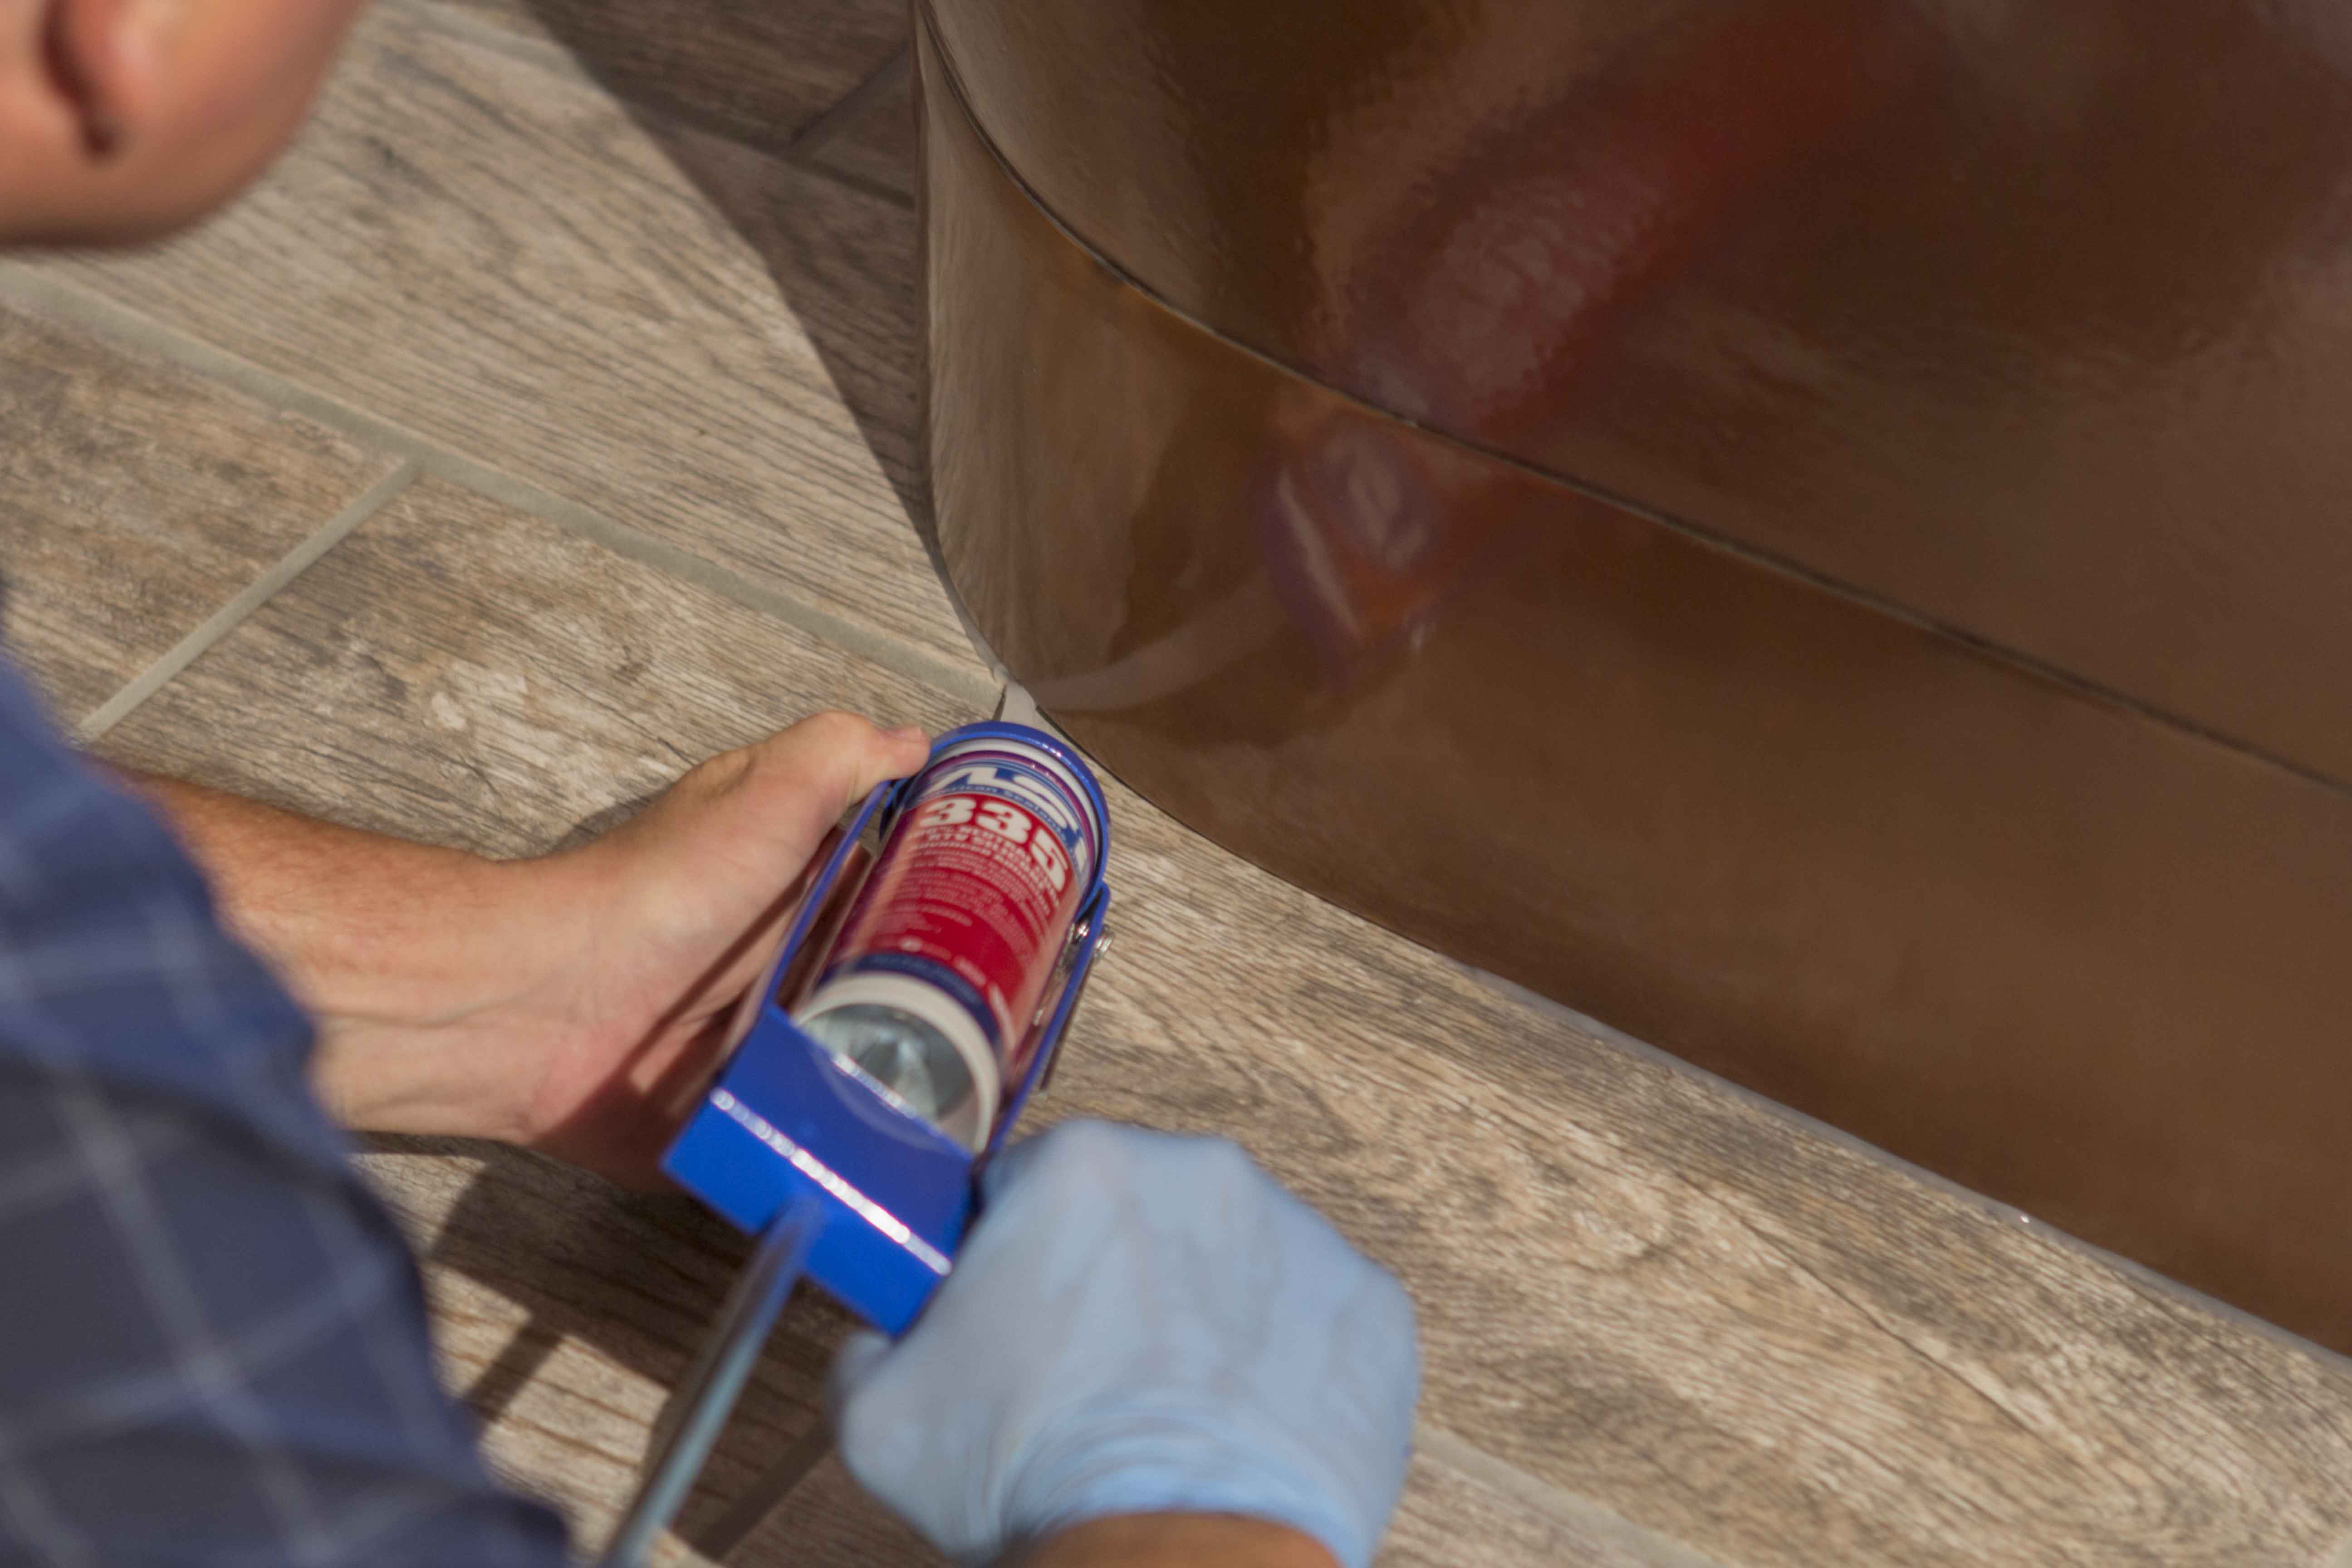
12. Once placement is final, caulk around the tub with a clear silicone or copper-colored caulk. Allow the caulk to set for 24-hours (or timing per the manufacturer’s instructions) before using your copper tub.
13. Enjoy soaking in your new copper bathtub.
If you have any additional questions, our Sinkologists are here to help. Contact us or follow us on Facebook, Twitter, Pinterest, or Instagram for helpful tips and design ideas.