DIY Kitchen Sink Installation
So you’ve decided to install your own kitchen sink. Whether you’re looking to save a few bucks on contractor fees or are simply proving to yourself that you’re #independent and don’t need no contractor, we’ve got your back.
No worries, it’s easier than you think. *
Seriously.
Grab a friend (and maybe a cold drink).
*Not all kitchen sinks are ideal for DIY purposes. For instance, you may need a professional to help install our INSPIRED fireclay sinks.

Step 1: Prep
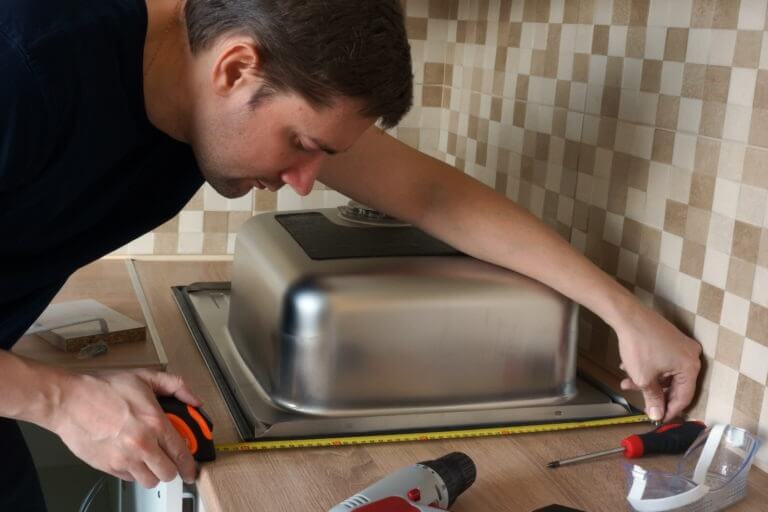
-Measure (precisely) to ensure your new sink will fit. Then, thoroughly clean the sink.
-Turn off the hot and cold water. (Hint: these typically live in the cabinet directly under the sink)
-Open the faucet to relieve pressure and disconnect the water supply line (also located beneath the sink).
-Be sure to turn the power running to the garbage disposal off and remove it. Or else, ouch.
Step 2: Remove
-Start with your accessories, including your faucet, handles and soap dispenser.
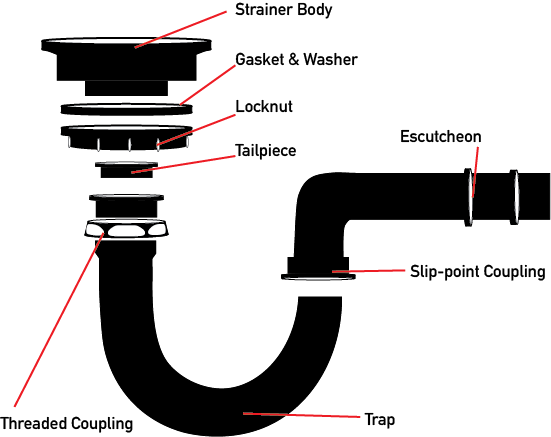
-Next, get rid of the clamps, as well as the slip nut and gasket connecting the drain assembly to the floor pipe. (Did I lose you there? Refer to the image above.)
-One tool you should remember is this helpful thing called a drain wrench. Use it to access hard-to reach places beneath the sink. It’ll help you grip onto the threads of the drain and strainer with easier positioning from its unique handle.
-You’ll need a hacksaw if any of your pieces are rusted. But let’s hope that’s not a thing.
-Score along the sink with a box knife to separate it from the caulking then *carefully* lift it out of the countertop. Be sure to remove any leftover caulk before moving on to Step 3.


Step 3: Install
-Add a fresh strip of caulk to the underside edge of your new sink, then *gently* drop in your new sink.
-Reattach any clamps that hold the sink to the counter as well as any accessories.
-Wrap a layer of plumber’s putty around the new drain and strainer. Place each in their respective holes and tighten with the washer and nut. Use that handy little drain wrench again for easy, leak-free tightening. (PS: Keep this little guy in your toolbox; it works great for any sink replacement, even your shower.)
-Reinstall the garbage disposal if you have one.
Step 4: Complete
-Check and clean up any excess plumber’s putty.
-Turn the power back on, and then run the water for a few minutes to check for leaks or drips.
-Smile. Cheers. And, of course, post a photo proving your #independent #DIY success.

You Might Also Like:
2022 Buyer’s Guide: Bathroom Sinks
A Guide to Fireclay All-In-One Kits: Take the Guesswork Out of Your Kitchen Redesign
Fireclay Farmhouse Kitchen Sink Step-By-Step Installation
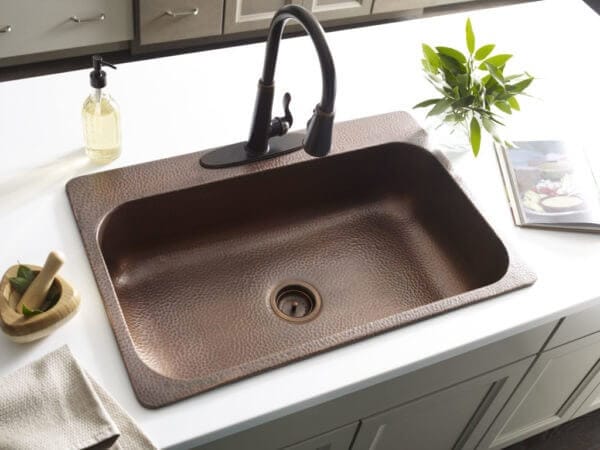
Everything About the Copper Kitchen Sink
If you have any additional questions during your search for the perfect copper, fireclay farmhouse sink or crafted stainless steel sink, our Sinkologists™ are here to help. Contact us or follow us on Facebook, Houzz, Pinterest, Instagram, or TikTok for more helpful tips and design ideas.