DIY Pumpkin Topiary
Fall is the best time of year. The weather is amazing and who doesn’t love the beautiful colors that accompany Autumn?!?! I absolutely love decorating with pumpkins. Through the years, fall decor options have evolved and greatly improved. It used to be that the only fake pumpkin color options I could find were bright orange. Since orange doesn’t really fit my style, I am happy to say that pumpkins have come a long way. You can find faux pumpkins in so many different colors, shapes, sizes, and textures.
For years, I’ve gushed over pumpkin topiaries, but they were never at the price point that made me feel comfortable. Seeing as I’m a thrifty, penny pincher, DIY kind of girl, I thought I would try a DIY pumpkin topiary. As usual, I like to attempt and share DIYs that anyone can try. This topiary is easy, and might I add, so pretty! It would make a perfect fall centerpiece in a garden, on a patio, or even inside your home. This project was a fraction of the price of a new topiary, and you can use whatever pumpkin colors you would like. I, of course, chose white because it goes with everything and compliments my pastel decor.
What you’ll need to make a DIY Pumpkin Topiary
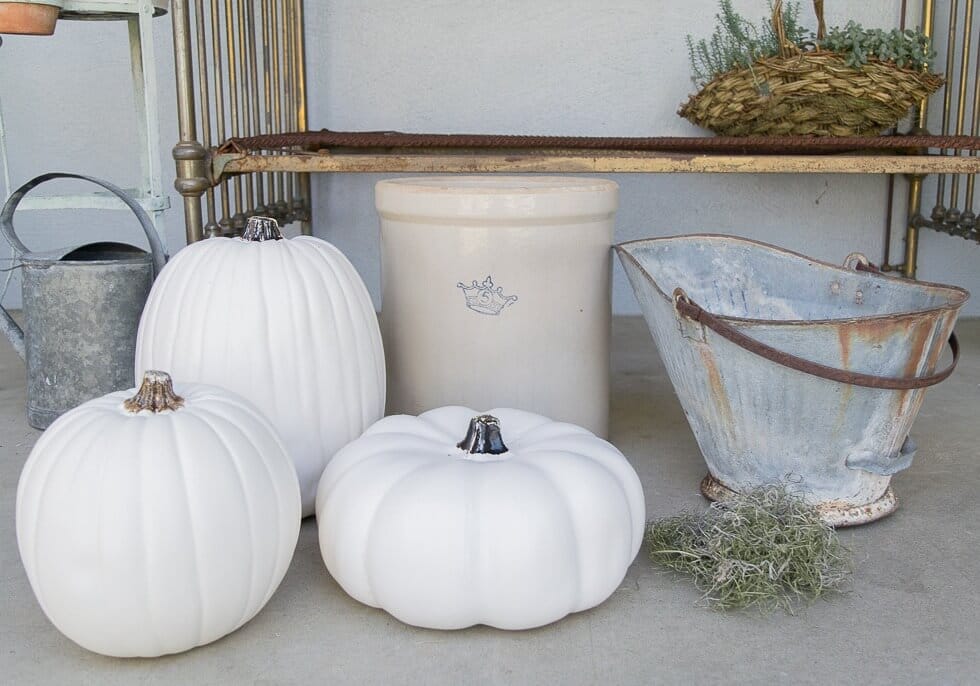
– Three pumpkins of different sizes.
I decided to use faux pumpkins. I found them at a local craft store on sale for $10 each. When selecting pumpkins, I had to be certain I purchased the right sizes. I had to eyeball it and guess, to the best of my ability, if they would look good and work as a topiary. Usually, a pumpkin topiary goes from biggest on the bottom and then progressively gets smaller as it goes up. I decided to use a wide, but small in height, pumpkin for the base and then a large pumpkin in the center and then the smallest pumpkin on top.
– Bucket, basket, or container.
Measure the width of the bottom pumpkin and choose a bucket with an opening that is a few inches smaller than the pumpkin width. I was given a vintage 5-gallon crock from my father-in-law, which fit the topiary perfectly and gave it an antique look that I love.
– Hot glue and a hot glue gun.
– Moss or greenery between each pumpkin.
This touch of green is going to add character and dimension to the topiary. You don’t have to add greenery if you don’t want to, it’s completely up to your taste. If you do choose to add greenery, the possibilities are endless. Fall colored flowers would also look great between each pumpkin.
– Knife or box cutter.
How to make a Pumpkin Topiary
As I mentioned, this DIY is very easy and shouldn’t intimidate anyone. If I can do it, you can do it!
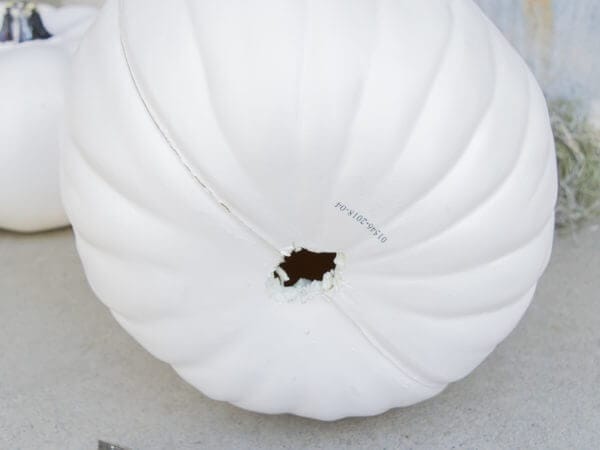
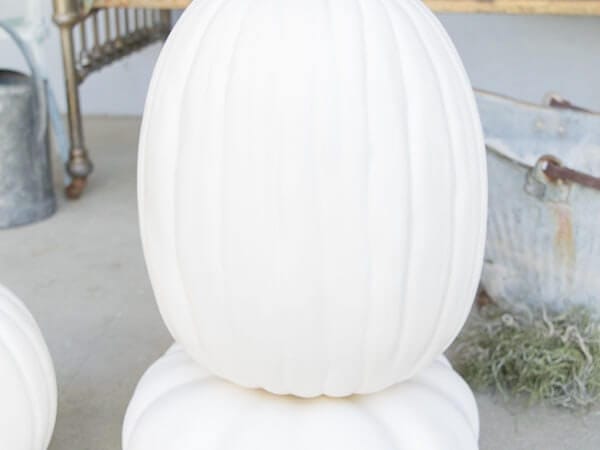
Step One – Cut a hole in both the bottom of the center and top pumpkin. The hole should be just big enough to fit the stem of the pumpkin that is underneath it. Start with a small hole and adjust as needed. If you start with a hole that is too big, the stem will not fit securely in it.
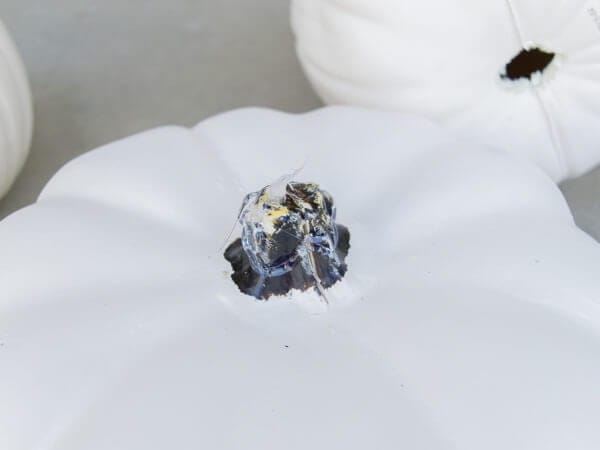
Step Two – Hot glue the stem of the bottom pumpkin and insert the center pumpkin. Once it’s on and secure, hot glue the center pumpkin stem and insert the top pumpkin.
Step Three – Hot glue your choice of greenery between each pumpkin.
Step Four – Set the topiary on the container you have chosen.
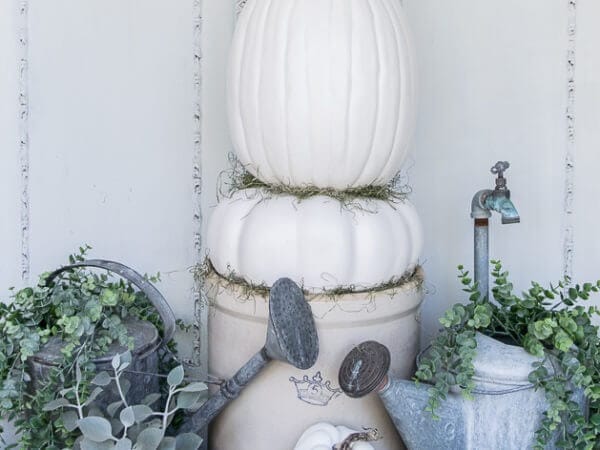
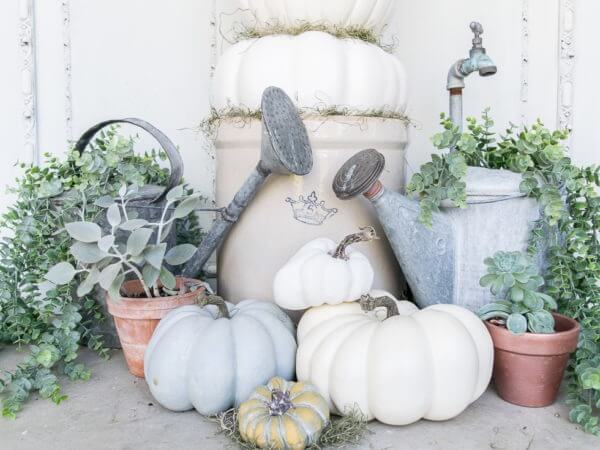
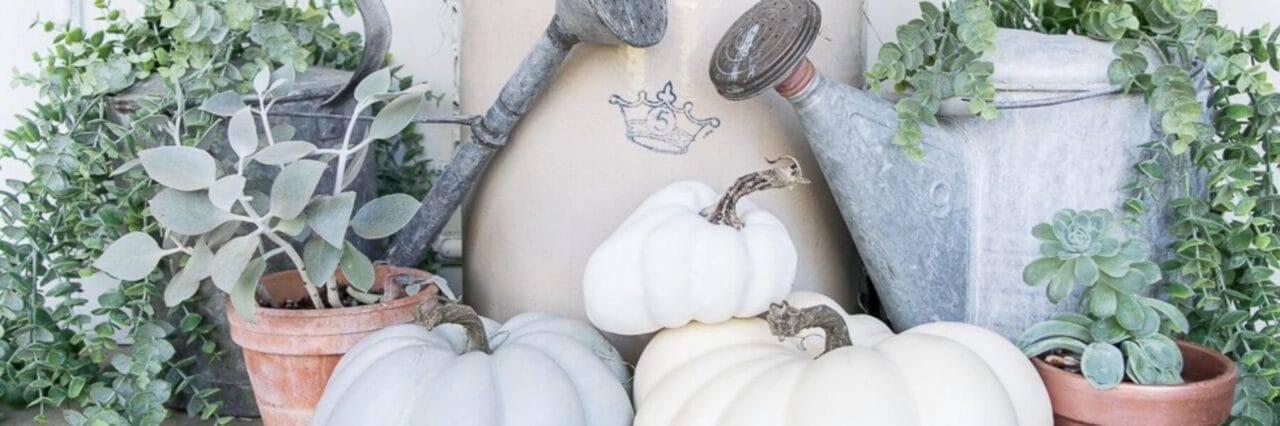
For a beautiful fall vignette, style around the topiary with some of your favorite fall decor.
I look forward to pulling this topiary out of storage each fall and perhaps making another one next year. Because it can be made completely to your taste, this DIY pumpkin topiary is sure to set your fall decor apart from the rest.
You Might Also Like:
Fall Copper Dining Room and DIY Pumpkin Decor
Mini Pumpkin Pie Sheet Cake with Maple Buttercream
Pumpkin Butter Scones with Marshmallow Fluff Buttercream Drizzle Recipe
If you have any additional questions during your search for the perfect copper, fireclay farmhouse sink or crafted stainless steel sink, our Sinkologists™ are here to help. Contact us or follow us on Facebook, Houzz, Pinterest, Instagram, or TikTok for more helpful tips and design ideas.