Fall Copper Dining Room and DIY Pumpkin Decor
Happy fall! Although fall is just around the corner, the weather here is not taking note. It’s been well over 100 degrees recently. Now if that doesn’t make you long for fall, I don’t know what will.
I love this time of year. The holiday season is approaching, and I like to make it last as long as possible. For me, I decorate for fall in September and October, and for winter in November and December (and sometimes I let the winter decor stay out for the first few weeks of January).
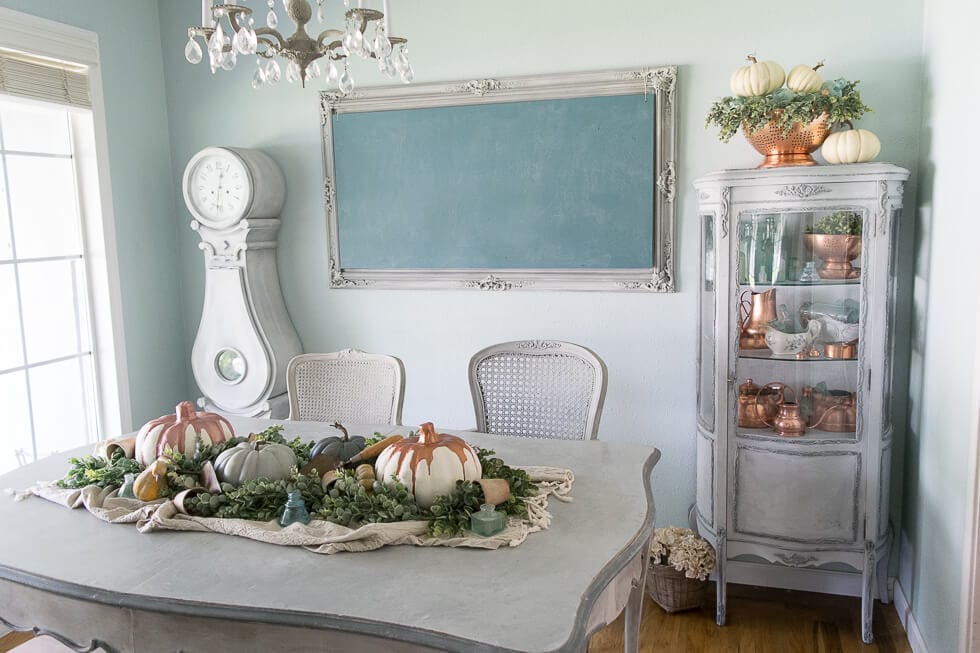
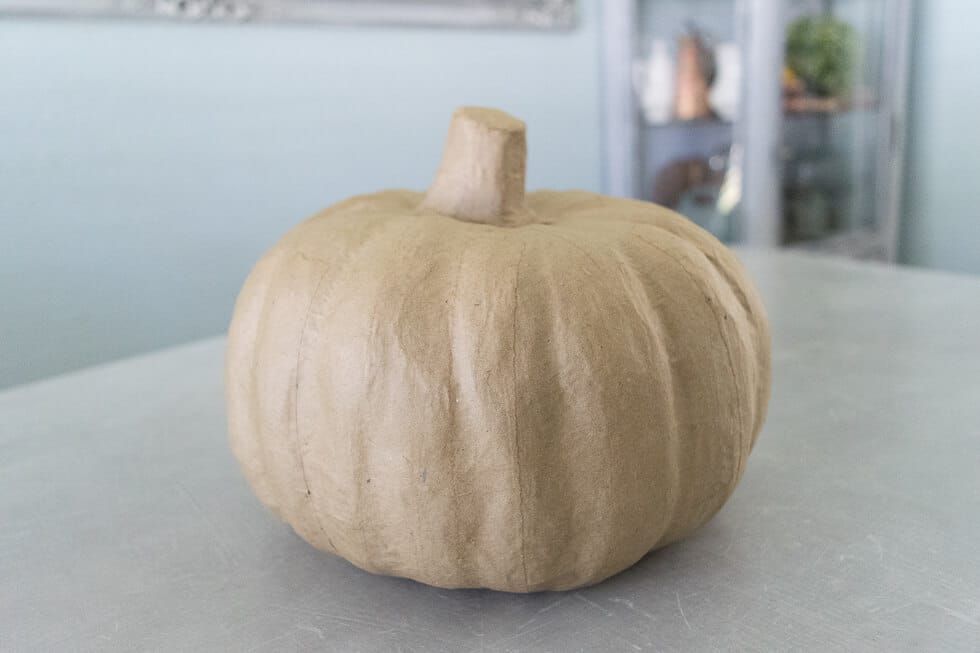
An easy way to begin decorating for fall is to create a centerpiece for the dining room table. Many times, I go for a small and simple centerpiece, but I wanted to do a little extra this year. I was envisioning a mini pumpkin patch with a twist. There was a drip pumpkin DIY I had seen floating around on a few websites that I wanted to try. Sounds interesting, right? I found everything I needed at a few local craft stores. Here’s what you’ll need. A pumpkin. The size and the color are up to you. I chose a large cardboard pumpkin that I could paint myself.
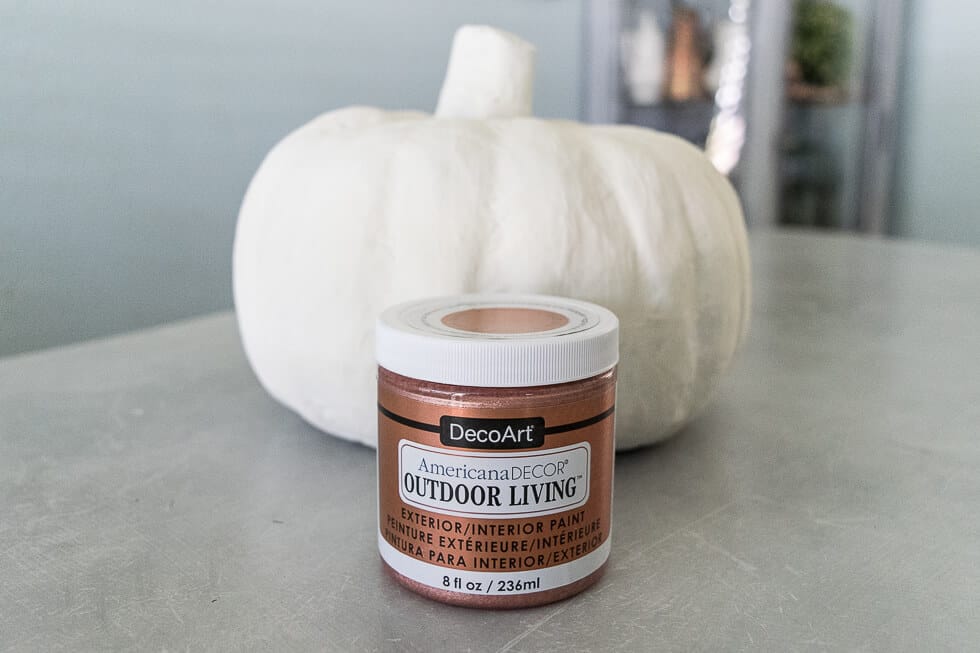
For the all over color, I painted the pumpkin with white chalk paint. For the accent drip color, I used two different Art Deco paint colors, a metallic copper and rose gold. You could use any color paint you want! There are so many different possible paint combinations. Use whatever colors you are decorating with this fall. If you don’t know where to start, decorating with copper accents is perfect for fall.
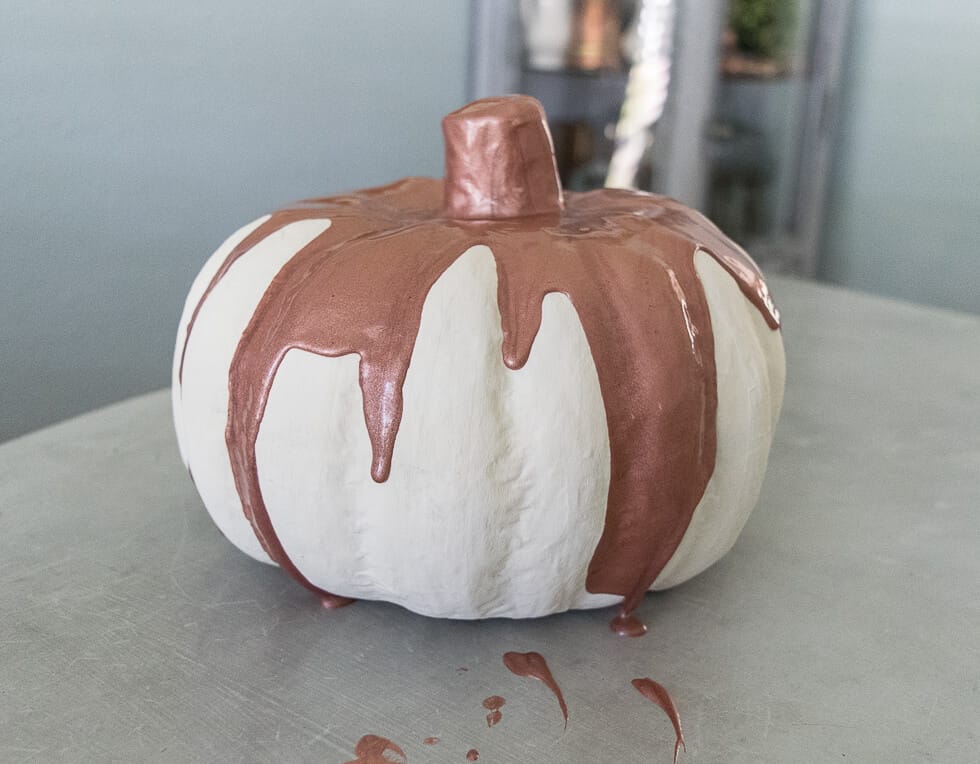
Once the base color is dry, pour the accent paint in the middle. Try not to pour too much. Let the paint drip down slowly. The first time I tried this I ended up pouring too much and had to turn the pumpkin upside down so that the paint would drip off. So, take it easy and let it drip down the pumpkin slowly or else you will end up covering the entire pumpkin.
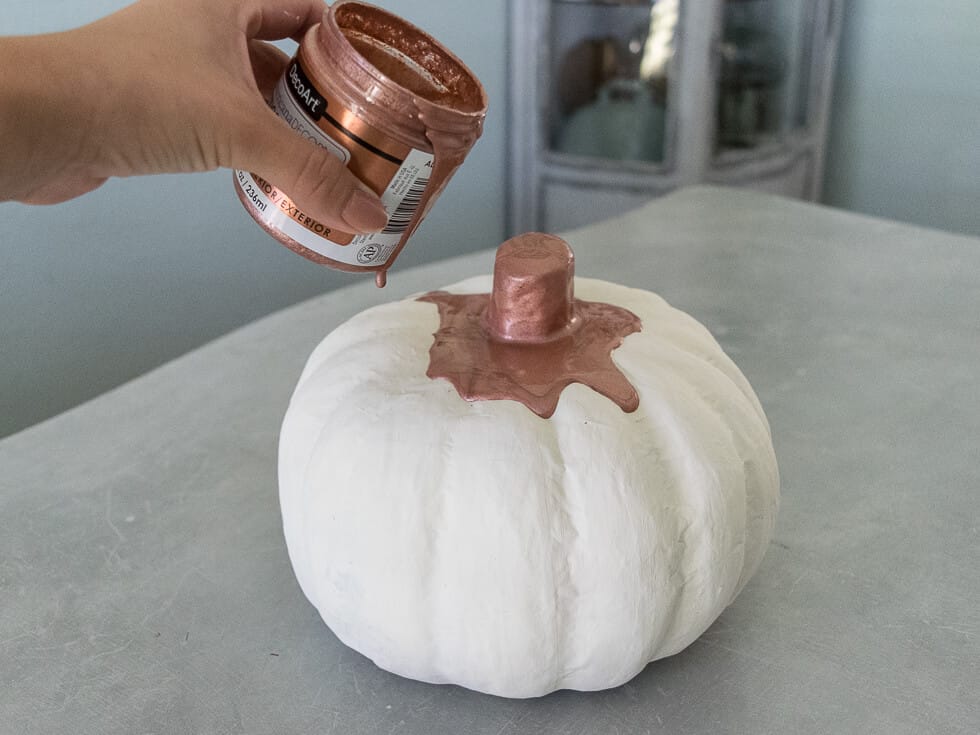
Here is the pumpkin in the process of dripping and drying. I let the accent color dry for a day before I moved it around and used it for the centerpiece. And yes, I let all of the paint drip on my dining room table. It wiped off with ease. Although, if you like your dining room table the way it is, without a shimmery copper hue, I suggest laying down something to protect your surface.
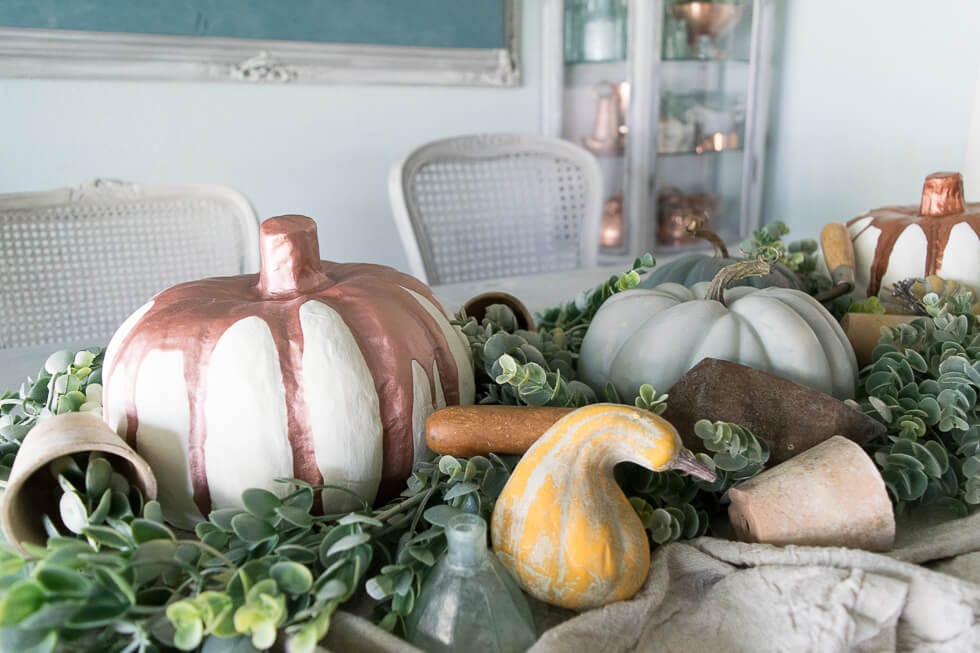
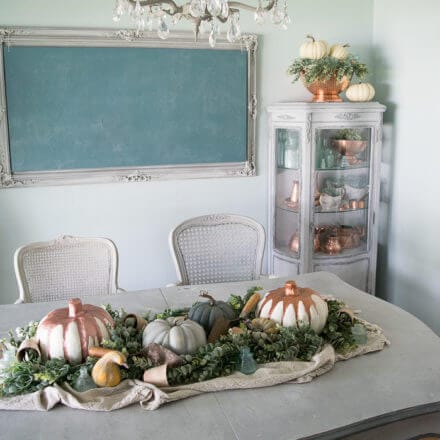
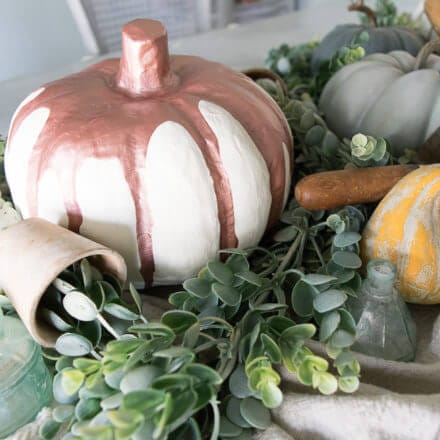
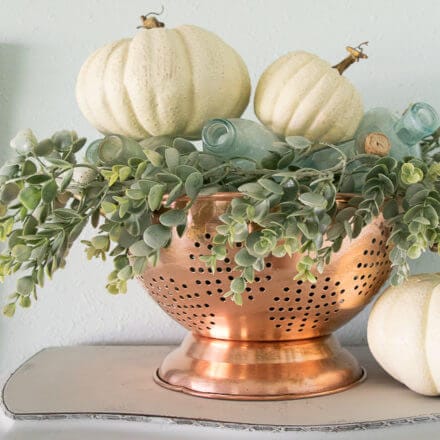
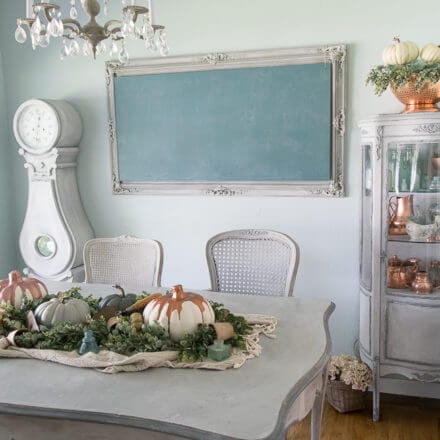
For the rest of the centerpiece, I started with a linen table runner as the base. Then I laid several garlands around with spots to place the pumpkins. Next, I added my rose gold and copper drip pumpkins. I love how they turned out! After placing one drip pumpkin on each side, I added additional small pumpkins, old mini pots, and of course, it wouldn’t be my style without a little blue glass. And to finish off the dining room for fall, I changed out my curio cabinet and filled it with some of my favorite copper and blue glass.
If you’re like me and ready to start decorating for fall, these drip pumpkins are such a fun way to add a little spin on your seasonal decor. I hope you give it a try!
You Might Also Like:
Favorite Fall Finds – Ways to Instantly Bring Autumn Into Your Home
Mini Pumpkin Pie Sheet Cake with Maple Buttercream
If you have any additional questions during your search for the perfect copper, fireclay farmhouse sink or crafted stainless steel sink, our Sinkologists™ are here to help. Contact us or follow us on Facebook, Houzz, Pinterest, Instagram, or TikTok for more helpful tips and design ideas.