How to Update Your Builder Grade Light Fixture on A Budget
Sinkology is proud to present Ashley Carpenter, a homebody, decor obsessed, DIYer that loves fitness, happy people and wants nothing more than to be on the lake soaking up the sun with good people and good music. Ashley runs the blog Joyfully Growing and is here to share some DIY and design projects created for the Sinkology blog that reflect her timeless, affordable, and beautifully rustic style.
I love big DIY projects that have a ‘wow’ factor, but simple, low-cost projects excite me just as much. Today’s DIY project fits that perfectly. It was super easy and cost less than $20! Yippee!
If you’re looking to update your builder-grade home on a budget, this DIY project is perfect to get you started. See the full tutorial below on how we gave our bathroom light fixture a fresh farmhouse look!
Supplies Needed:
- Wide-Mouth Quart (32oz) Mason Jars
- Edison Style Lightbulbs
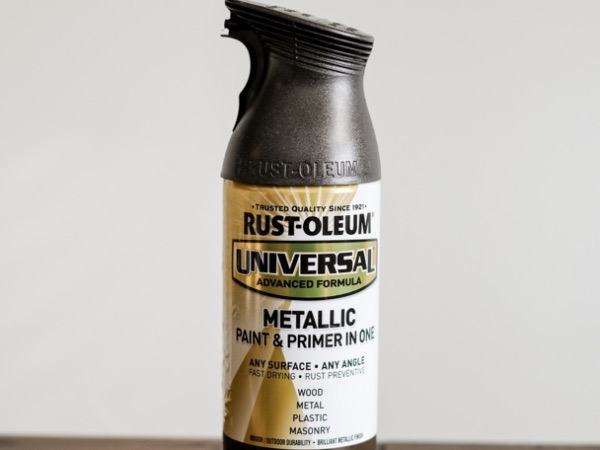
- Oil-Rubbed Bronze Spray Paint
- Sharpie
- 1 ⅝” Bi-Metal Holesaw
- Drill
- Old Light Fixture
How to:
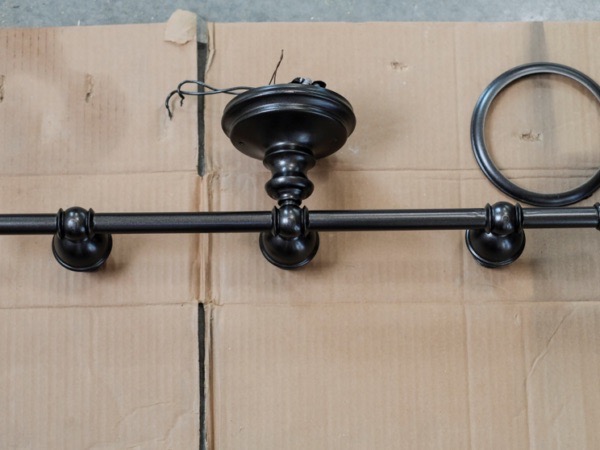
We started by finding and shutting off the circuit breaker in the electrical panel so that we could safely remove the light fixture. Once the power in the bathroom was off, the light fixture was ready to be taken down. The actual removal was very quick and painless.
The old fixture had frosted glass shades that looked pretty dated. Those had to go! Next, it was time to paint the fixture with my favorite oil-rubbed bronze spray paint from Rustoleum.

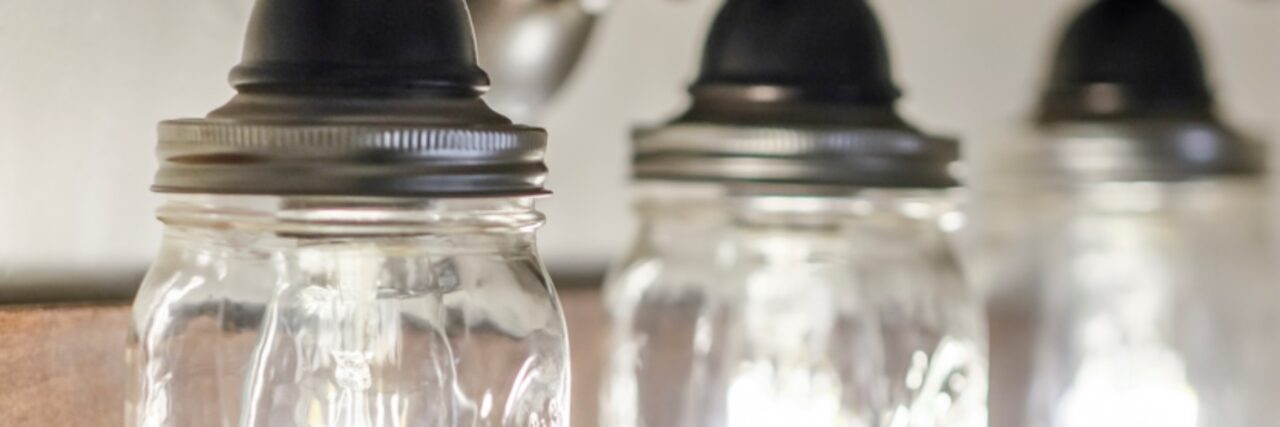
To achieve the farmhouse look I was going for, I decided to replace the frosted glass shades with mason jars. We used quart sized jars, but depending on the light bulbs you plan to use, pint sized jars would work too! This step was actually pretty quick, and easier than you might think. The only thing that needed to be done was drilling a hole in the lid.
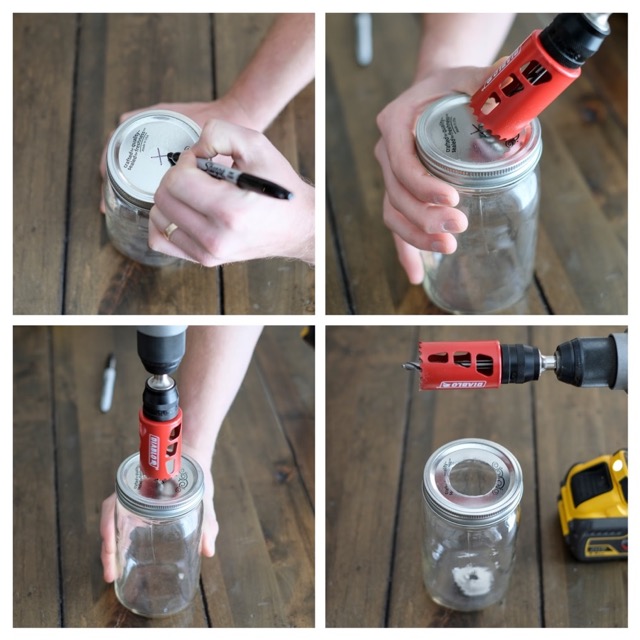
To keep the process as simple as possible, we made the hole in the lid the same size as the old shade. This way, we could reuse the original lock ring. The hole in the lid needed to be exactly in the middle, so we used a Sharpie to mark the center before drilling. Then we measured the inside diameter of the old shade and used the appropriate size drill bit (1 ⅝” Bi-Metal Hole Saw). To make the lid easy to hold, we assembled the jar with the lid screwed on tightly. This way, I could hold onto the whole jar while the hubby drilled.
Each lid took about 30 seconds of actual drilling, so the whole drilling process only took about 5 minutes from start to finish.
Once the holes were drilled, it was time to put it all together!
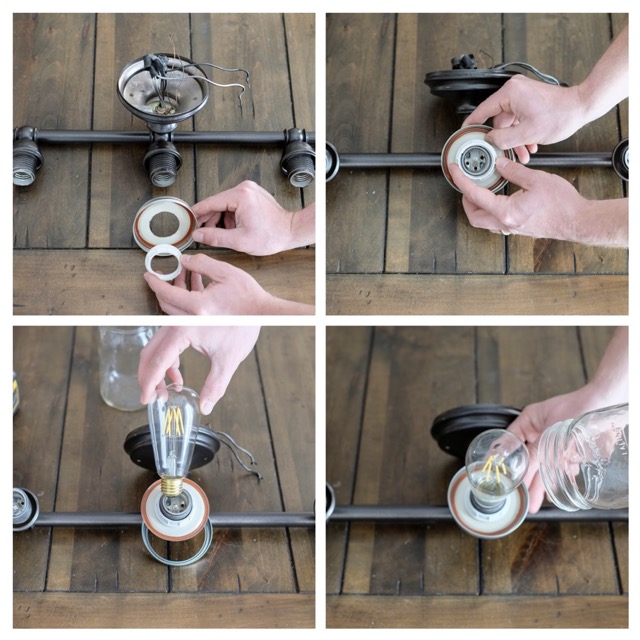
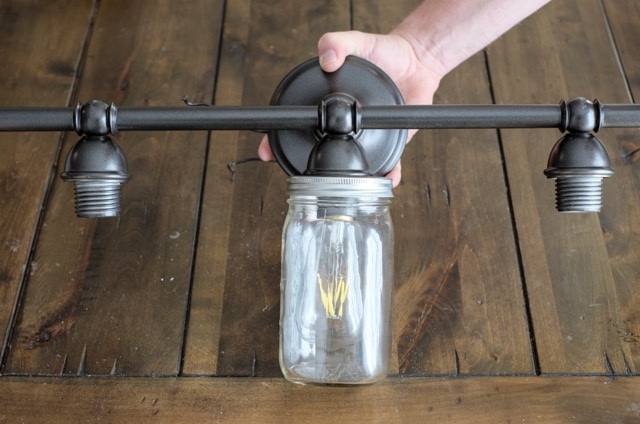
Here’s how to assemble all of the pieces: place the lid and ring over first, then fasten it to the light fixture with the original lock ring → next, screw in the light bulb → and finally, place the mason jar right over the light bulb, and screw into the lid!
Important – because the jar is sealed, be sure to use LED bulbs for this project. LED bulbs put off very little heat and therefore are a safe option to be housed in an airtight container.
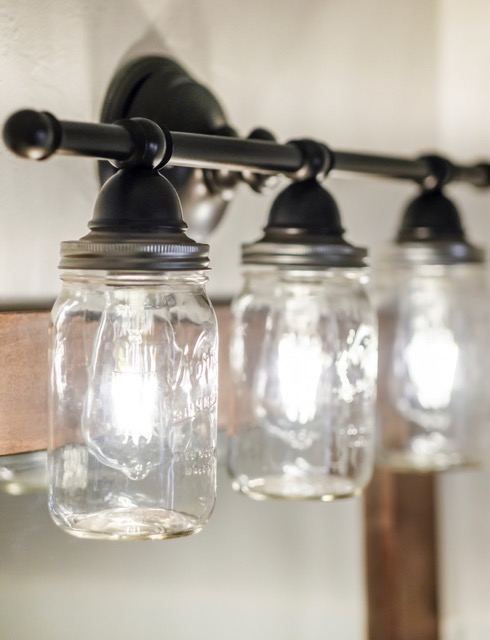
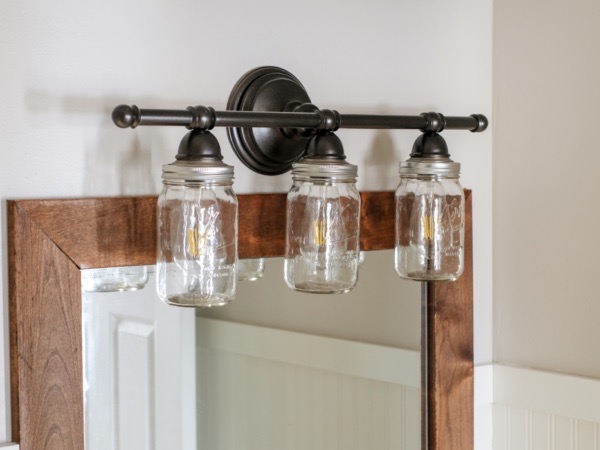
It should look like this when you’re done:
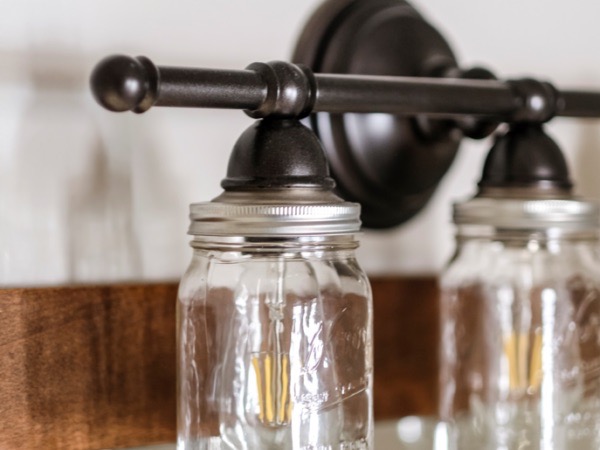
This light fixture has so much more personality now!
By using clear jars and LED bulbs, the light in this space is so much brighter now when it felt so dim and dingy before!I love how this little space is coming together! To see the rest of the DIYs in our budget bathroom makeover, visit JoyfullyGrowingBlog.com! Stop by anytime and say hi, I’d love to “meet” you!

You Might Also Like:
Before and After: Rockwell Copper Double Basin Farmhouse Sink
Budget Farmhouse Kitchen Makeover Reveal
If you have any additional questions during your search for the perfect copper, fireclay farmhouse sink or crafted stainless steel sink, our Sinkologists™ are here to help. Contact us or follow us on Facebook, Houzz, Pinterest, Instagram, or TikTok for more helpful tips and design ideas.