The Ultimate Guide to Installing a Copper Kitchen Sink
From Farmhouse to Drop-In, step-by-step help for every sink mounting style
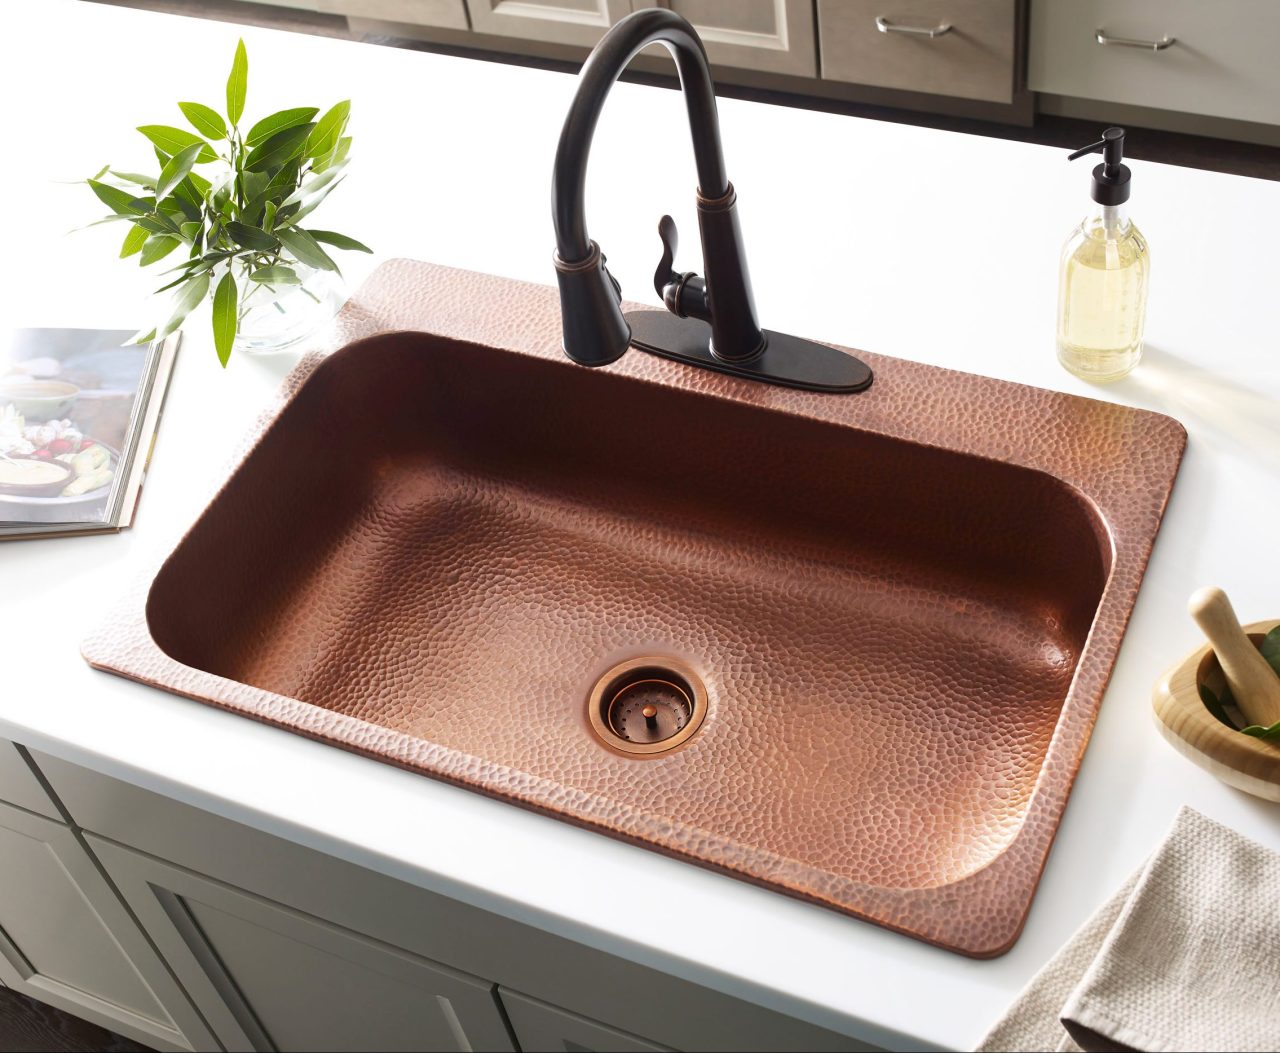
Drop-In
Drop-In kitchen sinks are designed for easy installation, resting securely on the countertop with a raised rim that offers a quick, hassle-free install perfect for DIY’ers and professionals alike.
Works best with:
Angelico
Santi

Farmhouse
Apron-front farmhouse sinks combine timeless design with practical installation. Featuring an exposed front apron panel that extends beyond the countertop for a bold, statement-making look perfect for traditional and modern kitchens alike.
Works best with:
Adams
Ganku
Lange
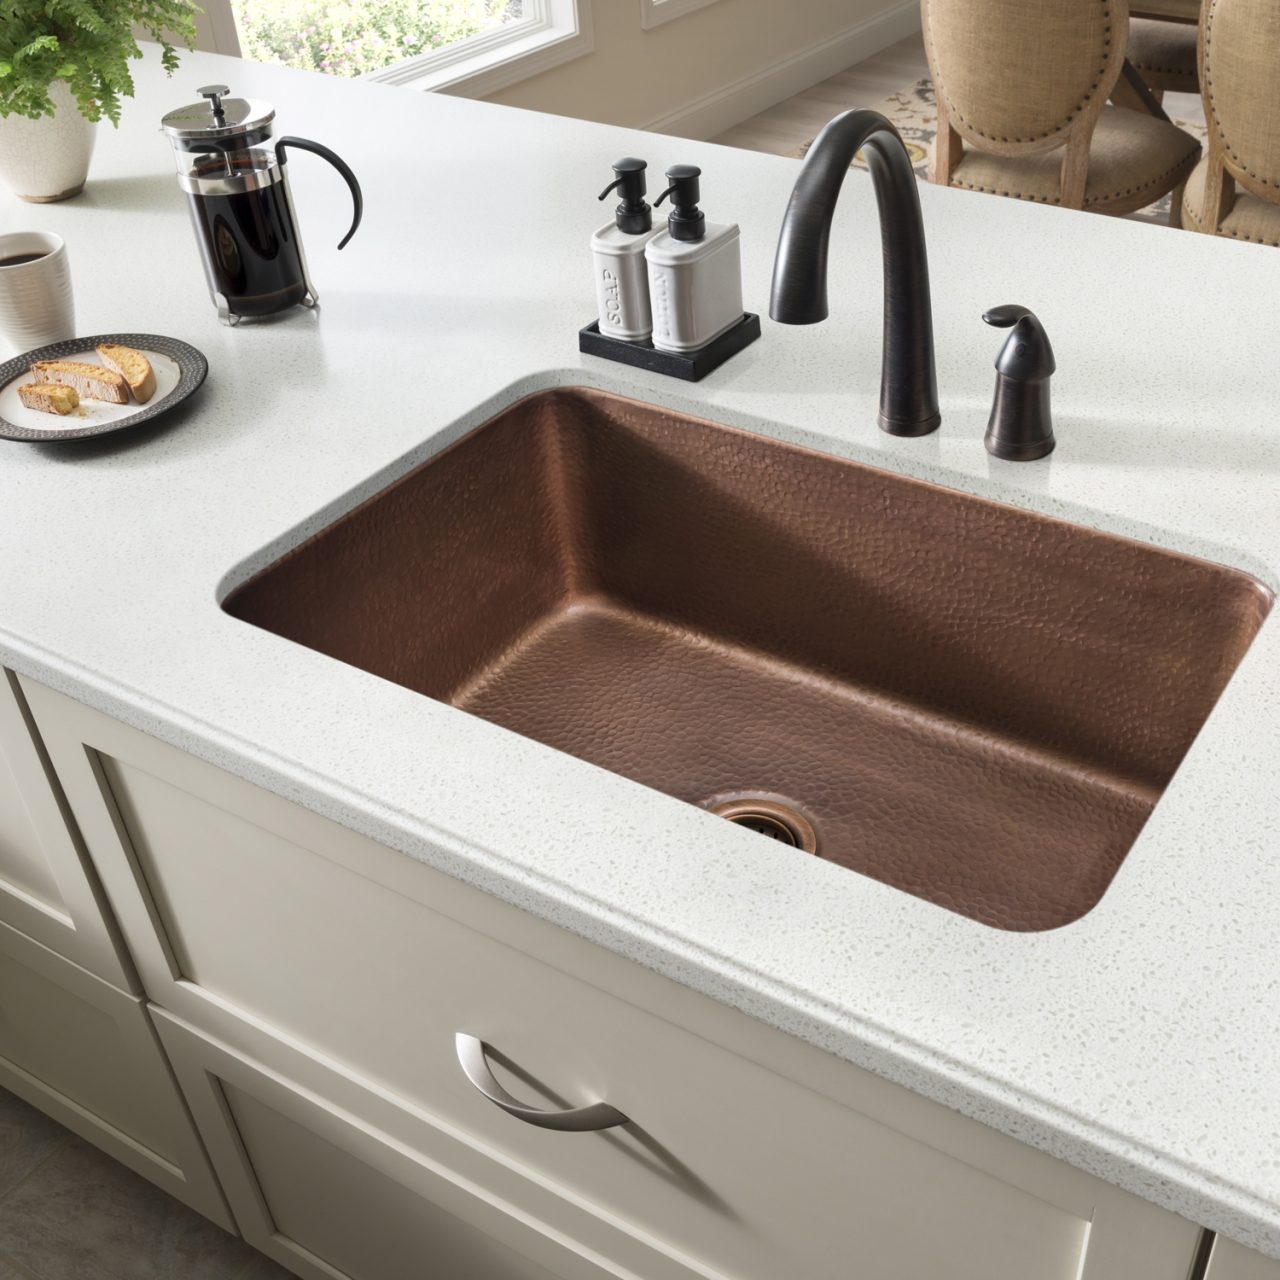
Undermount
Undermount kitchen sinks are installed beneath the countertop for a clean, modern look, offering easy countertop cleanup and a streamlined aesthetic perfect for any kitchen design,
Works best with:
Orwell
Pollock
Rivera
Get Some Extra Credit For Your Sink
Raise Your Hand:
We’re Here to Help!
Installing your new Sinkology product should be a breeze with BILT®, but if you hit a snag, don’t sweat it—we’re here to help! Our team of friendly Sinkologists® is just a call, email, or DM away. Whether you need tips, tricks, or troubleshooting, we’ll get you back on track ASAP.
Call us at 866.915.3003
Email us at customerservice@sinkology.com
Slide into our DMs on social—we’re ready when you are!