Before & After: Powder Room Renovation with @MyVintagePorch
Natalie from My Vintage Porch is here to share with us her recent little powder room reno! She started her blog to share projects, DIY tutorials, budget-friendly decor, and home decorating ideas. She loves everything home decor AND, of course, projects! She loves to see the before and afters, and to step back, take a deep breath, and see what all of her hard work has brought to fruition! This recently updated bathroom with our Eddington Copper Vessel All-In-One Kit doesn’t disappoint!
It’s been a long time waiting for this project to be done and we still need to finish the floors but it’s mostly finished! I am so excited to share this project with you! I have always wanted to change this space up but didn’t want to spend a lot of money. If you followed along my journey on my Instagram stories, thank you! It’s so fun to have you along! I will recap the process here and how we managed to revamp this space on a budget.
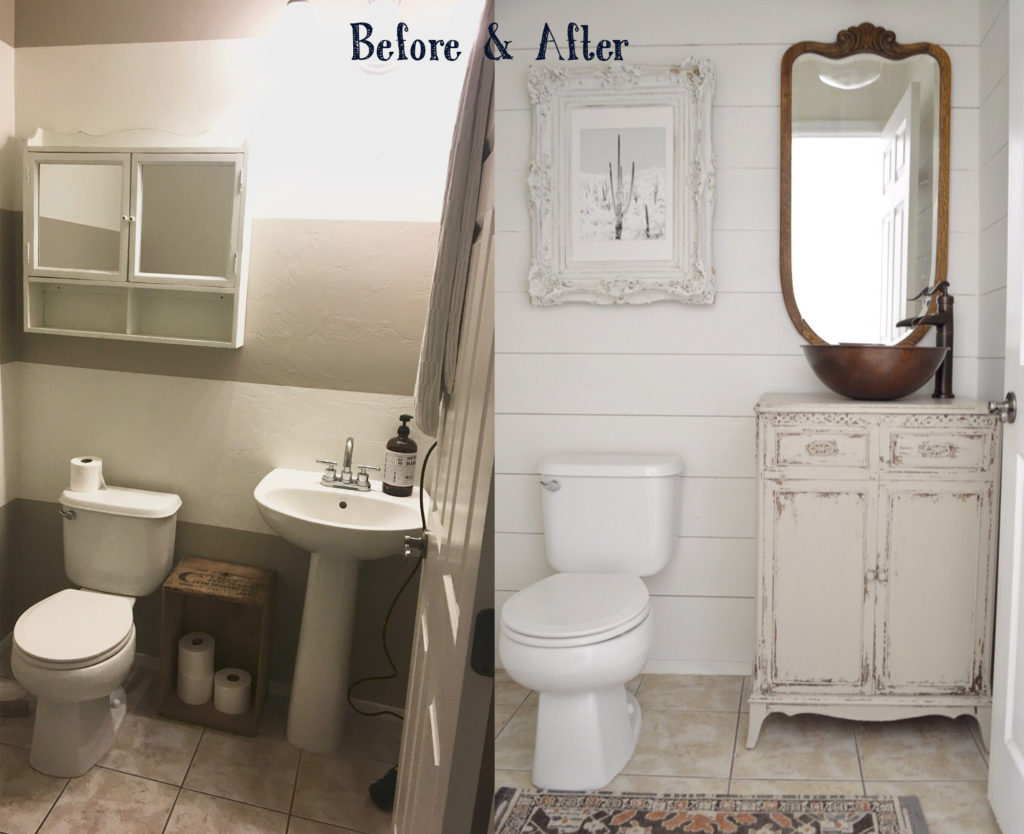
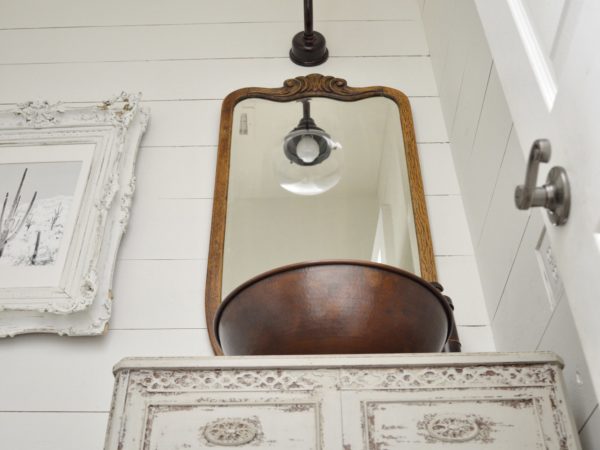
This is the before and after. I was tired of the stripes and ready for a change. I have also always wanted some sort of furniture piece for a vanity in place of this pedestal sink. I went on a big hunt and finally found this piece at a local antique store. It’s an old record cabinet and it fit my space perfectly! I actually can’t believe that I found something to fit this small space so perfectly.
While I was in search of a cabinet for a vanity, I started “shiplapping” the walls using plywood. You can see the whole process here of how I shiplap walls with plywood.
Plywood is so much more budget friendly than shiplap and I love the texture that it adds to a space. The width of shiplap used depends on the space between the floor/trim to the ceiling. We used 7-7/16″ width for our walls. I also filled in the gaps in the corners with joint compound before I painted the walls. The color I used on the walls is Benjamin Moore White Dove.
My hubs cut out the area inside of the record cabinet for pipes to fit before I painted the cabinet.
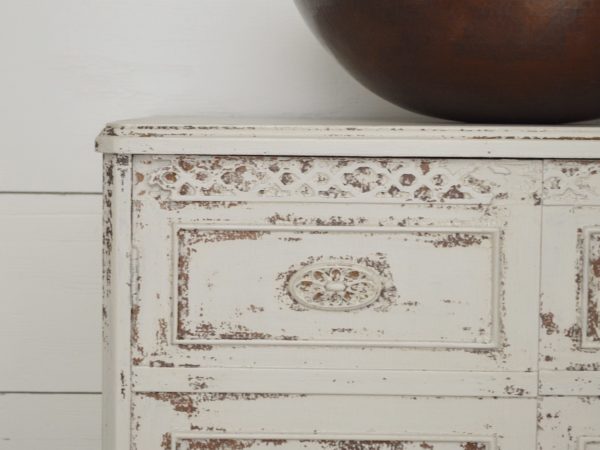
I painted the cabinet with Milk Paint, 1 part White Fig and 1 part Sweet Cream. It chipped a little too much the first time around so I just sanded it down a lot and repainted, and now it’s perfect. I absolutely love it! After using an oil/wax sealer, I didn’t feel that it was sealed good enough for water use around the top. So, I decided to use water based polyacrylic to seal the cabinet. I lightly sanded the cabinet with 100 grit sandpaper and sealed it with 2 coats of the matte water based polyacrylic. I feel much better having sealed it with poly, I think it will hold up better to water messes that I know are coming in here.
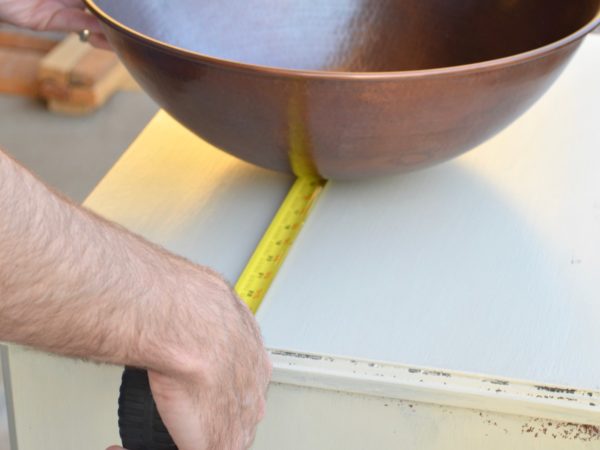
We then measured where the center of the cabinet was and decided where we wanted the bowl to sit in regards to the front and back space.
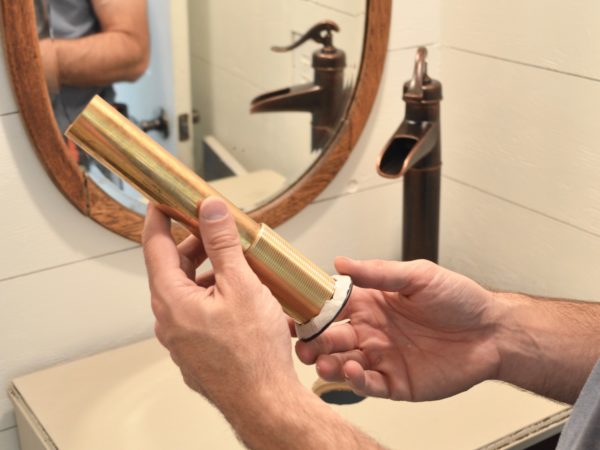
My hubs used a hole saw to cut the holes for the sink and the faucet. I should have put my ear plugs in for this part. Once the faucet was installed, it was time to add plumbers putty to the drain before installing the sink. I am so in love with the way that this project turned out.
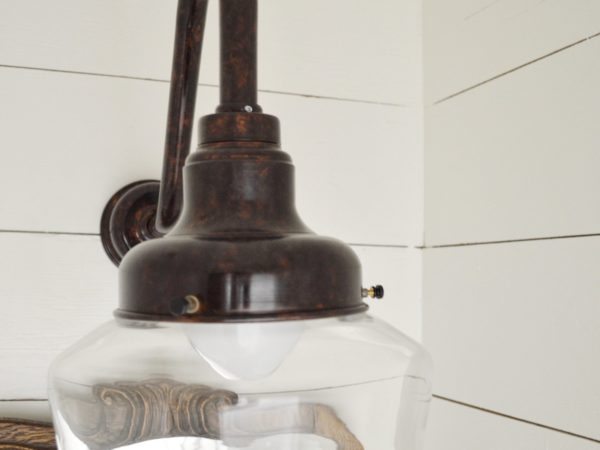
I was blessed and am very thankful to have had the chance to partner with some amazing companies for this project. This gooseneck oil rubbed copper light from Barn Light Electric was all that I dreamed it would be and more.
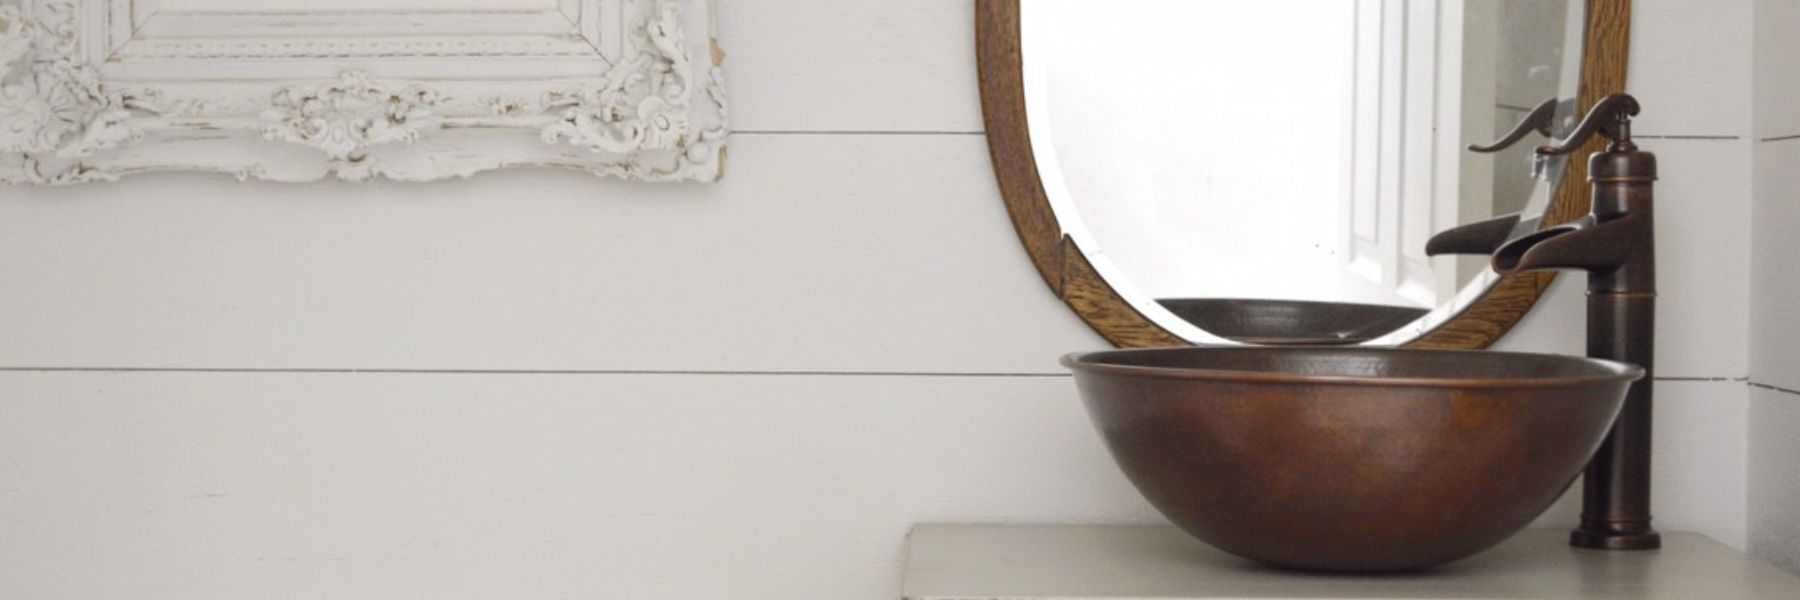
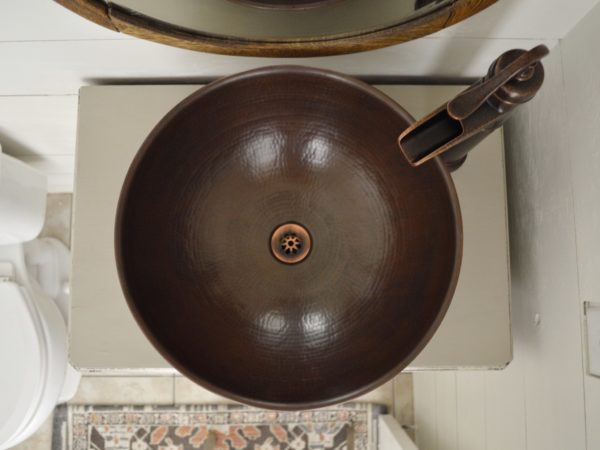
And I couldn’t have asked for a more perfect sink for this space. This beautiful copper sink from Sinkology definitely fit all of my criteria, including the size. They have so many different options and sizes.
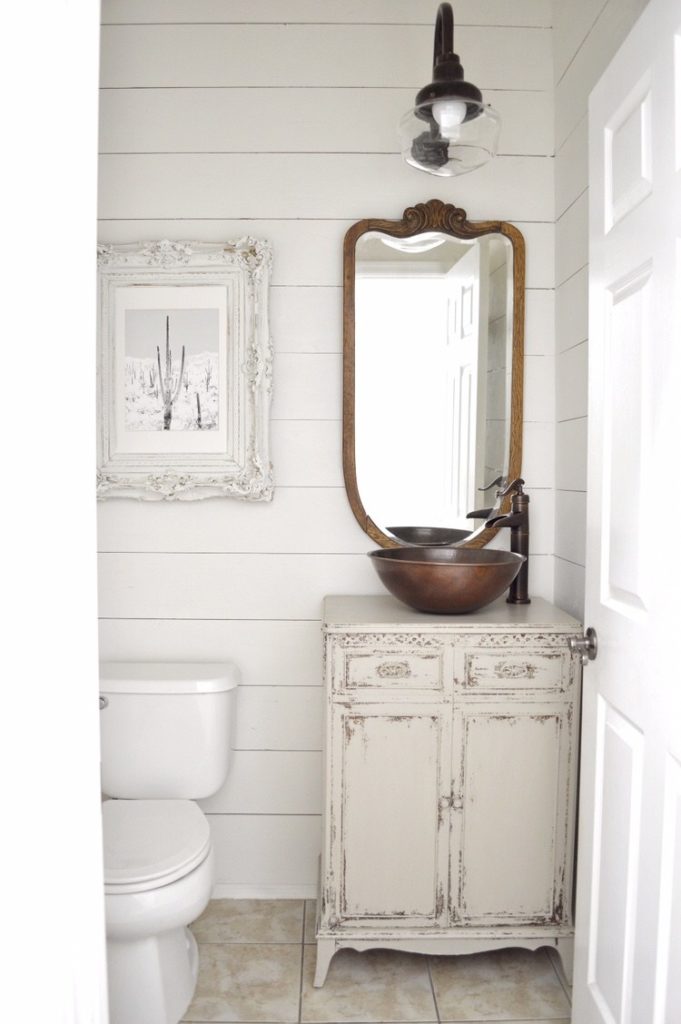
This sink came in a kit that included this gorgeous faucet as well. If you saw my struggle on Instagram Stories to find a sink that fit my space, then you will know how thrilled I am that I ran into this one. It fits so perfect!
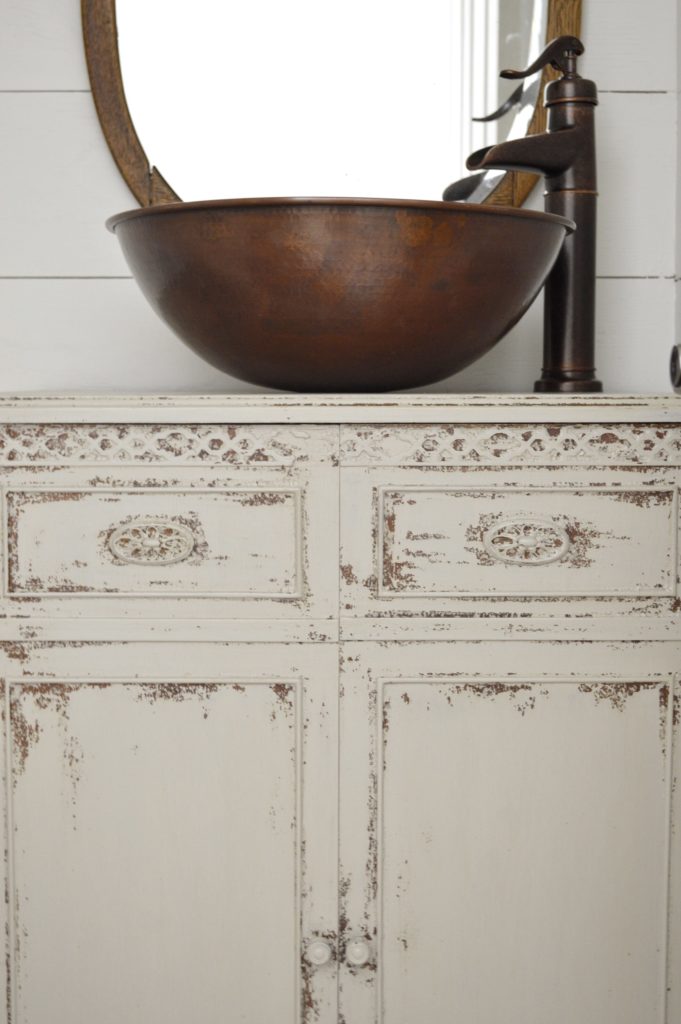
As discussed above, I painted this old record cabinet with Old Barn Milk Paint with a mixture of 1/2 White Fig and 1/2 Sweet Cream.I love using milk paint and getting that natural chippy aged look. You can find some of my milk painting tips from things that I have learned while using it, here.
Thank you so much for joining me on this journey of our powder room/bathroom renovation. It is so much more fun having all of you along. I would love to hear what you think in the comments below. Have a wonderful day my friends!
If you have any additional questions during your search for the perfect copper sink, our Sinkologists are here to help. Contact us or follow us on Facebook, Houzz, Pinterest, or Instagram for more helpful tips and design ideas.