DIY Tub Tray
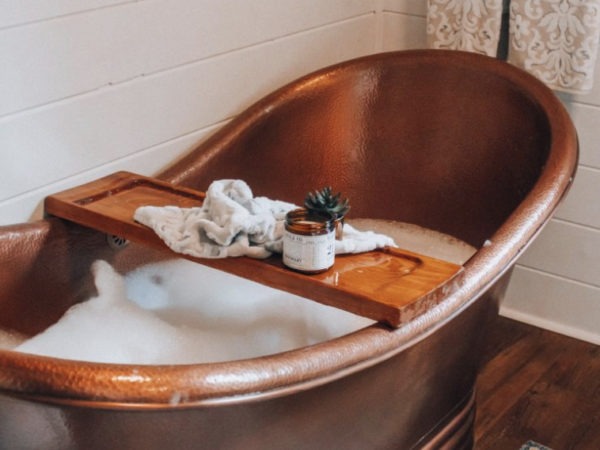
Our friend, Megan, over at Life on Shady Lane recently renovated her bathroom with one of our freestanding copper soaking tubs and a new copper bath sink all-in-one kit with Pfister faucet. She has been so grateful to share all the amazing details in this modern farmhouse bathroom renovation reveal!
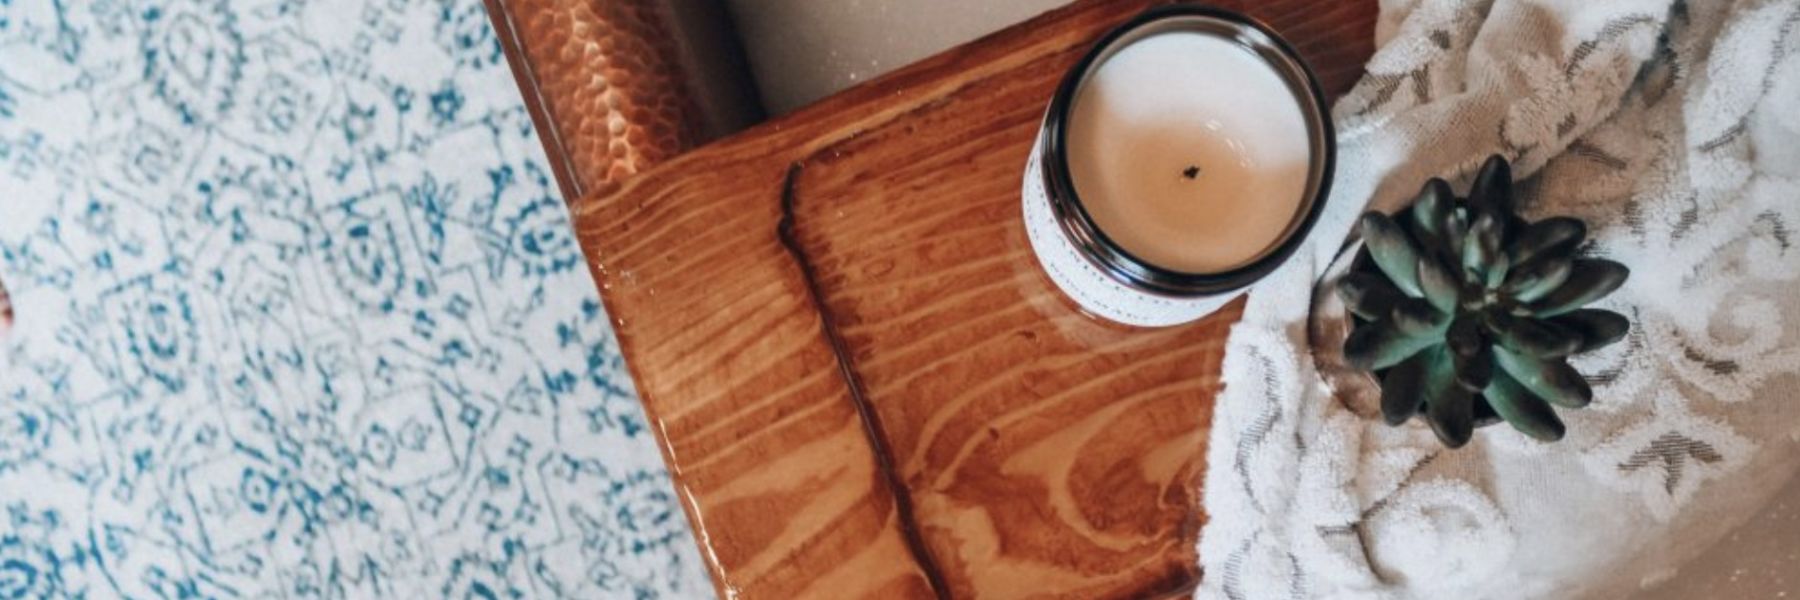
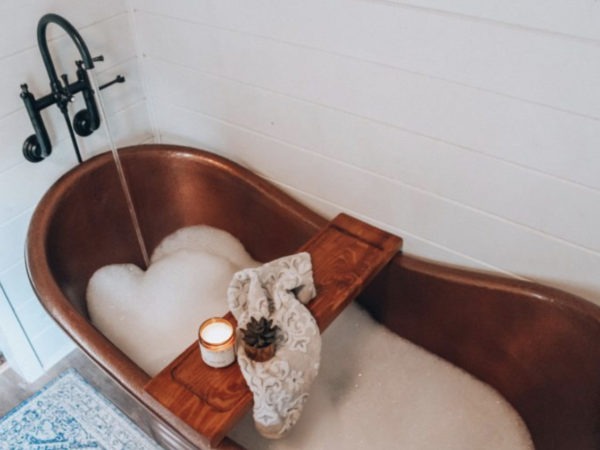
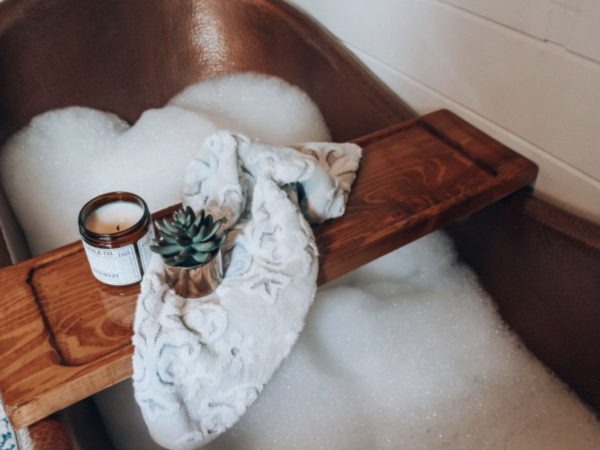
A DIY tub tray makes your bathroom feel just like a spa, and is perfect for holding all of your bath essentials!
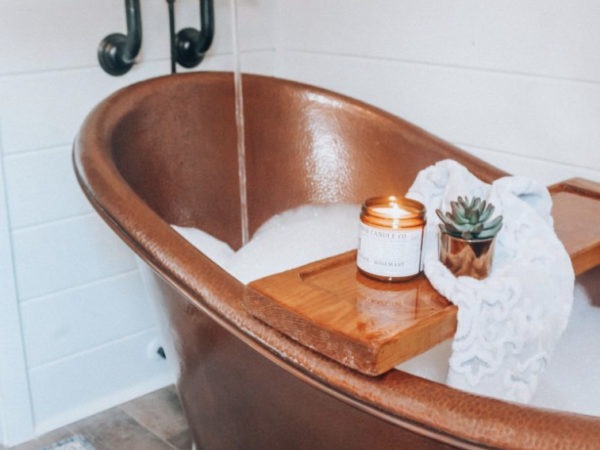
When we finished remodeling our modern farmhouse bathroom [here], I quickly realized that we needed a place to set bath essentials (a towel, candle, wine…duh, a book, etc.). I considered adding some sort of shelf next to the tub, but really didn’t want to detract from the tub’s beauty by putting a shelf directly next to it.
You know those fancy tub trays you always see in spas (or in magazines)? This tub was practically made for that. So we built one ourselves and I looove the way it turned out. Honestly, our bathroom feels just like a spa now! Now if only I could get someone to bring me cucumber water and a warm towel…

Materials Needed
(Click links below to see specific products we used)
- Wood of your choice – we used a 2×12 common board, cut down to the width of our tub – of course you will want it to hang over the edges just a little bit! If you can’t cut it yourself at home, the hardware store you buy from will cut it for you.
- Router
- Mouse sander
- Sandpaper
- Polyurethane
- Wood stain
- Glaze coat
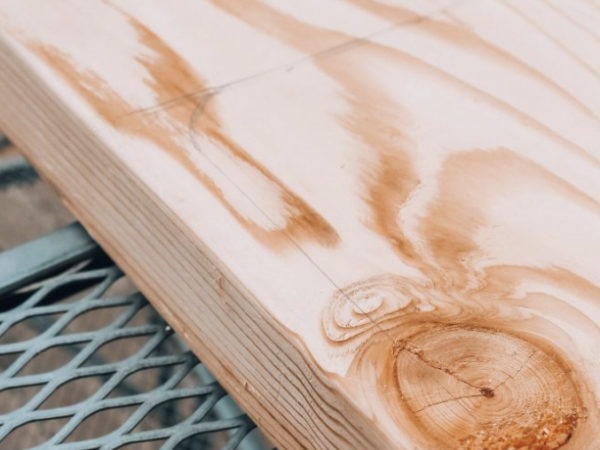
Step 1 – Mark out the raised perimeter
I wanted a raised edge around our DIY tub tray so that things wouldn’t slide off and into a tub full of water. We did about an 1 1/4 inch on the longest sides, and then about 3 1/2 inches on the shortest sides, and just drew in guidelines with a pencil.
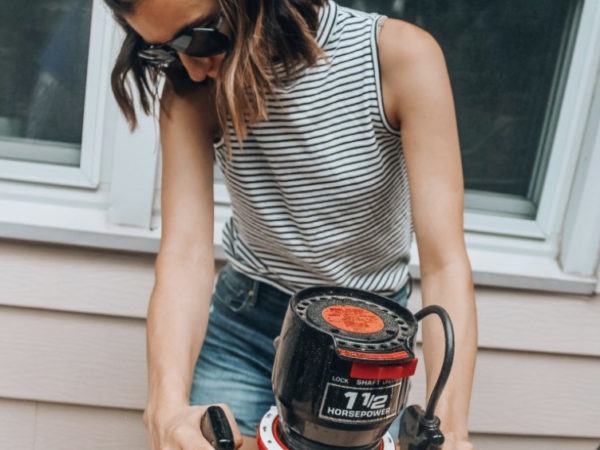
Step 2: Use a router to remove wood from inside your perimeter markings We didn’t make the center of the tray too deep, I just wanted a small lip around the edges.
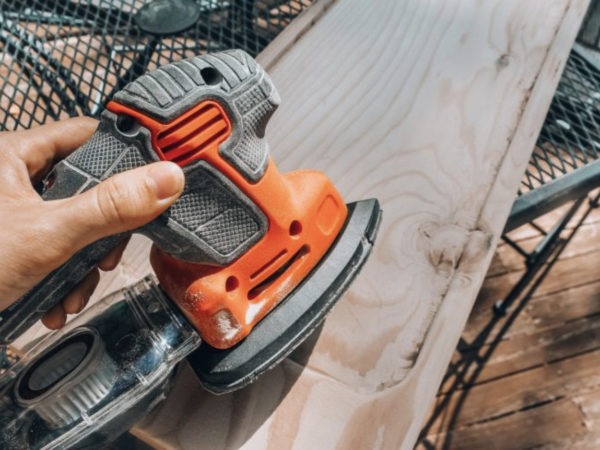
Step 3: Using a mouse sander, smooth out your tray and round the edges just a little bit to soften. I got this mouse sander as a gift for Christmas last year and LOVE it! It’s perfect for all kinds of projects and is super easy to use.
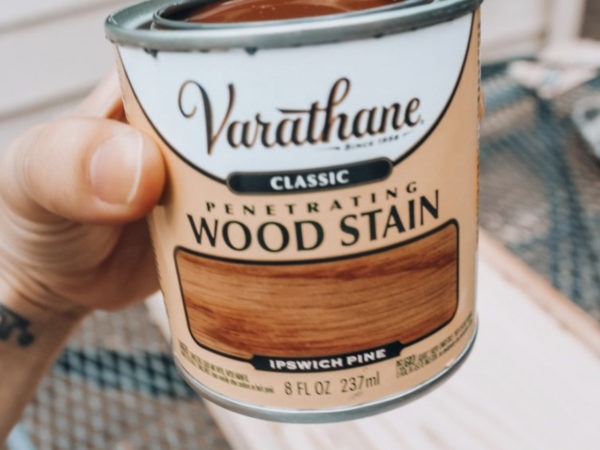
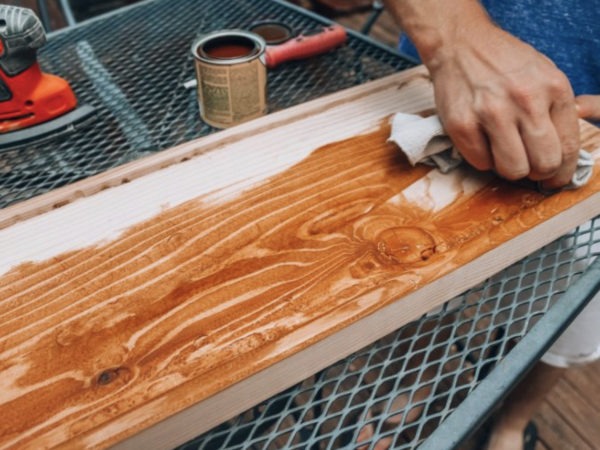
Step 4: Stain wood using a clean rag
Our tub is copper, so I wanted something that wouldn’t blend in to the color of the tub. We went with this stain. Let dry completely.
Sorry this is a little blurry – I got so anxious to see the stain color that I forgot to take a picture before I took the lid off. This is me attempting to keep the stain from spilling AND take a picture at the same time. ;)
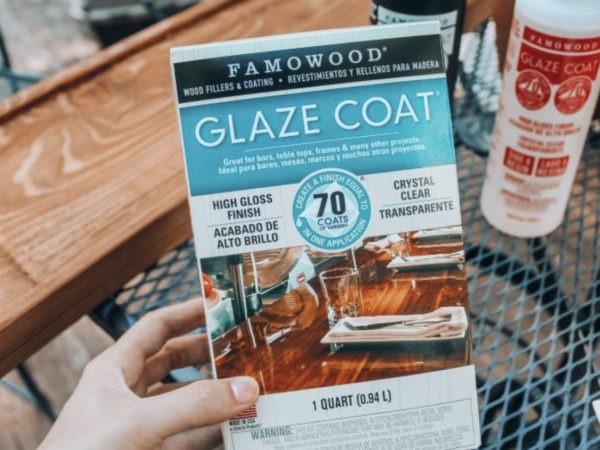
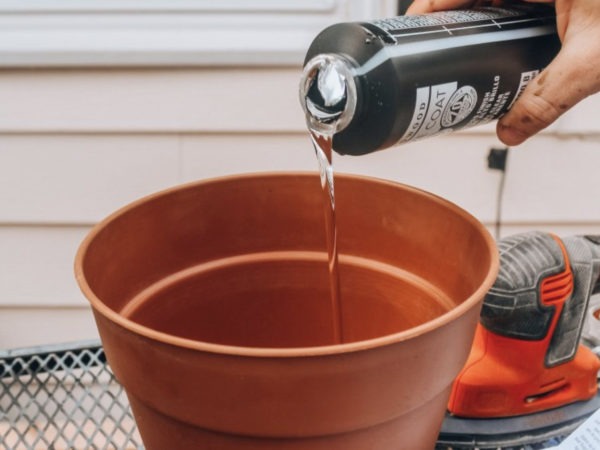
Step 5: Apply glaze coat
We used this on Brandon’s man cave hanging bar [here] and it worked really well, so we decided to use it again for our tub tray. I was worried about water splashing and ruining the tray, so I wanted something that would seal it really well.
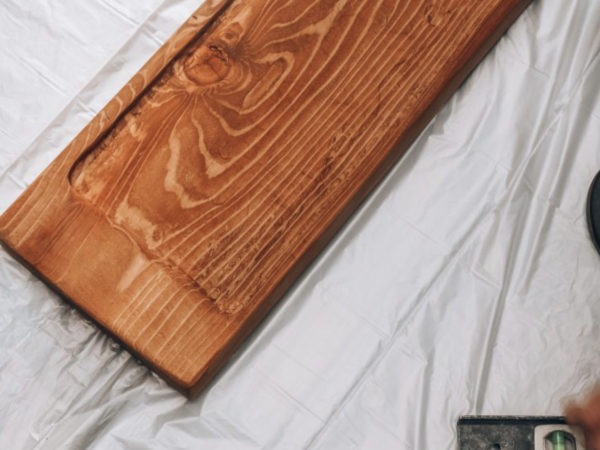
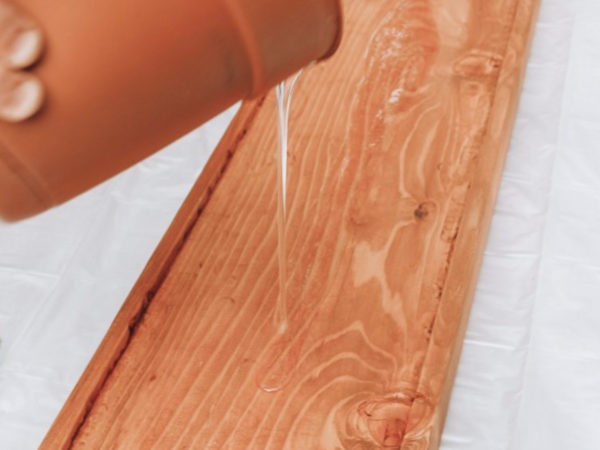
Note: Truth be told, we ended up only doing the glaze coat on the top of the tray. It dripped down the sides (which we smoothed with a drywall knife as it was drying) and under the bottom of the tray. I sanded the bottom of the tray down after it was COMPLETELY dry to try and smooth out some of the uneven glaze that snuck under, and then sealed the sides + bottom with a polyurethane. I would have used more glaze coat for the bottom, but didn’t want to risk it seeping onto the top of the tray and ruining the super smooth finish.
Be sure and follow all of the directions for the glaze – it’s a little bit tricky to work with at first!
|| See more pictures of our “man cave”/living room here||
Yes, we mixed our glaze in a (clean!) flower pot. Brandon told me not to show our crappy “equipment” but…just keepin’ it real, guys. This is what we used. 😉
Let it dry, dry, dry!! I probably let the glaze coat sit untouched for two days before I really handled the tray. Might have been overkill, but I didn’t want to put fingerprints on it.

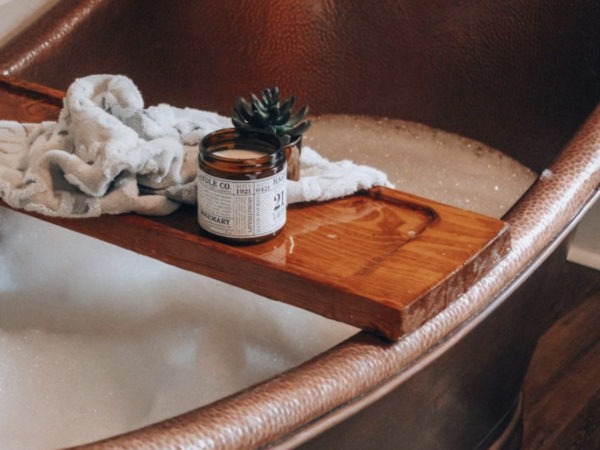
Step 6: Style that DIY tub tray and proudly display it in your new spa bathroom!
||PS you can see more of this bathroom – including sources – here||
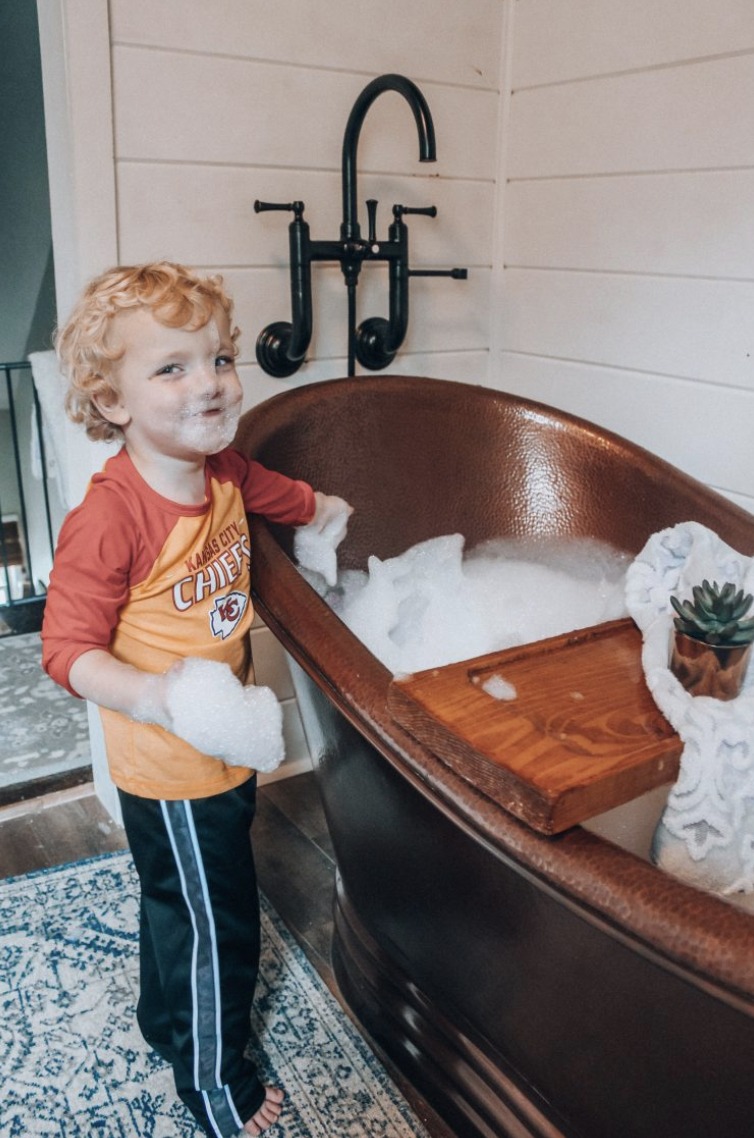
A bath full of bubbles is WAYYY too tempting for an almost 3 year old. This photoshoot was slightly tricky, but he was soo patient. I finally gave him the OK to make a “bubble beard” (and he got to take a bath shortly after!).
Hope you enjoyed this DIY tub tray post!
If you have any specific DIY projects you’d like to see, send your ideas my way!
If you have any additional questions during your search for the perfect copper, fireclay farmhouse sink or granite sink, our Sinkologists are here to help. Contact us or follow us on Facebook, Houzz, Pinterest, or Instagram for more helpful tips and design ideas