Holiday How-To: Small Tree Skirt DIY
Sinkology is proud to present Kristan Allen, our design expert and guest blogger who runs the @FarmhouseRedefined Instagram. Kristan is here to share some design ideas and inspiration around designing your home around your copper sink.
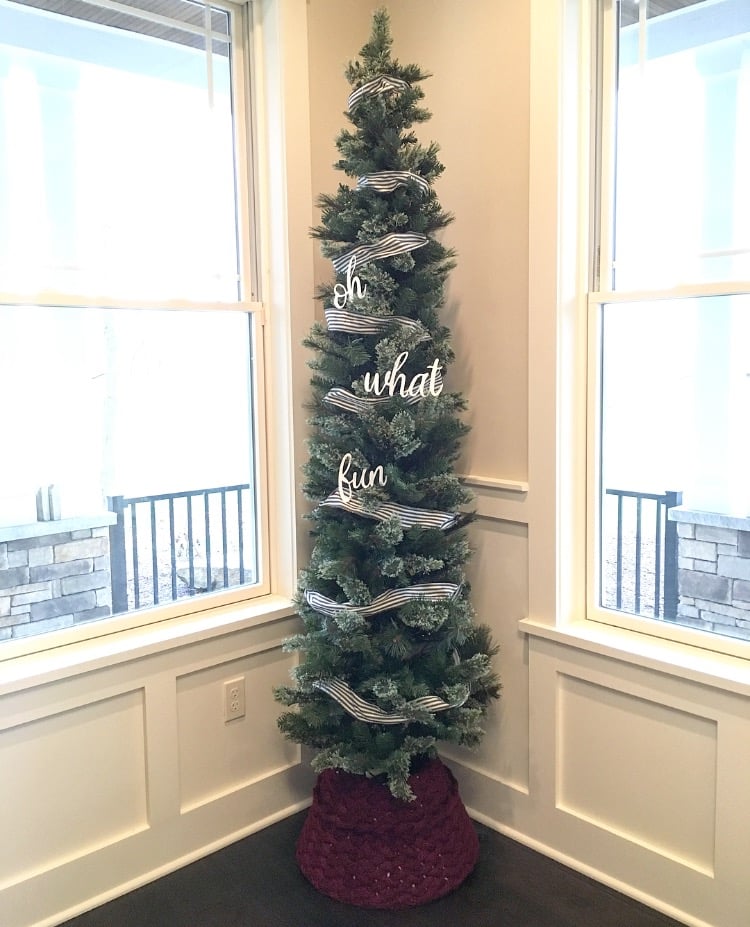
Think back to every DIY project you’ve ever done. What’s usually at the heart of that project? A need for something you can’t just readily buy, right? I bought a 7.5 foot-tall, skinny Christmas tree for our den and I’ve been looking for a fun tree collar to put around its base. I searched high and low – for a tree collar or even just a basket – and the only ones I found were either too expensive or not the right size. So, in true DIY spirit, I decided to try my hand at making one… with a lamp shade of all things! Read on to learn how you can make your own small tree collar for around $20.
Materials
- Lamp shade (size varies based on the size of your tree and its base)
- Knit scarves or the material of your choice
- Glue gun and glue stick refills
- Wire cutters
- Scissors
Let’s Do This:
1. Choose your lampshade. I chose an empire-style lamp shade because my tree is skinny and the empire shade is more tapered at the top. If you have a fuller tree, a drum-style shade would work, too! Shade size will depend on the width of your tree and its base. My skinny tree is roughly 26 inches wide with a base right around 20 inches wide. Based on those measurements, I chose a shade with a top diameter of 8 inches, a bottom diameter of 17 inches and a height of 11 inches. Hey wait, your bottom diameter is only 17 inches, but your base is 20 inches wide. Isn’t that shade too small? Nope! You’ll be cutting the shade, so we’ll be able to stretch it out a bit to fit the tree base.
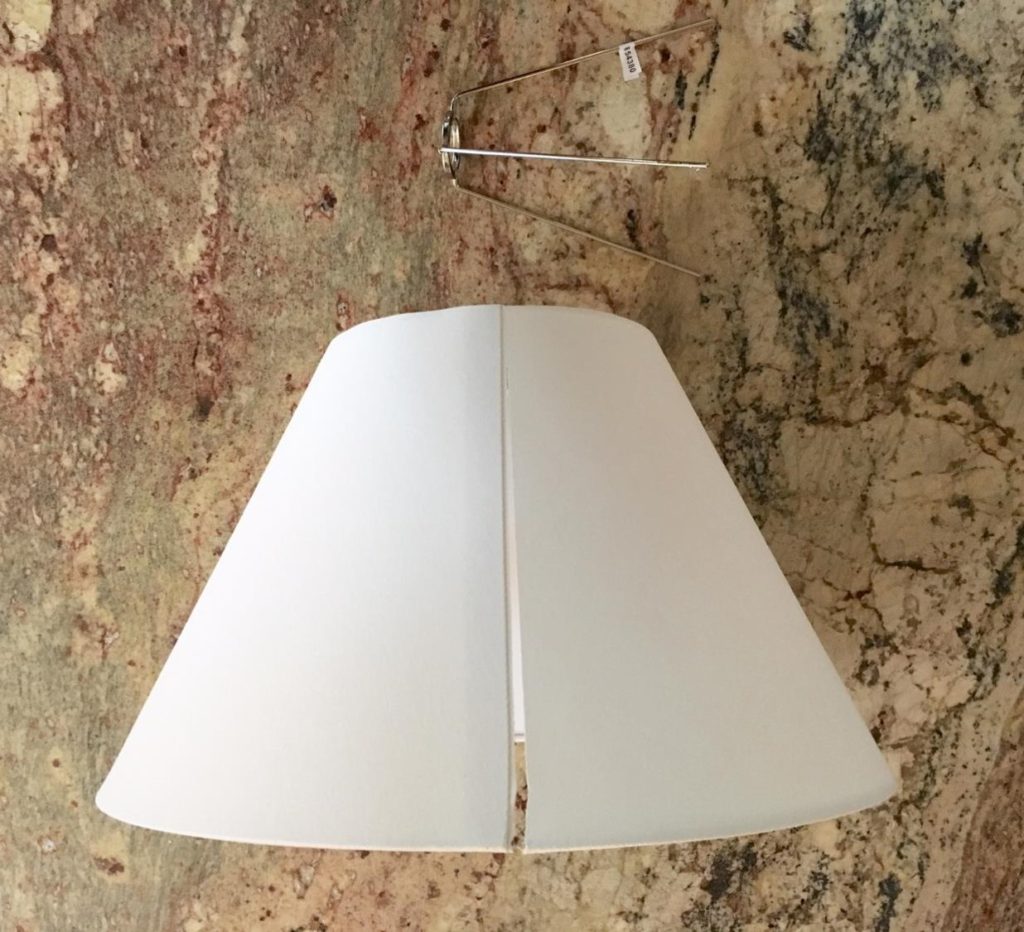
2. Once you find your shade, you need to remove the harp and/or fitter. This shade came with a spider fitter – you know the little wire loop with long spindles that helps you attach the shade to the lamp. Very scientific, I know! Anyway, break out the wire cutters and snip that out of the shade.
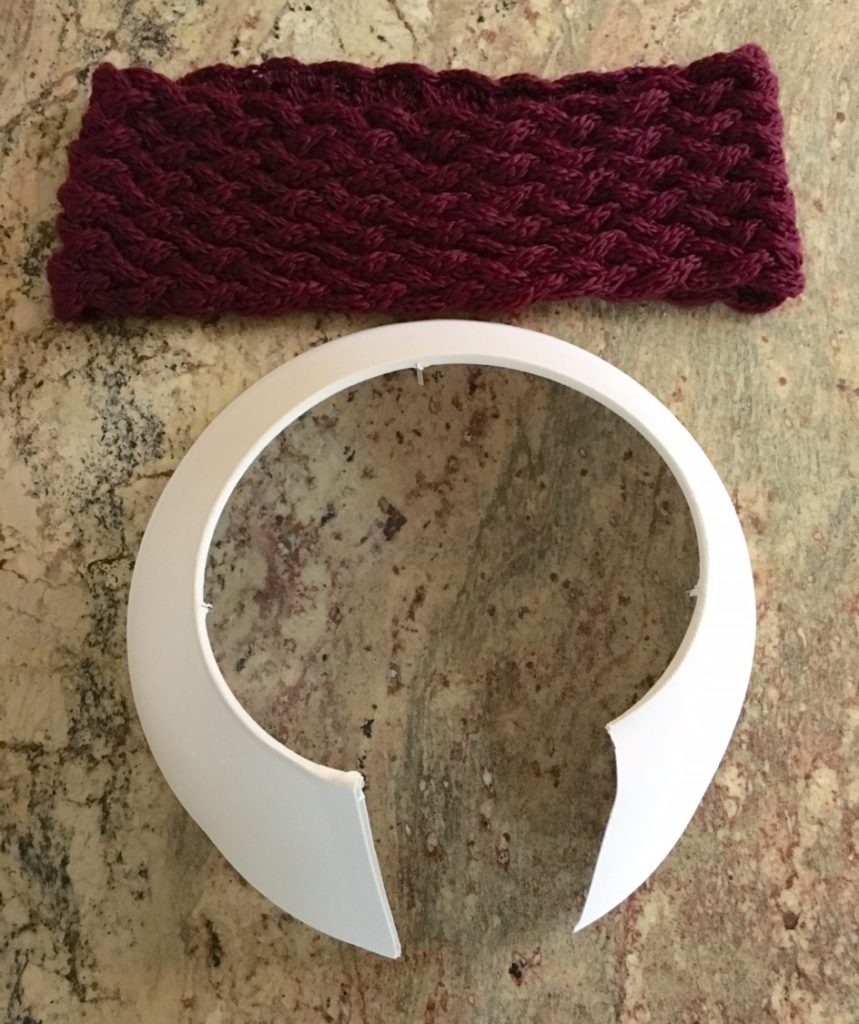
3. Now, cut the bottom wire ring of the shade. Switch to scissors and cut the actual shade all the way up to the top wire ring. Use the wire cutters and snip the top wire ring. Now, your shade should be completely cut in the back. Fit the cut shade around your tree base and gently bend the wires/stretch the frame to get it to fit around your base the way you want it to.
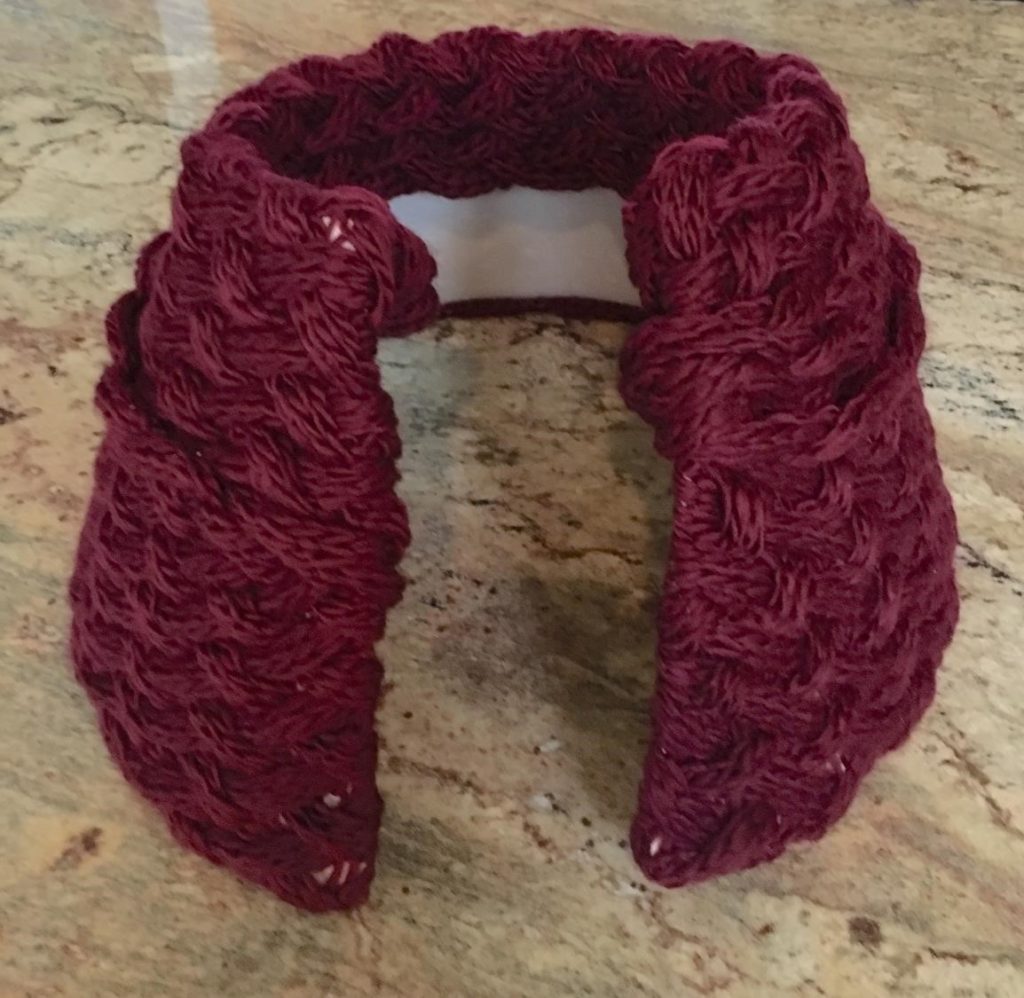
4. Now, we need to cover the shade! You can choose any material you’d like, but there are a couple benefits to choosing a knit or crocheted look. First, yarn textiles stretch easily, which will come in handy when you flex the collar to fit around the tree base. And two, the slubby, thick yarn is much more forgiving when you fit it around and glue it to the shade. I went to the dollar store and bought two knit infinity scarves for $2.99 each. Two was plenty to cover my shade, but size up your shade before choosing material—you may need more or less depending on size.
![]()
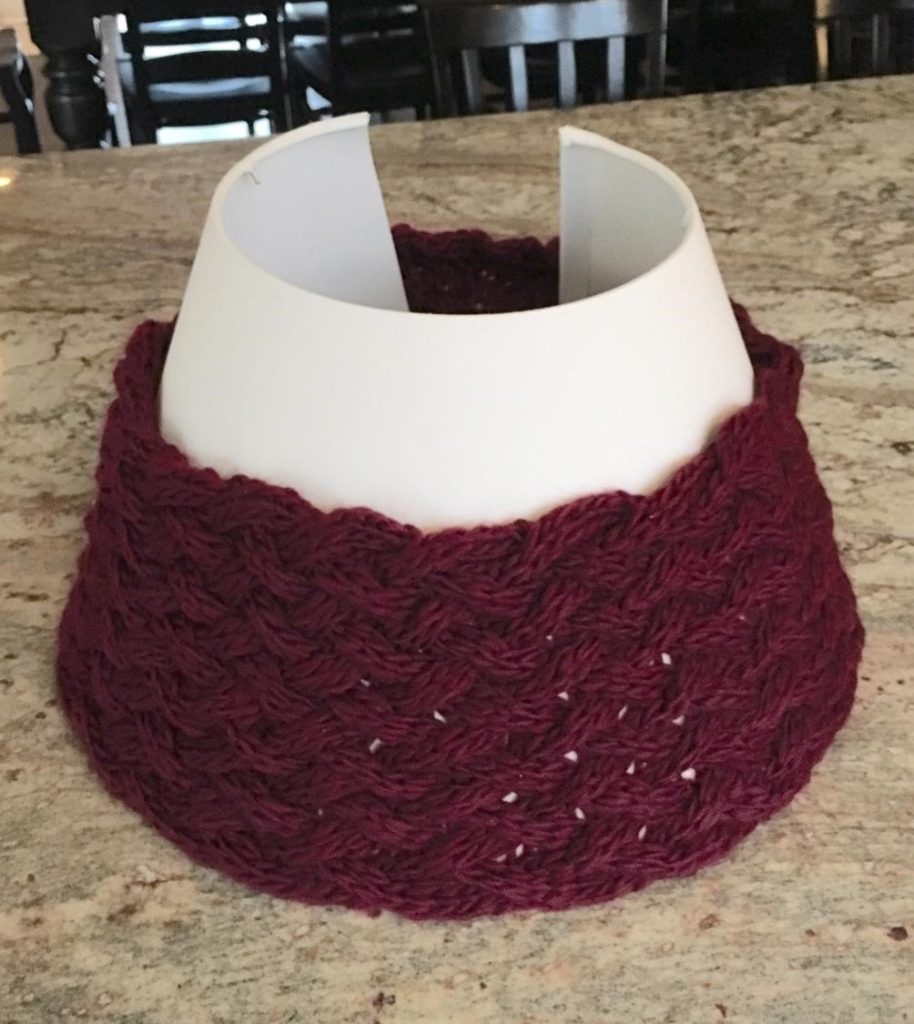
5. Fit the first scarf around the lamp shade. Working your way around the inside edge of the bottom, lay down a line of glue and fold the edge of the scarf over to glue on the inside. Do this until you get to the other side of the shade. Now cut the scarf, leaving a little extra material at each end. Fold it over and glue to the inside of the shade.
6. Take the second scarf and place it around the entire shade, tucking it into the scarf that is already glued to the shade. If you have extra at the top of the shade, just drape it over and into the opening. Now cut the scarf, leaving a little extra material at each end. Fold it over and glue it to the inside of the shade.
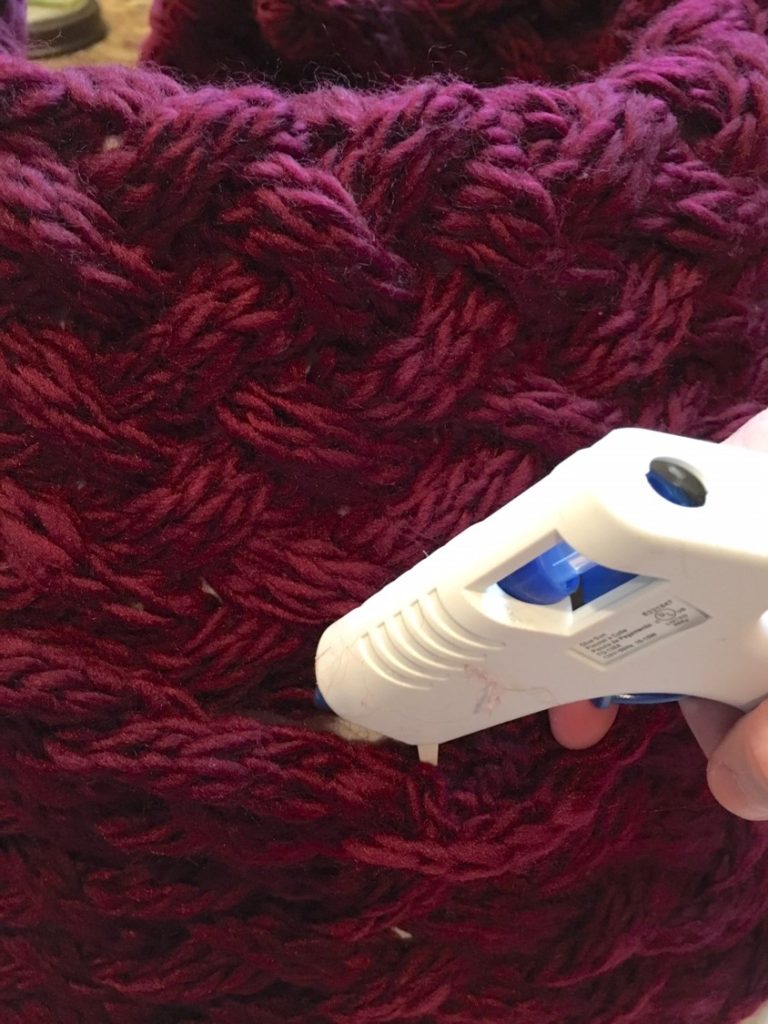
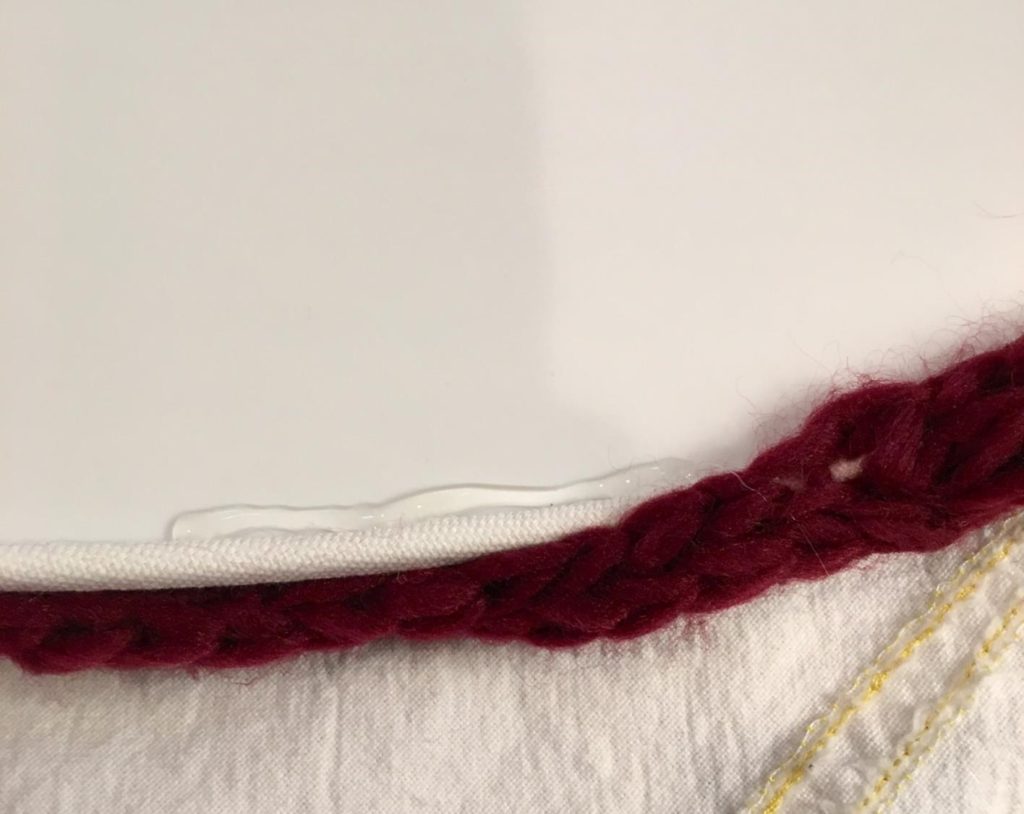
7. To ensure the scarves don’t slip down on the outer part of the shade, I went around the shade and placed some lines of glue in the space where I tucked the top scarf into the bottom scarf. That way, they’ll stay in place and won’t slip down or ride up. Alternately, you could take some similar colored yarn and just weave it between each scarf to pull them together. At this point, you could even add some fun embellishments like yarn fringe, tassels or poms!
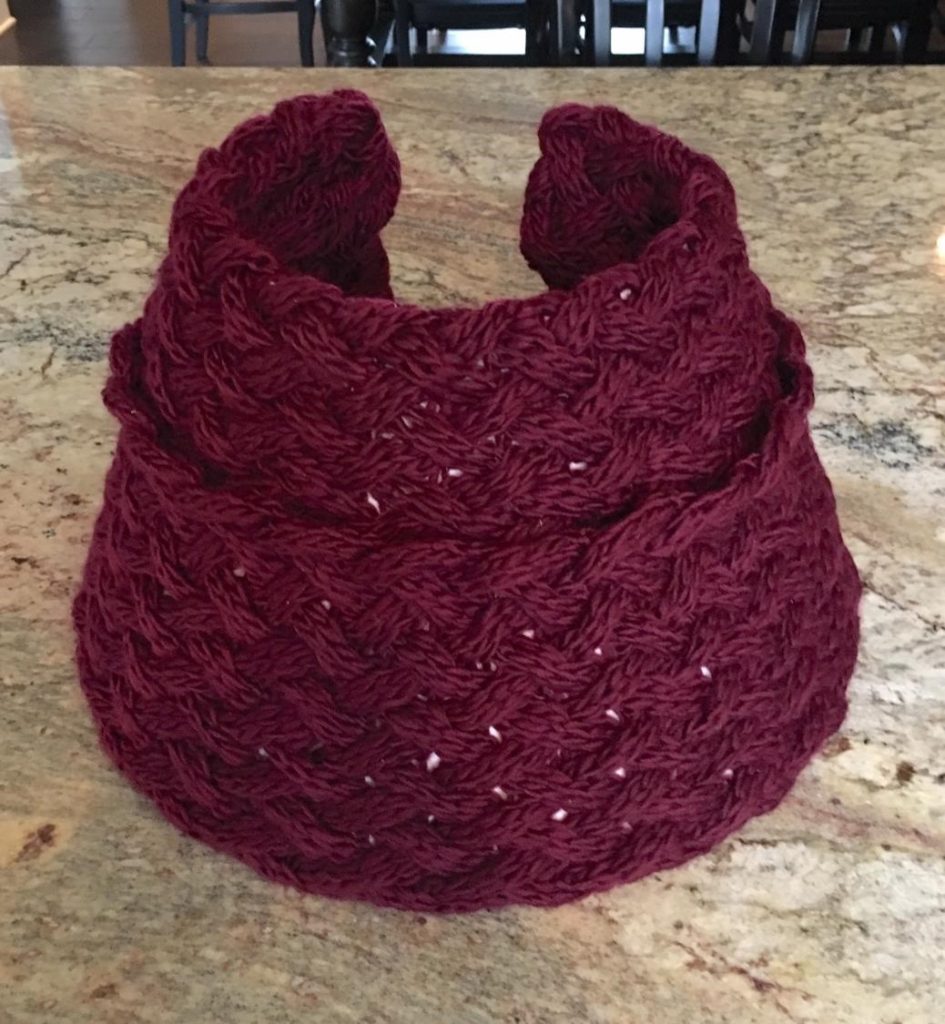
8. Make sure everything is secure and fully dry. Then gently fit the base around your tree. There you have it! A festive tree collar sized just right for a smaller, skinnier tree!
If you have any additional questions during your search for the perfect copper sink, our Sinkologists are here to help. Contact us or follow us on Facebook, Twitter, Houzz, Pinterest, or Instagram for more helpful tips and design ideas.