How to Paint The Inside of an RV
Sinkology is proud to present Ashley Carpenter, a homebody, decor obsessed, DIYer that loves fitness, happy people and wants nothing more than to be on the lake soaking up the sun with good people and good music. Ashley runs the blog Joyfully Growing and is here to share a few tips, tricks and DIY projects that perfectly fit her farmhouse style.
Before we started the process of painting our RV, I had no idea how much work it was going to be. It definitely isn’t the same as painting a room in your house! There are a few important steps you’ll want to make sure you do before picking up that paint brush.
So today I’m breaking down the exact process we used to paint our RV. I’m not gonna lie, it’s a tough job that isn’t very much fun at all. But in the end it is SO worth it! Trust me!
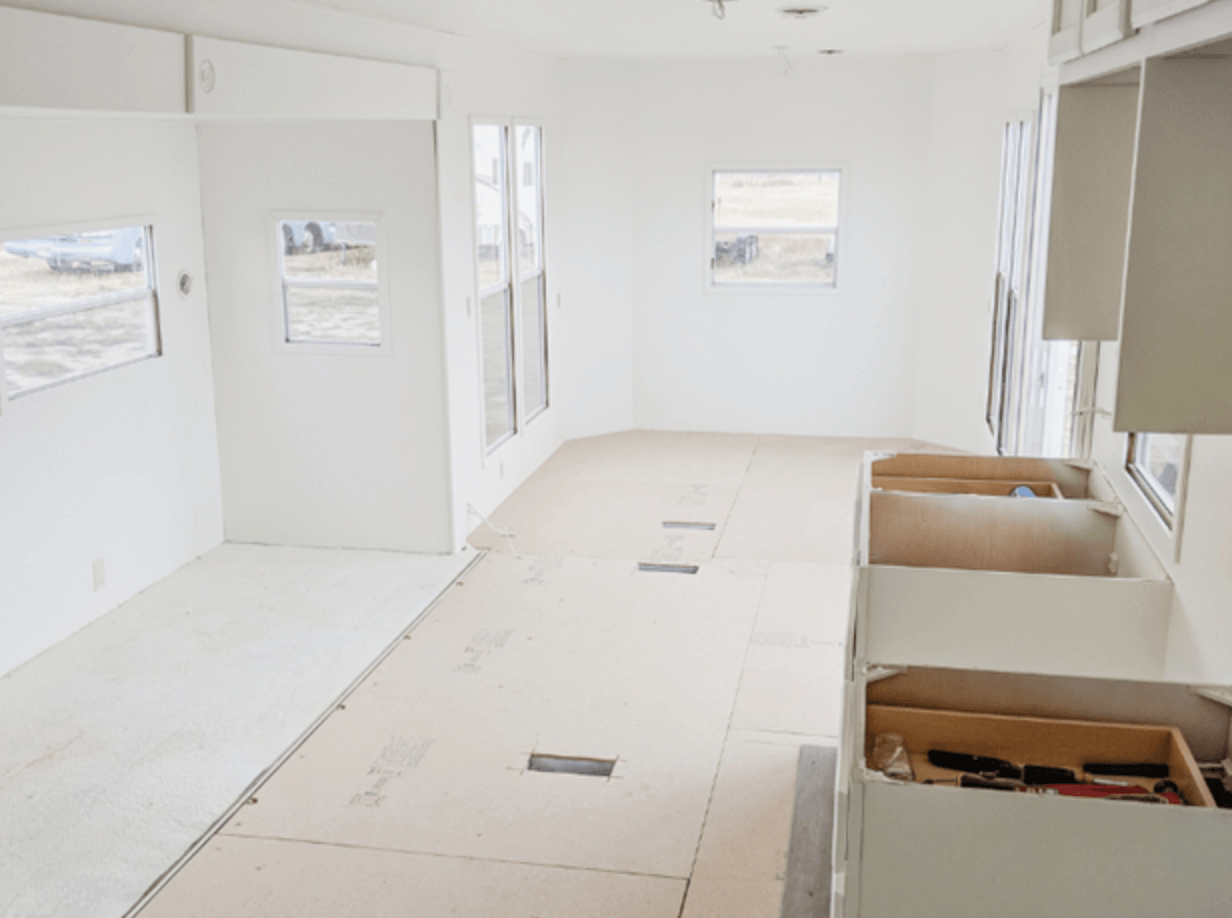
Here’s a little before and after teaser 😉

Alright, let’s get into the steps. Here’s everything you need to know!
Step 1: Fill in any holes
Whether you’ve completely gutted your RV or you’re just wanting to give it a fresh paint job, you’ve probably got some imperfections in the walls. Start by sanding down any rough spots using a sander (or sandpaper works too). Then fill the holes using wood filler. Once the wood filler dries, give it a final bout of sanding to create a smooth surface.
Step 2: Tape off windows
To help this step go by quickly, we used a hand-masker dispenser. The dispenser applies tape to a roll of paper in one step so you can easily tape off large windows and doors in one fell swoop.
Step 3: Wash the surface with TSP
While it’s always a good idea to wash down an area before painting, it’s extra important to do so before painting RV walls and/or ceilings. With all of the hauling, camping, and in our case, demo-ing, the interior of RVs can get dirty quick. And since the interiors aren’t your typical drywall material, you want to give the paint the best possible chance to adhere. 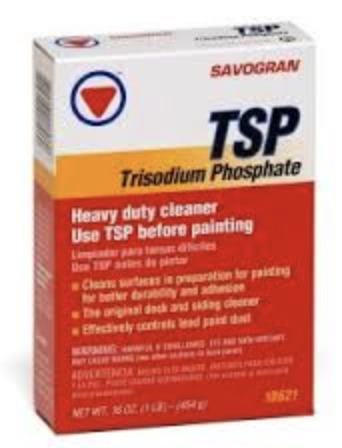 TSP is basically a heavy duty cleaner that is preferred by painting professionals to remove pretty much anything from any surface. Because we bought our RV used, we wanted to make sure there wasn’t any hidden grime on any of the surfaces so we used TSP on every inch of the interior. It worked great and it’s really easy to use. We simply followed the instructions on the packaging and mixed the powder with water, applied to the area with a sponge and then followed up with a clean sponge to rinse. Step 4: Use the right primer This step is super important! Like I mentioned in the previous step, because RV walls aren’t made of sheetrock like in a normal house, you need to use a specific type of primer to prep the walls for paint.
  We used KILZ Adhesion Bonding Primer and highly recommend it. KILZ Adhesion is a unique latex primer developed to bond securely on slick surfaces where a traditional water or oil-base primer will not adhere. For the RV walls and ceiling we used a paint sprayer to apply the primer. We applied the primer on the cabinets using a brush, however, just to be sure that the cabinet doors and drawers got even coverage around all of the corners and grooves.
Step 5: It’s time for paint!
Now that your walls are smooth, cleaned, and primed – you’re ready to paint! At this point you can choose to use a brush, roller or sprayer… however if you’re painting RV walls, ceilings, and/or cabinets, using a sprayer will save a lot of time. Especially when you think about having to do multiple coats. We used a sprayer to apply all of the paint inside our RV and ended up doing 2 coats of paint after primer. Depending on what color you’re using you may be able to get away with only 1 coat, especially since you used a great primer. We painted the interior of our RV white, so we added an extra coat of paint just to be safe. 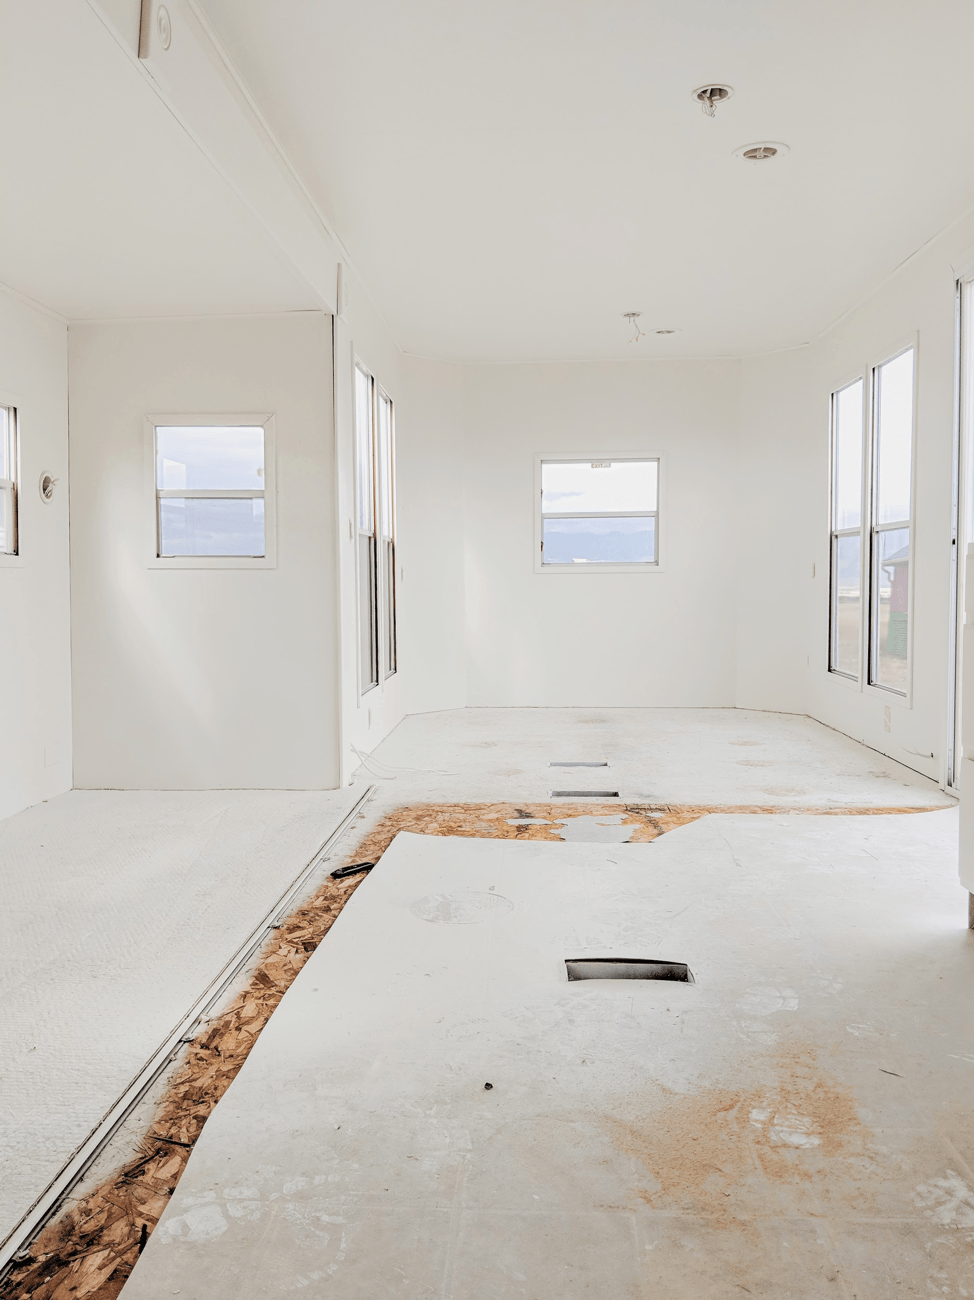 I hope these tips helped give you confidence when it comes to painting RV interior walls. It may be a tedious job, but with the right prep work and a little elbow grease it will make your RV look brand new! To read more about our choice to move into an RV, checkout this post!
If you have any additional questions during your search for the perfect copper, fireclay farmhouse sink or granite sink, our Sinkologists are here to help. Contact us or follow us on Facebook, Houzz, Pinterest, or Instagram for more helpful tips and design ideas.