Lunchbox Cookies
Sinkology is proud to present Emily Schuermann, our food-loving guest blogger who runs Food for a Year. Emily is here to share some recipes she has created exclusively for the Sinkology blog that reflect her view of a copper sink: simple, timeless, affordable, and beautifully rustic.
_____________________________________________________________________________________________________________________
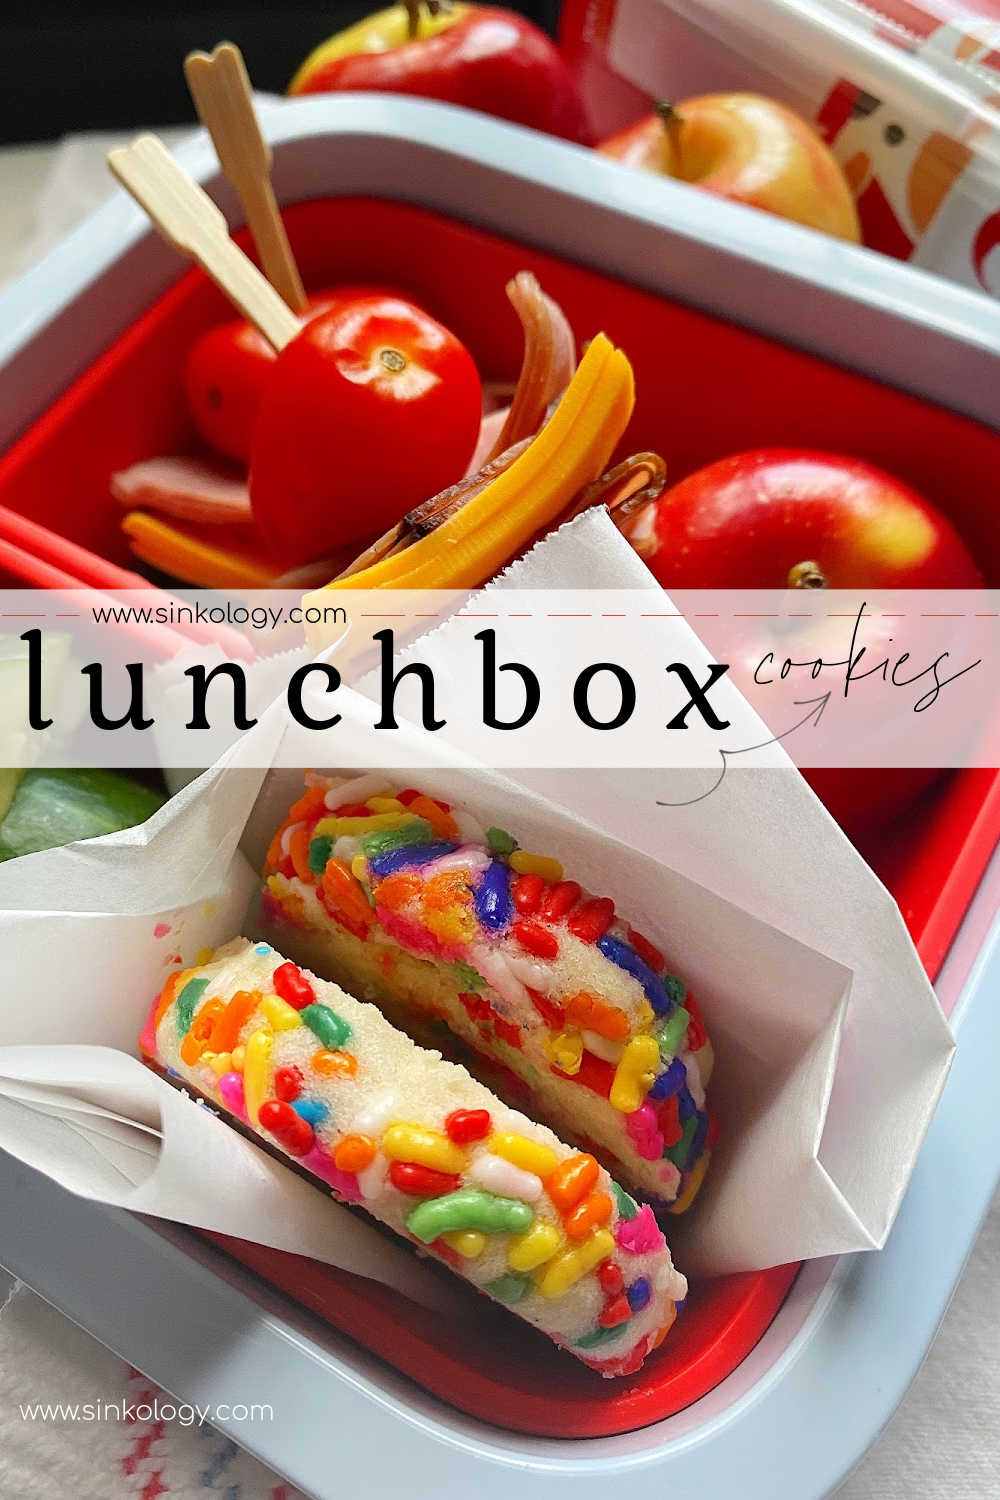
Sprinkles and bandaids are pretty much the two most powerful objects of childhood, right? No matter what else is happening, when one of these two things enters the scene, everything just magically becomes better – or at least that’s how it is in my home! Thanks to a hefty coating of sprinkles, this simple, colorful lunchbox cookie recipe promises to bring a little of that magic to any midday meal. In fact, these little cookies are so delightful, you may want to try adding them to every single part of your day!

This recipe is a keeper for sure as it really is one of the easiest, most versatile cookie recipes you’ll find :: 4 basic ingredients – 4 basic steps – easily adaptable. So, because this is such a basic recipe, technique is very important.
4 Basic Ingredients
- butter
- sugar
- flour
- salt
4 Basic Steps
1. Start by whipping the softened butter until it’s fluffy and glossy (about 2 minutes).
2. Then add finely granulated sugar, continue whipping another two minutes and scrape the sides to make sure everything is evenly incorporated.
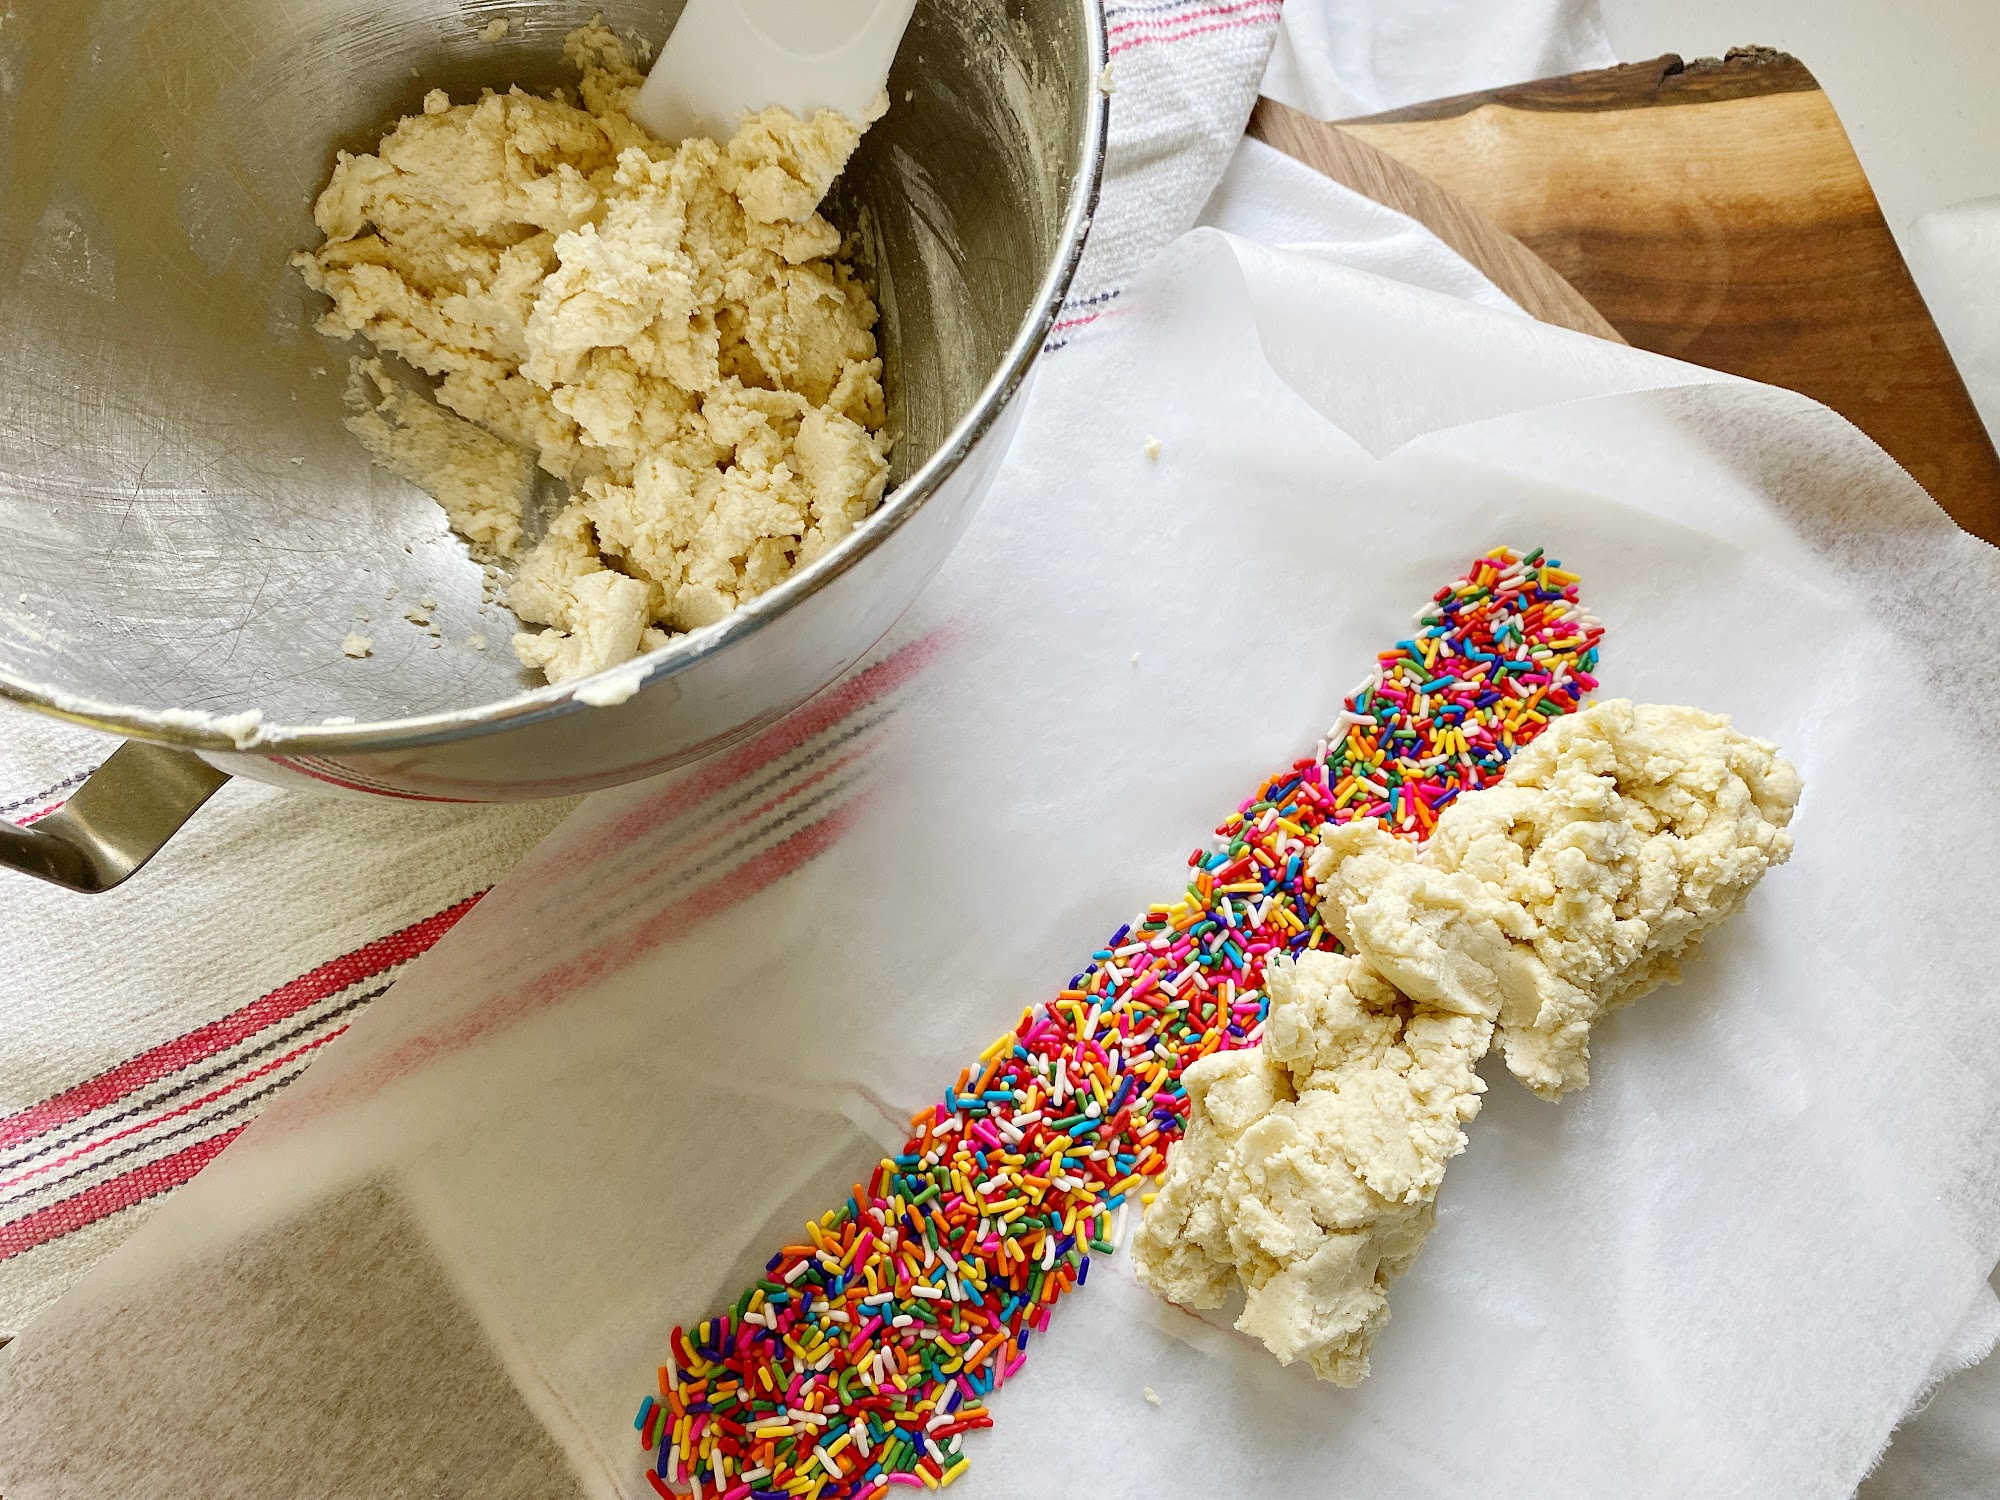
3. Add flour, salt and flavorings. To keep from deflating the whipped butter/sugar mixture, add the flour in four stages (scraping the sides and bottom between additions).
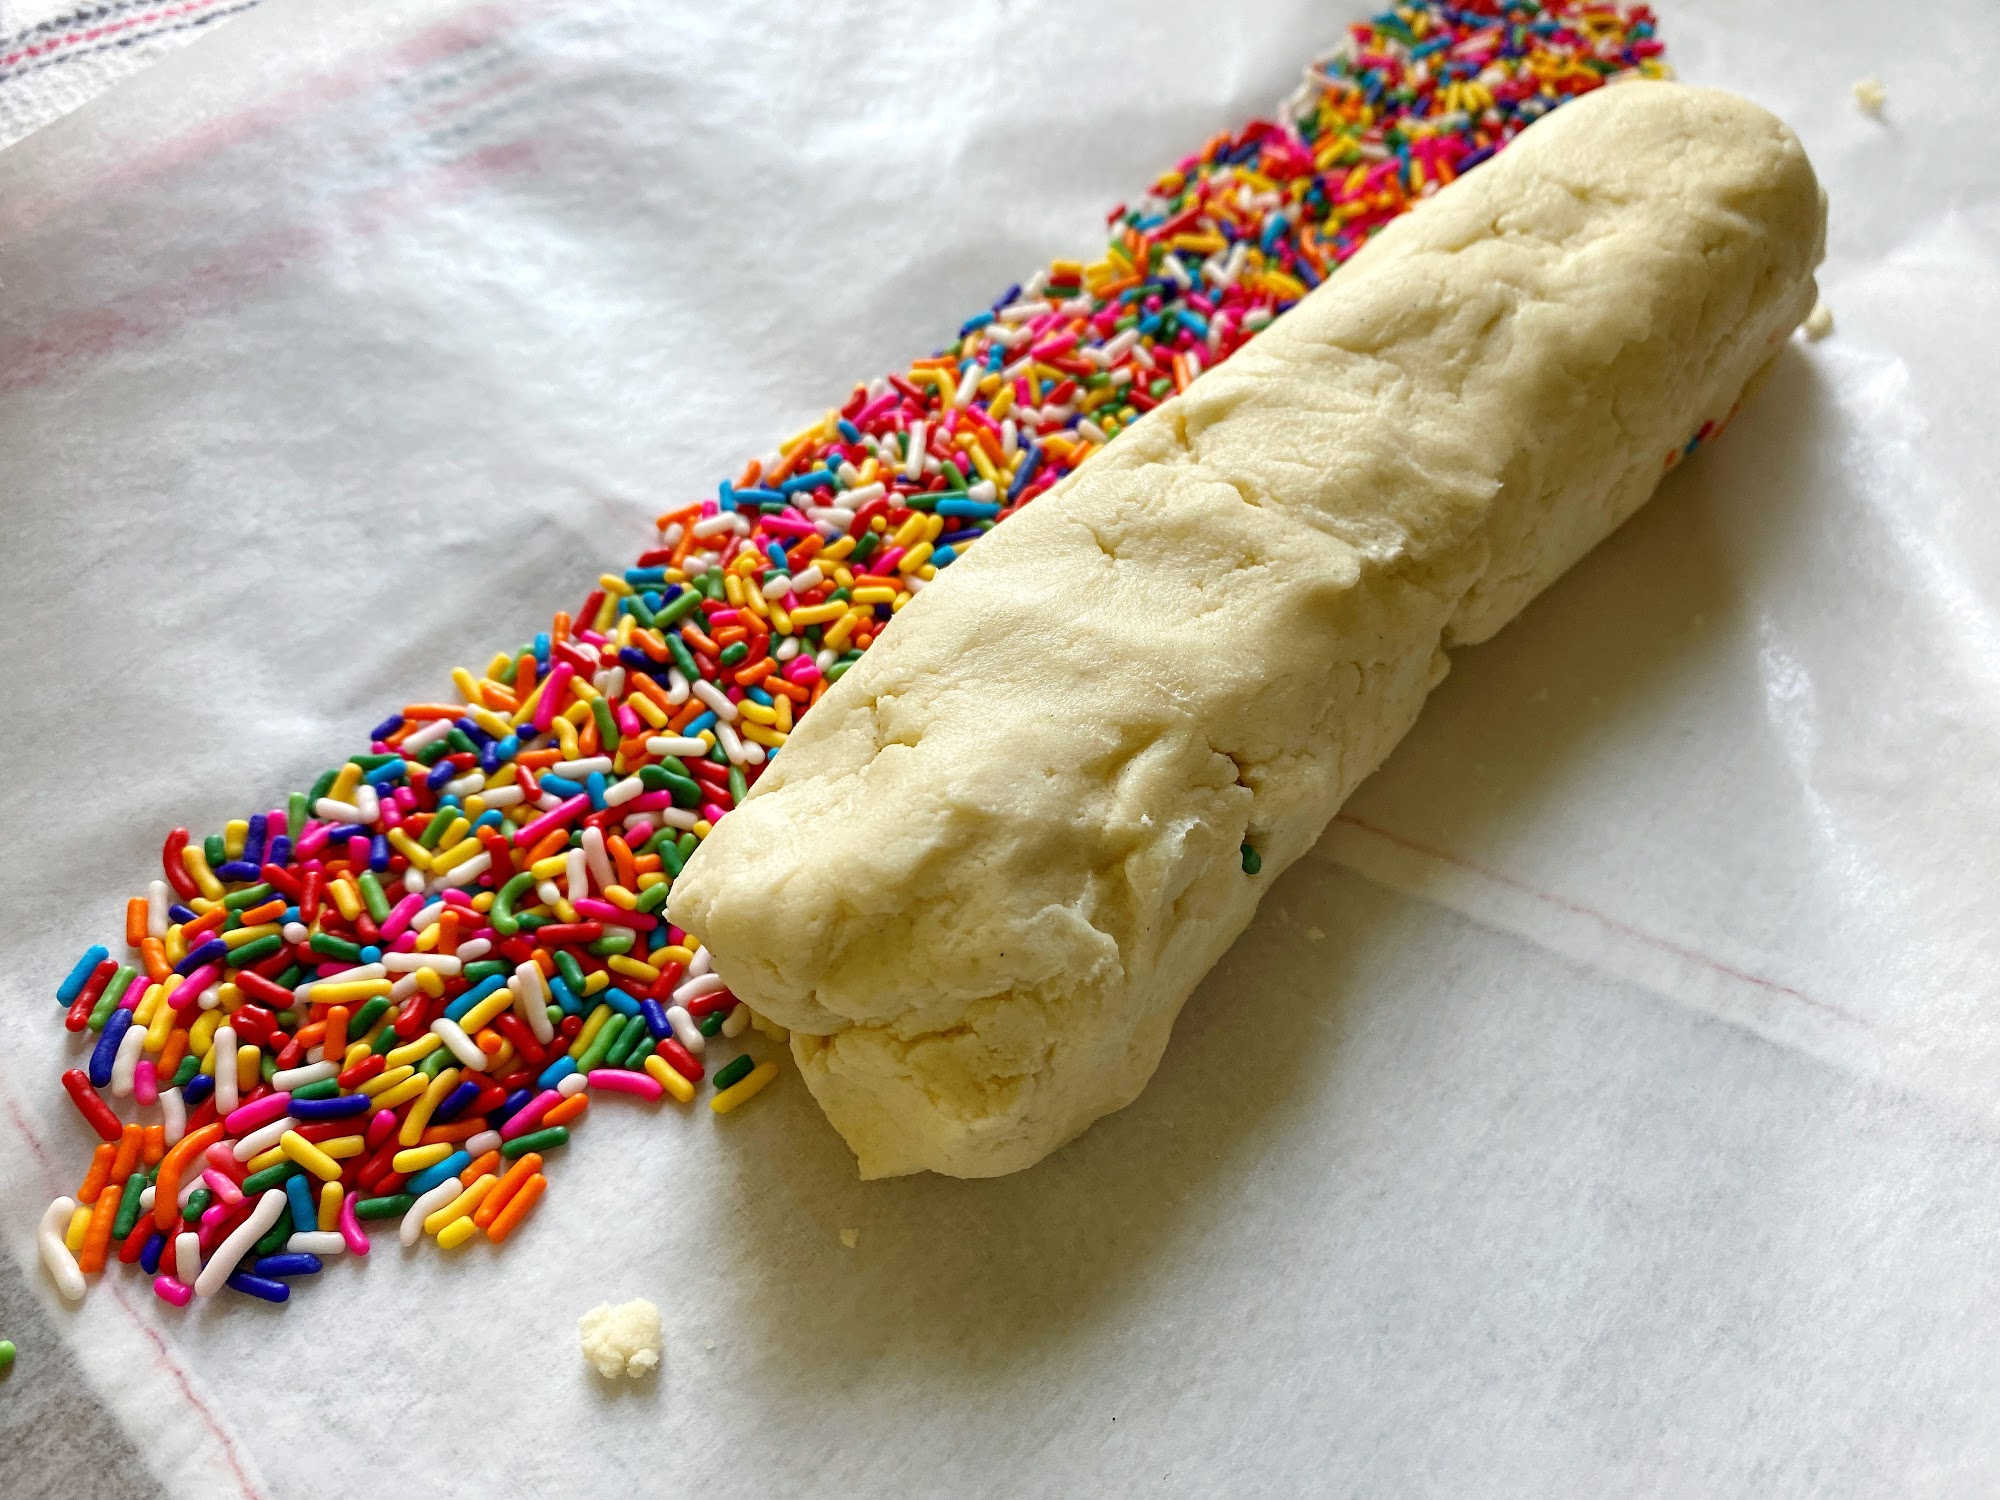
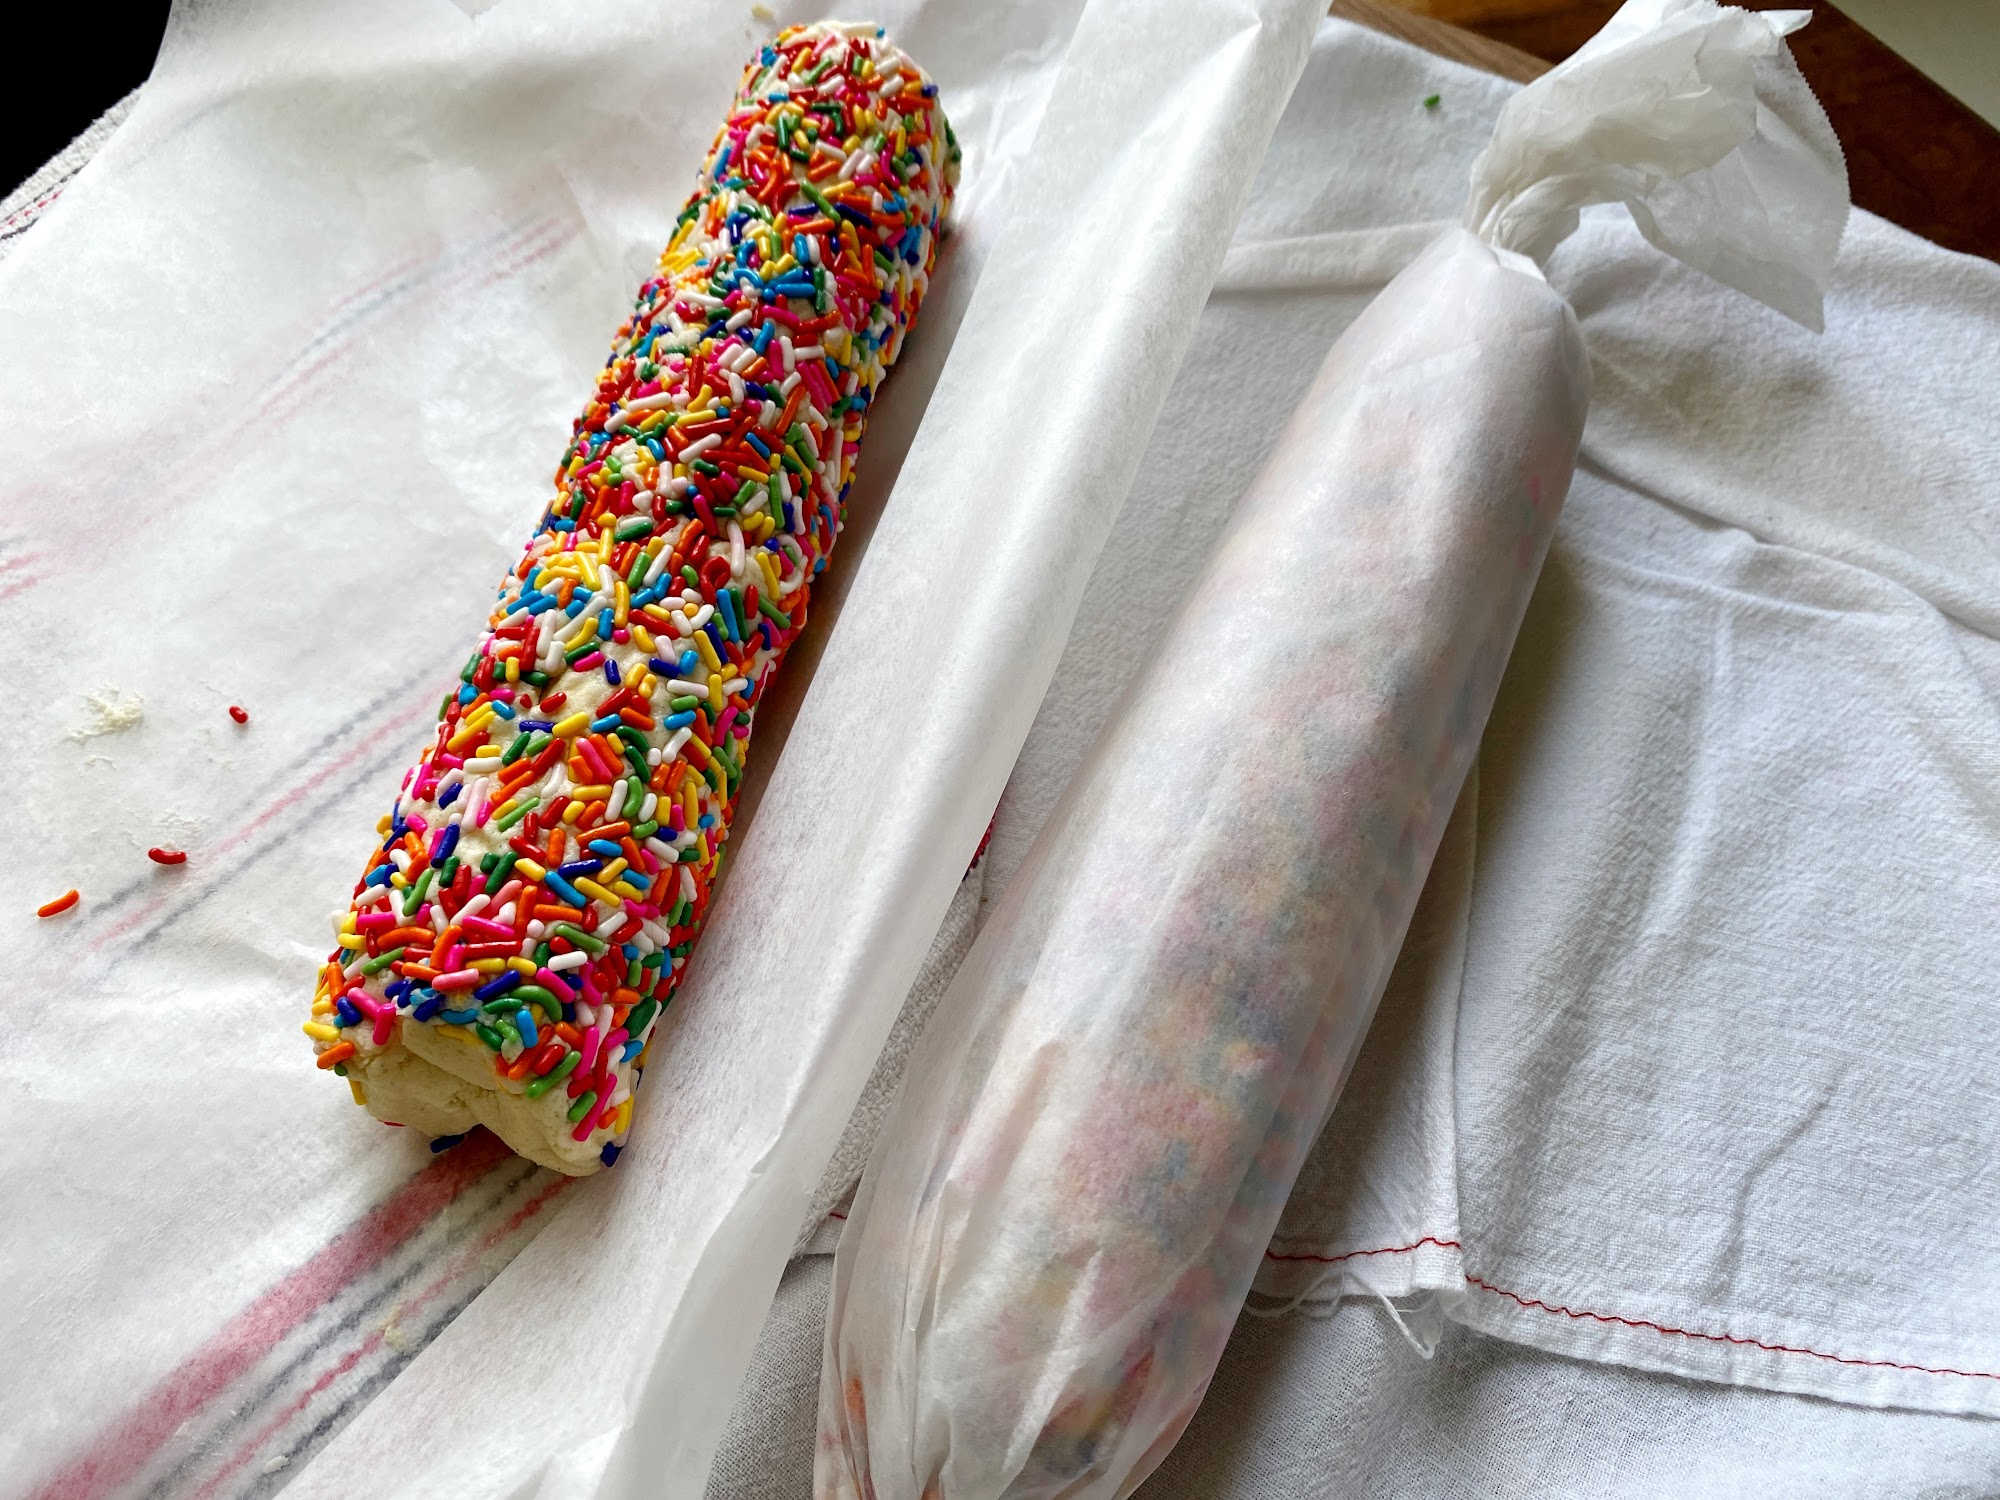
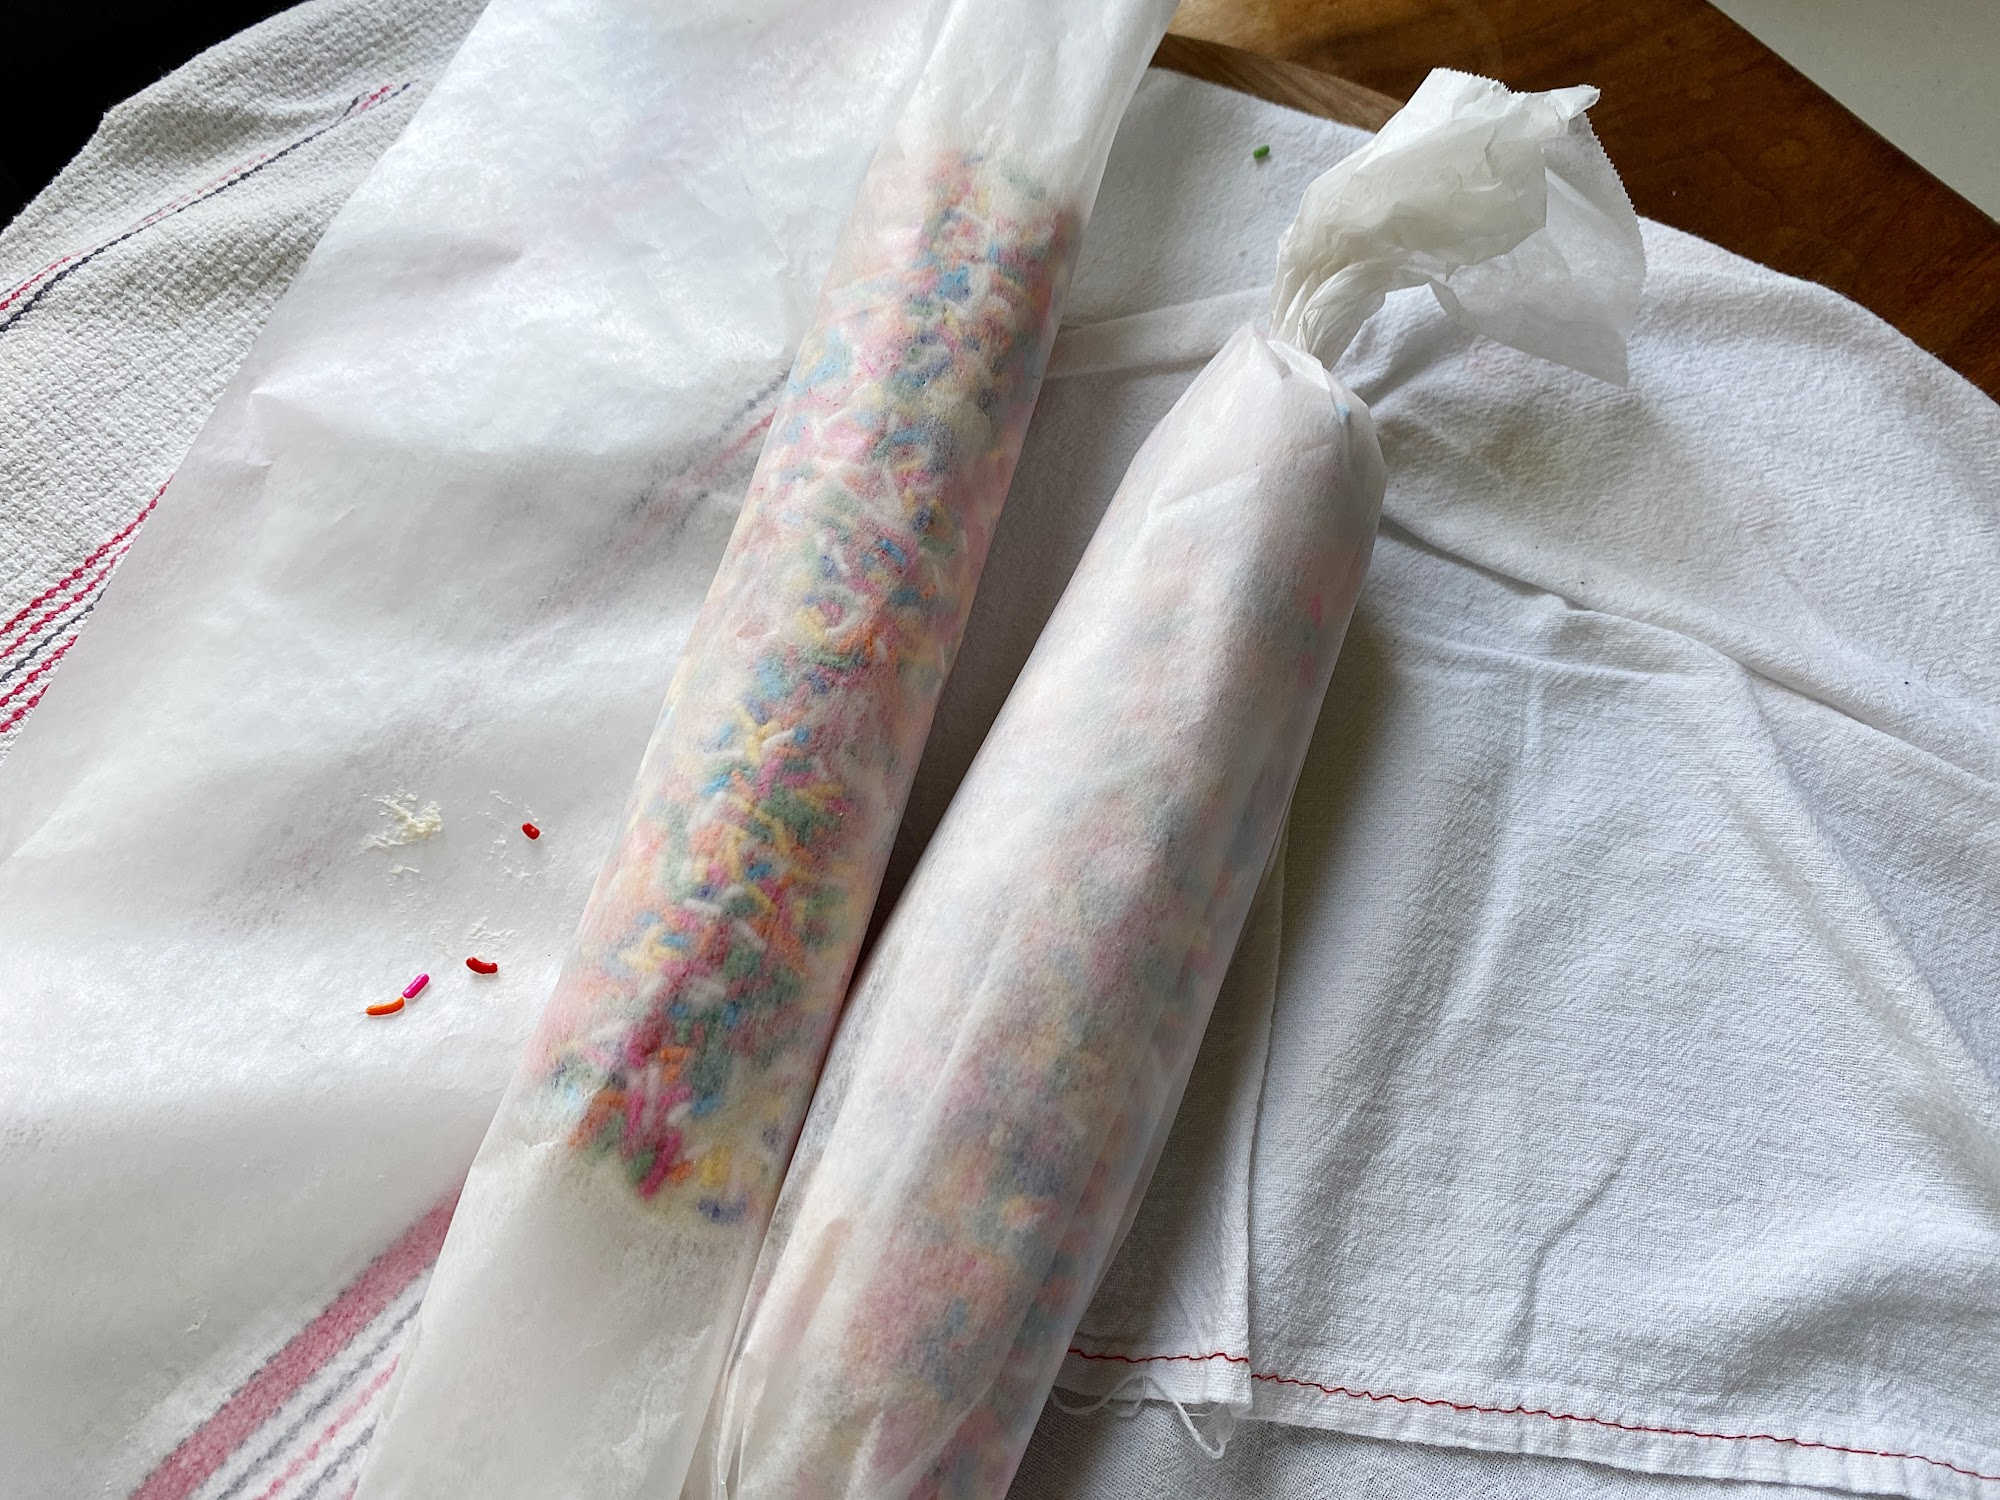
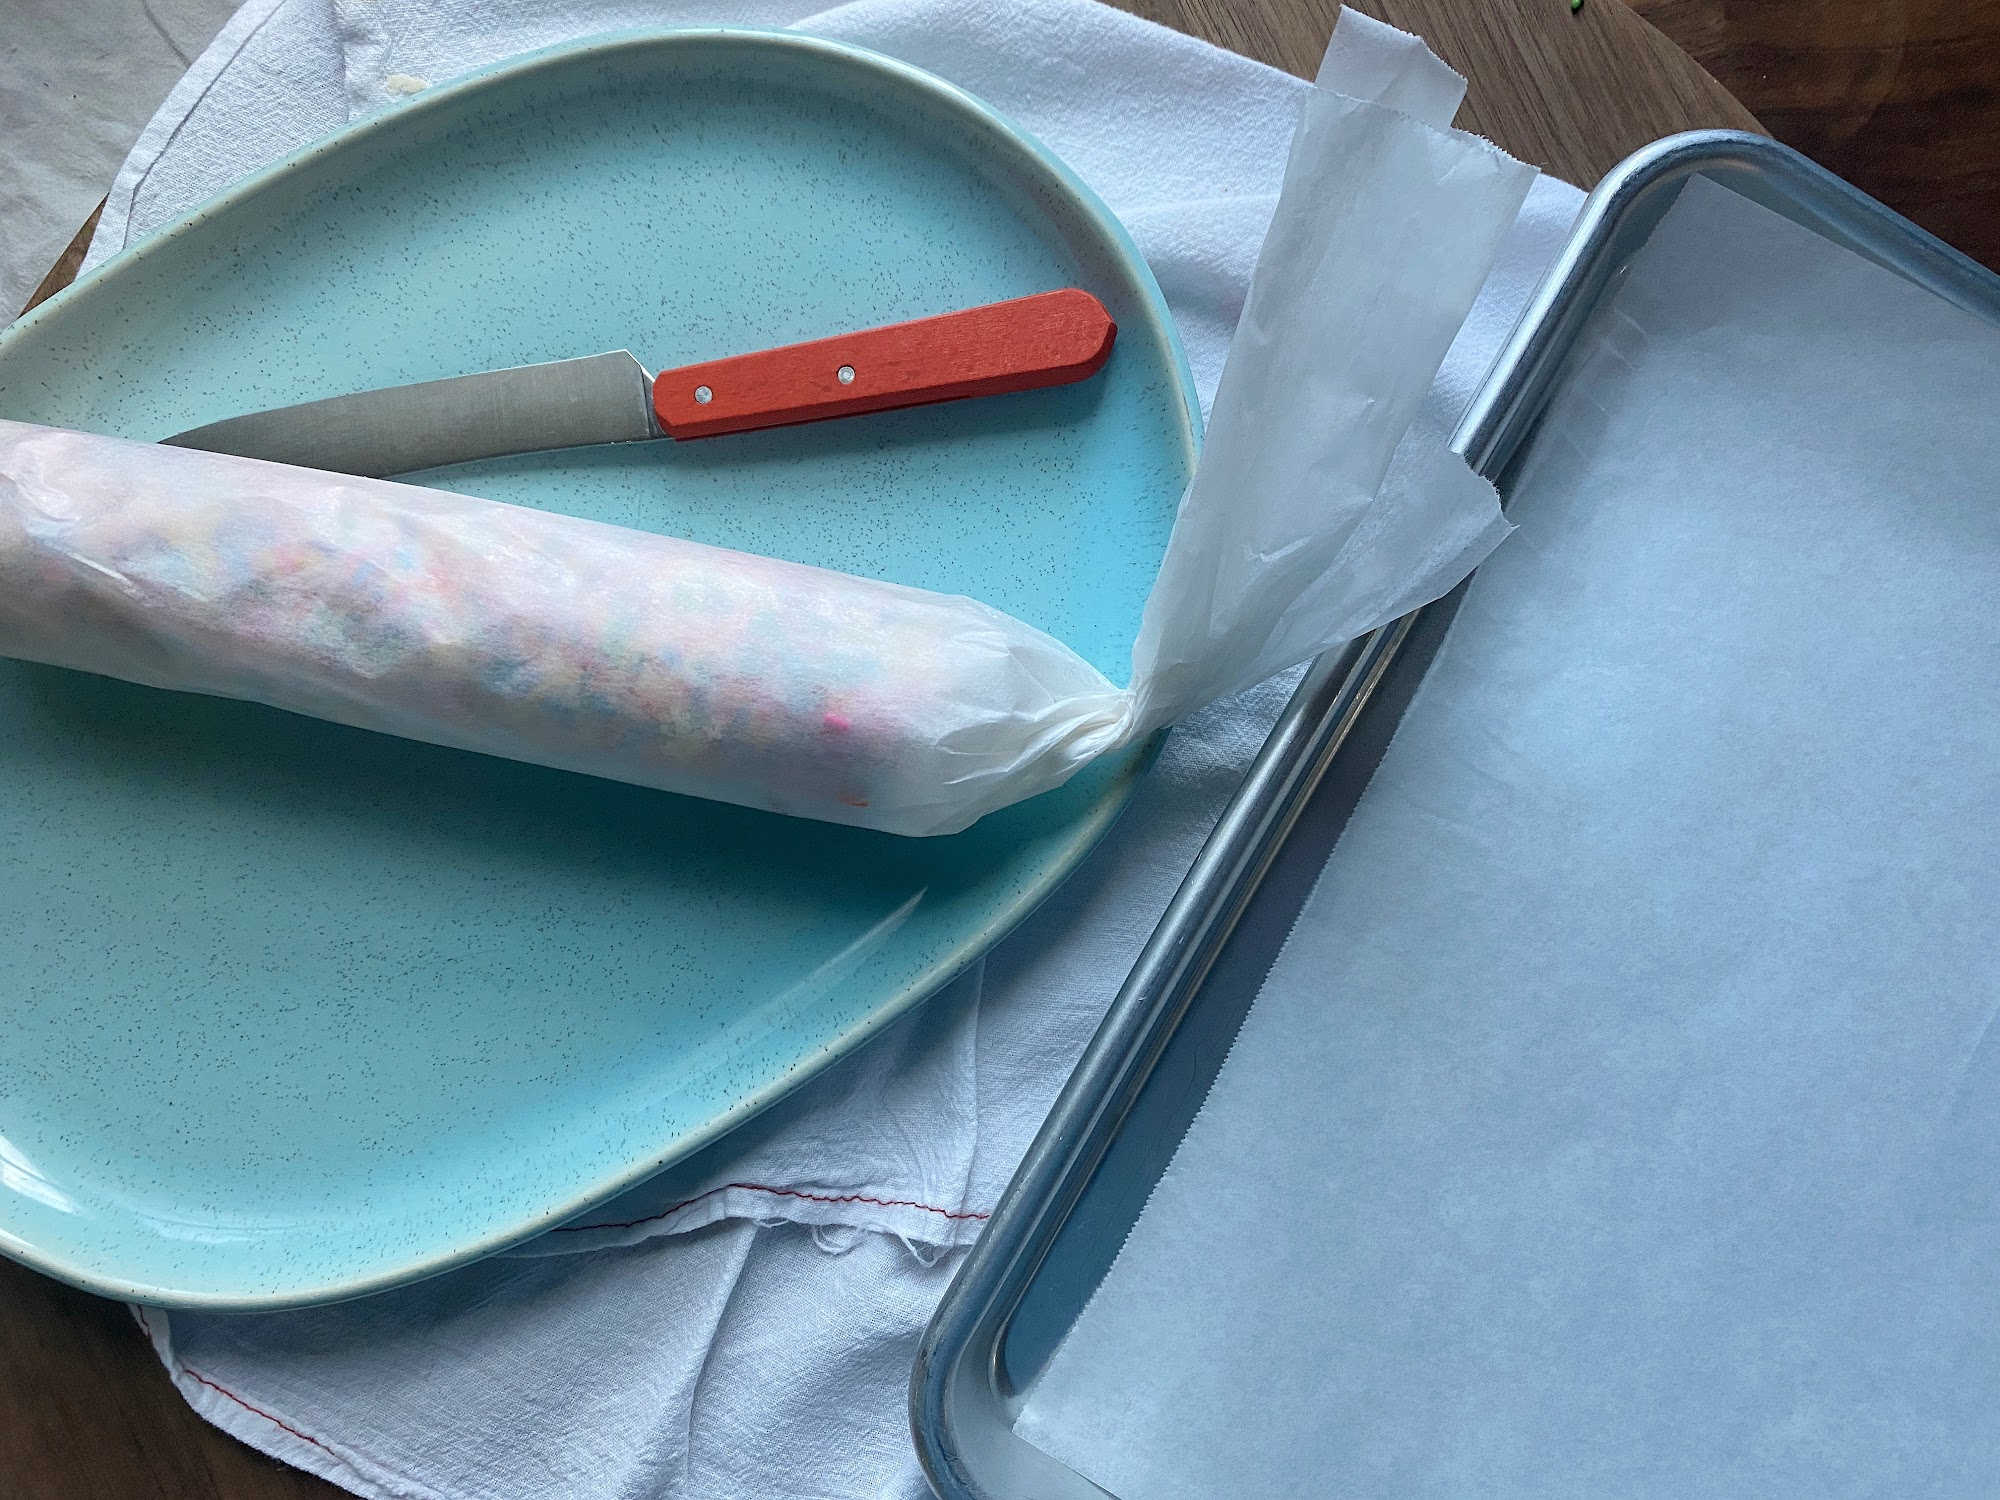
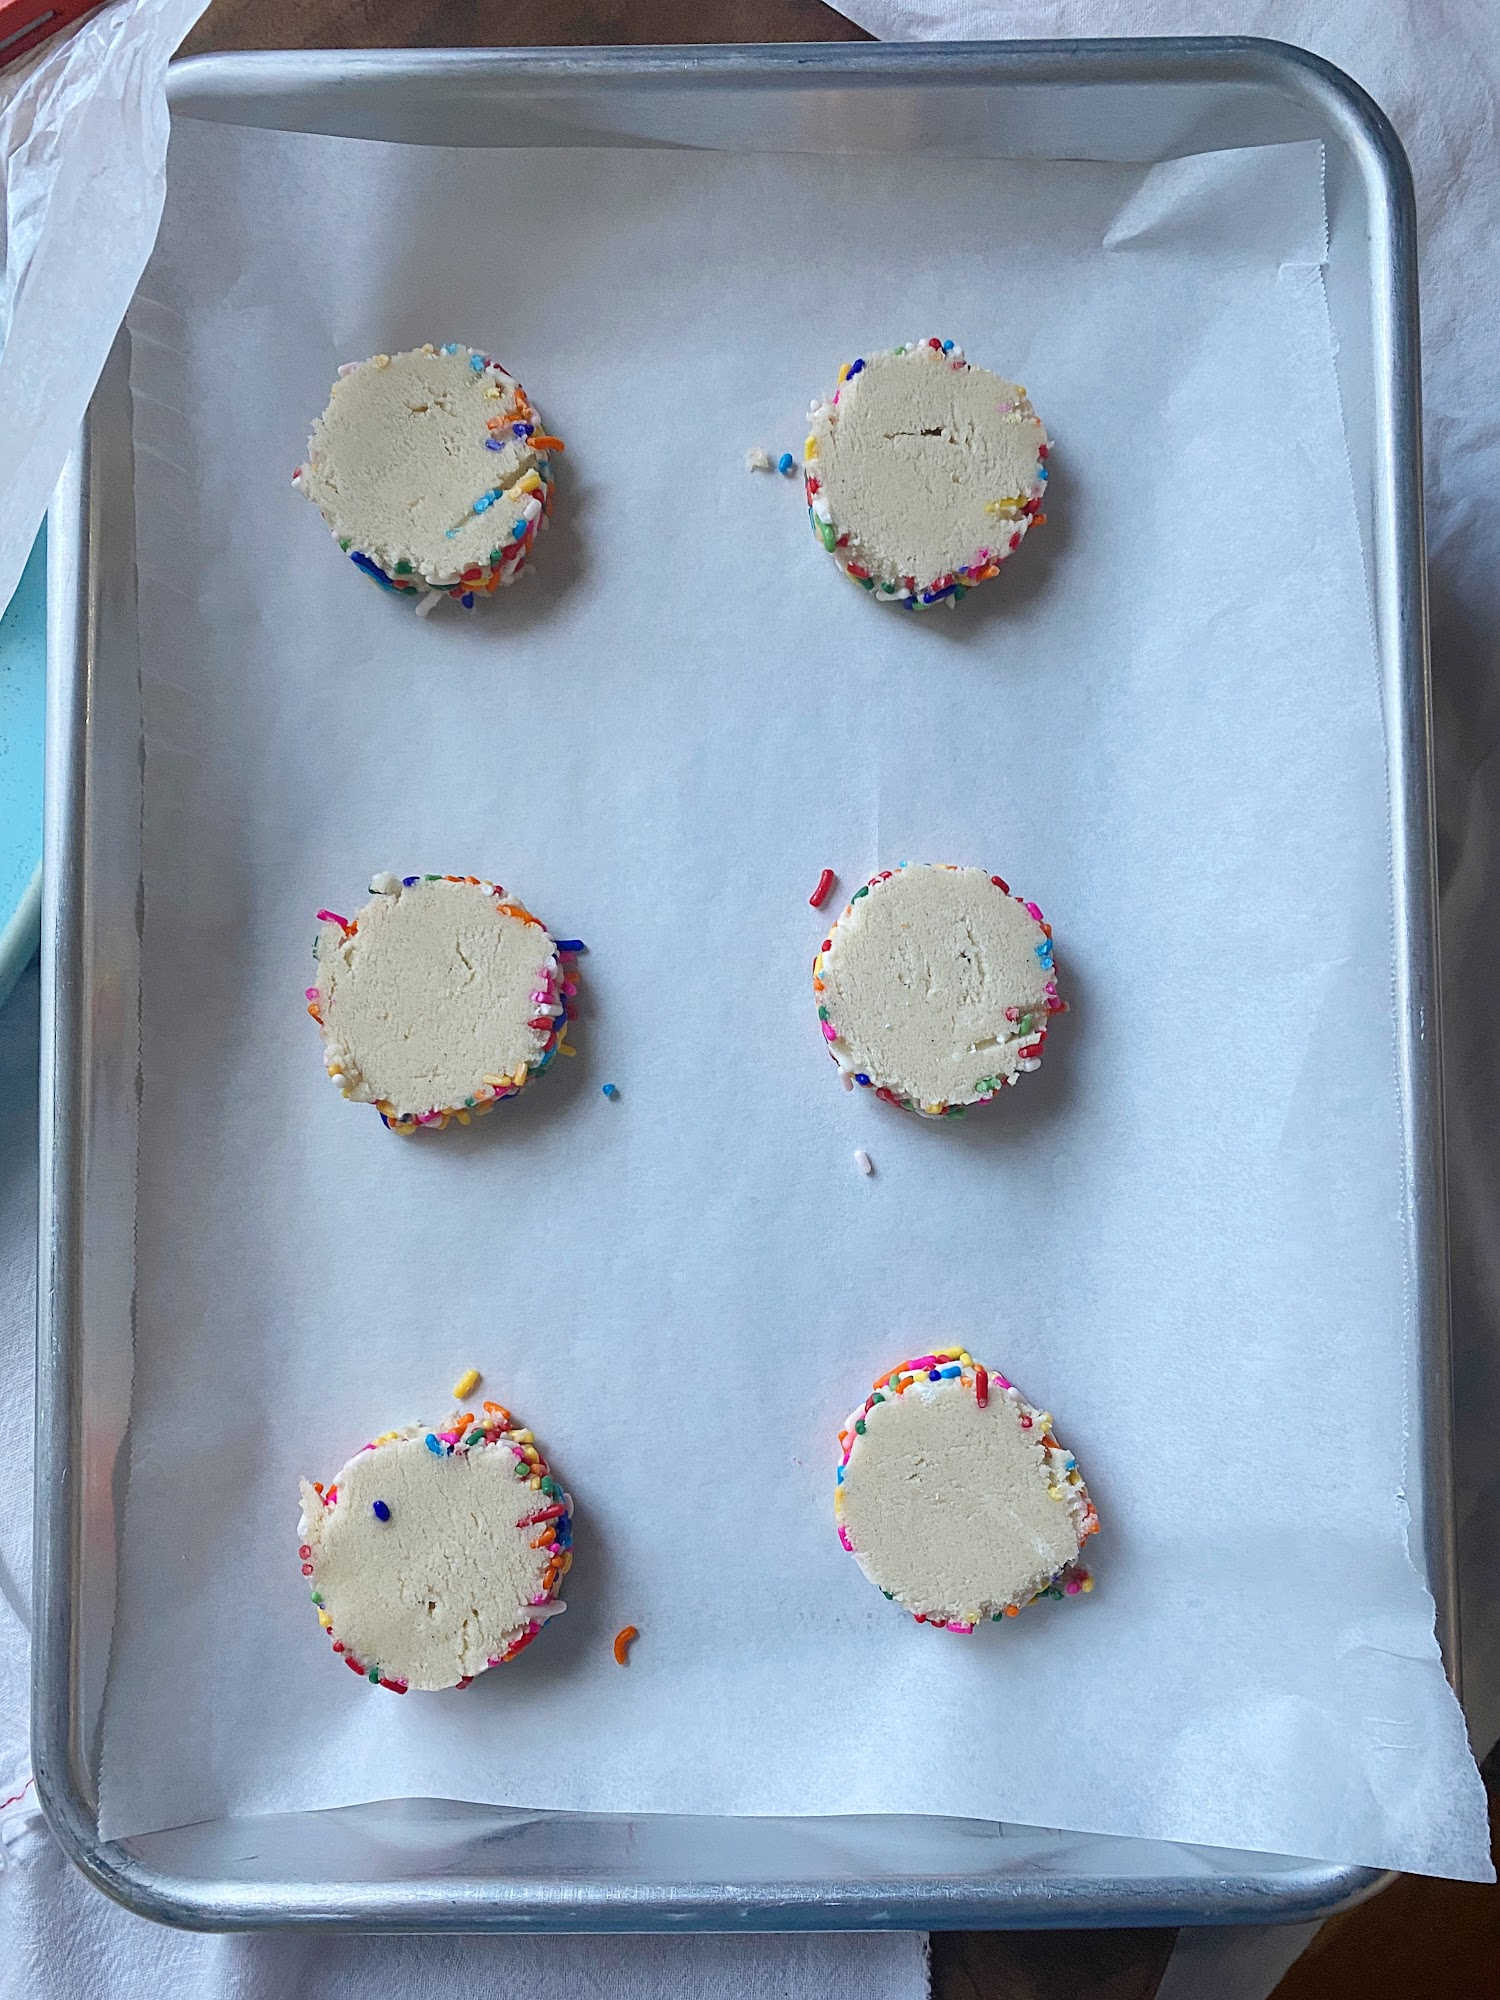
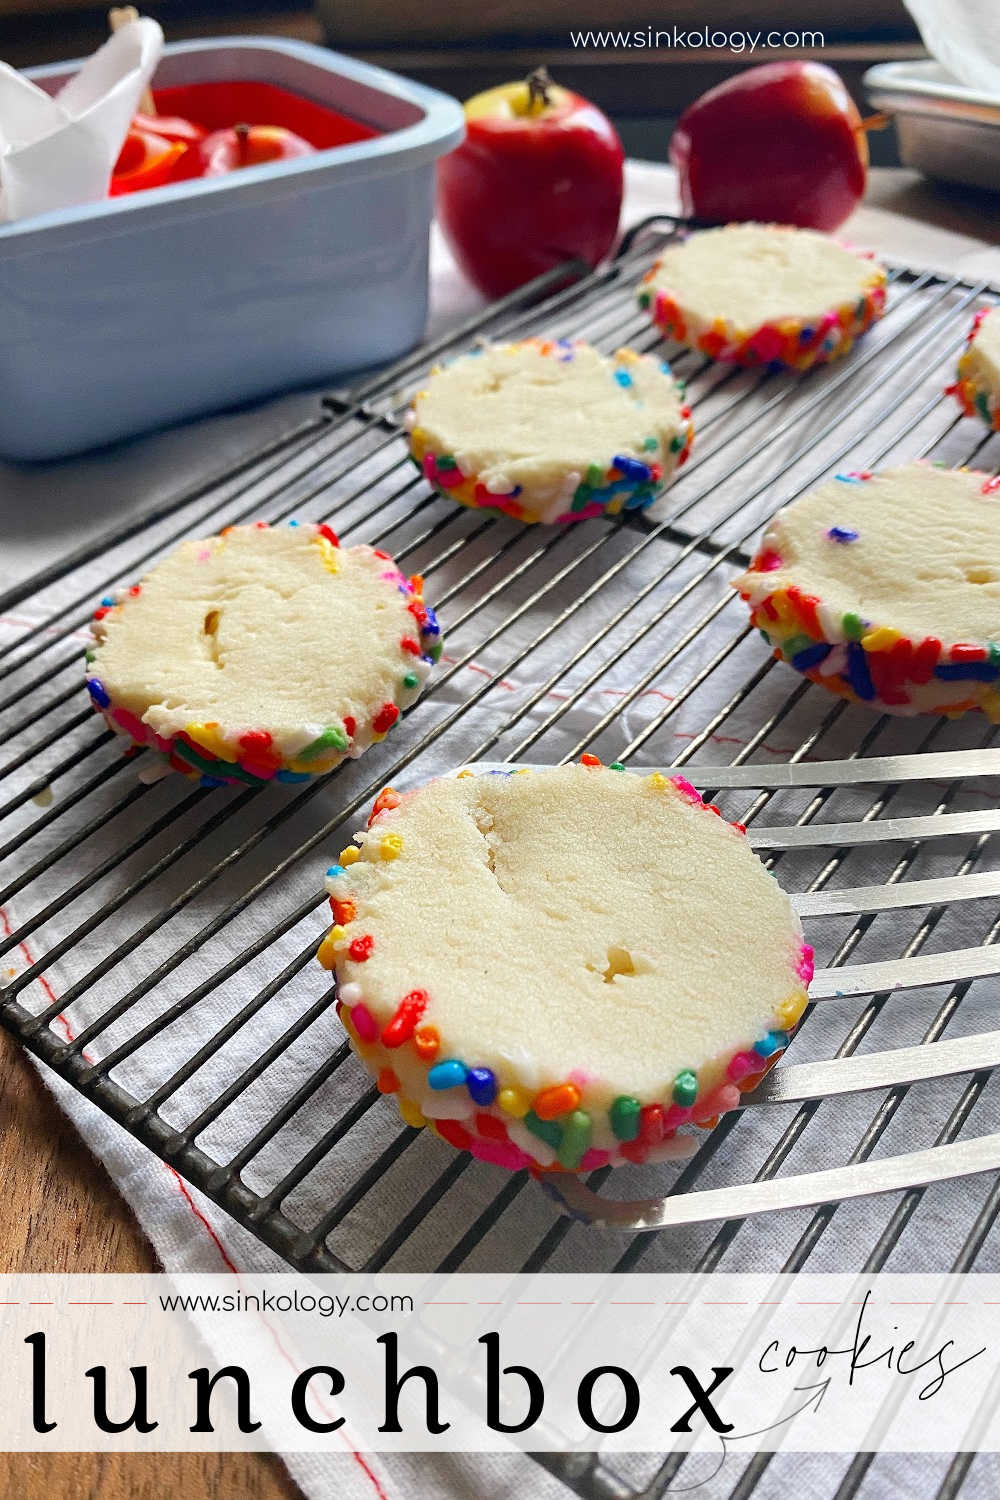
Once the dough is formed, divide it into two roughly equal portions and place each portion onto wax paper. Form a cylinder and roll in sprinkles. Wrap and chill for 1-2 hours. Check out the notes portion of the recipe card below for a hack that promises to keep these cookies perfectly round!

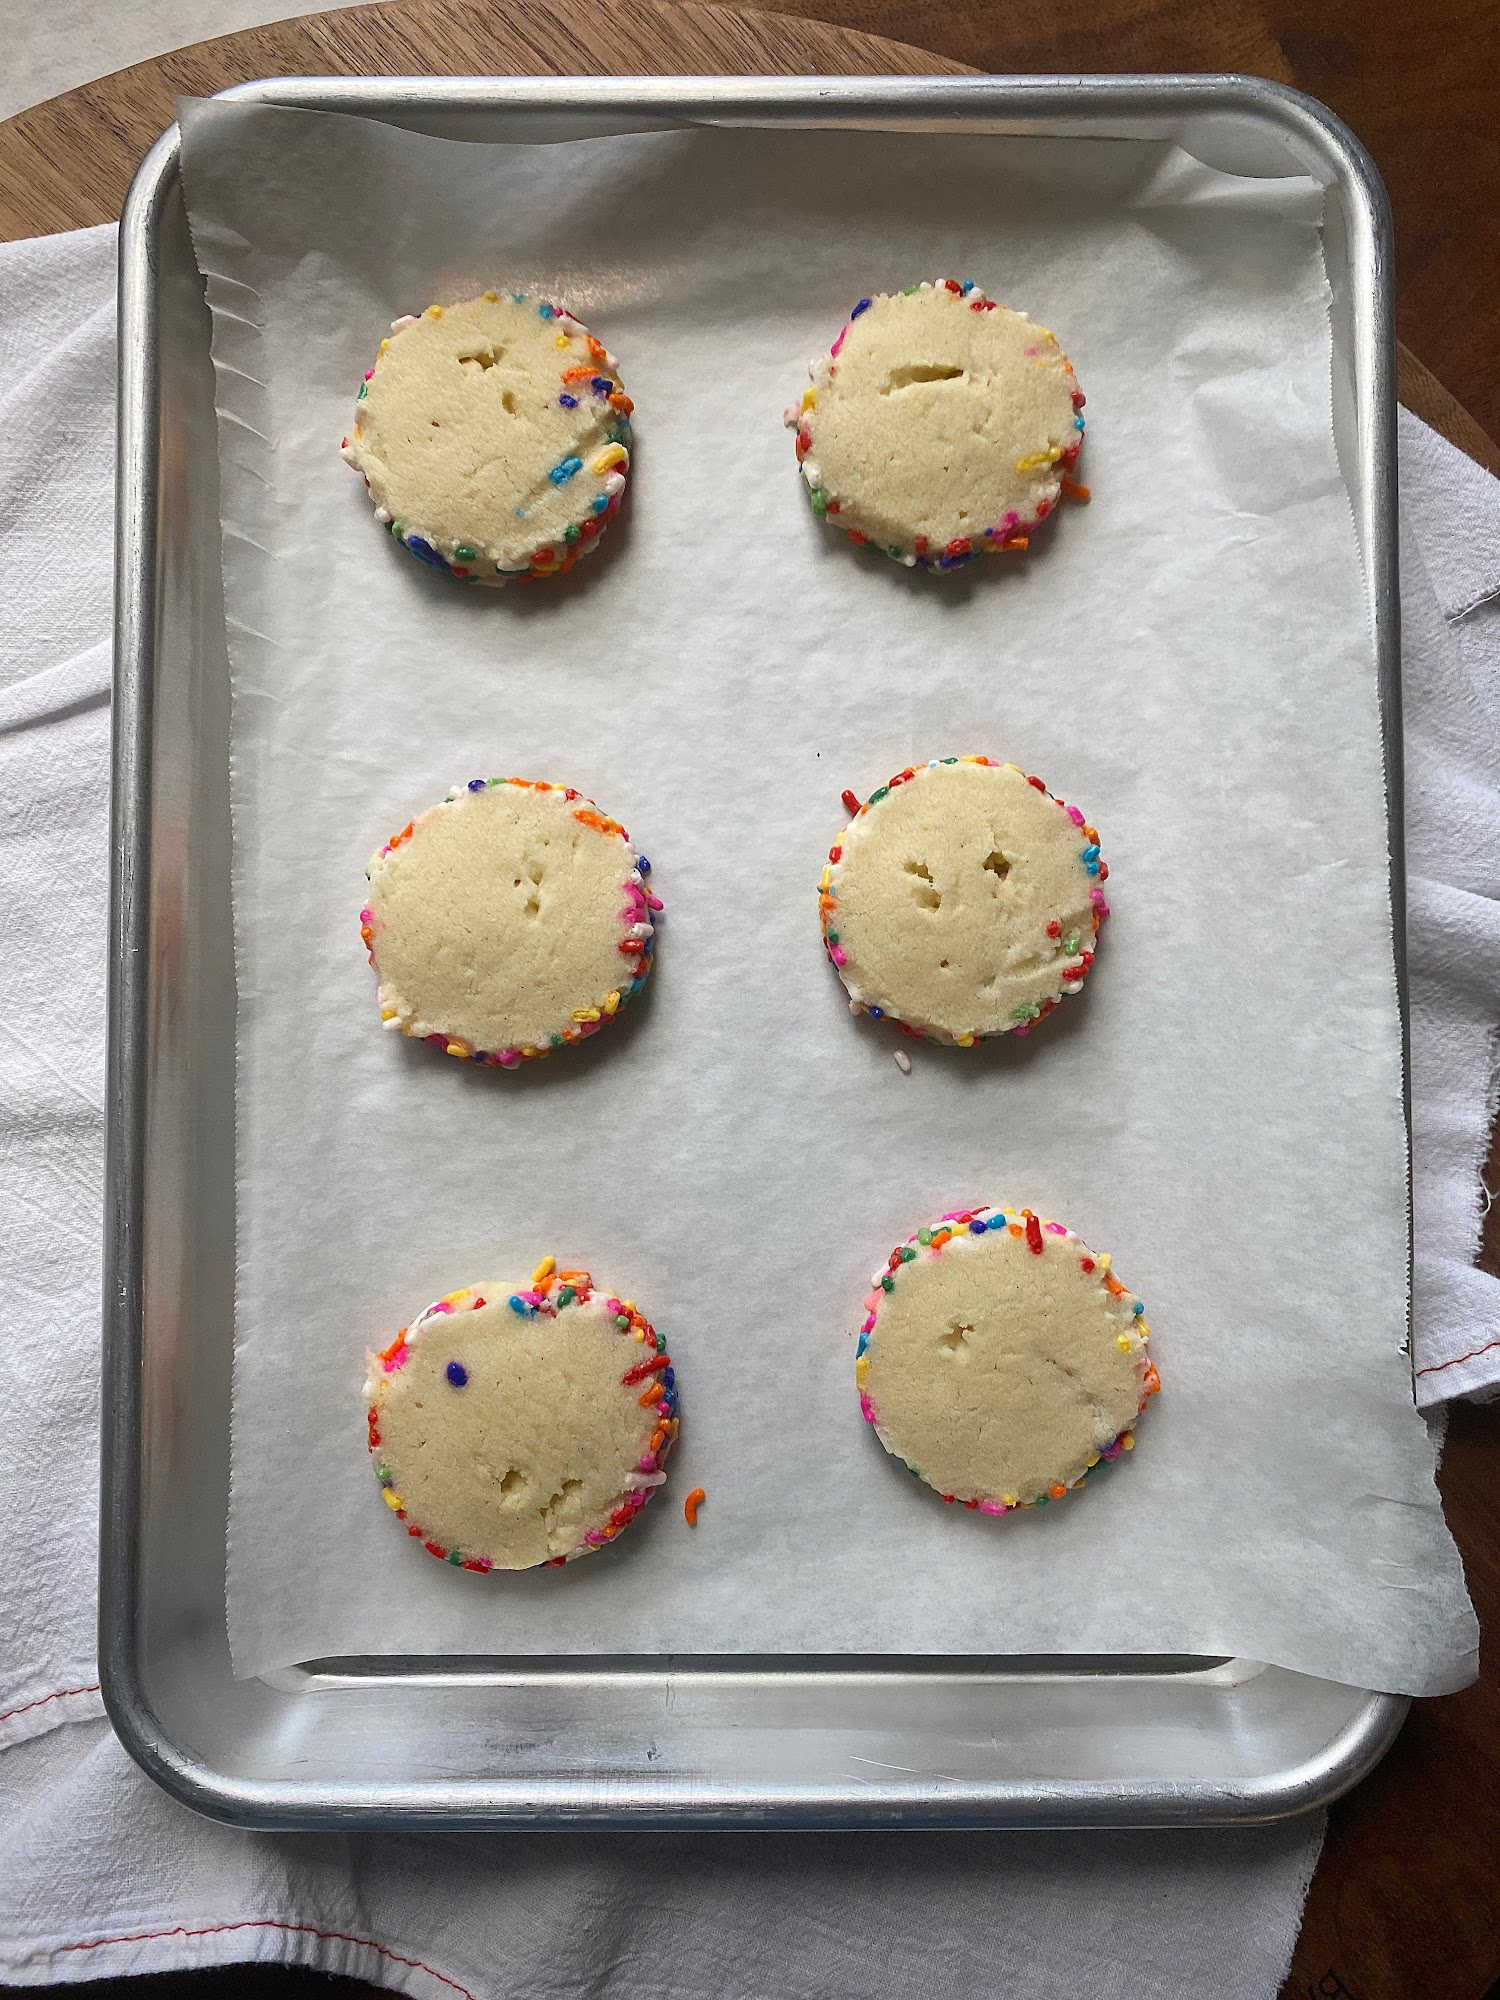
4. When chilling time is complete, simply slice and bake!
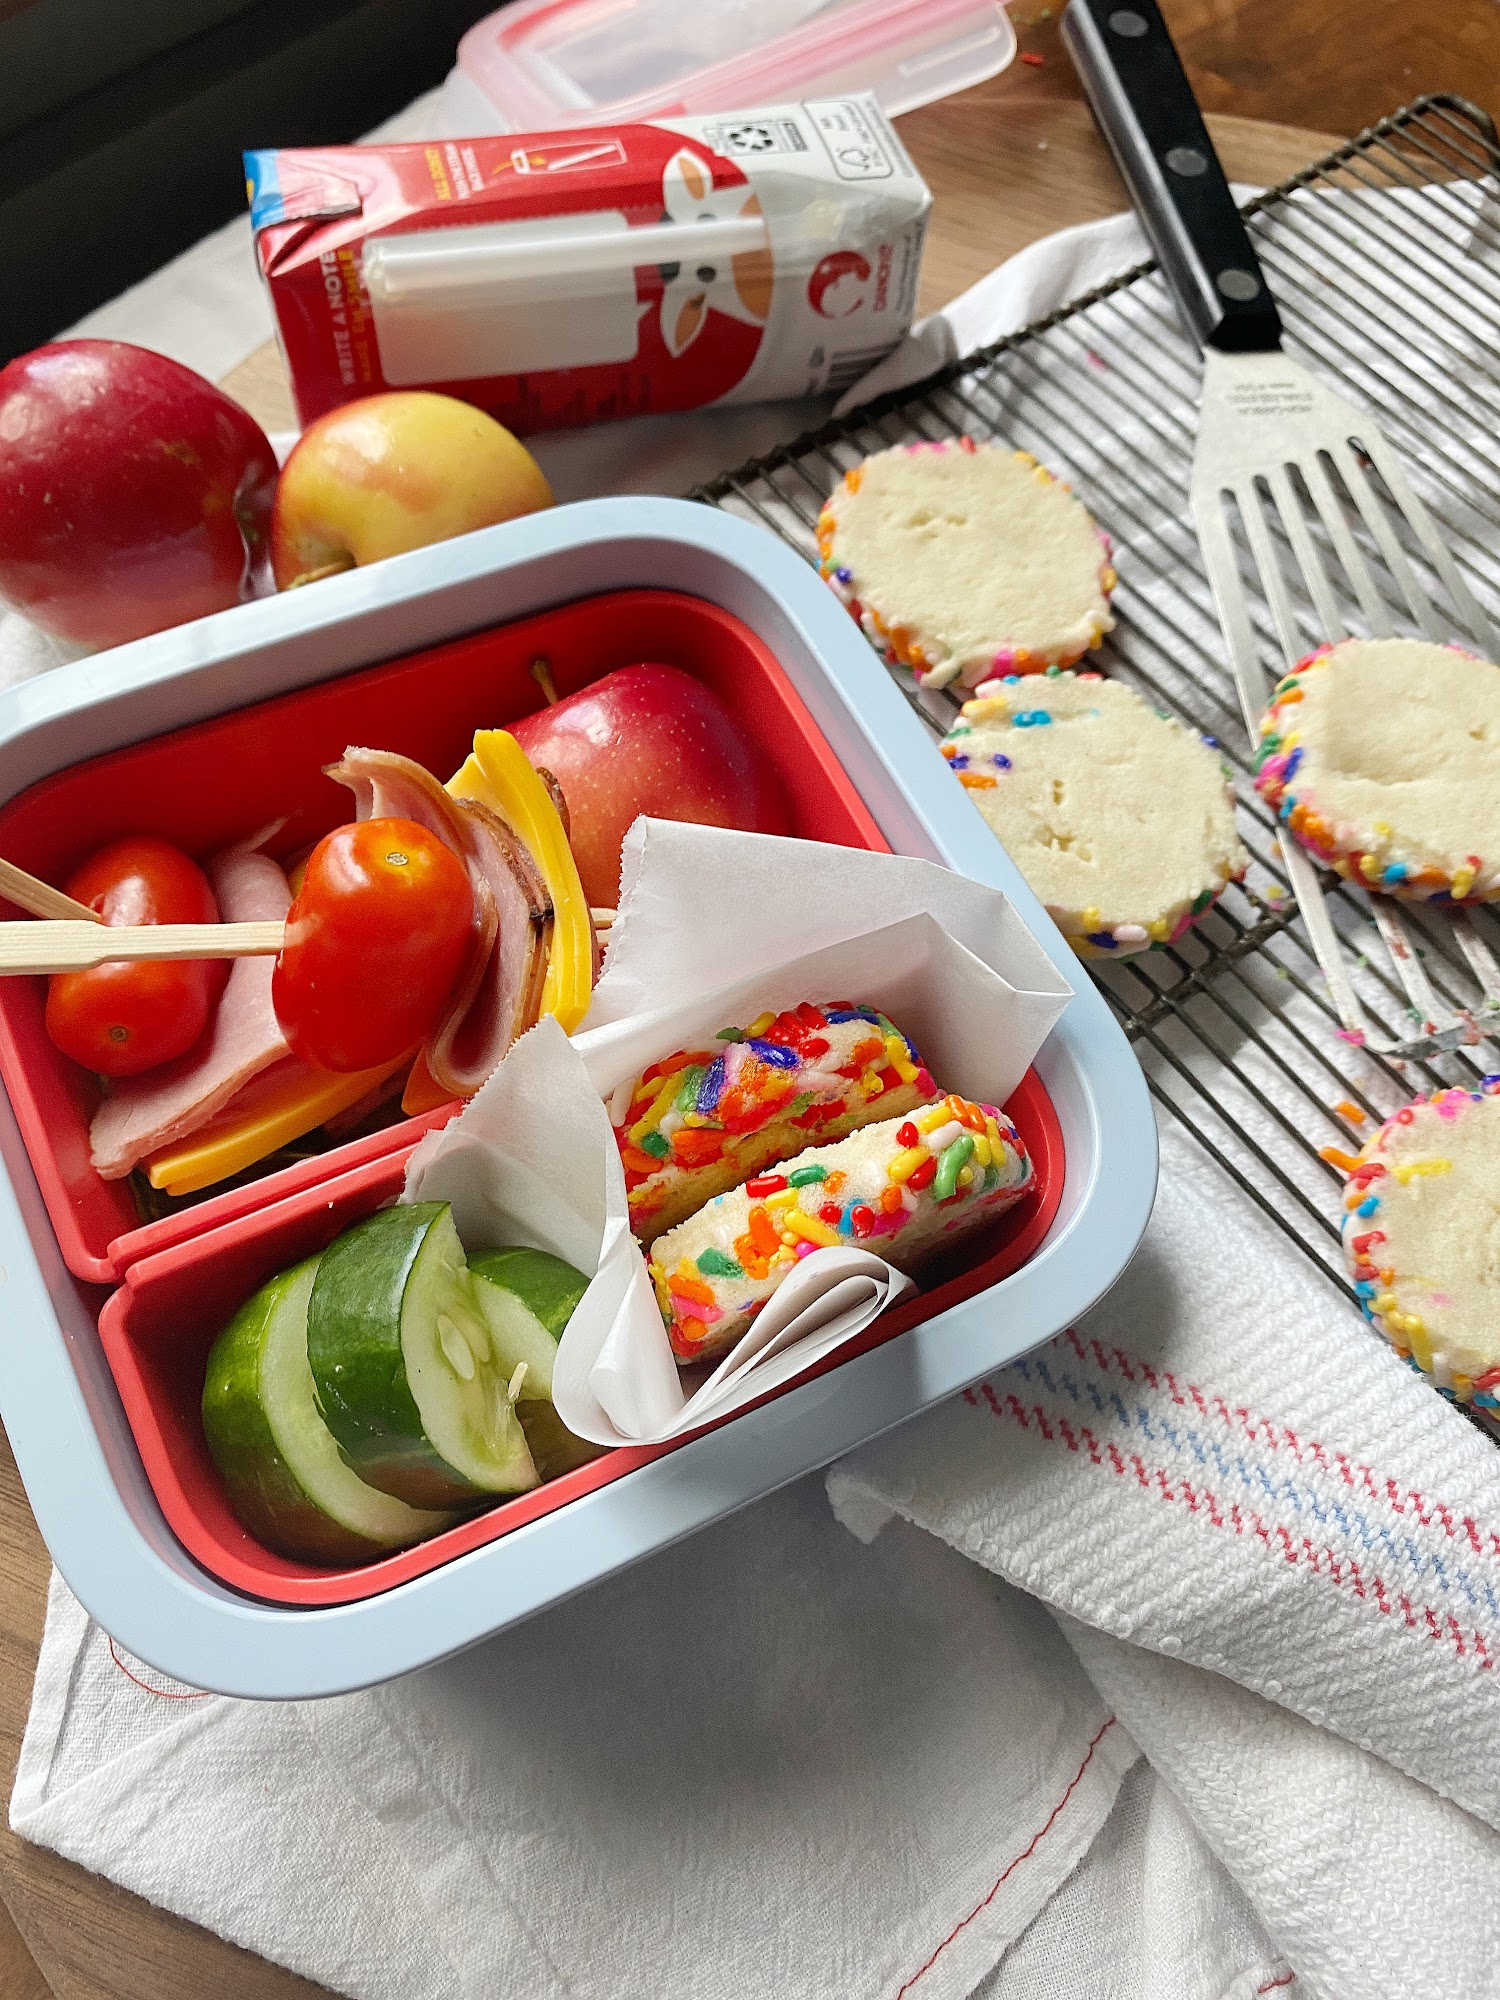
A Great Lunchbox Treat
Another thing that makes these cookies a great lunchbox solution is that you can BAN them (bake as needed). Baking just the amount you need keeps the cookies optimally fresh and flavorful. Just slice what you need, rewrap the dough and store in the fridge between uses, up to 3 weeks.
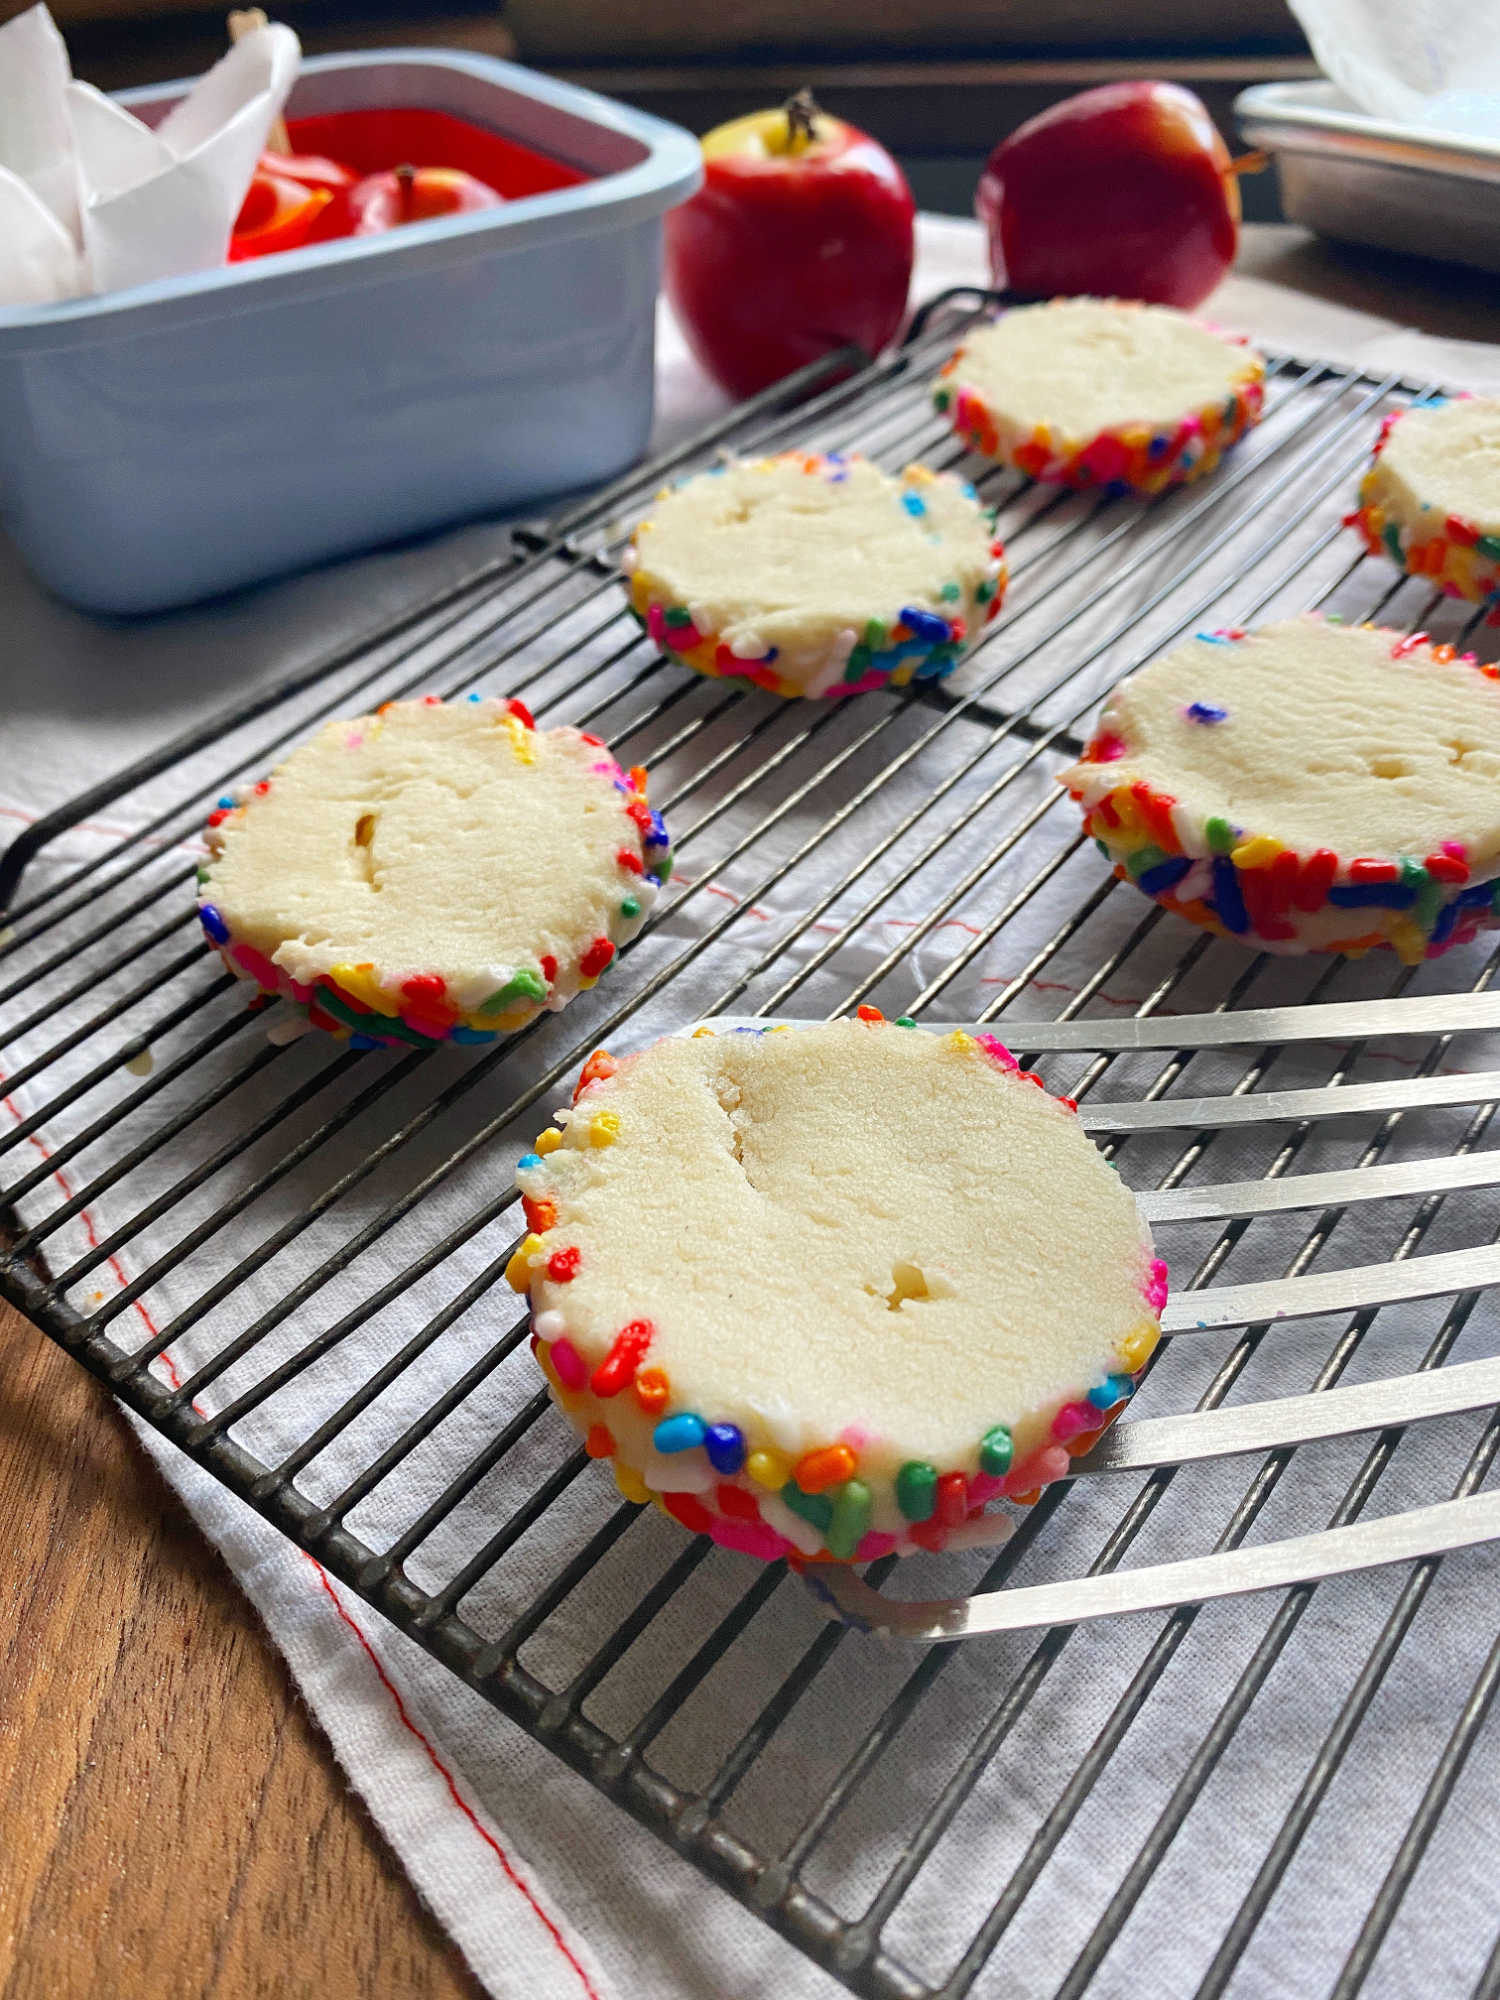
One last tip — be sure and allow the cookies to cool completely before packing so that they’ll firm up enough to make it through the hustle and bustle of the school day.
Aren’t they so pretty?! The salted butter, almond extract and vanilla bean paste are such a classic & delicious combo. And thanks to all those techniques, the texture of these cookies is perfect too, firm but tender – the best magical and durable sweet to be packed in the lunchbox!
Want to make this cookie your own? Try adding citrus zest or some finely chopped herbs or even rolling in chopped nuts or raw sugar to give these cookies some personalized flair. But if it’s midday magic you’re looking for, the classic rainbow sprinkle is essential for this lunchbox cookie!
Lunchbox Cookies
- 2 sticks (16 T) salted butter, softened
- 1/2 c fine granulated sugar
- 2 c AP flour
- 1/4 t fine sea salt
- 1/2 t vanilla bean paste
- 1/2 t almond extract
- 1 c rainbow sprinkles
In a stand mixer fitted with a paddle attachment, whip softened butter until fluffy (approximately 2 minutes). Add sugar and continue whipping another 2 minutes, scraping the sides to mix thoroughly.
Add flour in 4 stages, adding salt and extracts with the last stage of flour. Scrape the sides and bottom of the mixing bowl between additions.
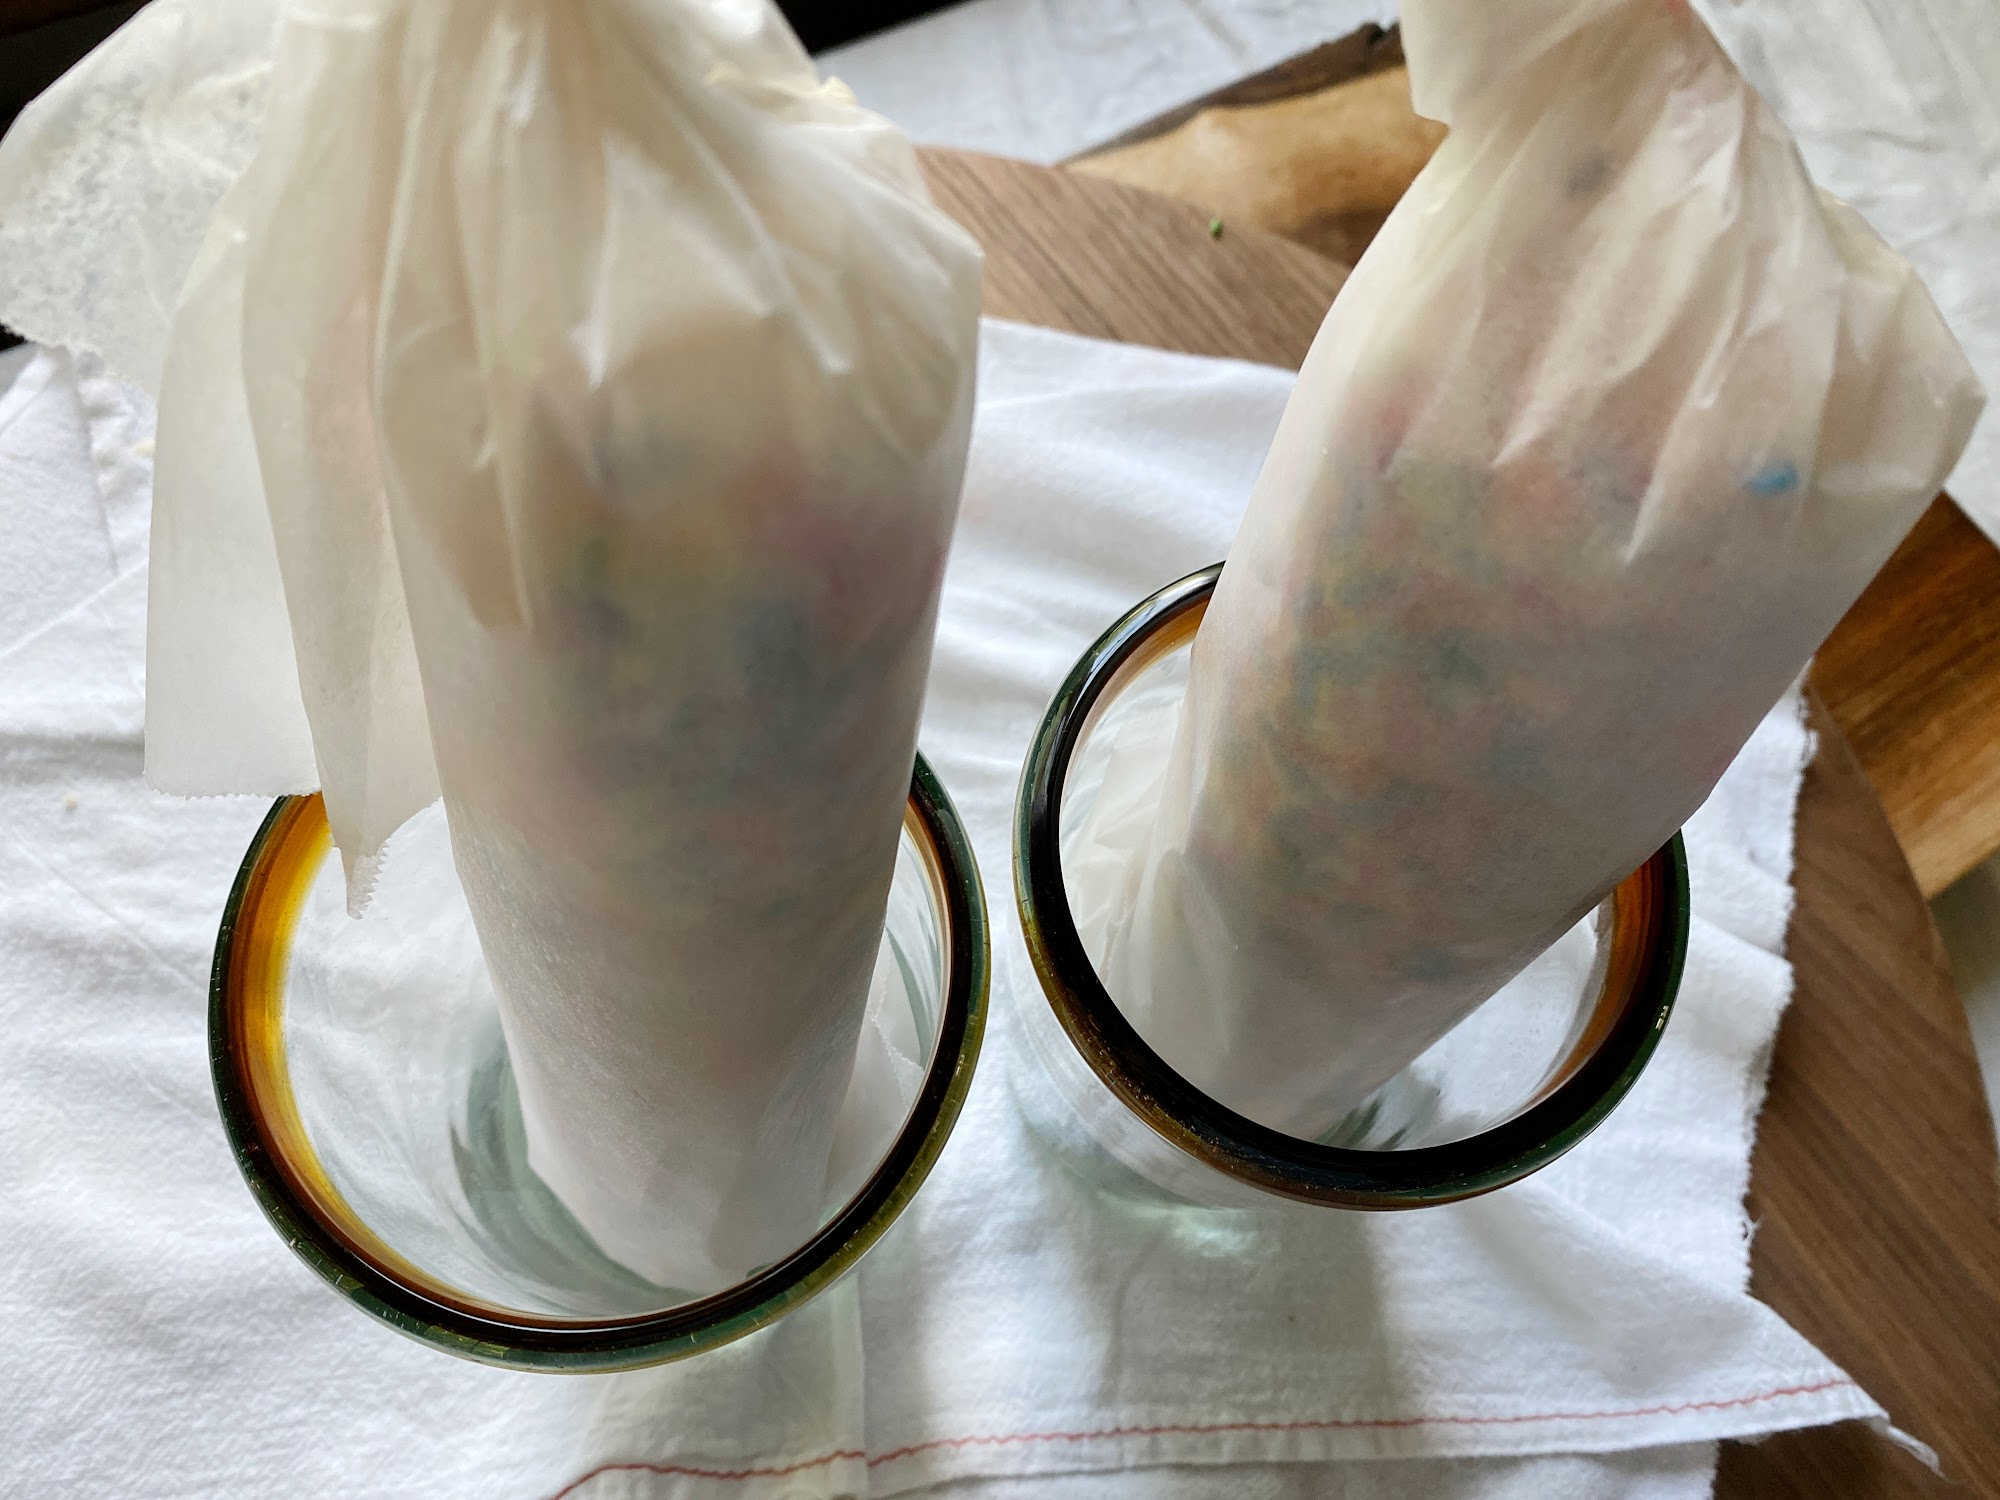
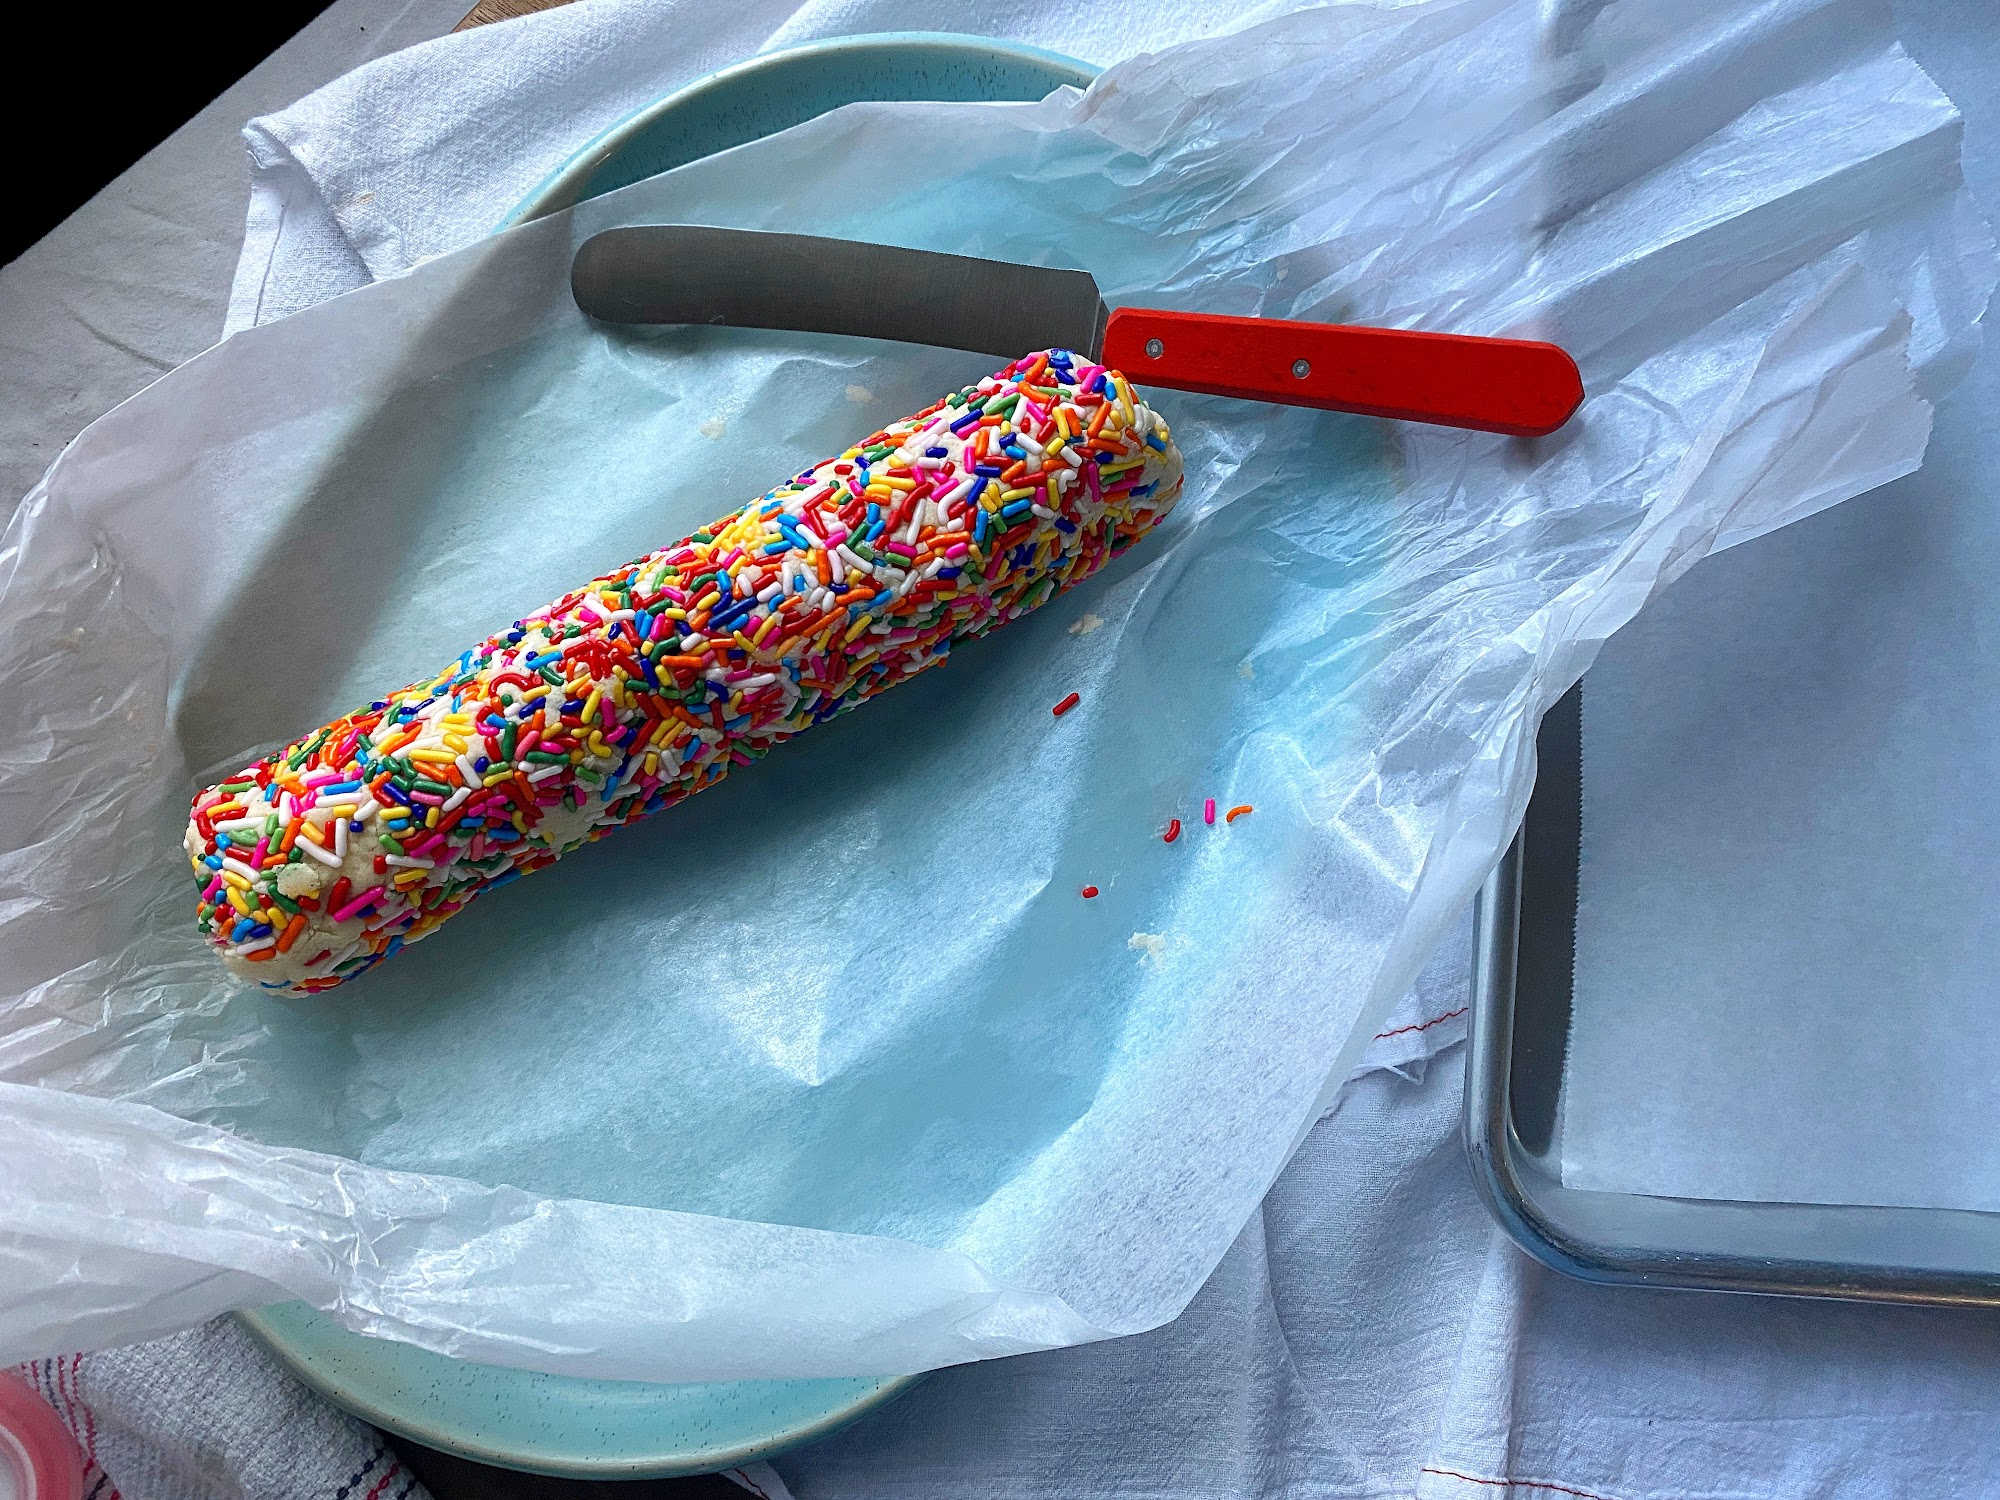
Divide the dough into 2 equal portions and turn each portion out onto a 12″ x 15″ piece of waxed paper. Roll the dough into a 1.5″ diameter cylinder approximately 10″ in length. Spread 1/2 c of sprinkles in a horizontal line next to the cylinder of dough (as pictured above). Roll the dough into the sprinkles making sure to coat all sides. Wrap the sprinkle-covered dough cylinder in wax paper and refrigerate for 1-2 hours* (read my note below for a hack in this step).
Preheat oven to 300°, line a baking sheet with parchment paper.
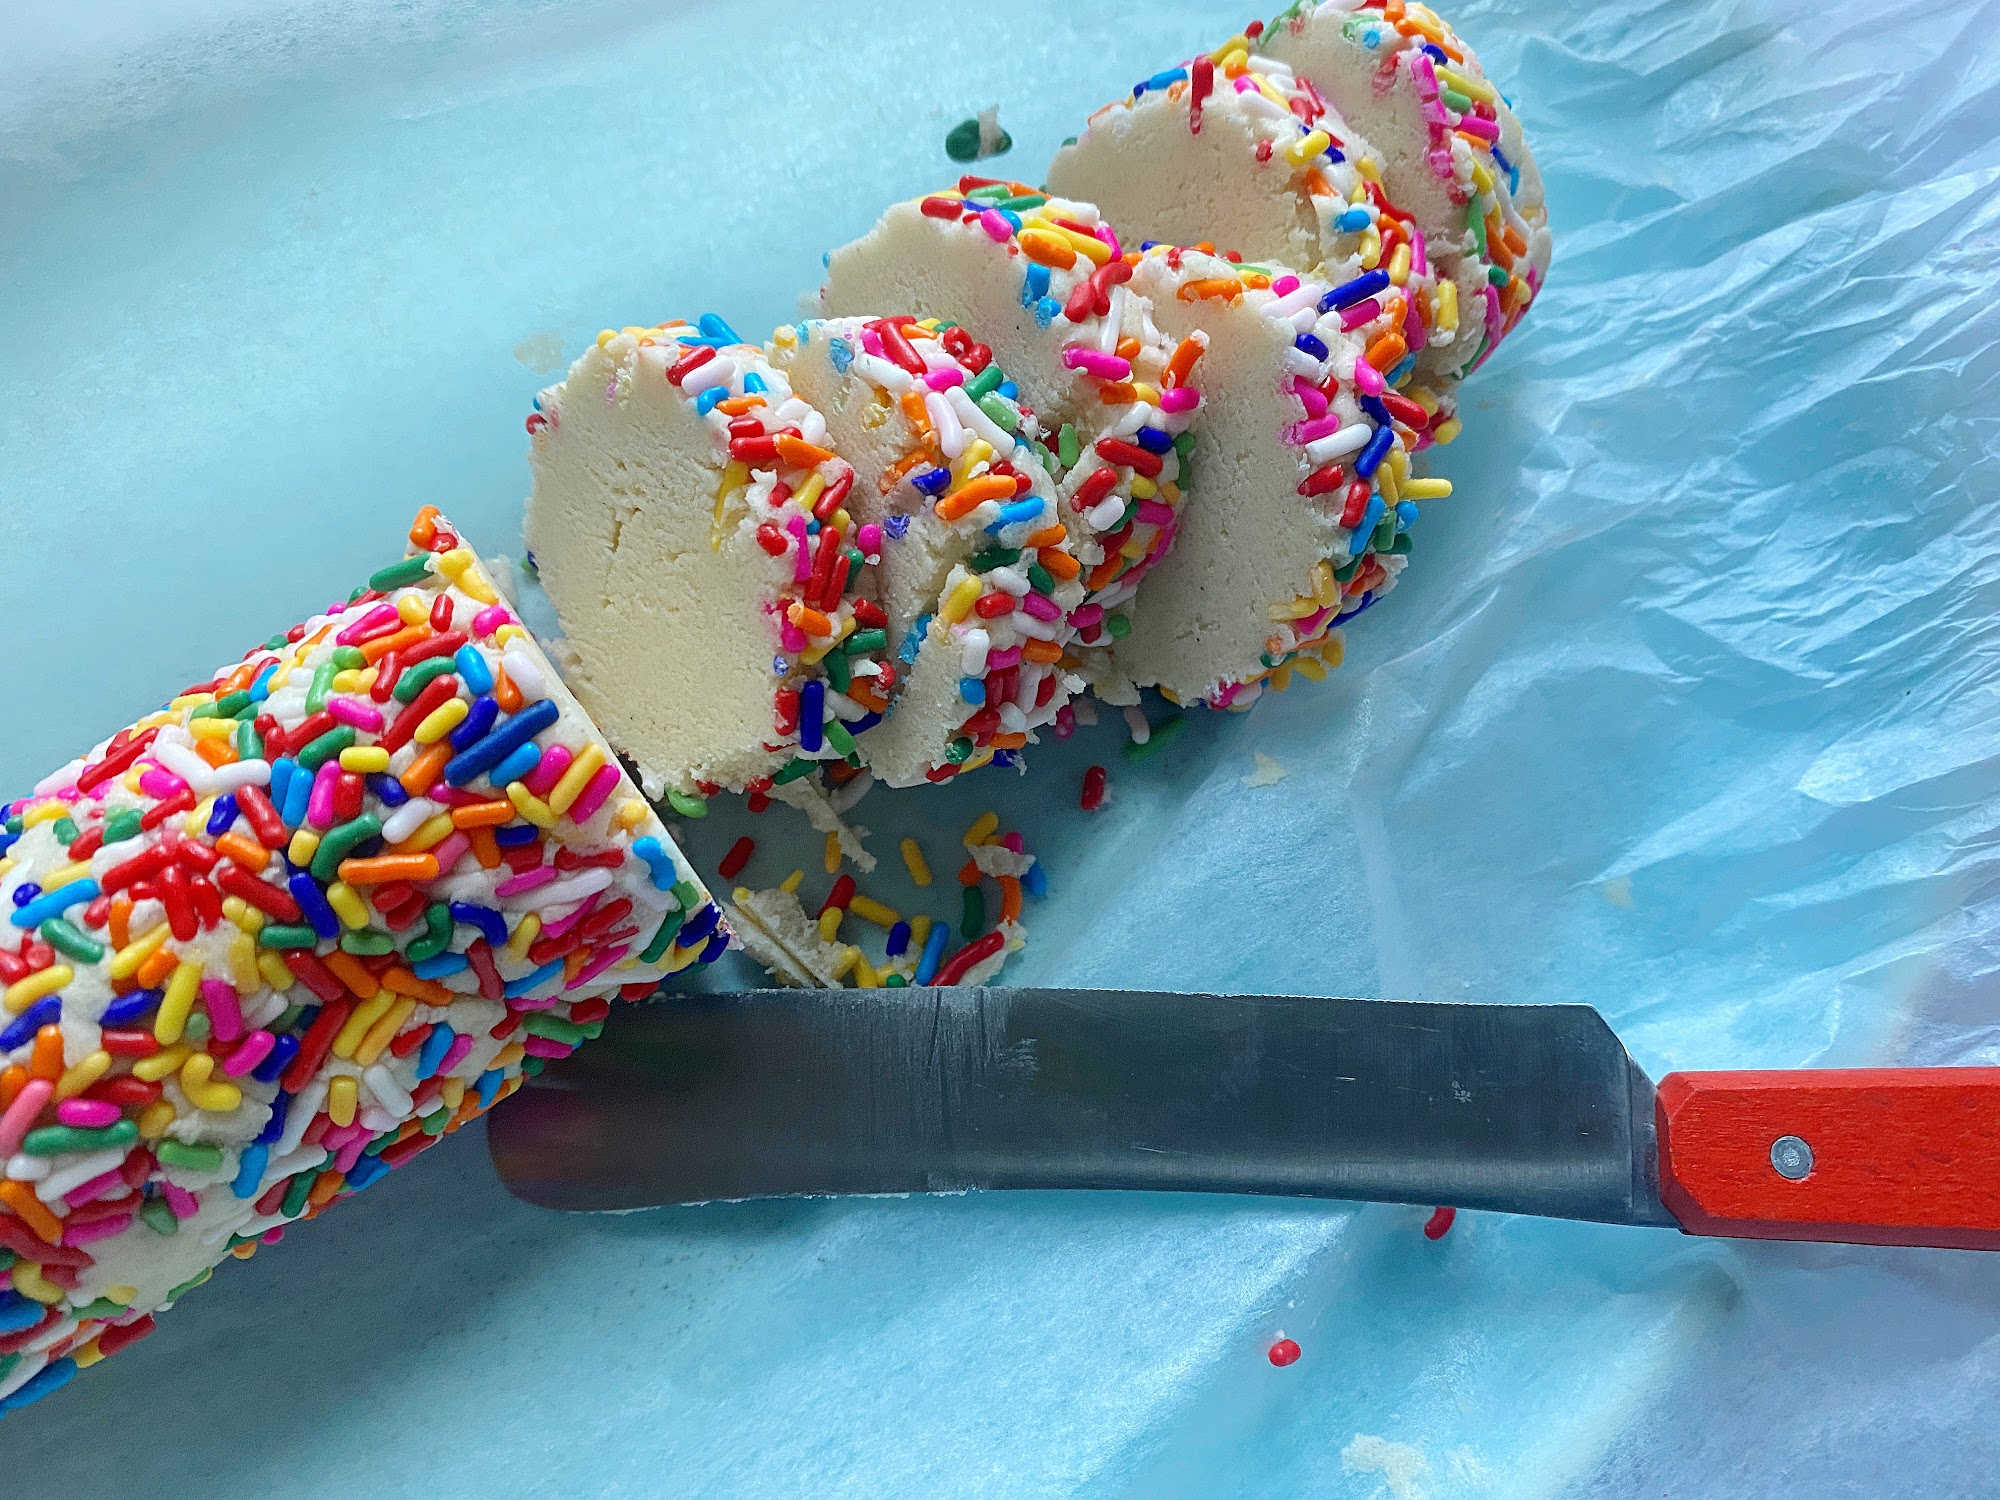
Once dough cylinders are chilled, unwrap and slice 1/2″ thick and place on lined baking sheet 2″ apart. Place baking sheet on the middle rack of the preheated oven and bake 15-18 minutes, until lightly golden, rotating halfway through baking.
Once baking is complete, transfer to a cooling rack to cool completely before packing in a lunchbox.
Save remaining dough to bake as needed or continue slicing and bake as described above.
makes 3 1/2 – 4 dozen cookies
*hack – to keep the dough from flattening on one side while chilling, stand the wrapped dough cylinders in drinking glasses.
Looking for another school year recipe?Try these Giant Breakfast Cookies!


_____________________________________________________________________
If you have any additional questions during your search for the perfect copper, fireclay farmhouse sink or crafted stainless steel sink, our Sinkologists are here to help. Contact us or follow us on Facebook, Houzz, Pinterest, or Instagram for more helpful tips and design ideas.