Pumpkin Butter Scones with Marshmallow Fluff Buttercream Drizzle Recipe
Sinkology is proud to present Emily Schuermann, our food-loving guest blogger who runs Food for a Year. Emily is here to share some recipes she has created exclusively for the Sinkology blog that reflect her view of a copper sink: simple, timeless, affordable, and beautifully rustic.
It’s November and we all know what that means — the cooking ((and eating)) season is upon us! Oven roasted turkey, sausage & sage stuffing, maple glazed ham, pecan and pumpkin pies, sweet potatoes, mashed potatoes, rolls, green bean casserole, cranberry salad, cream gravy, cornbread dressing ((because it’s not the same as stuffing)), deviled eggs, dumplings – yes, they are all on the menu over the next few weeks and months. Well, they are on MY menu, that’s for sure.
If you are like me, you are pinning recipes right and left in hopes of finding the BEST of everything. Whether it’s brining the turkey or boiling eggs, most of those recipes are a lot of work, right? But with that first bite of tender, moist turkey or perfectly sweet and spiced pumpkin pie – all those memories of work fade away and are replaced with a dreamy sense of food-induced delight.
However, regardless of how delightful those foods are — there are only so many minutes in a day. Certain corners must be cut to get it all done. As tempted as you may be to set out the boxes of cereal as a time-saving breakfast solution for your over-night holiday guests, I suggest serving these Pumpkin Butter Scones. They are so simple and amazingly delicious making the absolute perfect breakfast treat to greet your vistors!
Trust me.
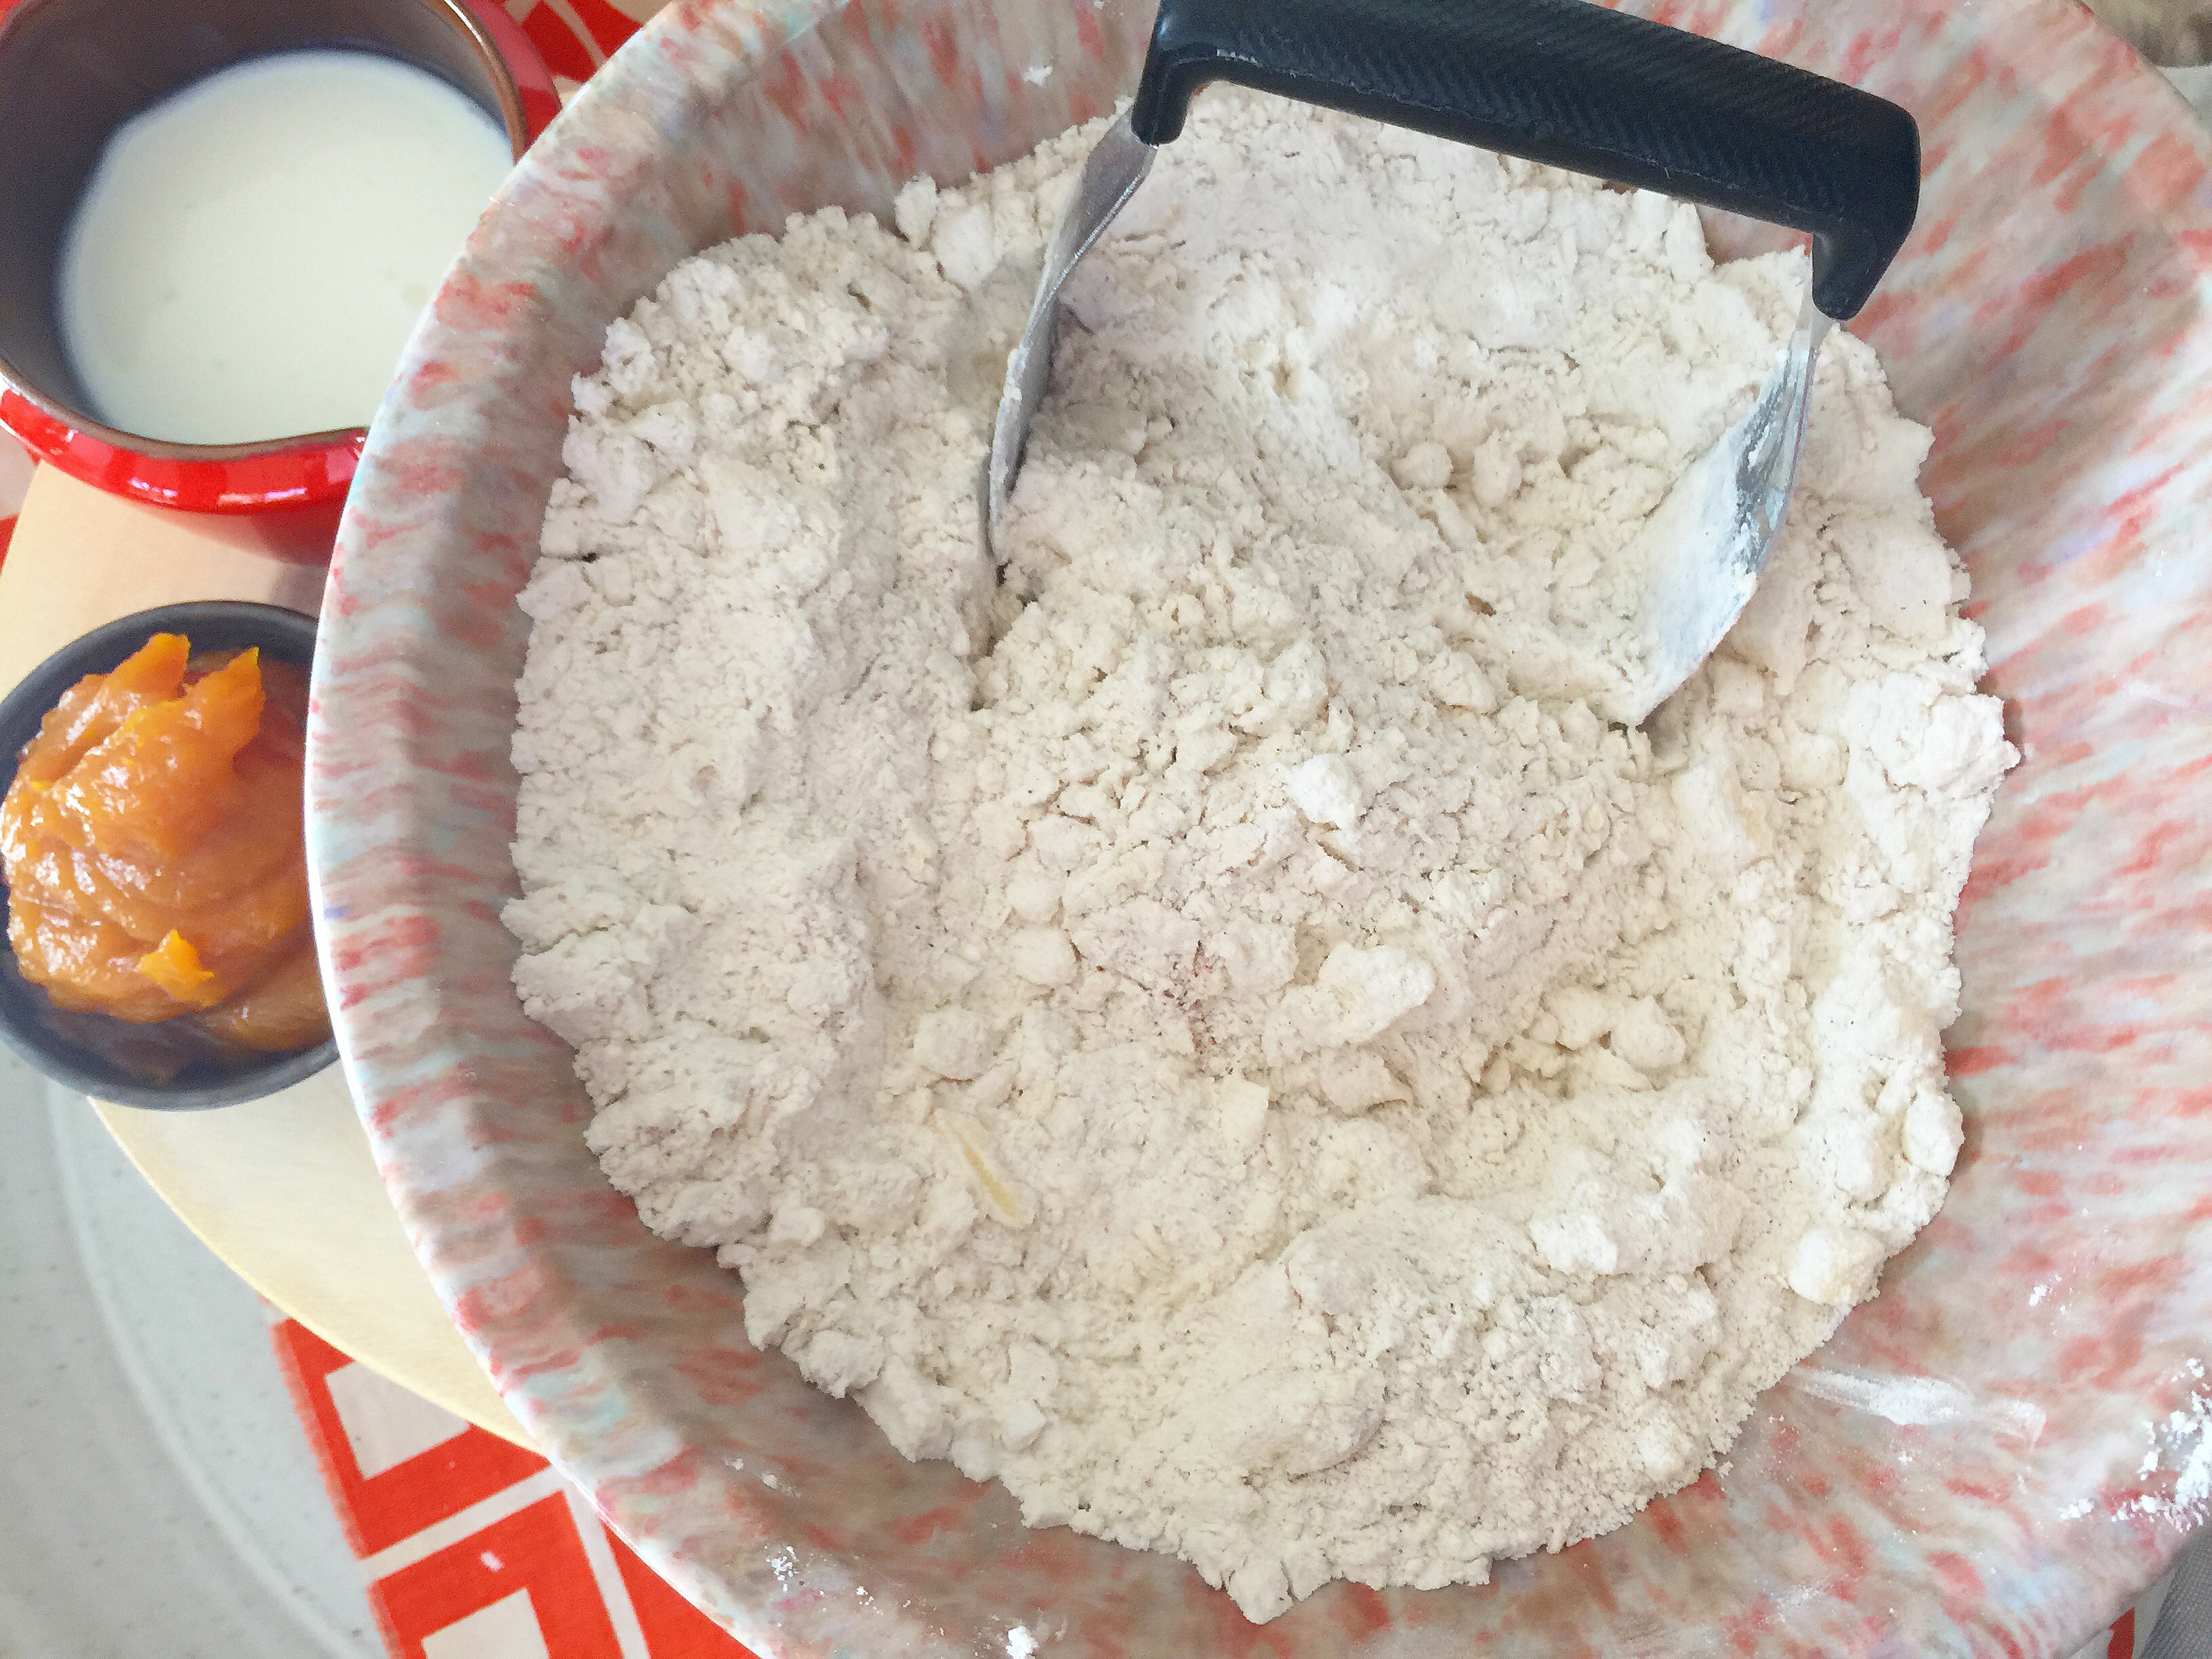
Start off with the classic baking quartet of flour, baking powder, baking soda & salt.
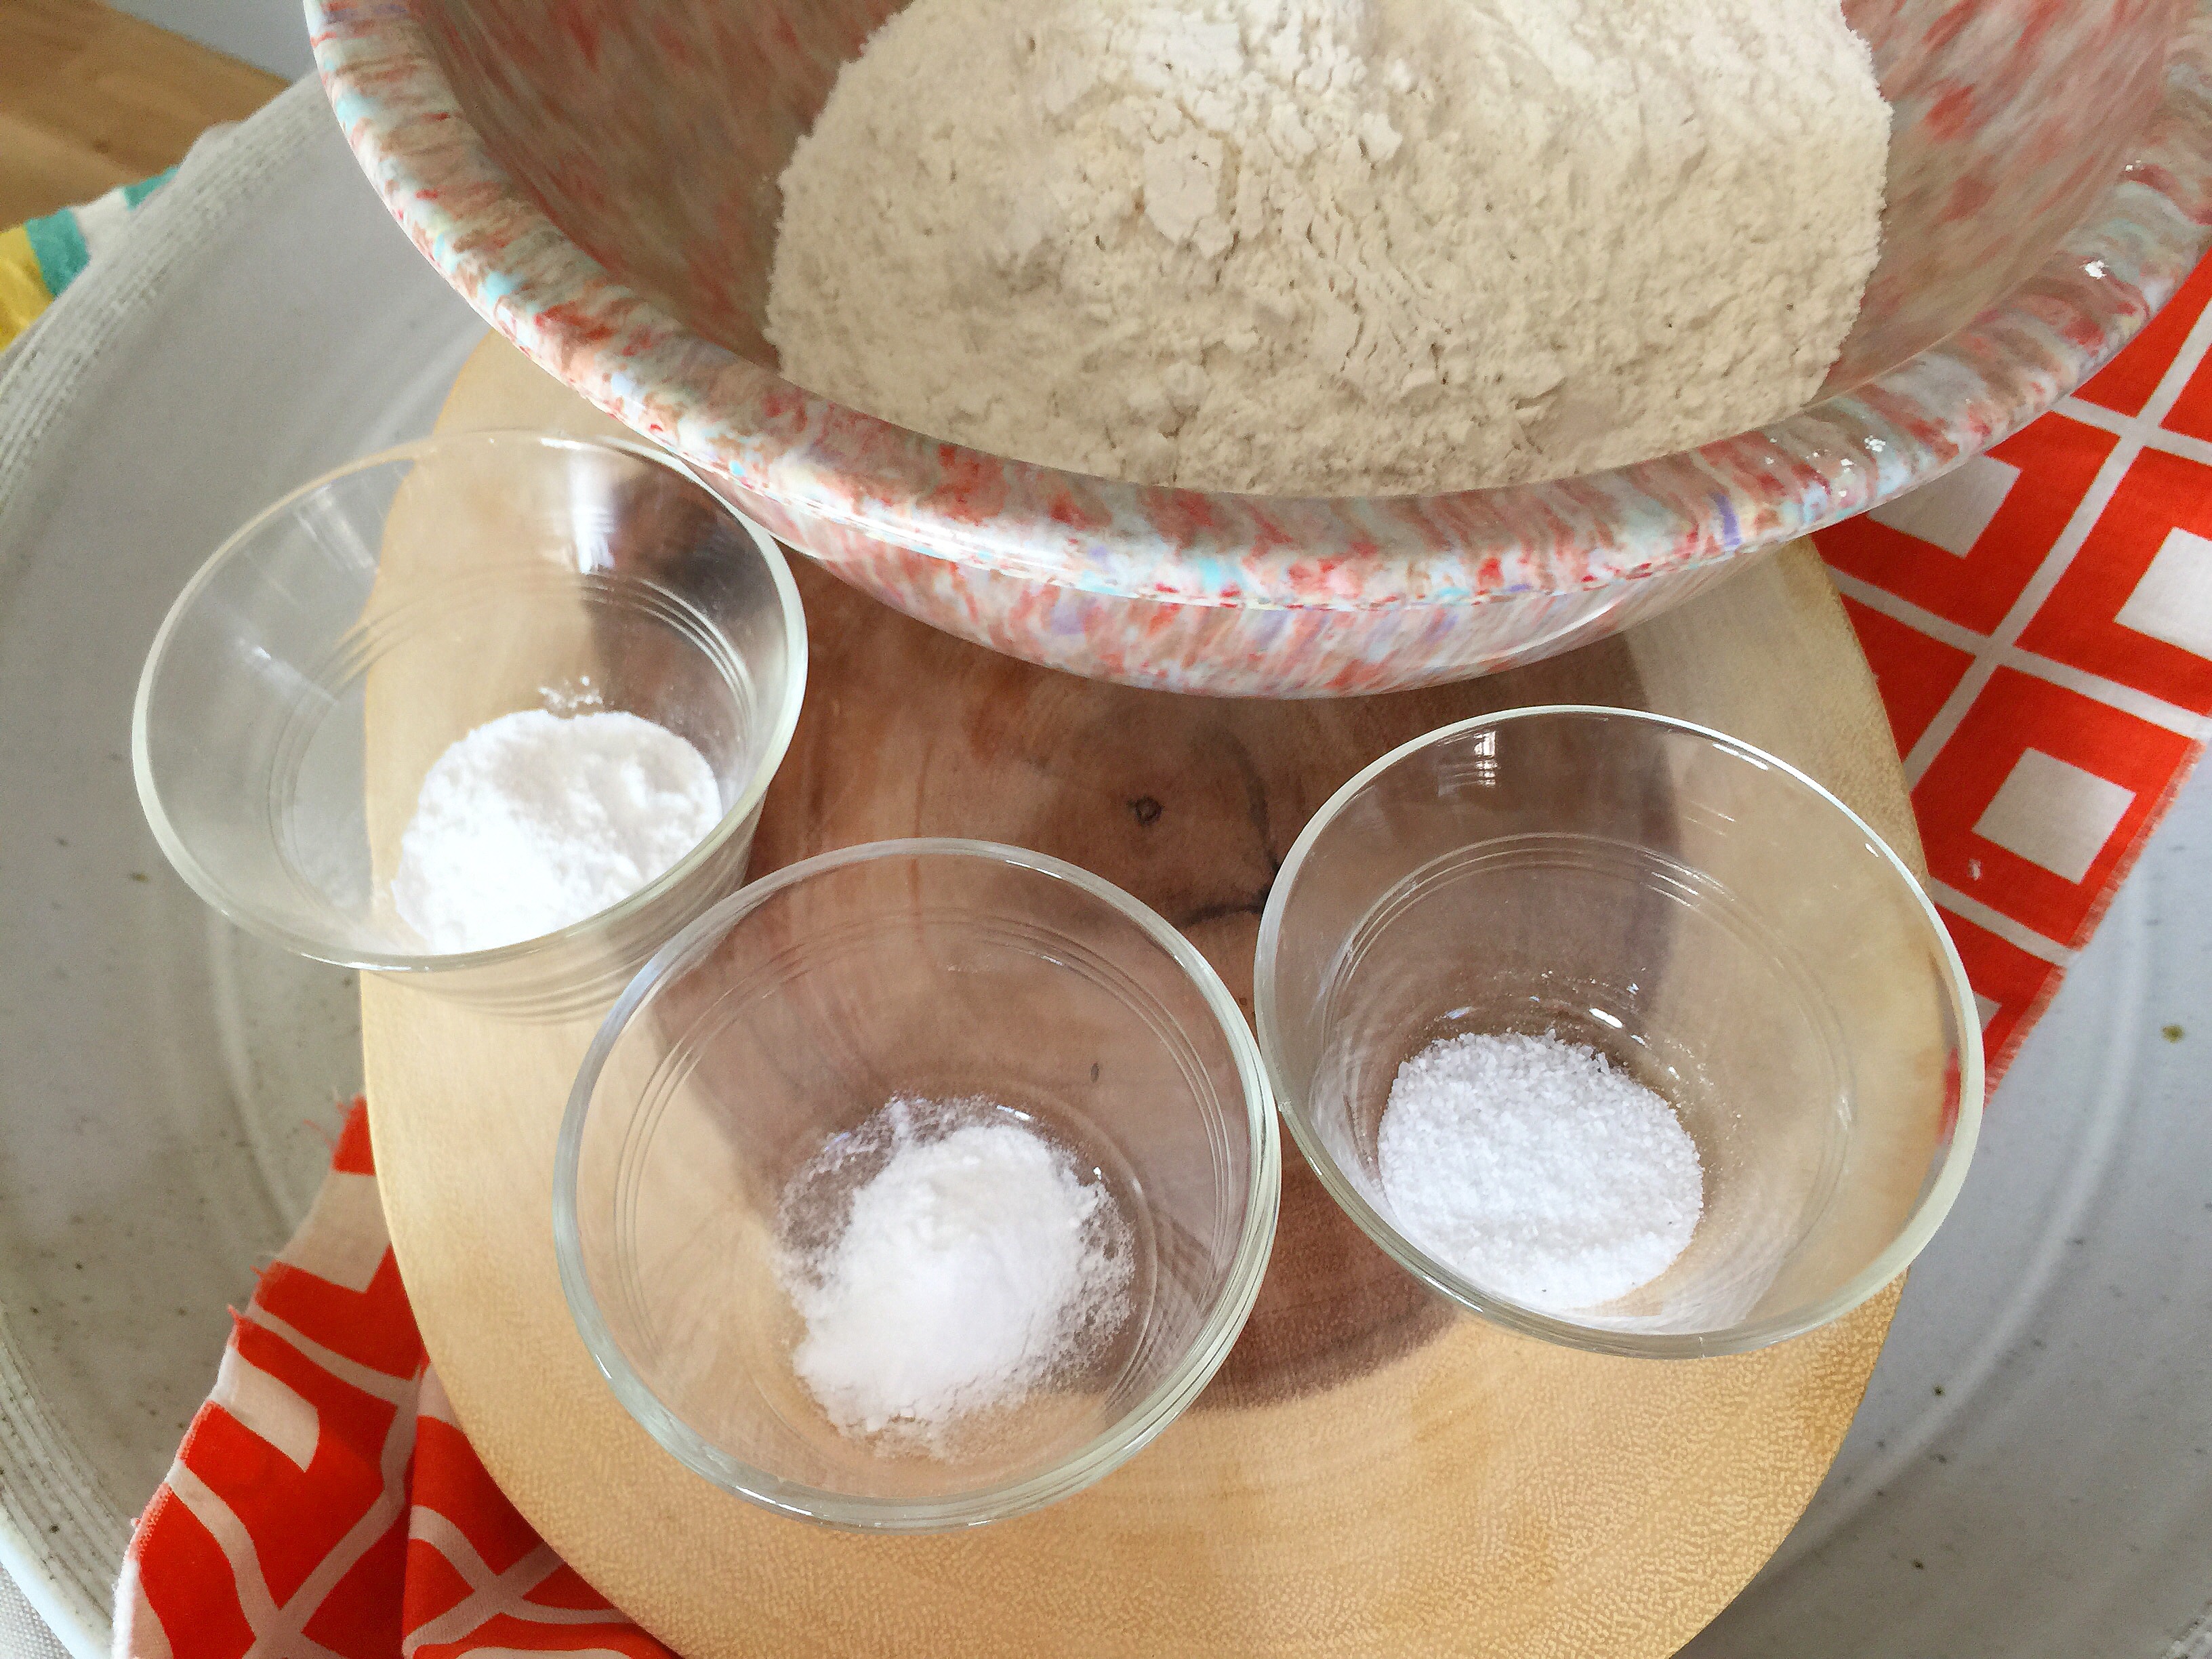
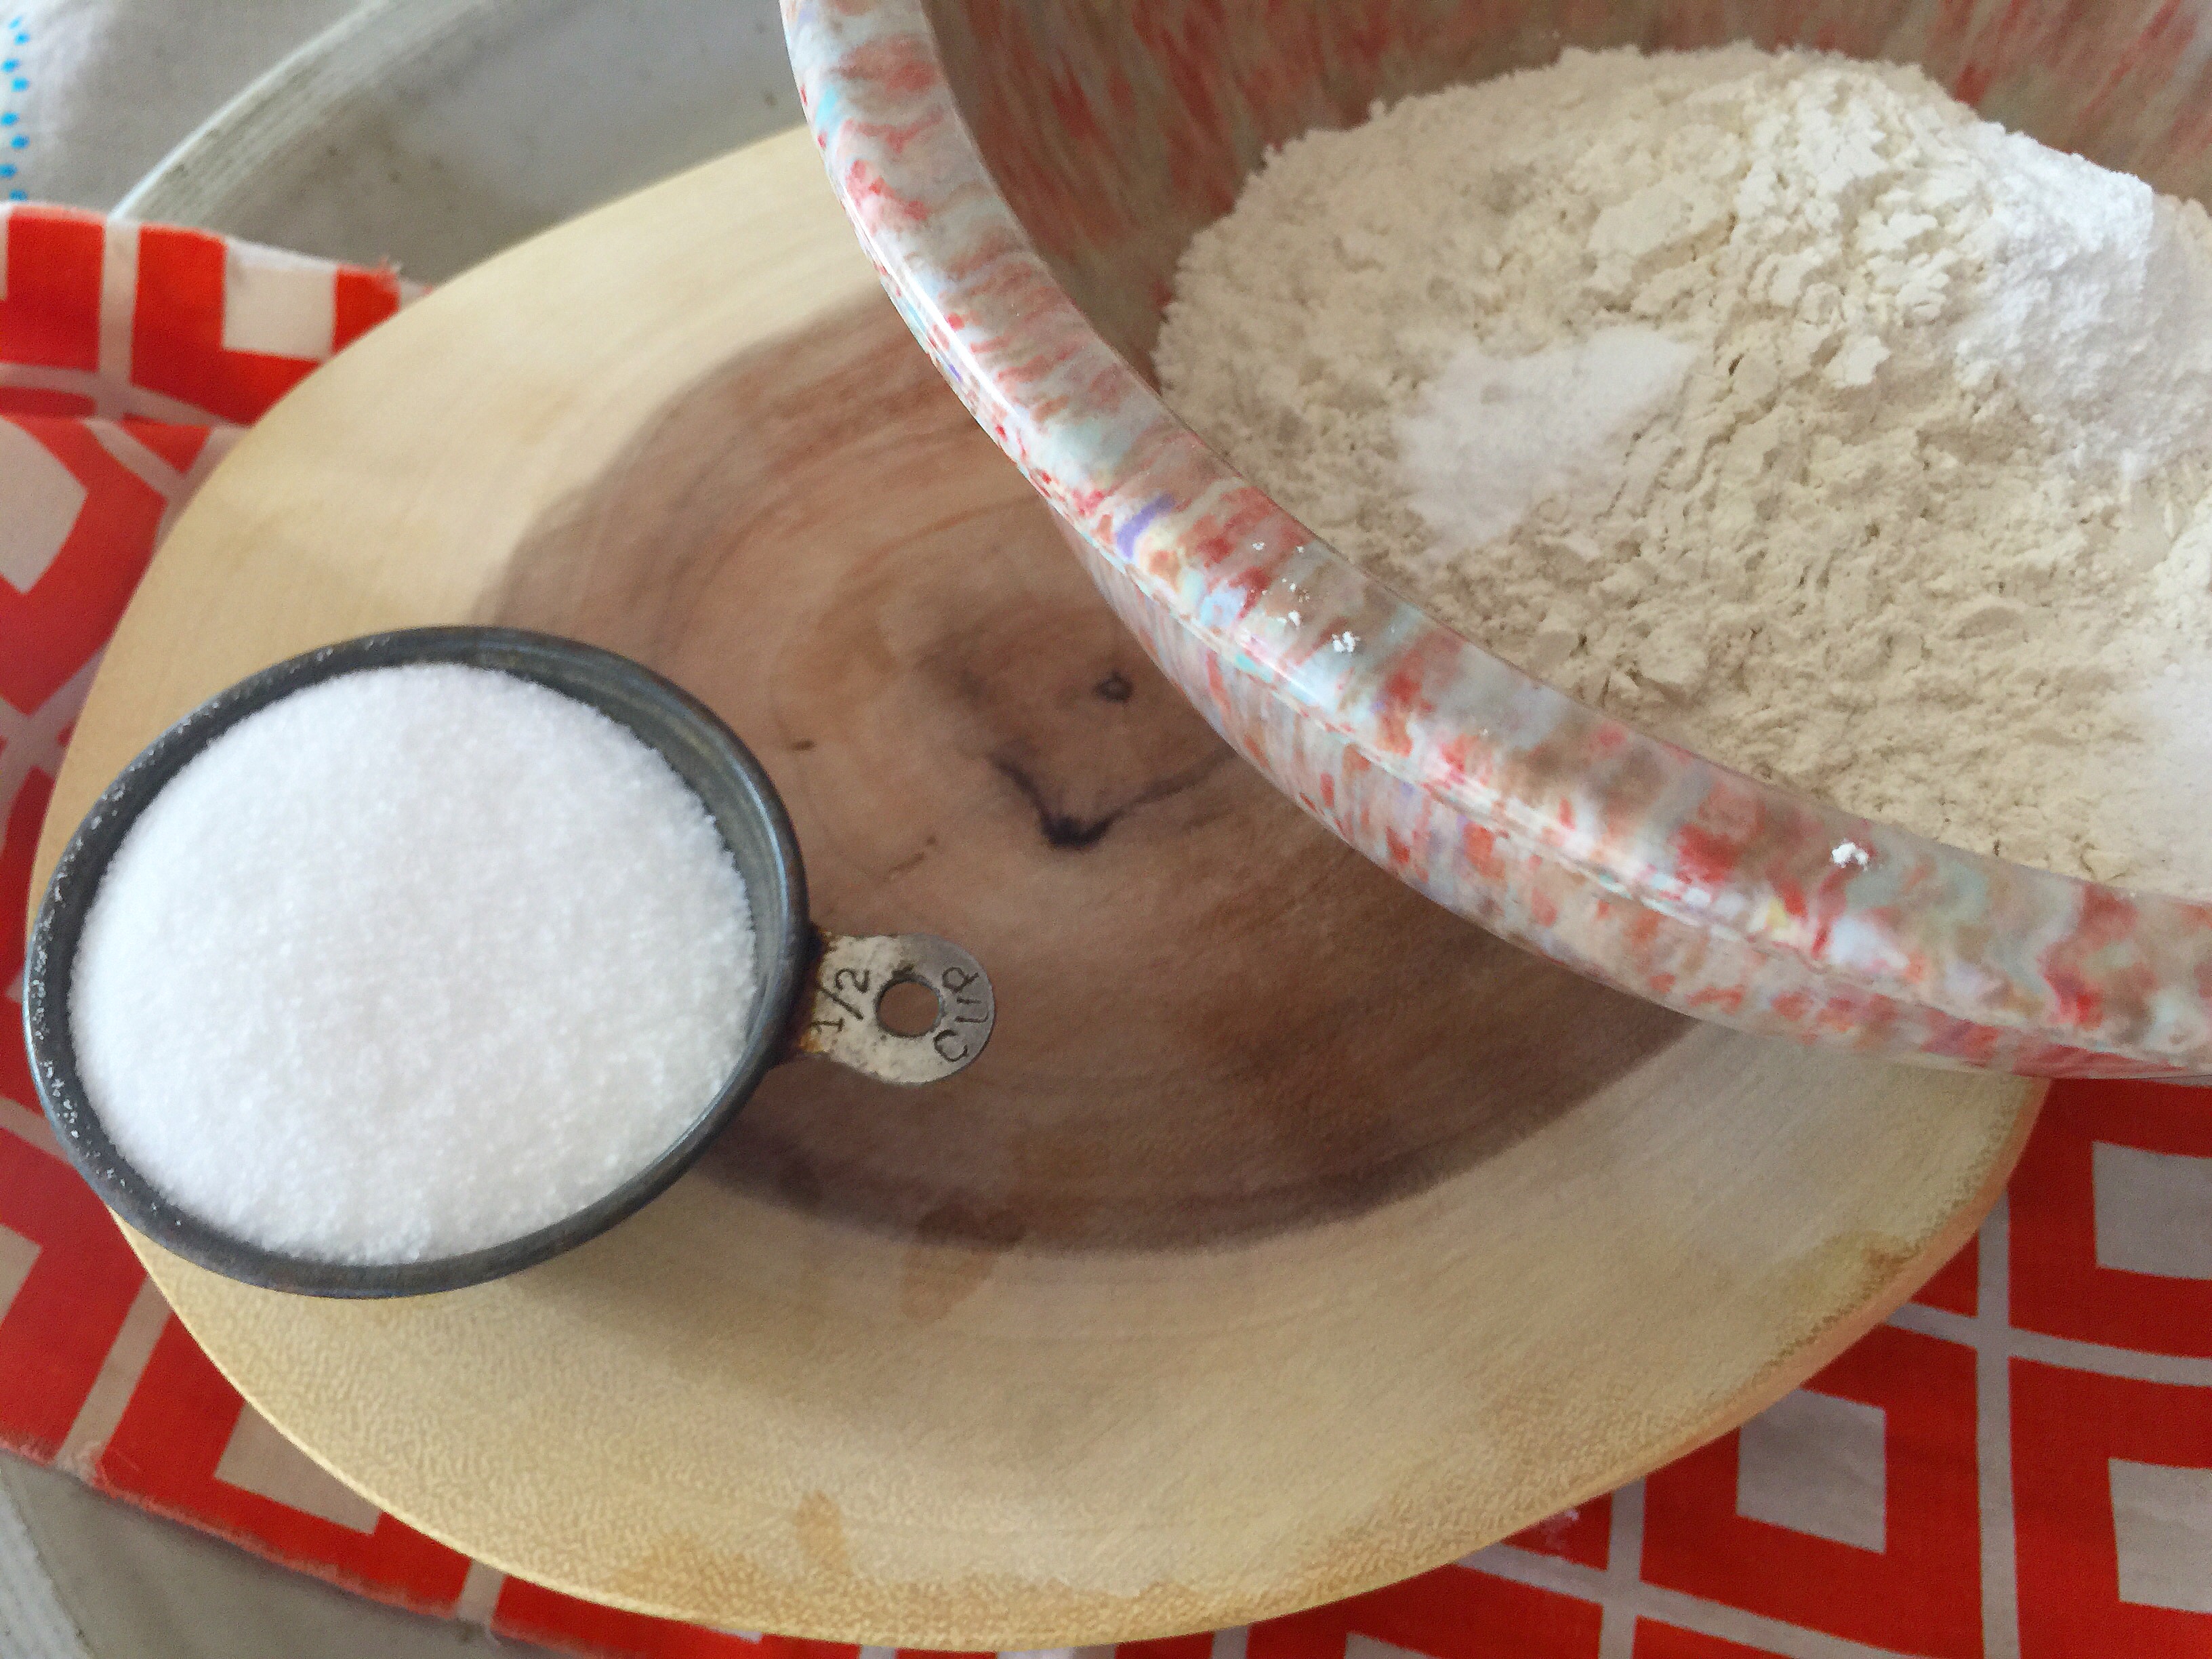
To these, you will need to add a scant ½ cup of sugar. By scant, I mean 1-2 tablespoons less than a full cup.
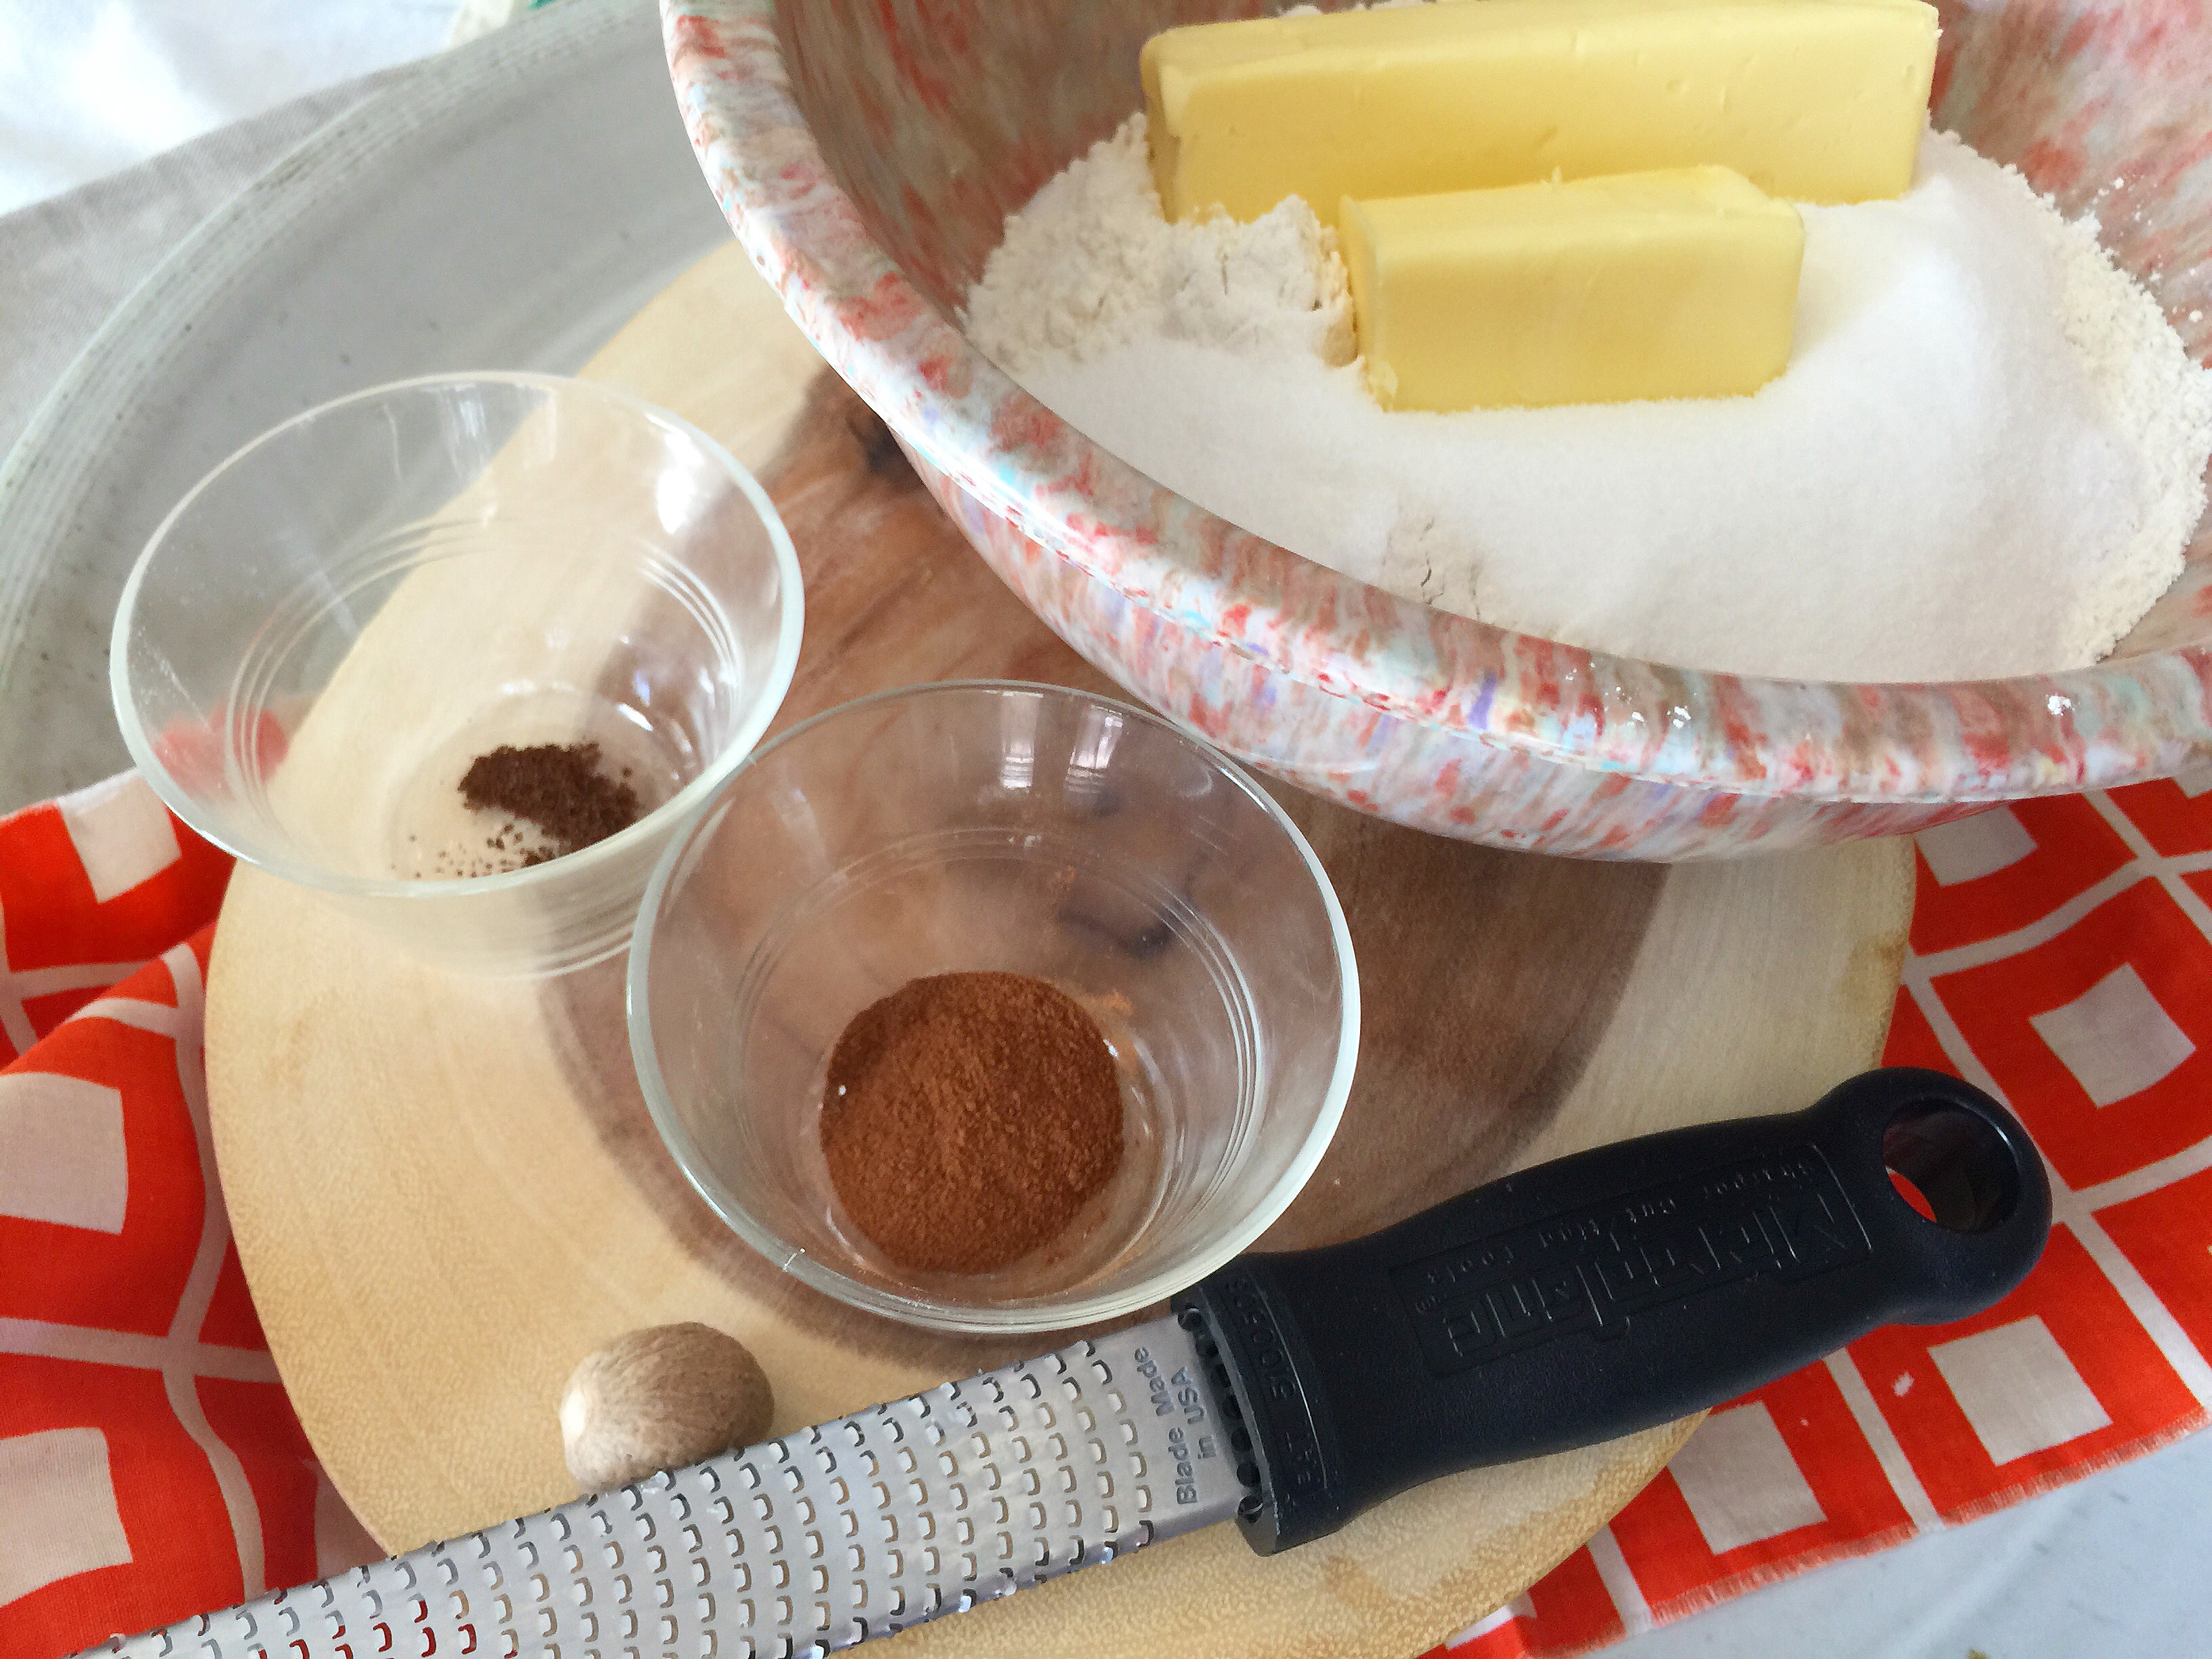
Next come the spices and butter. I used my own blend of cloves, cinnamon & freshly ground nutmeg. For the butter, I ALWAYS use salted butter and it needs to be very cold.
Using a pastry knife or a fork, begin cutting the butter into the dry ingredients.
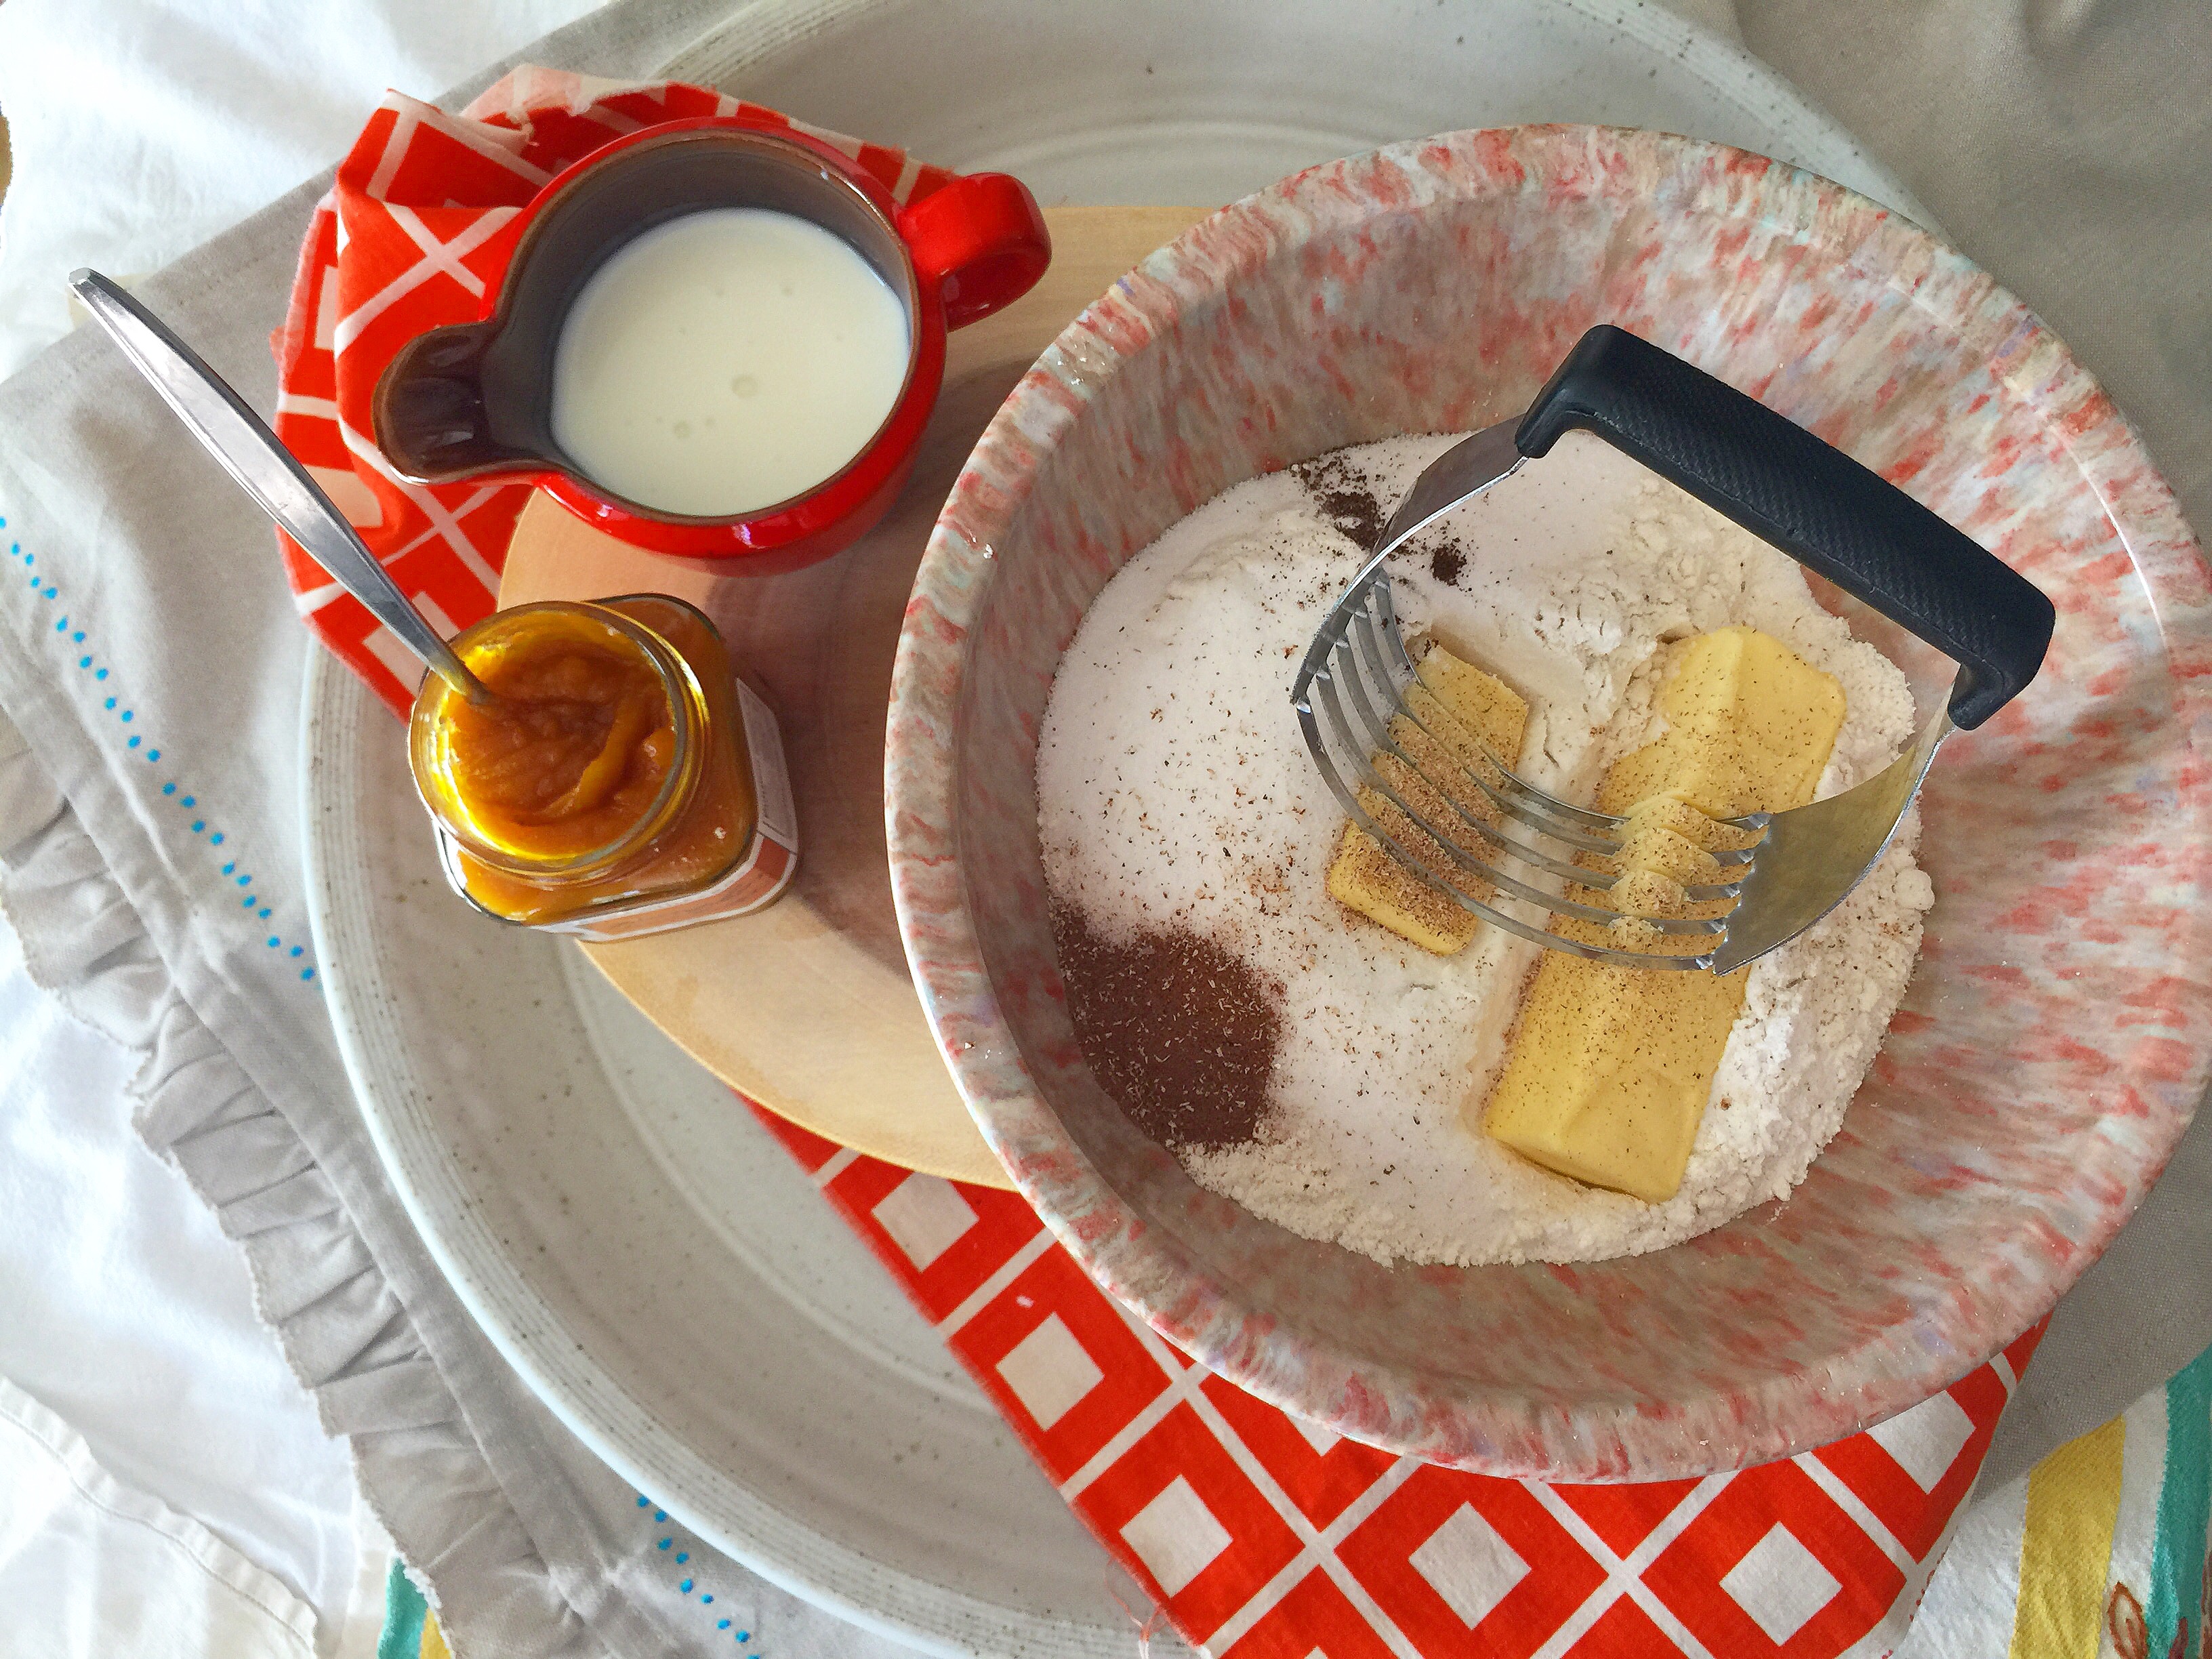
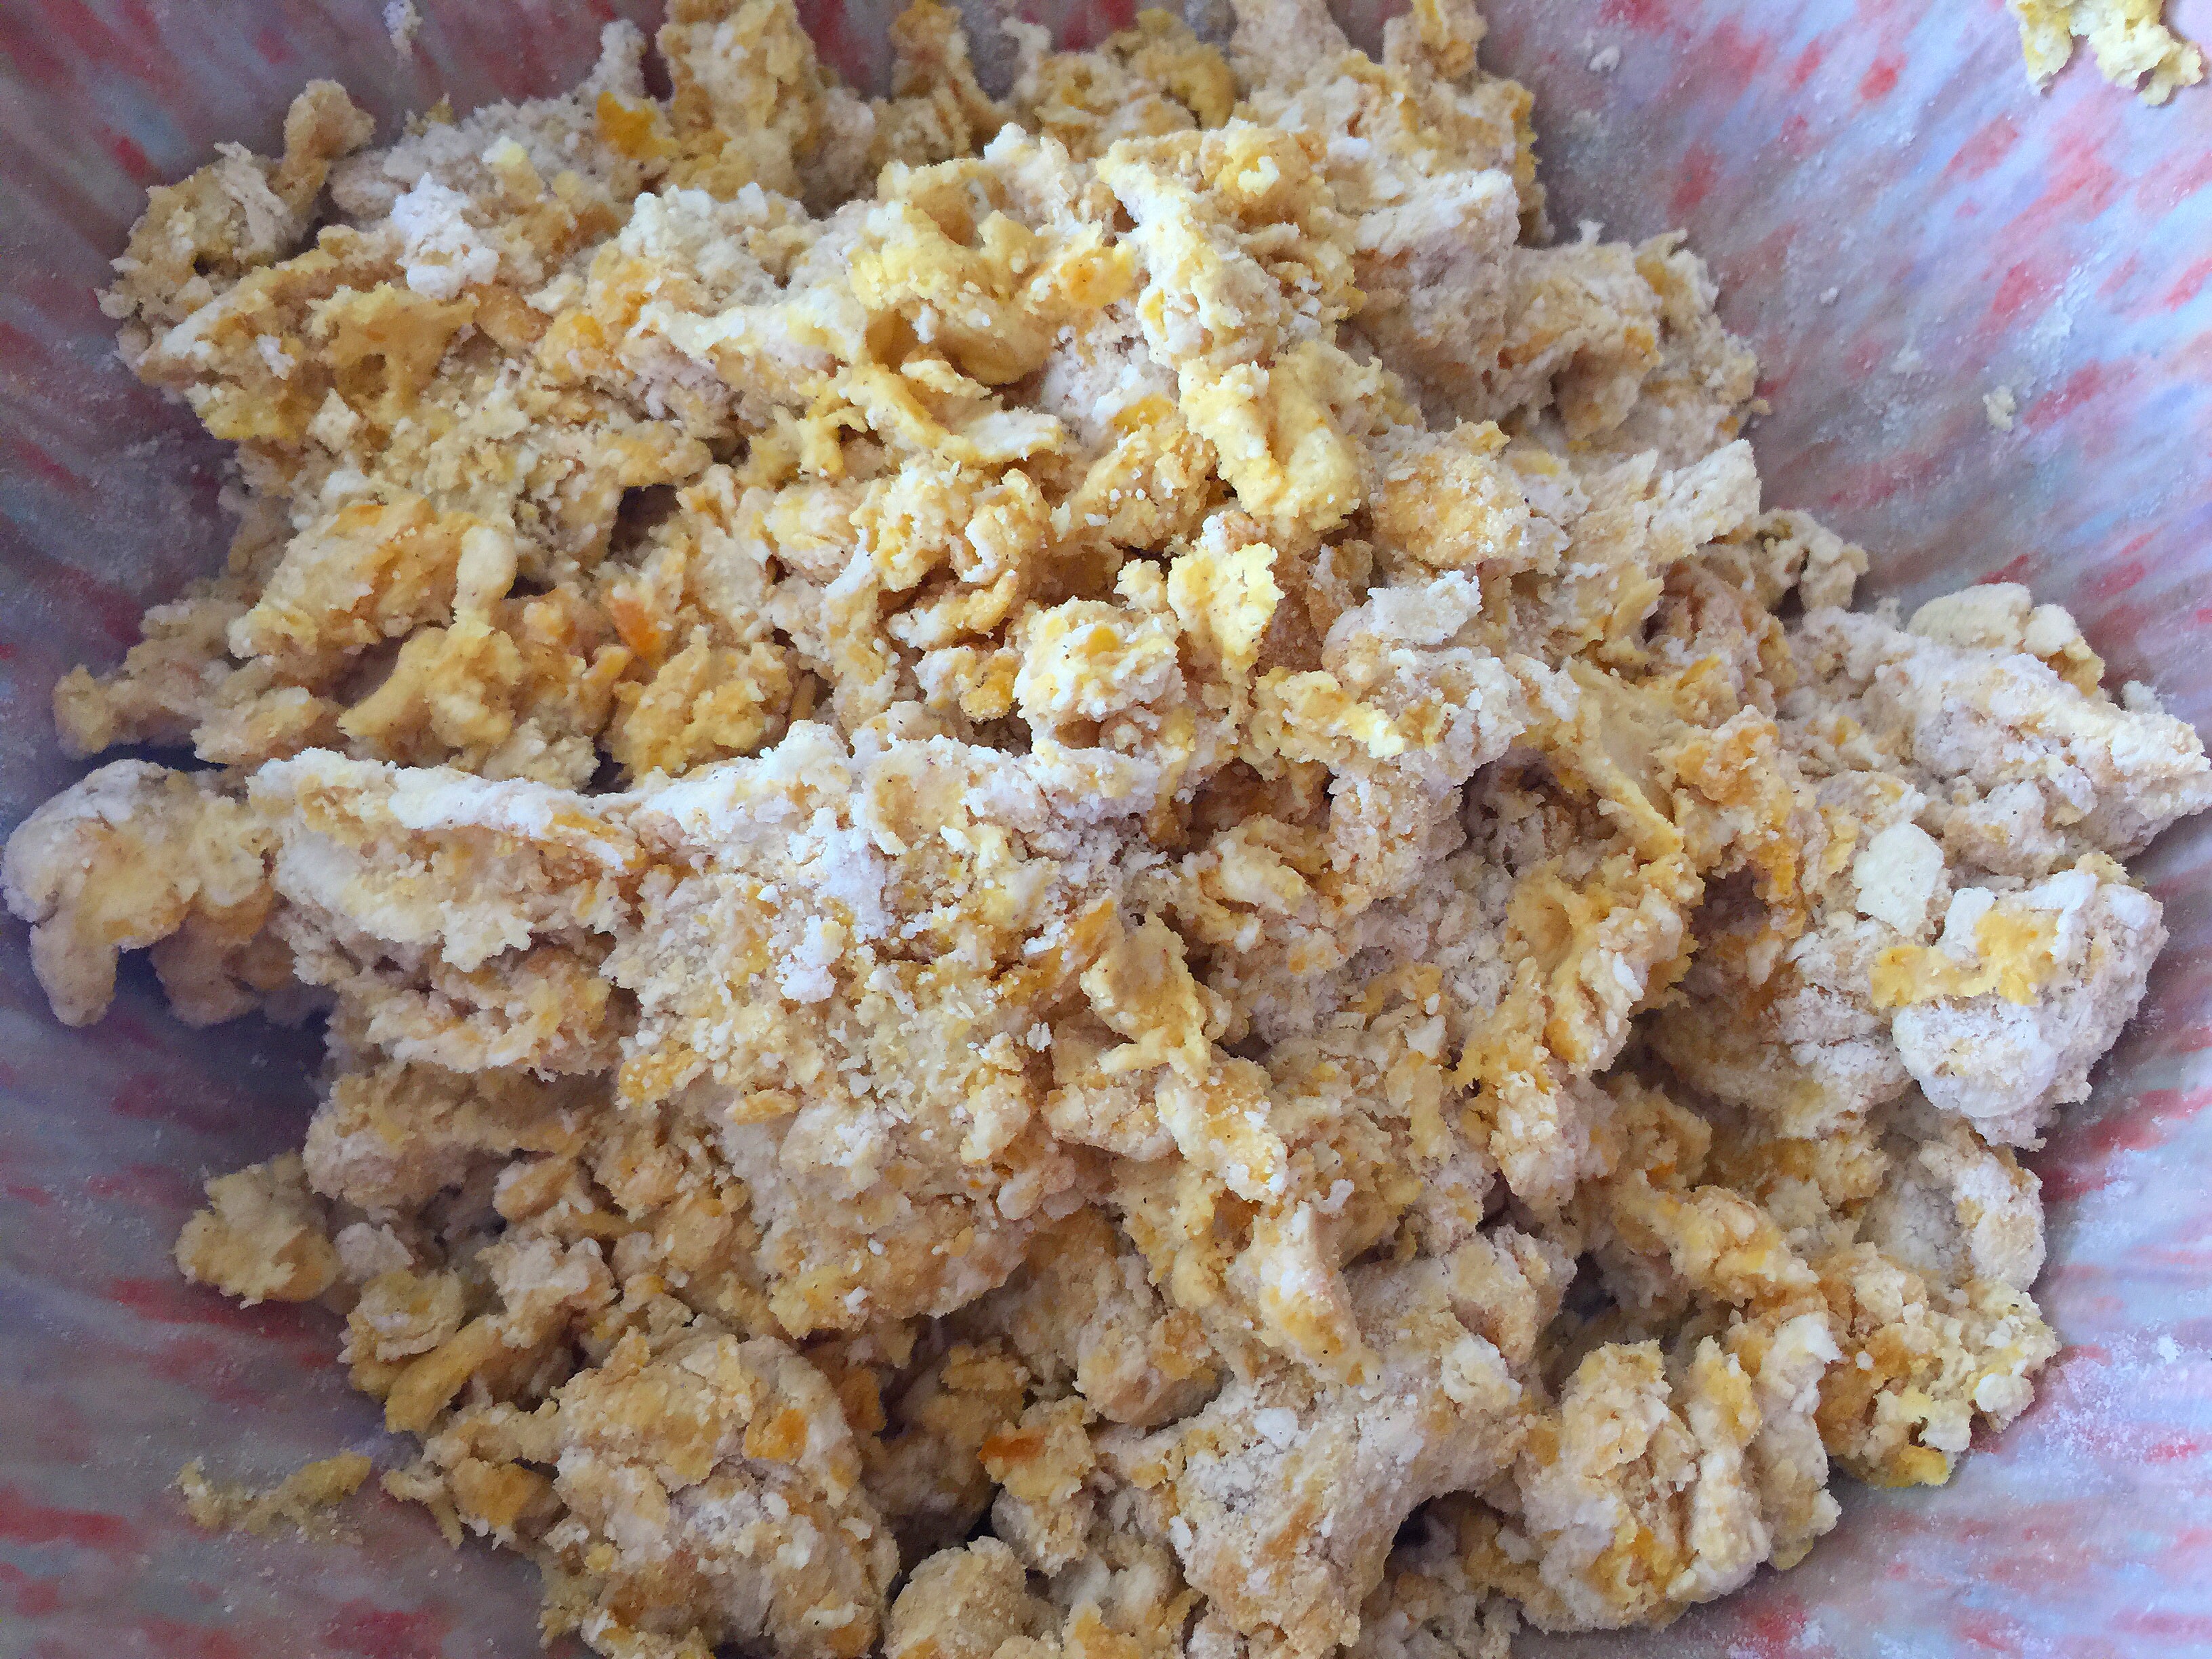
When cutting the butter into the dry ingredients, you are looking for a texture that is similar to sand but also has pebble-sized clumps throughout. Imperfection and inconsistency are the markers for excellence when it comes to scones.
Once the butter has been cut into the dry ingredients, add ¾ cup of pumpkin butter,
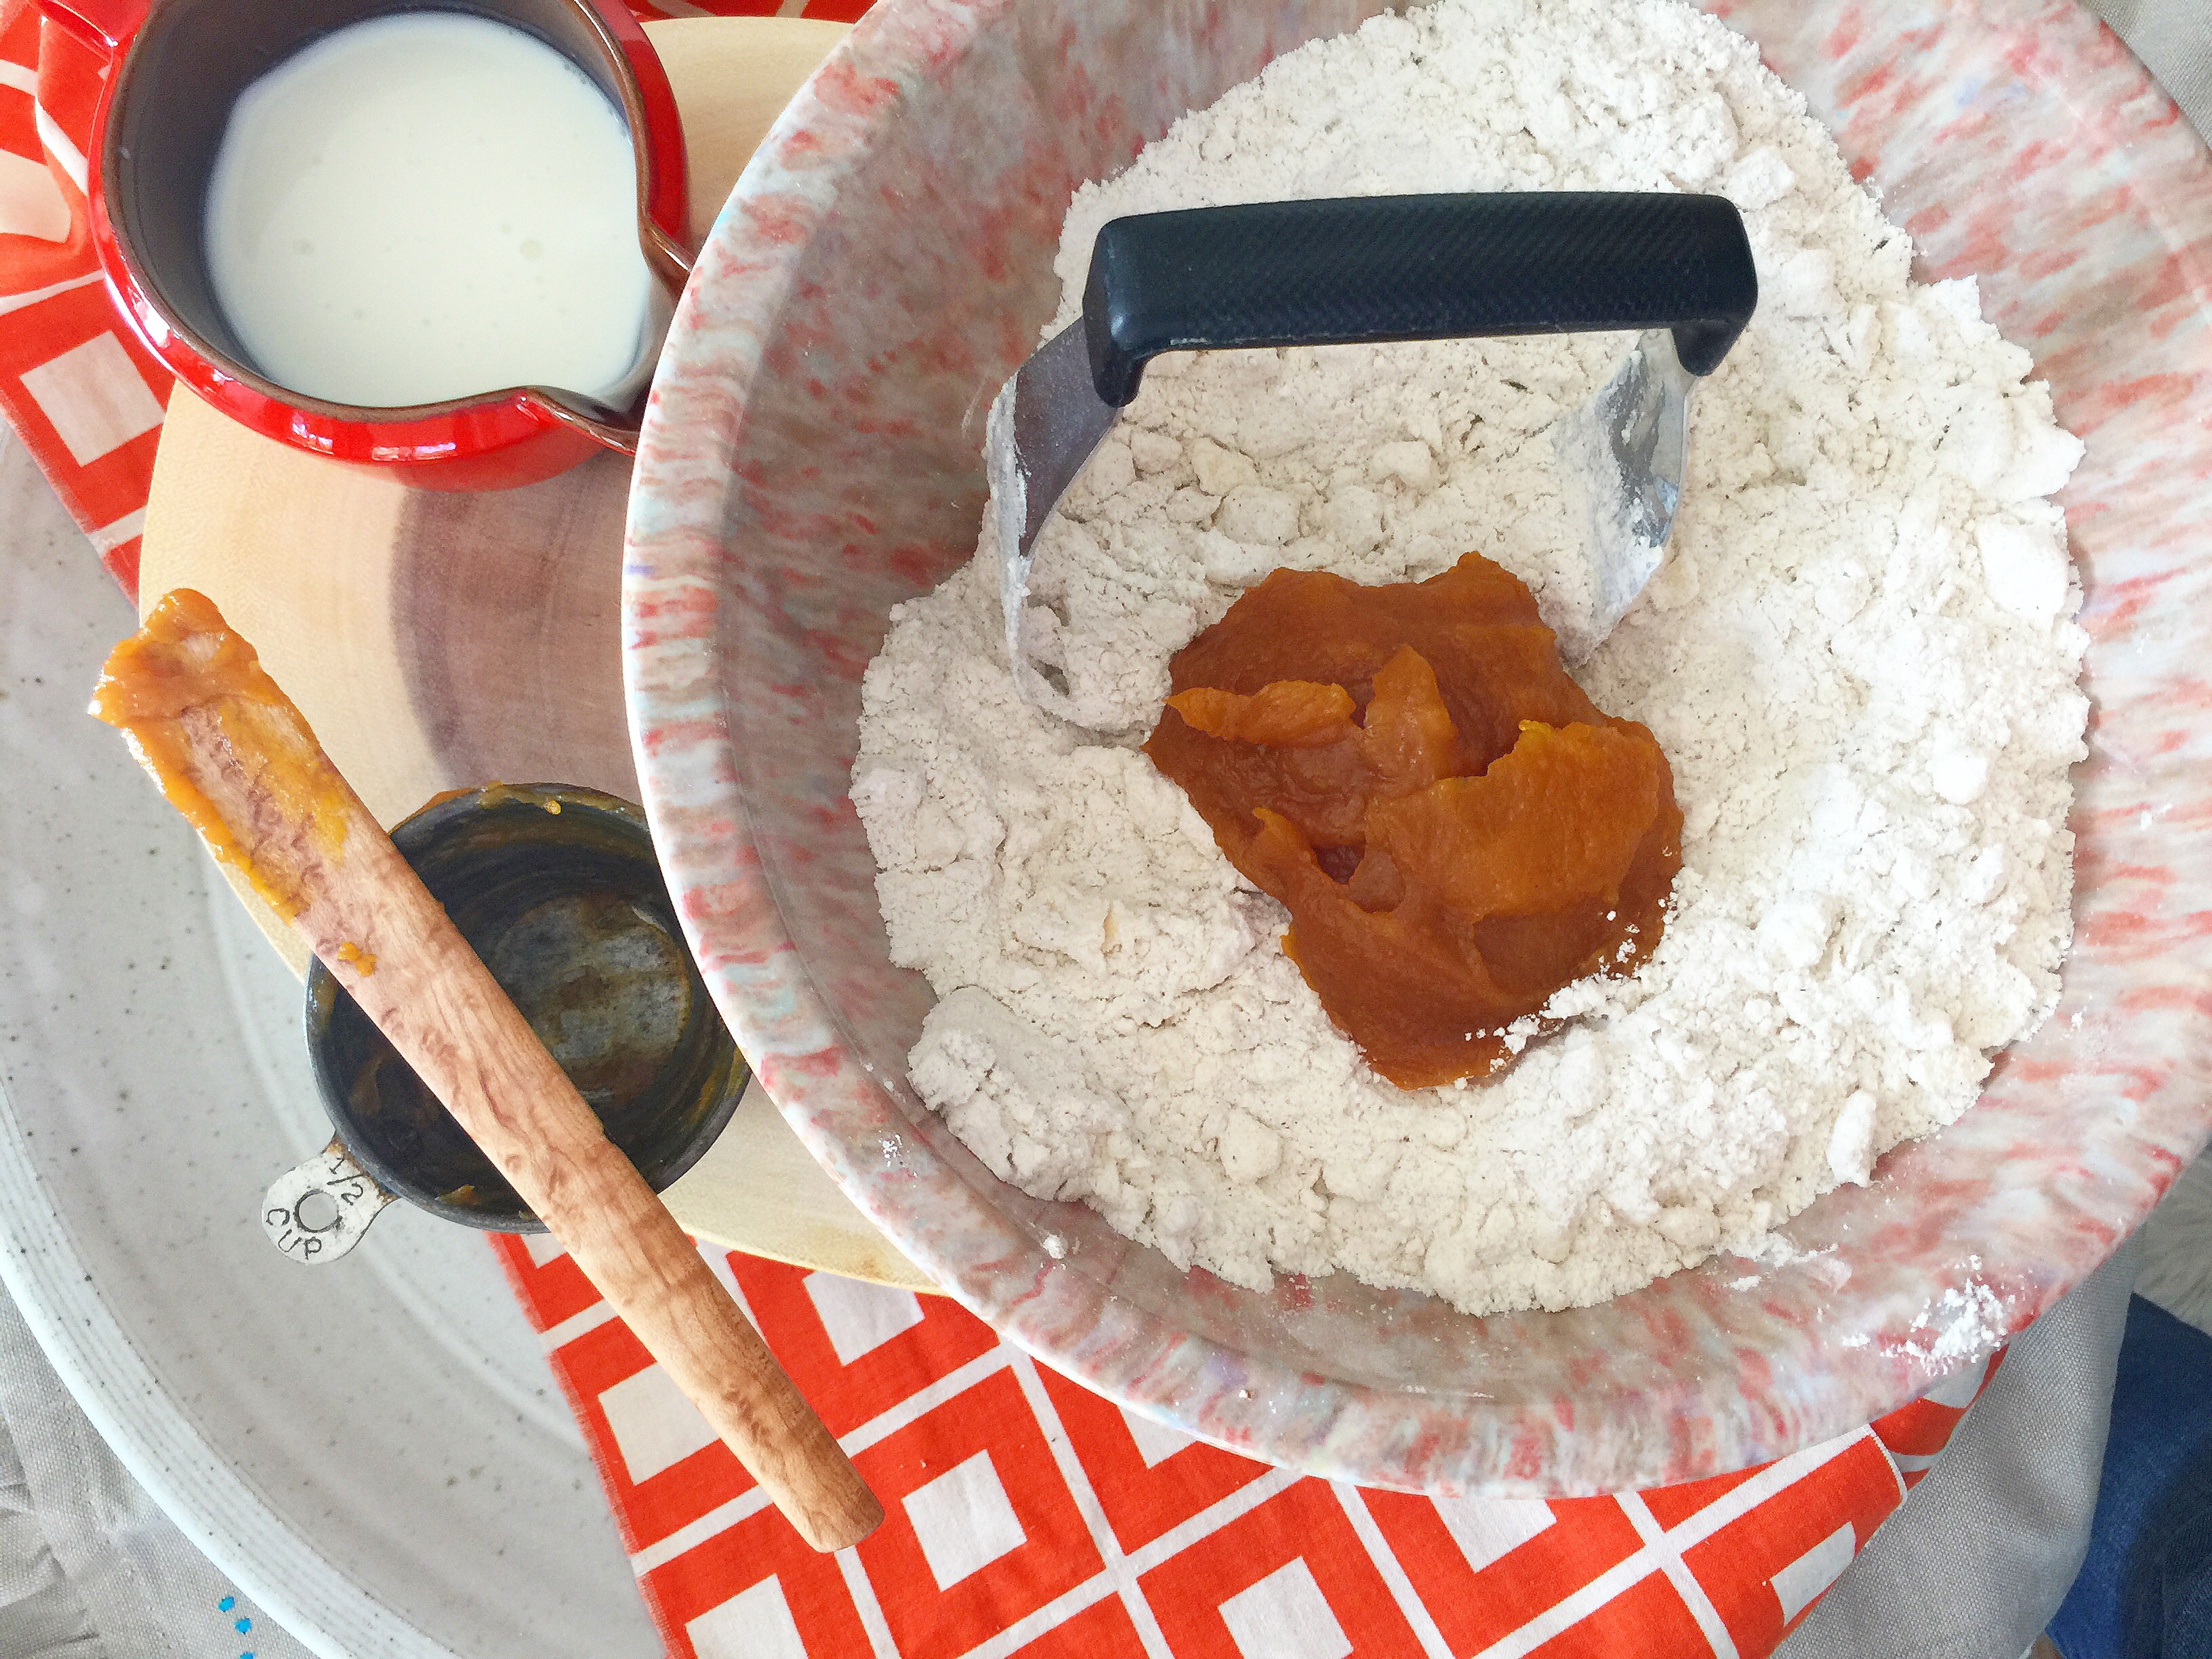
working it into the flour mixture.
I recommend adding the pumpkin butter first ((before adding the buttermilk)). Various pumpkin butters will likely have varying amounts of moisture causing the total amount of buttermilk needed to fluctuate accordingly.
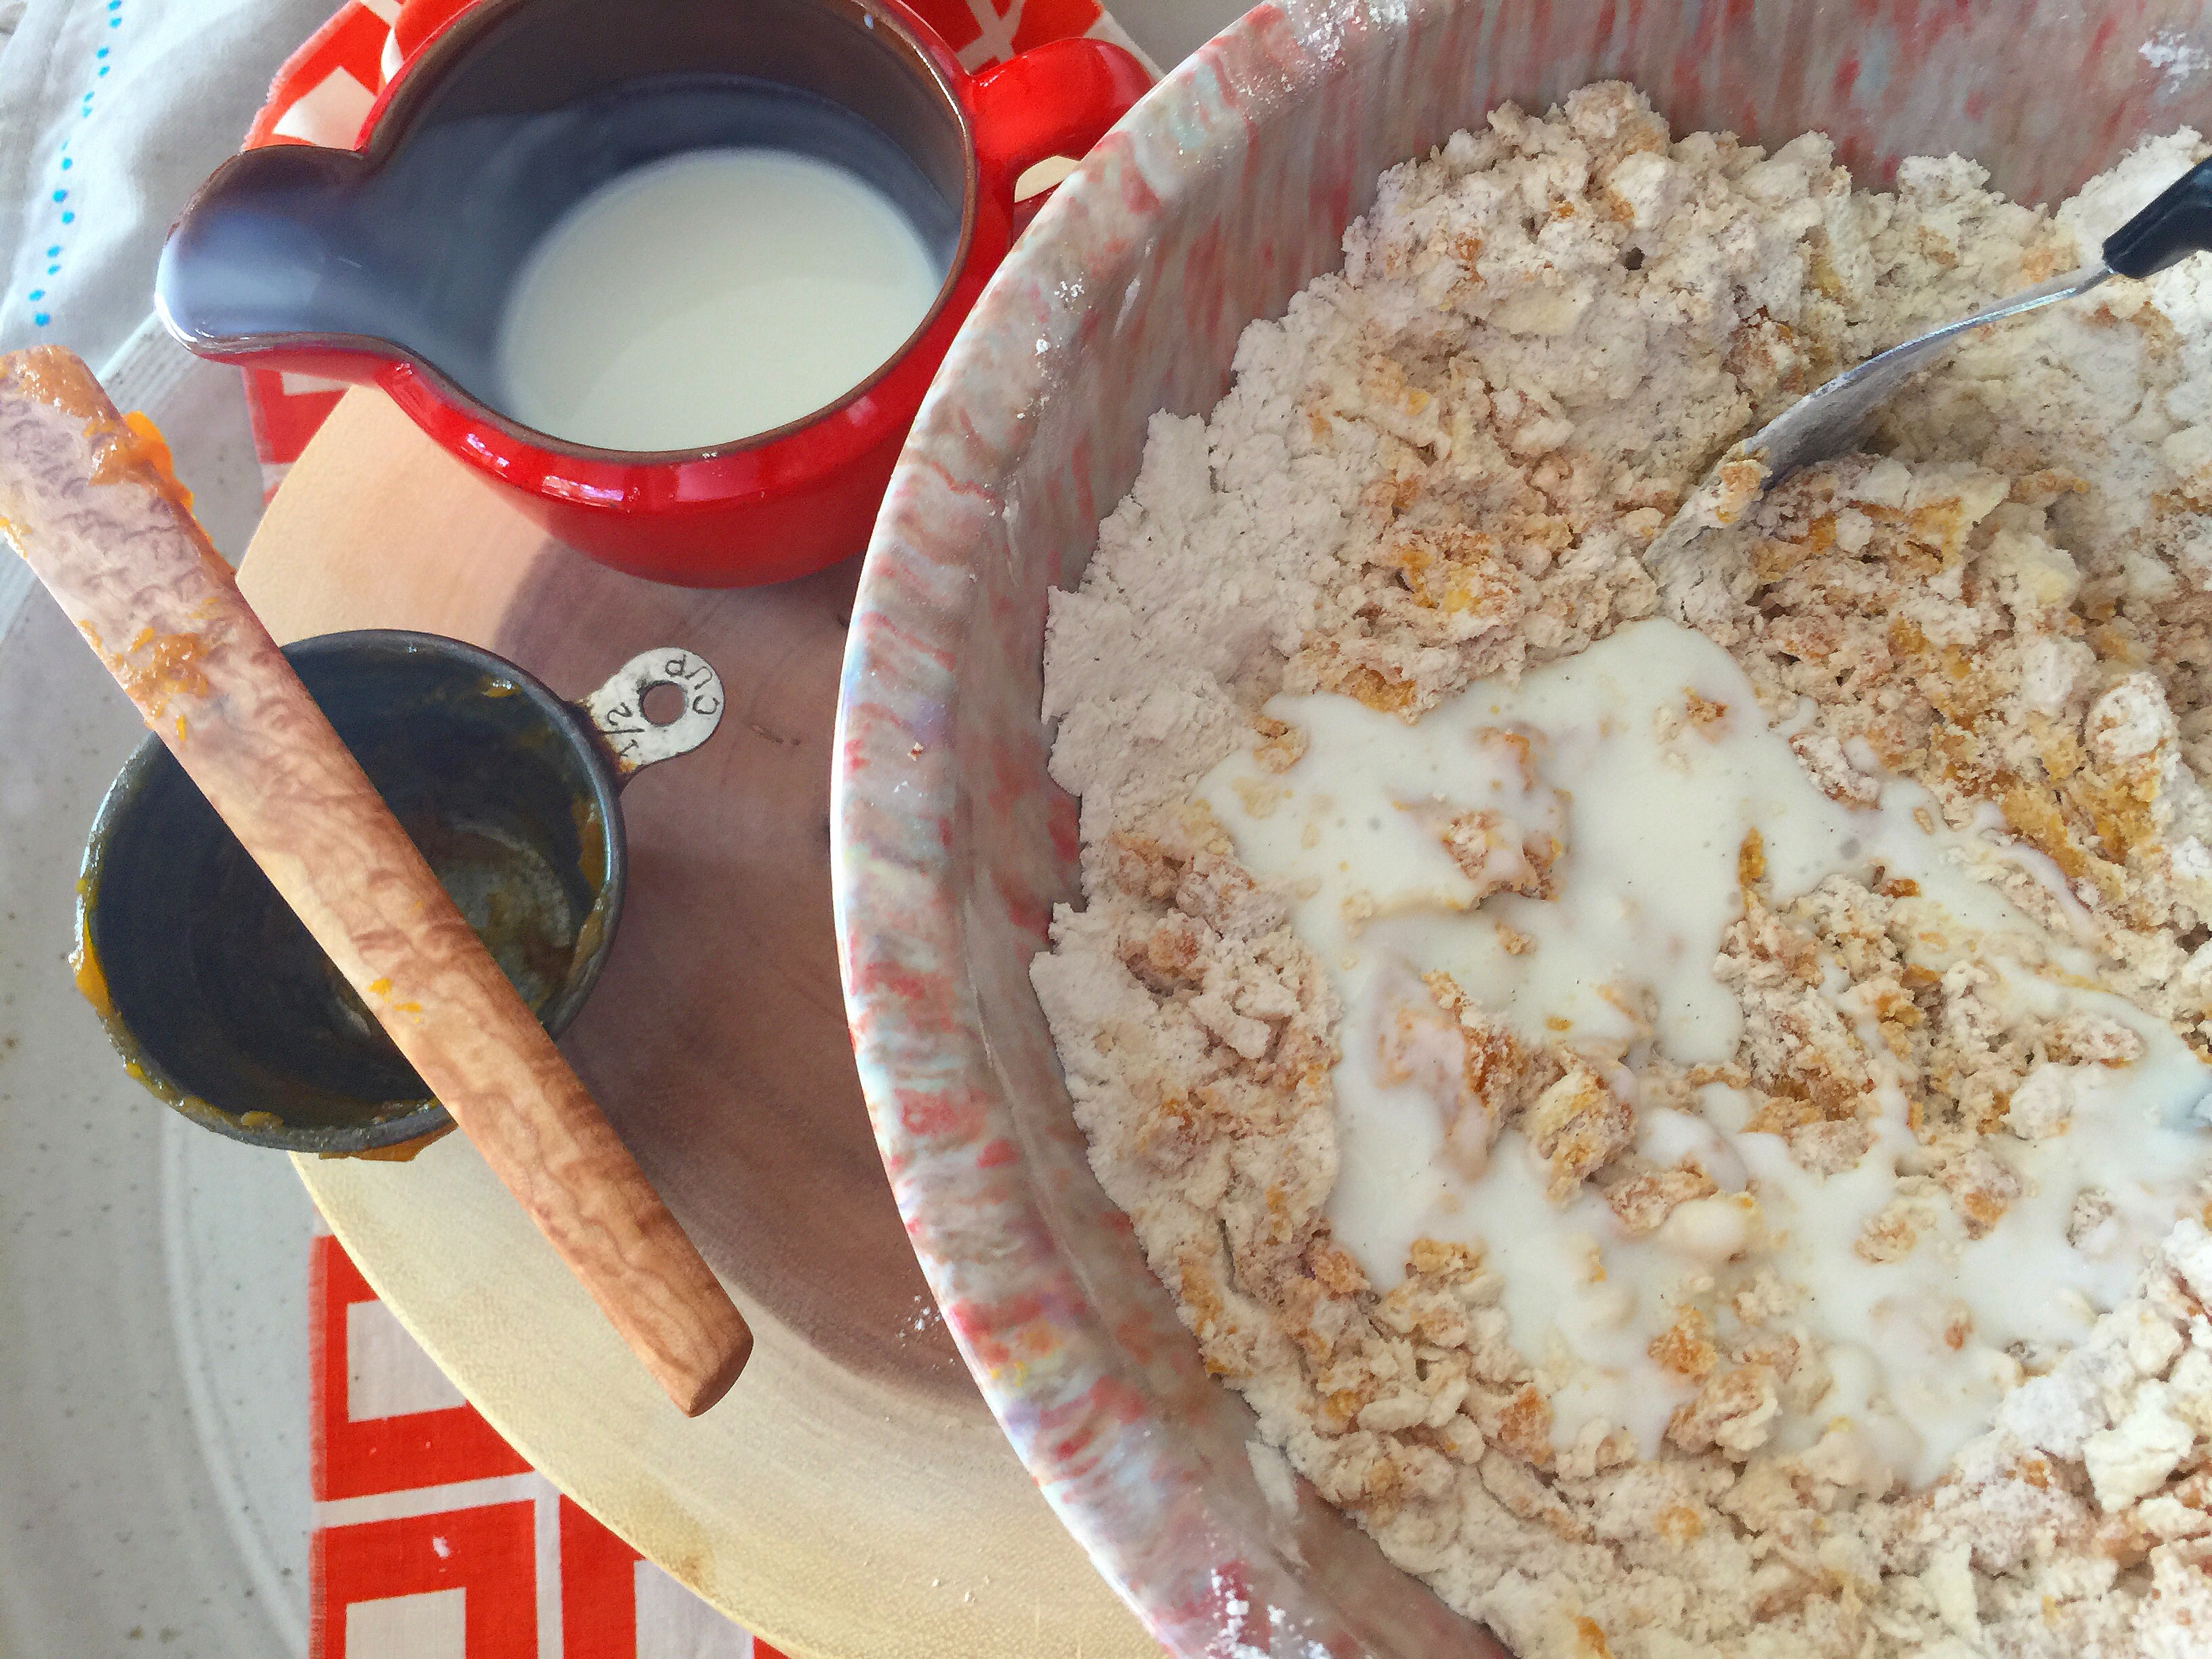
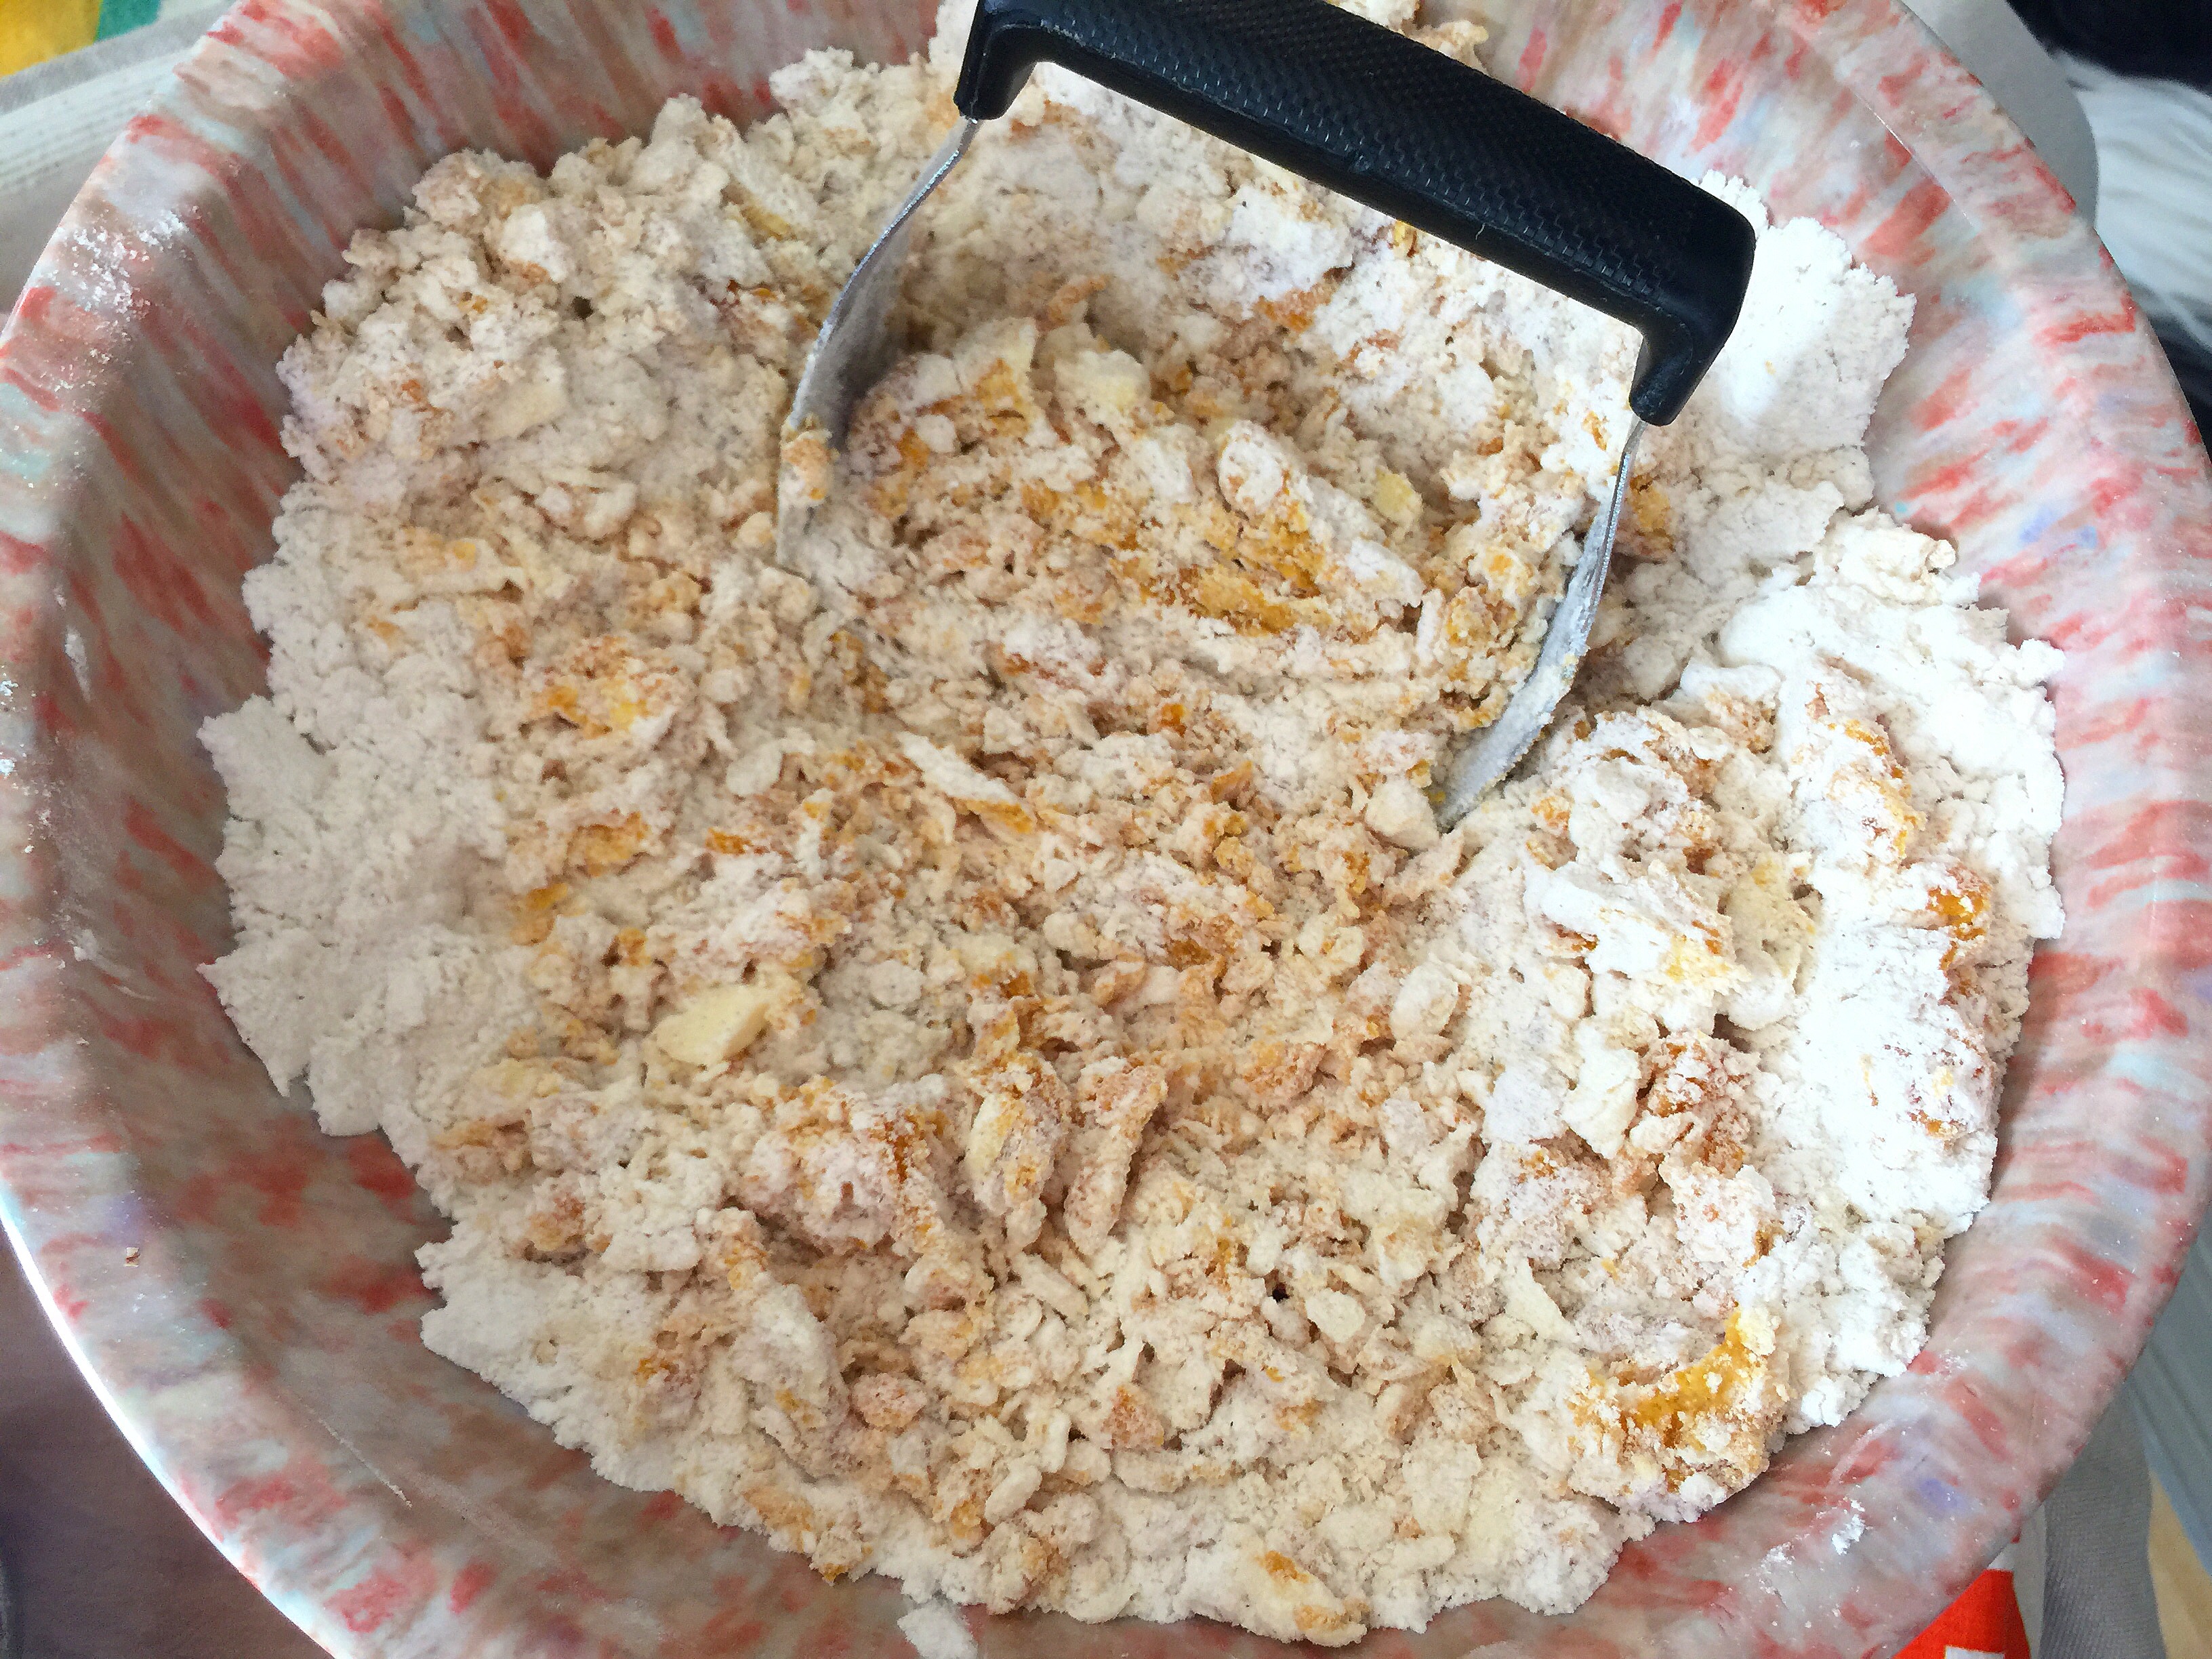
Add buttermilk to the mixture in 2 tablespoon increments, mixing by hand until the scone dough starts come together.
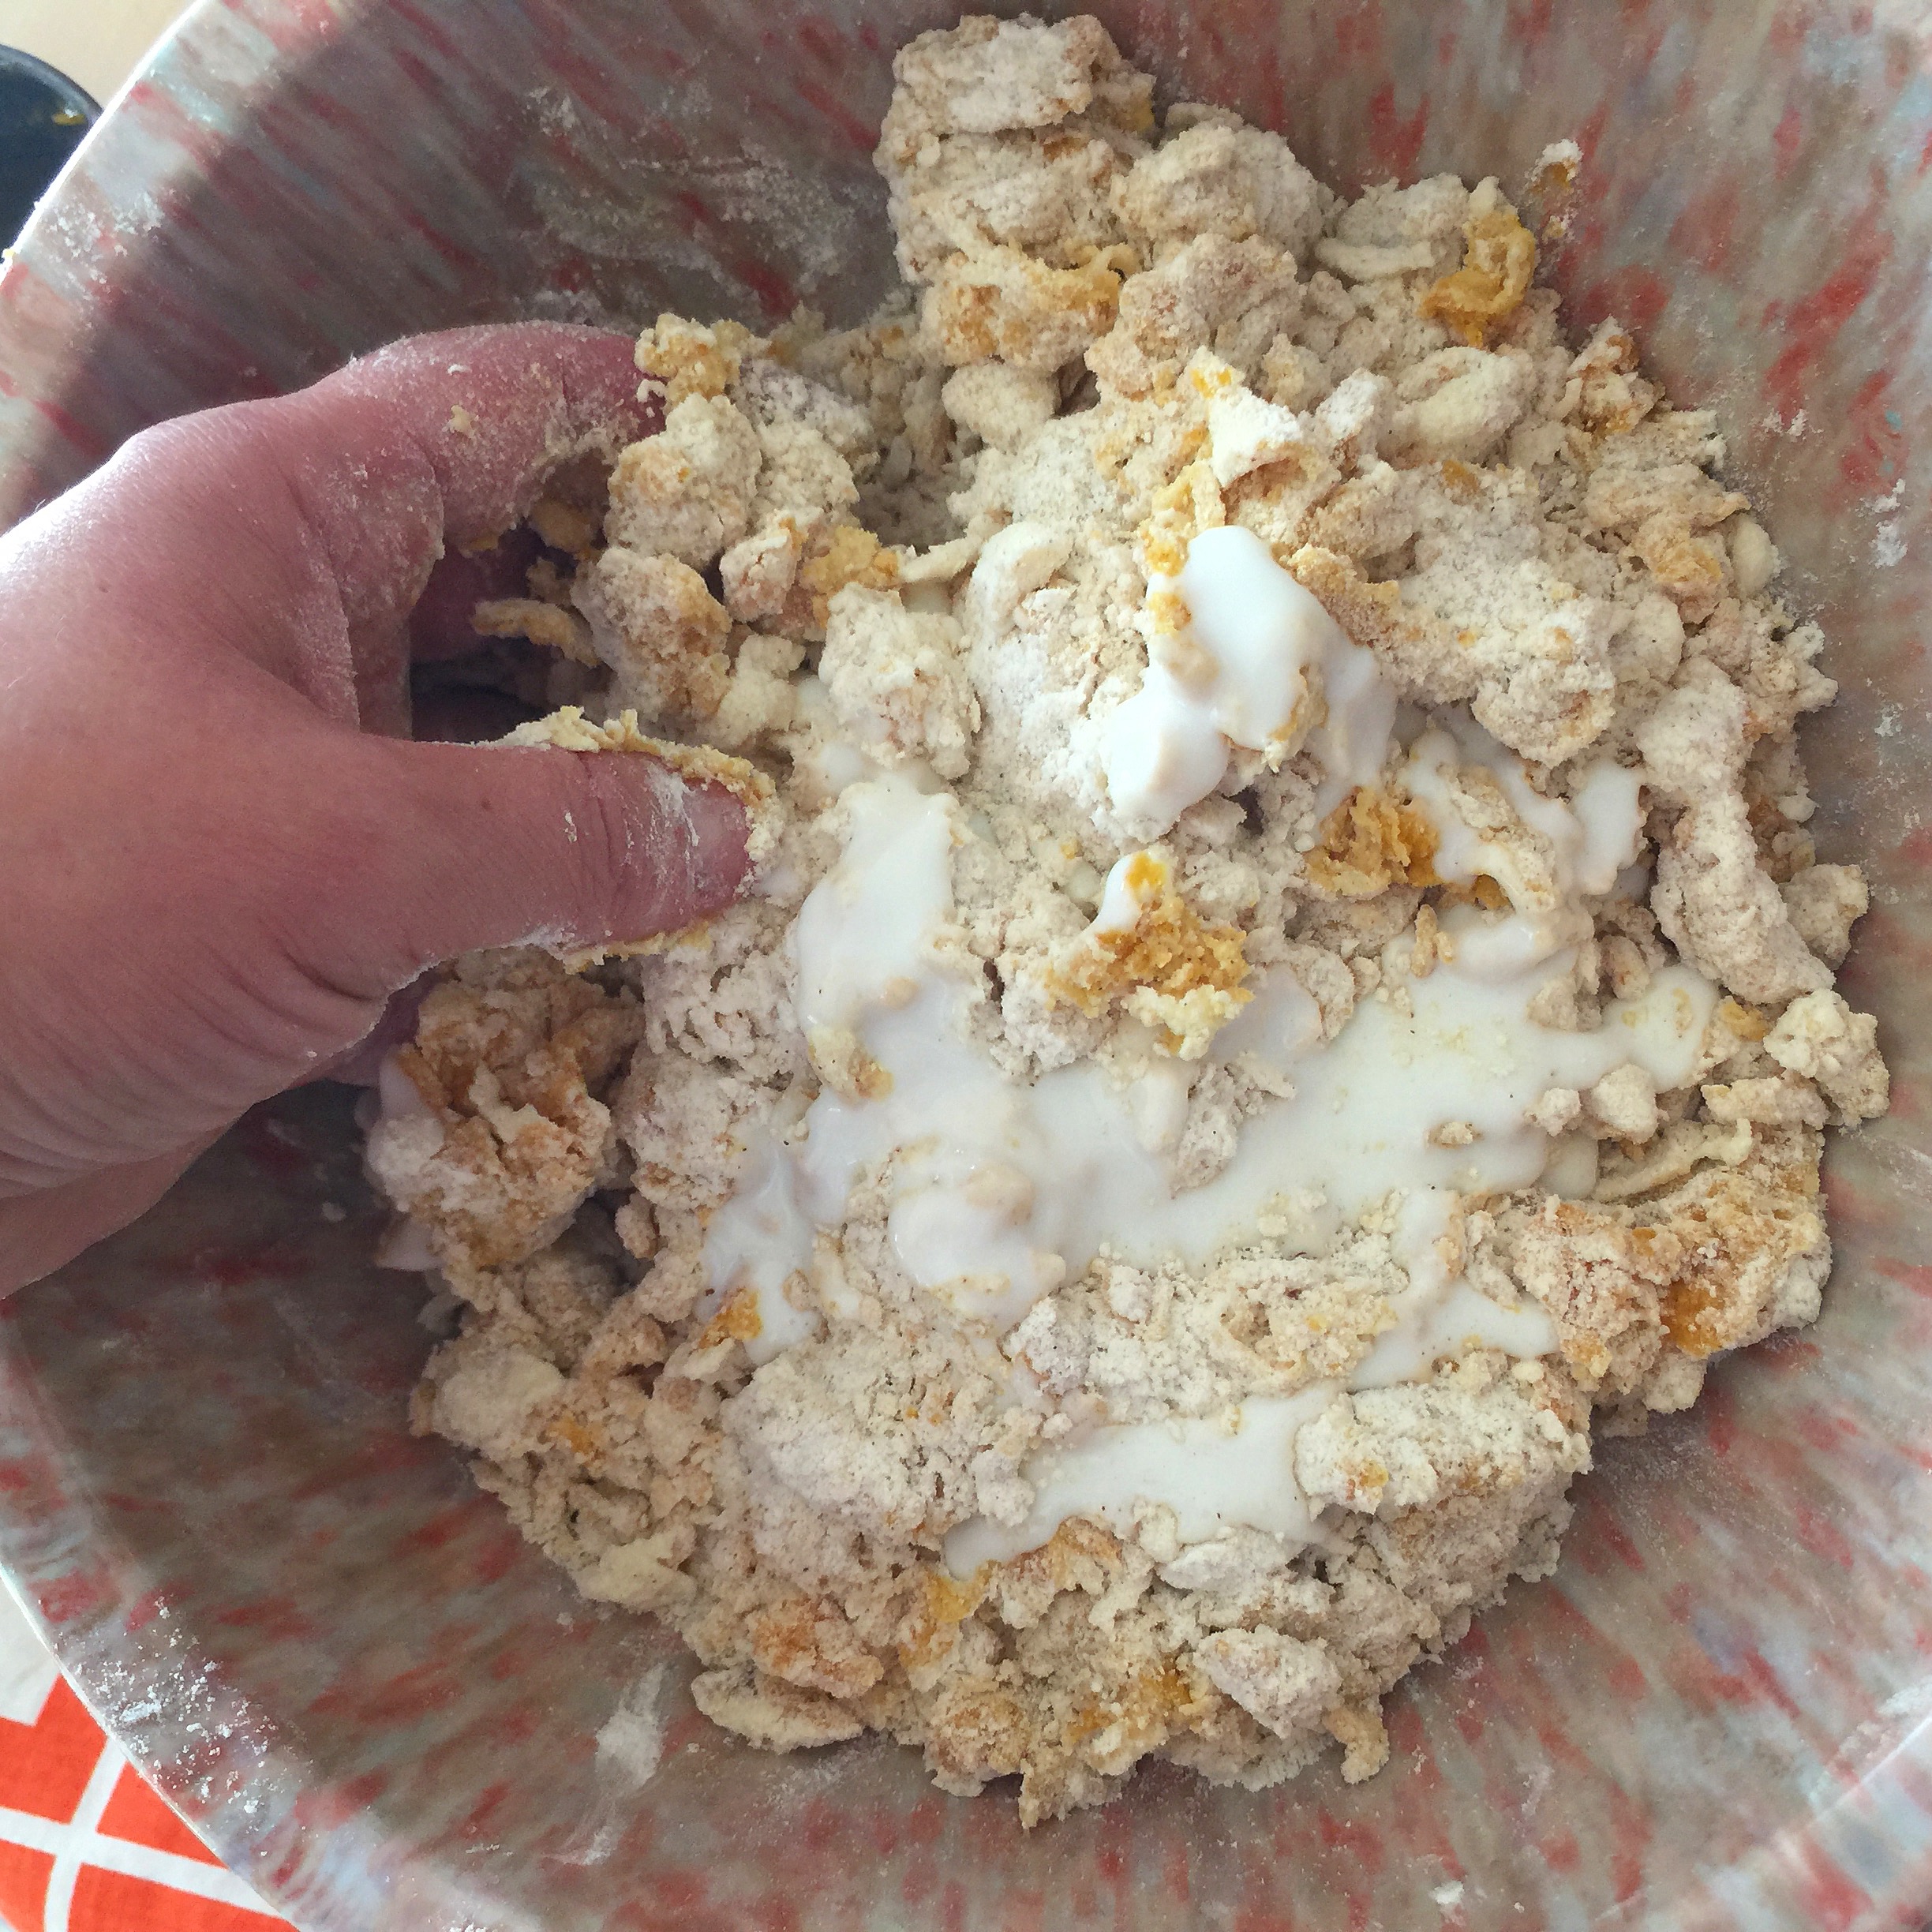
You will know it’s time to stop mixing the moment you find yourself thinking “just a few more kneads and this will be perfect”. In the words of Julia Child: “Stop 2 kneads before you have to.” Notice the inconsistent colors, incompletely mixed ingredients and irregular pockets of wet and dry? It’s called the perfect scone in the making.
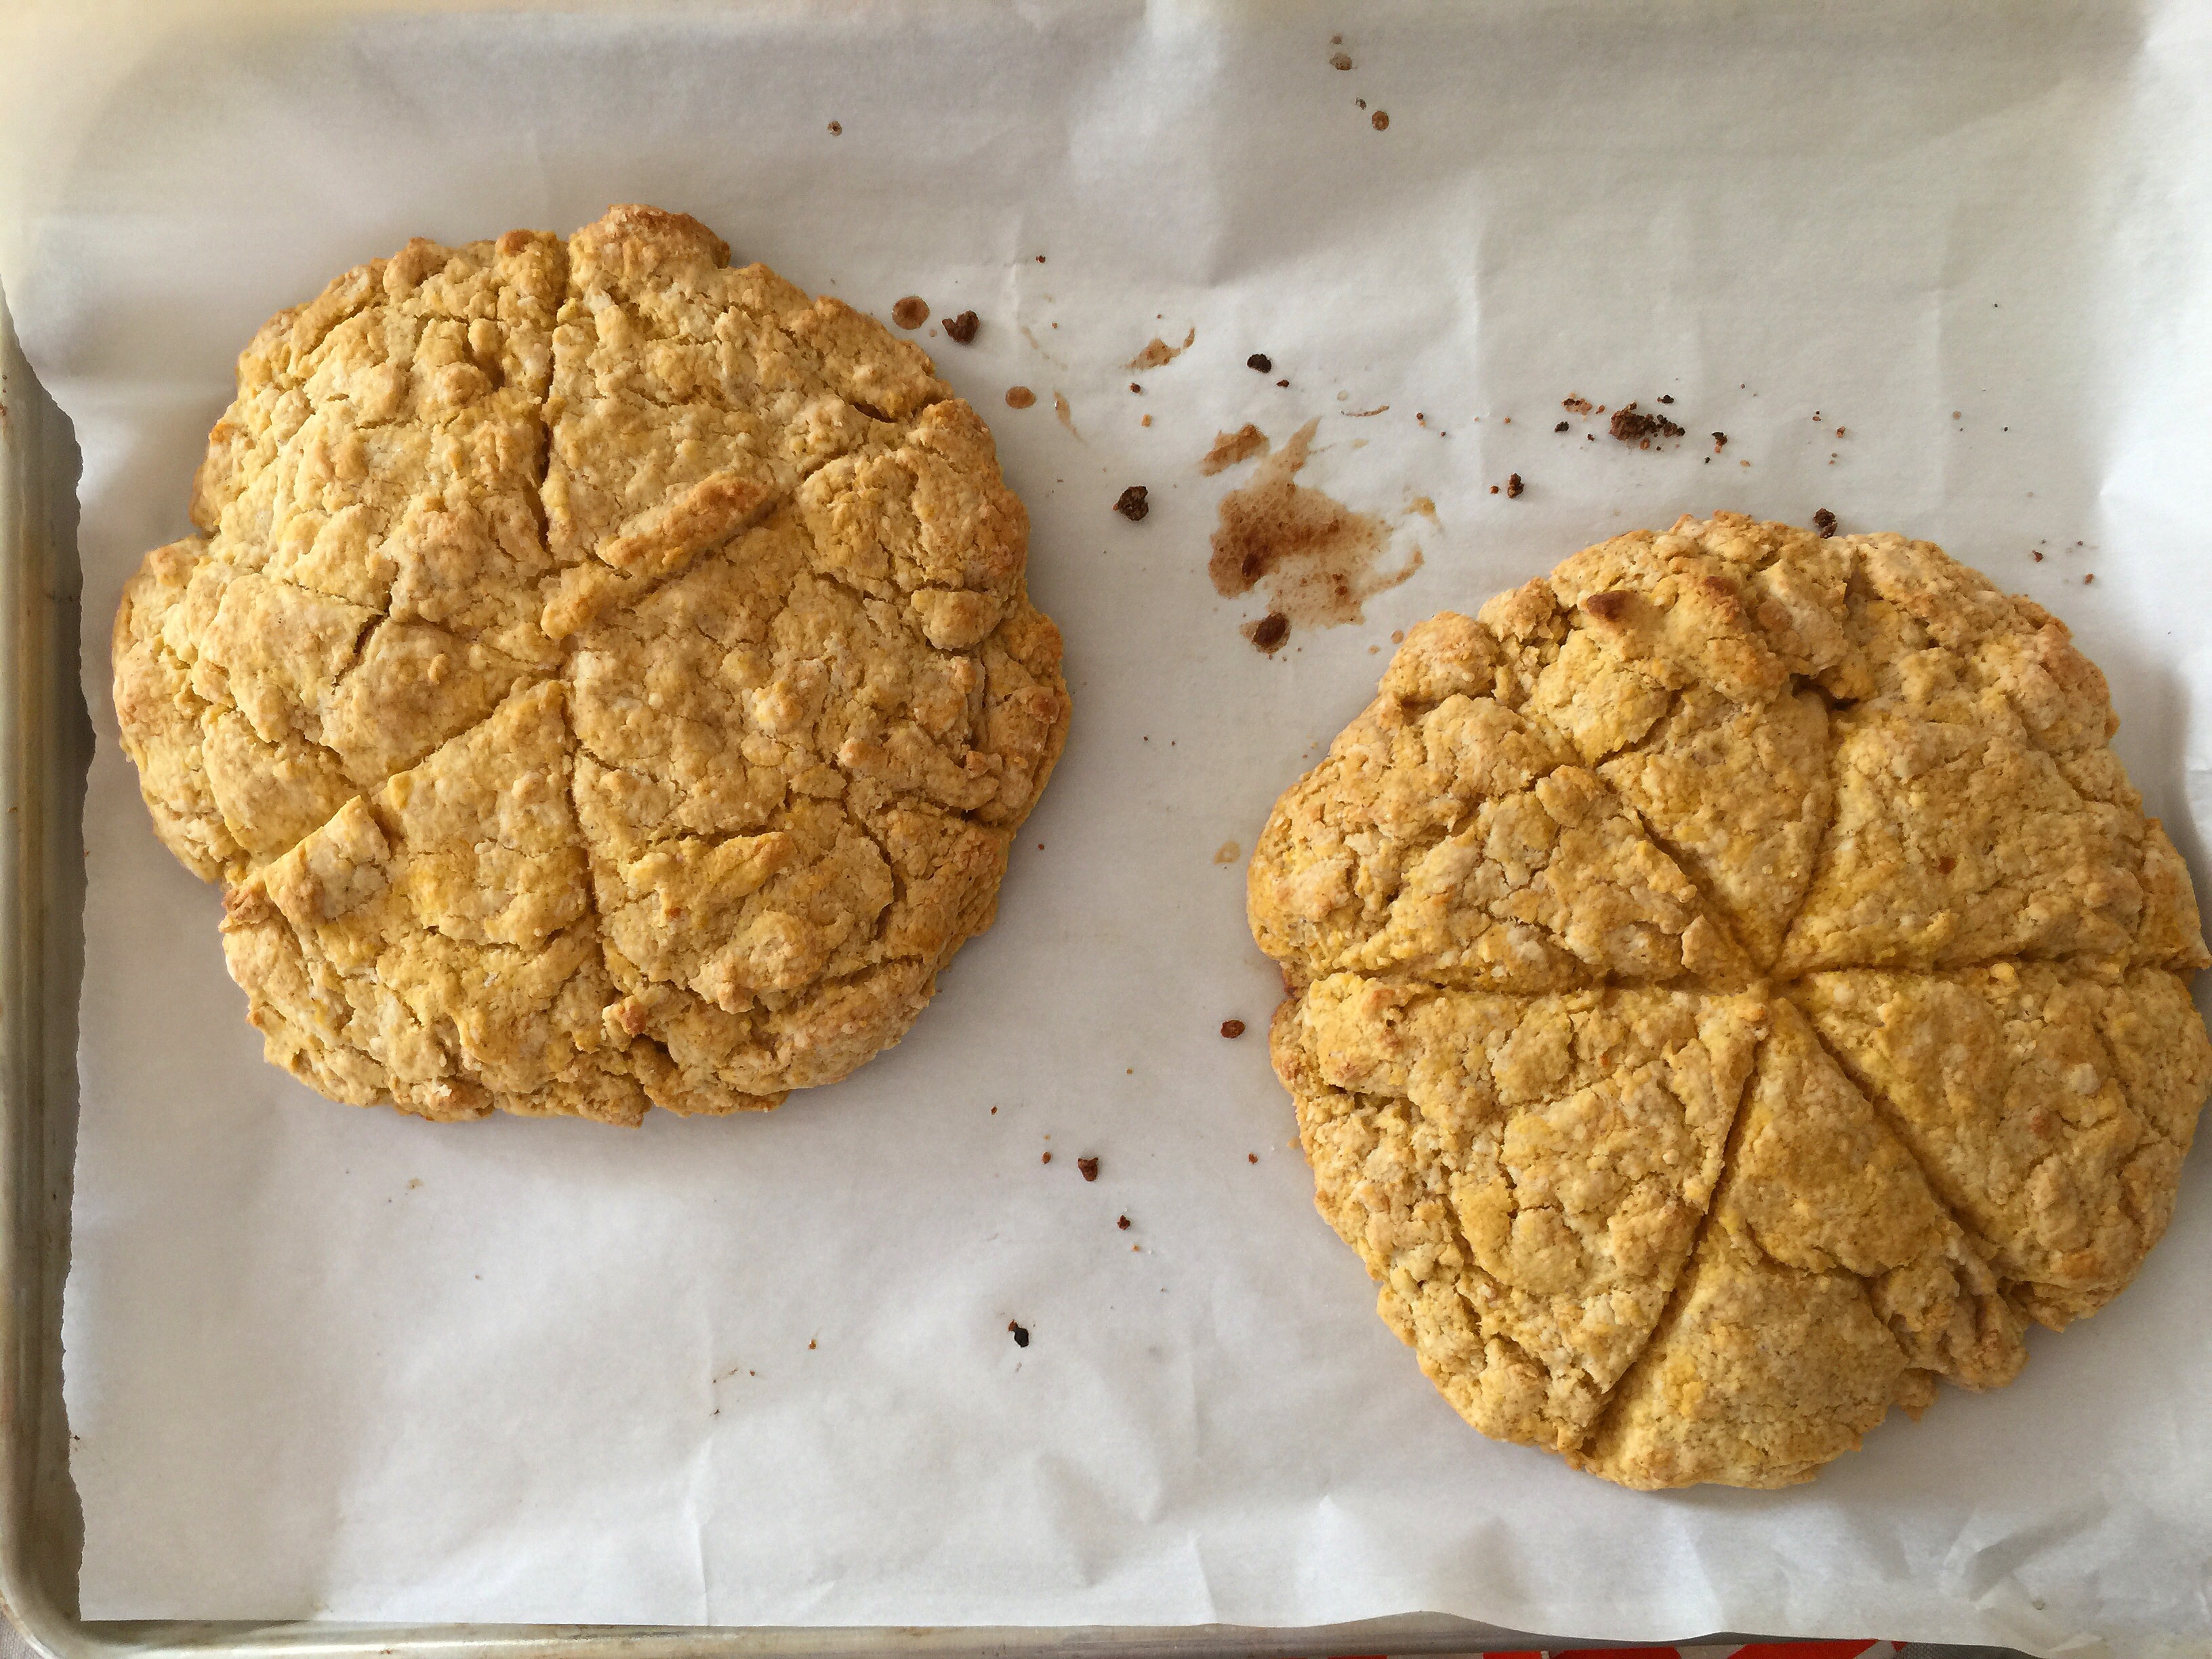
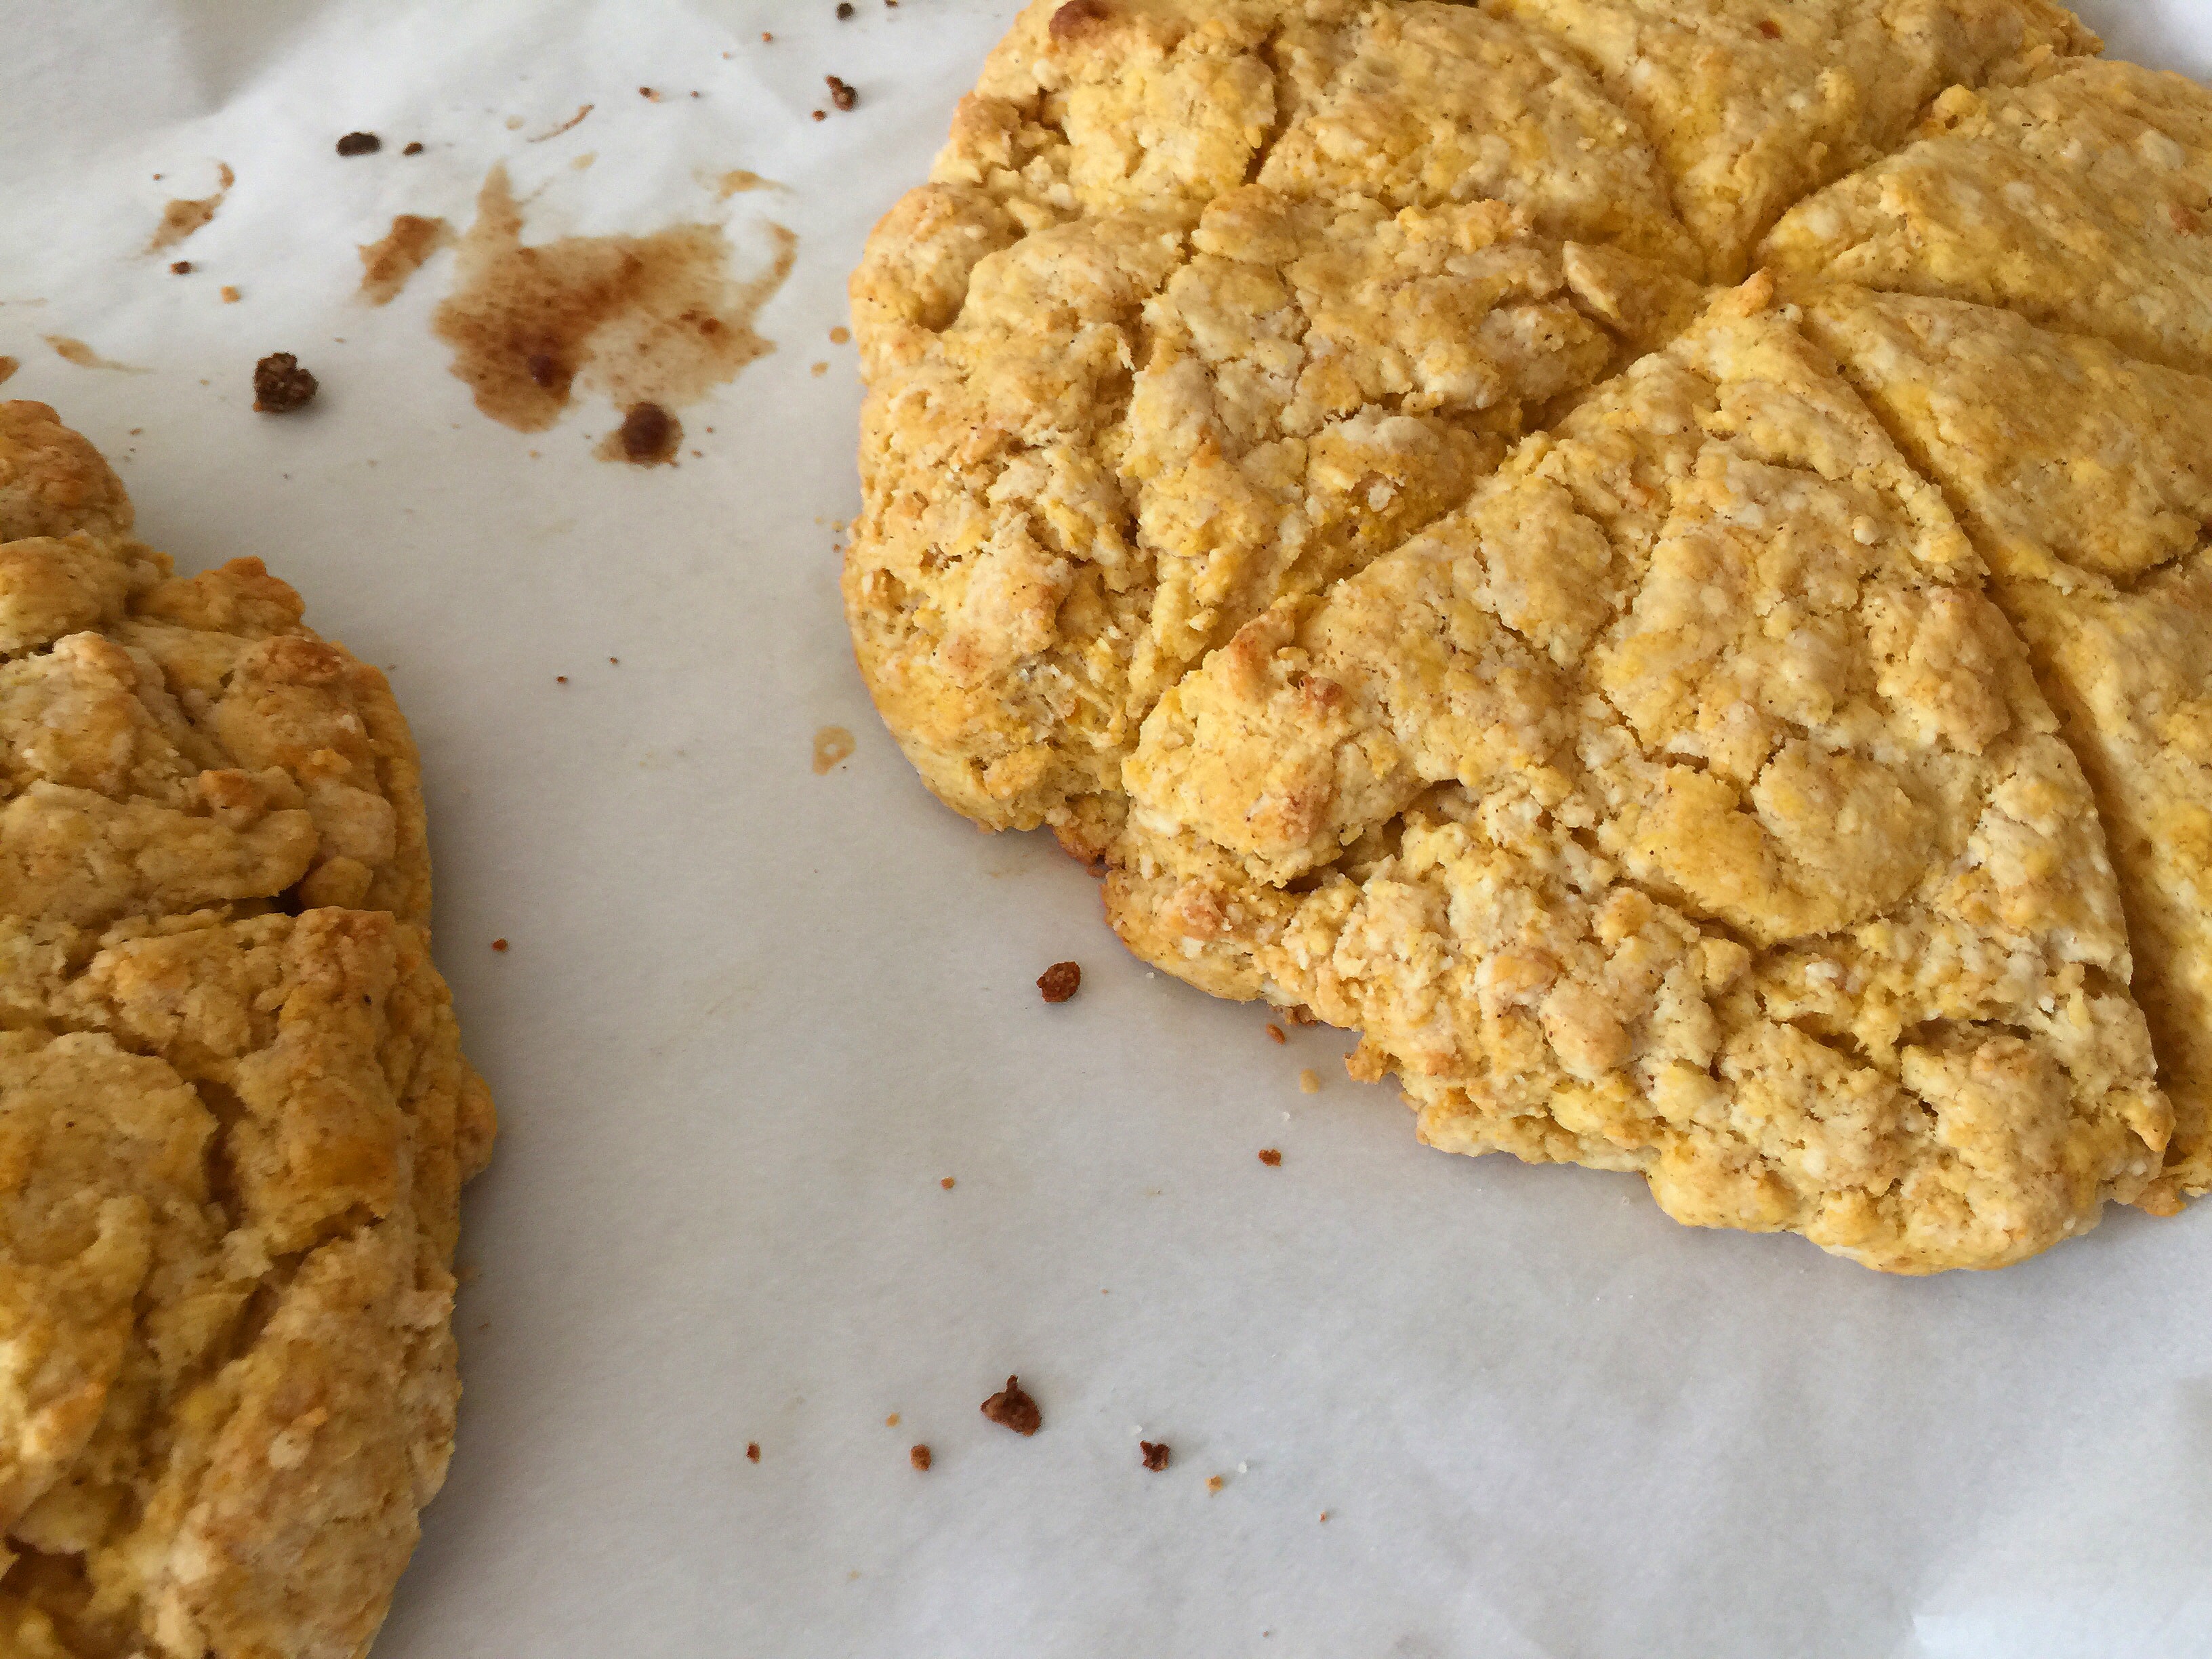
Divide the dough into 2 equal portions and fashion them into disks 7″ in diameter and 1″ thick.
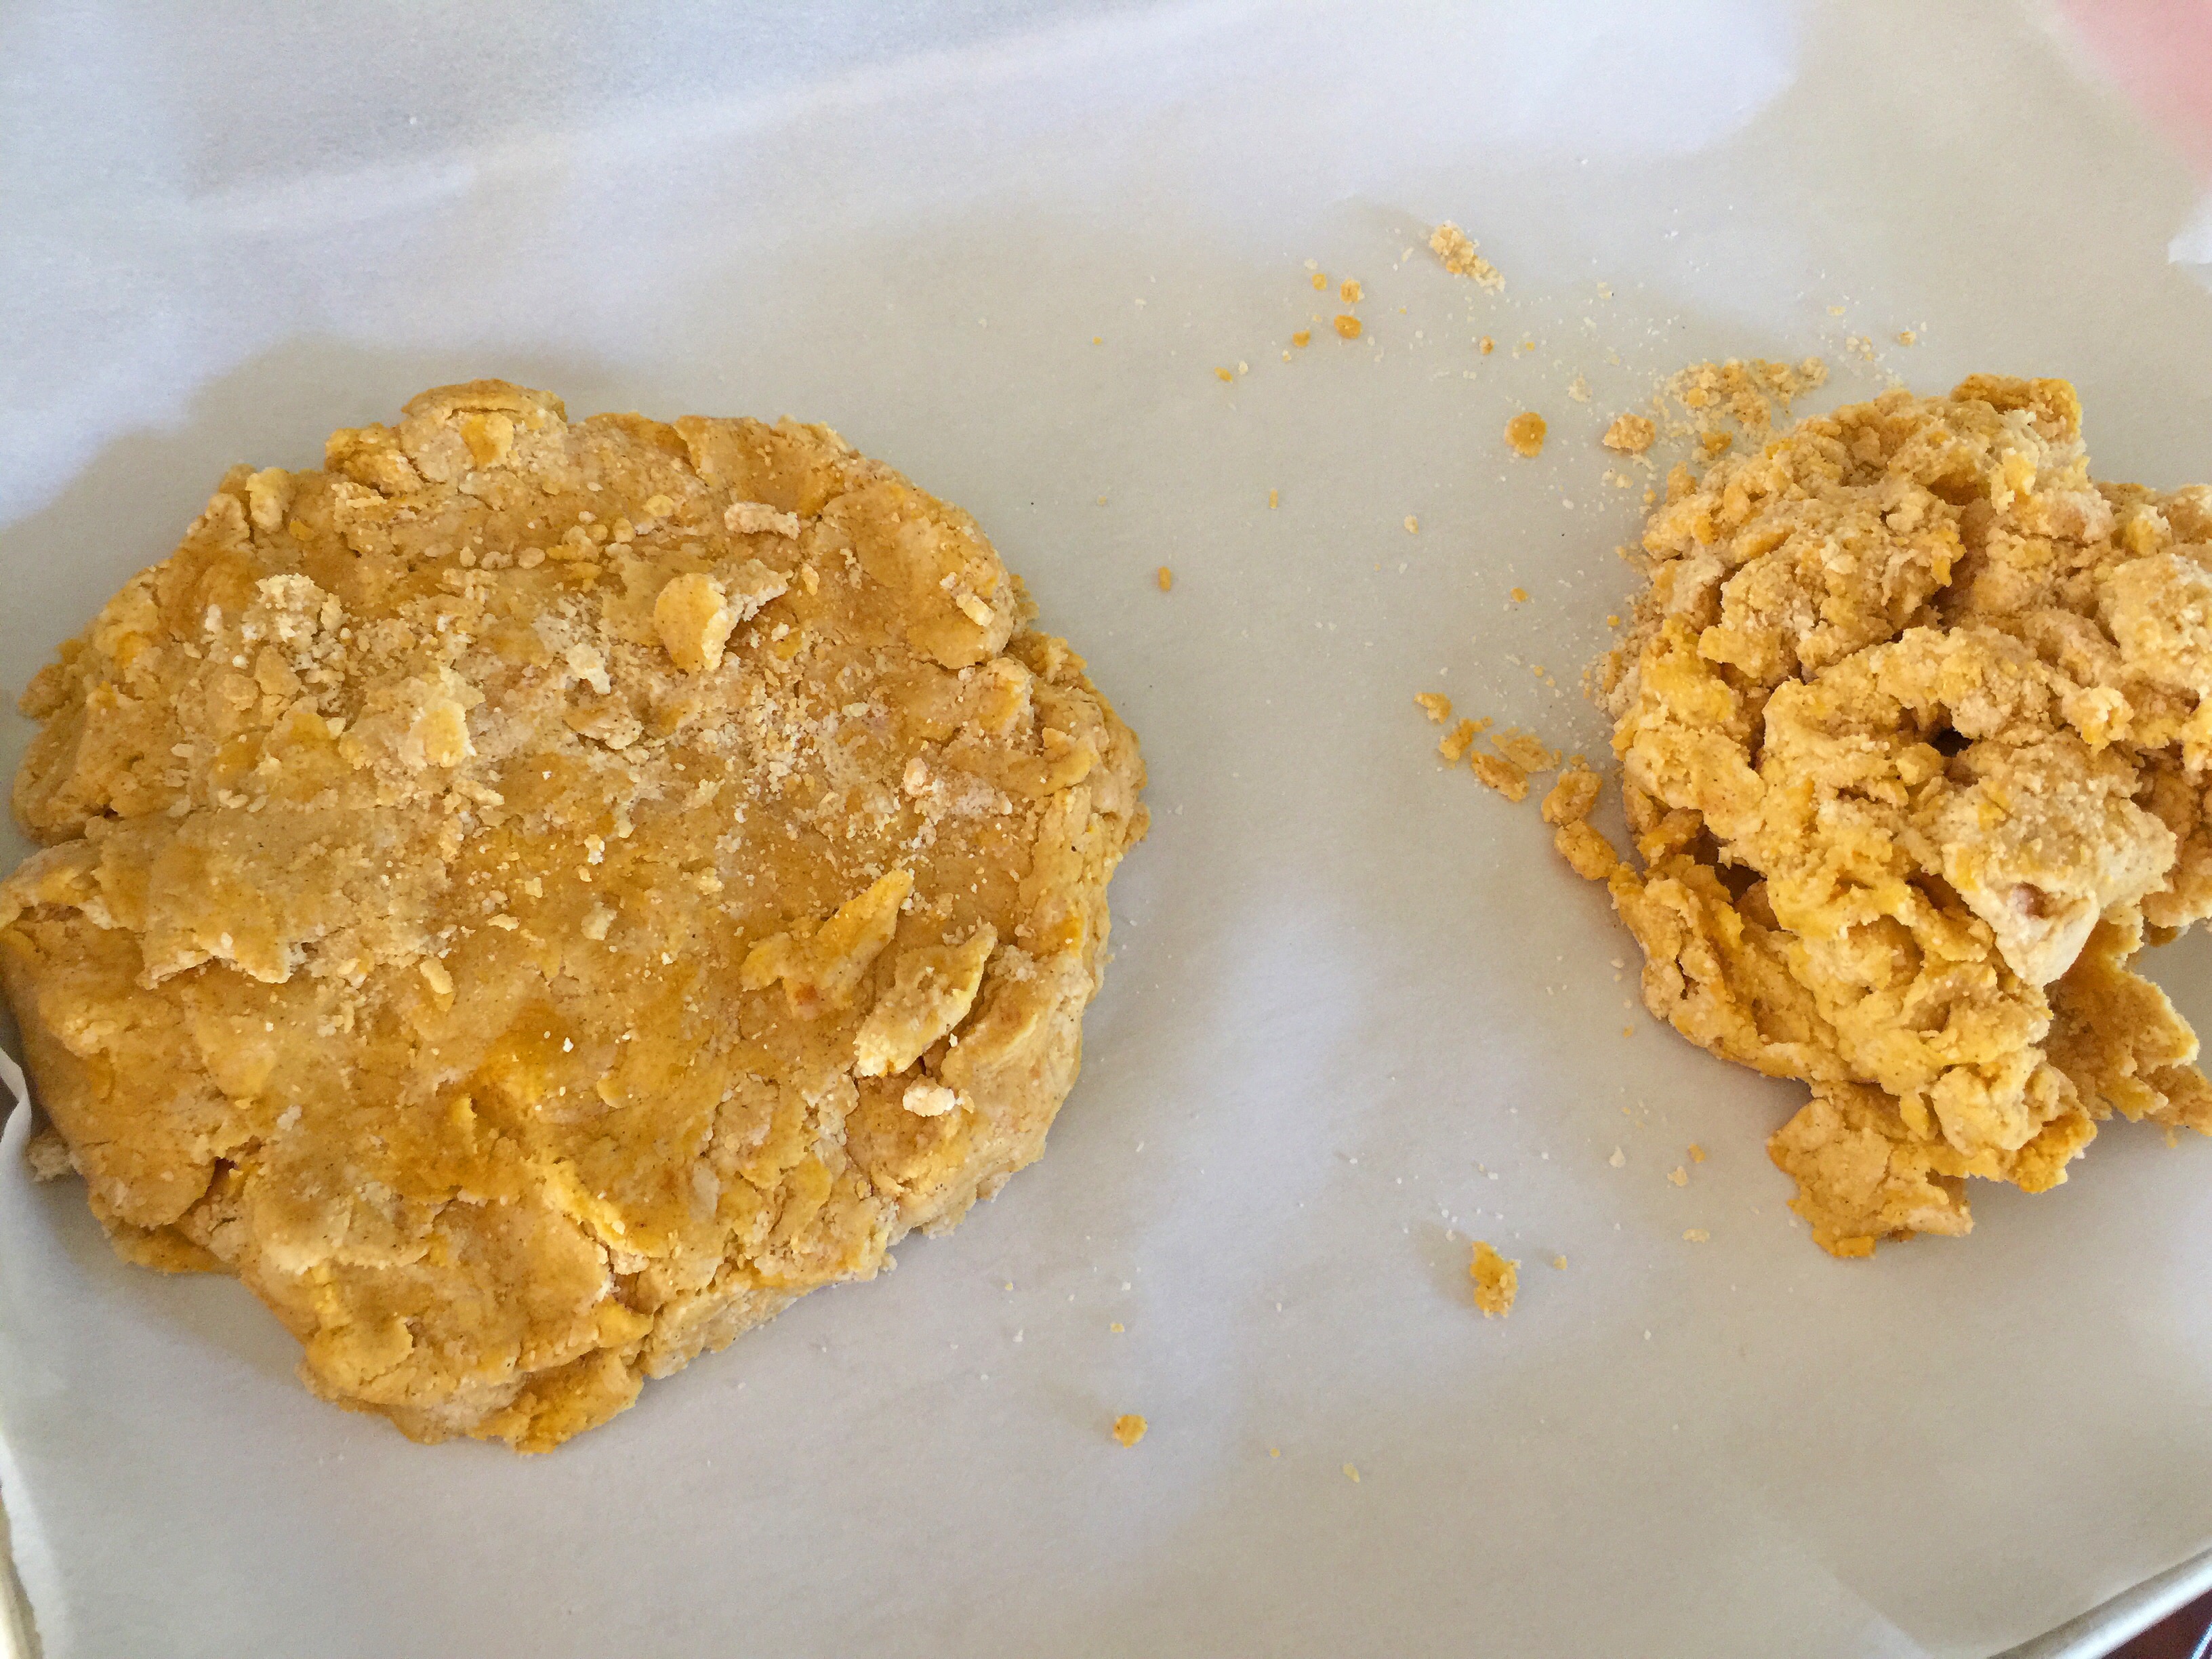
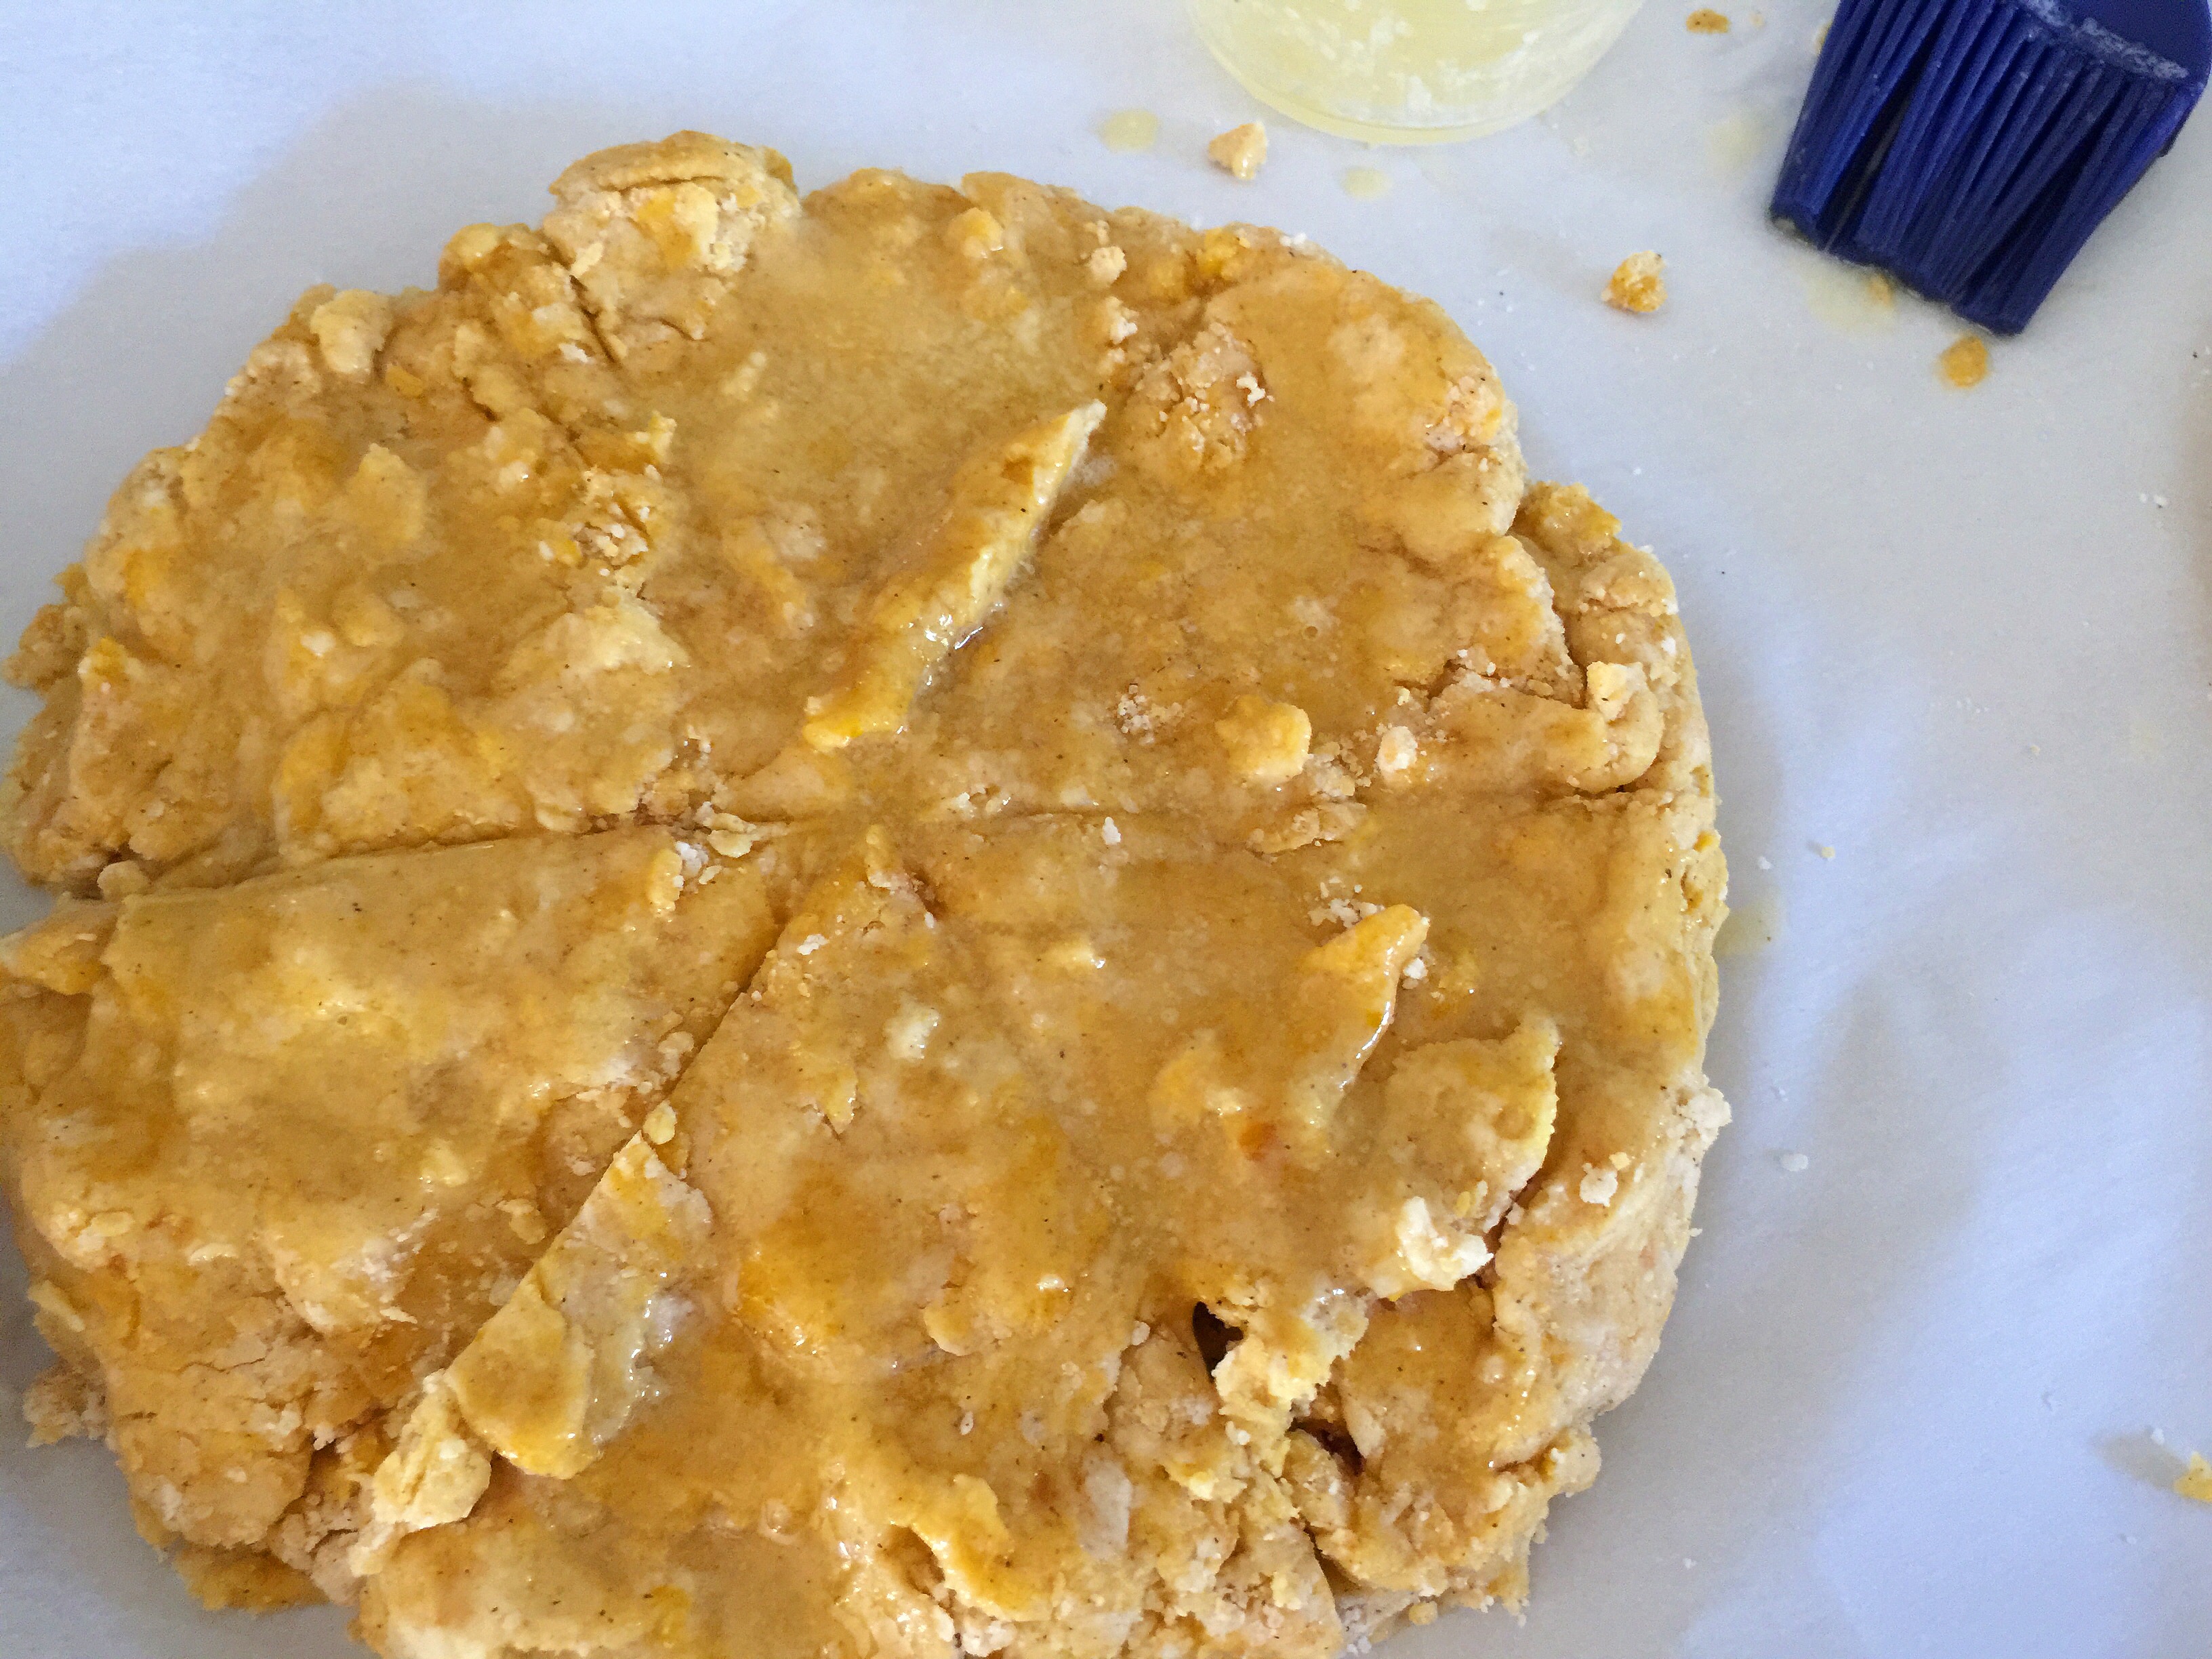
Cut each disk into sixths, but leave them in a circle.

Then brush with melted butter and bake at 425°.
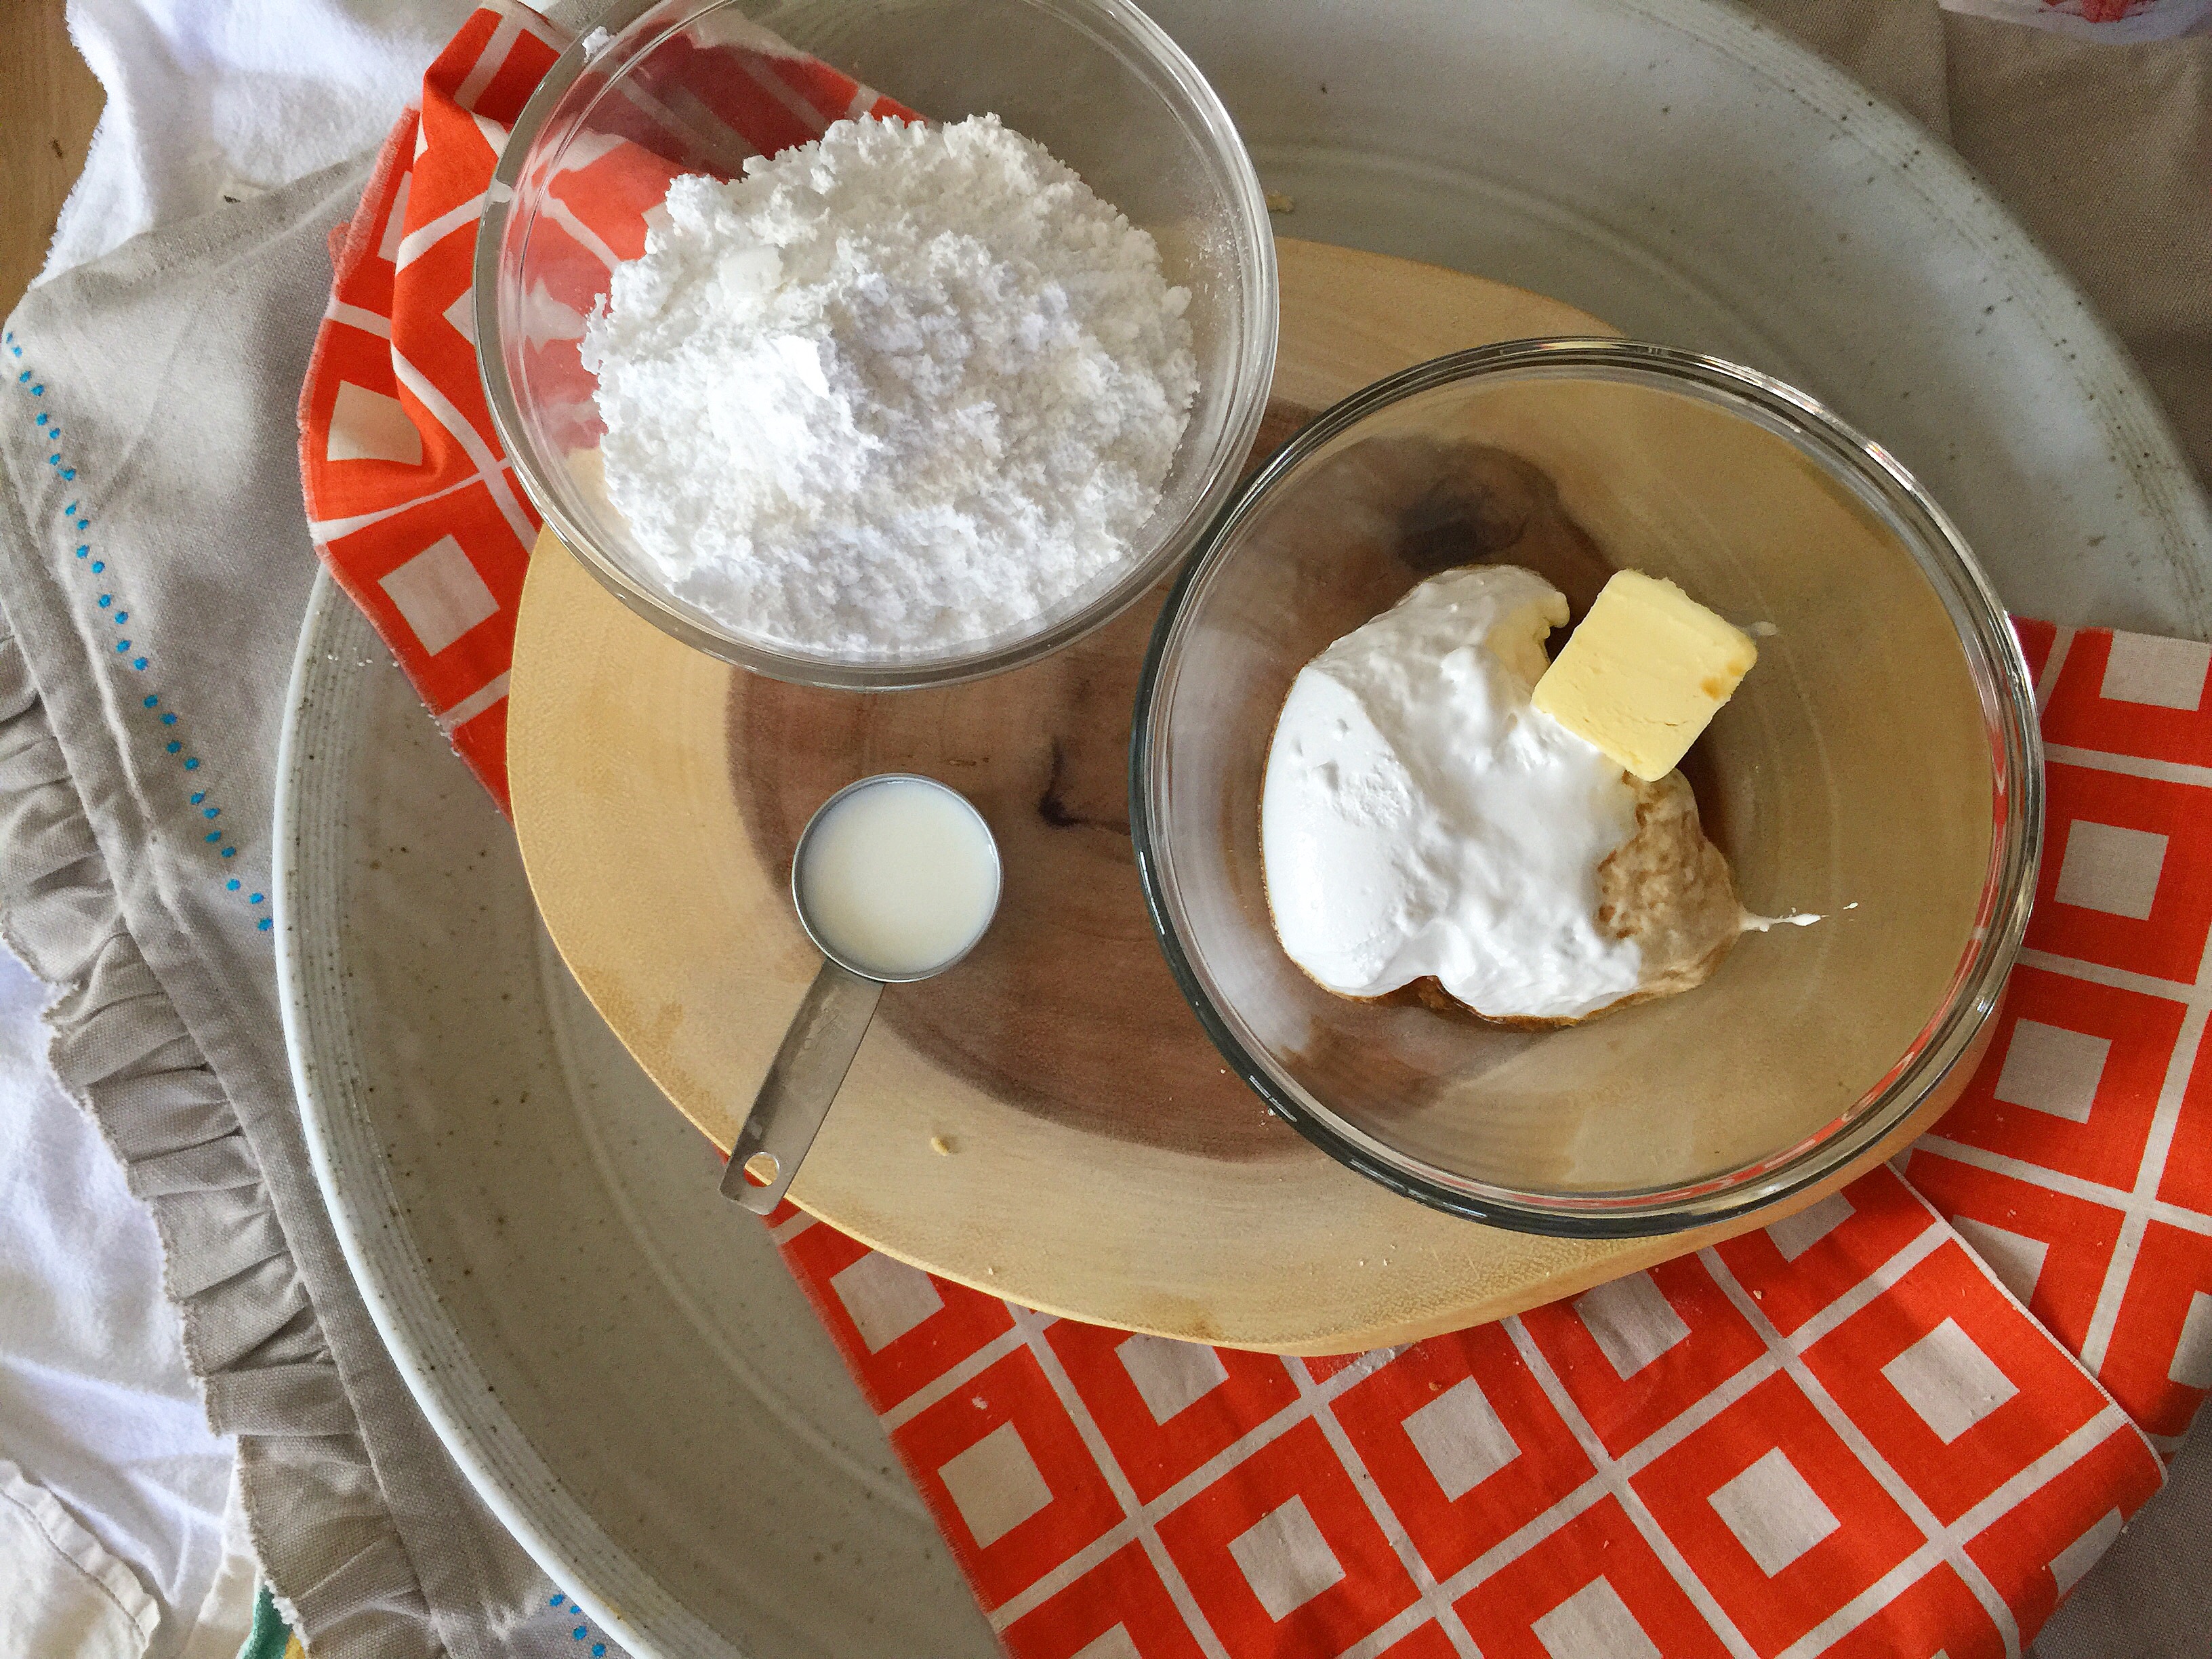
While the scones are baking, it’s time to assemble my all-time favorite buttercream :: Marshmallow Fluff Buttercream. All that’s needed is powdered sugar, marshmallow fluff, vanilla, butter, milk & a dash of salt.
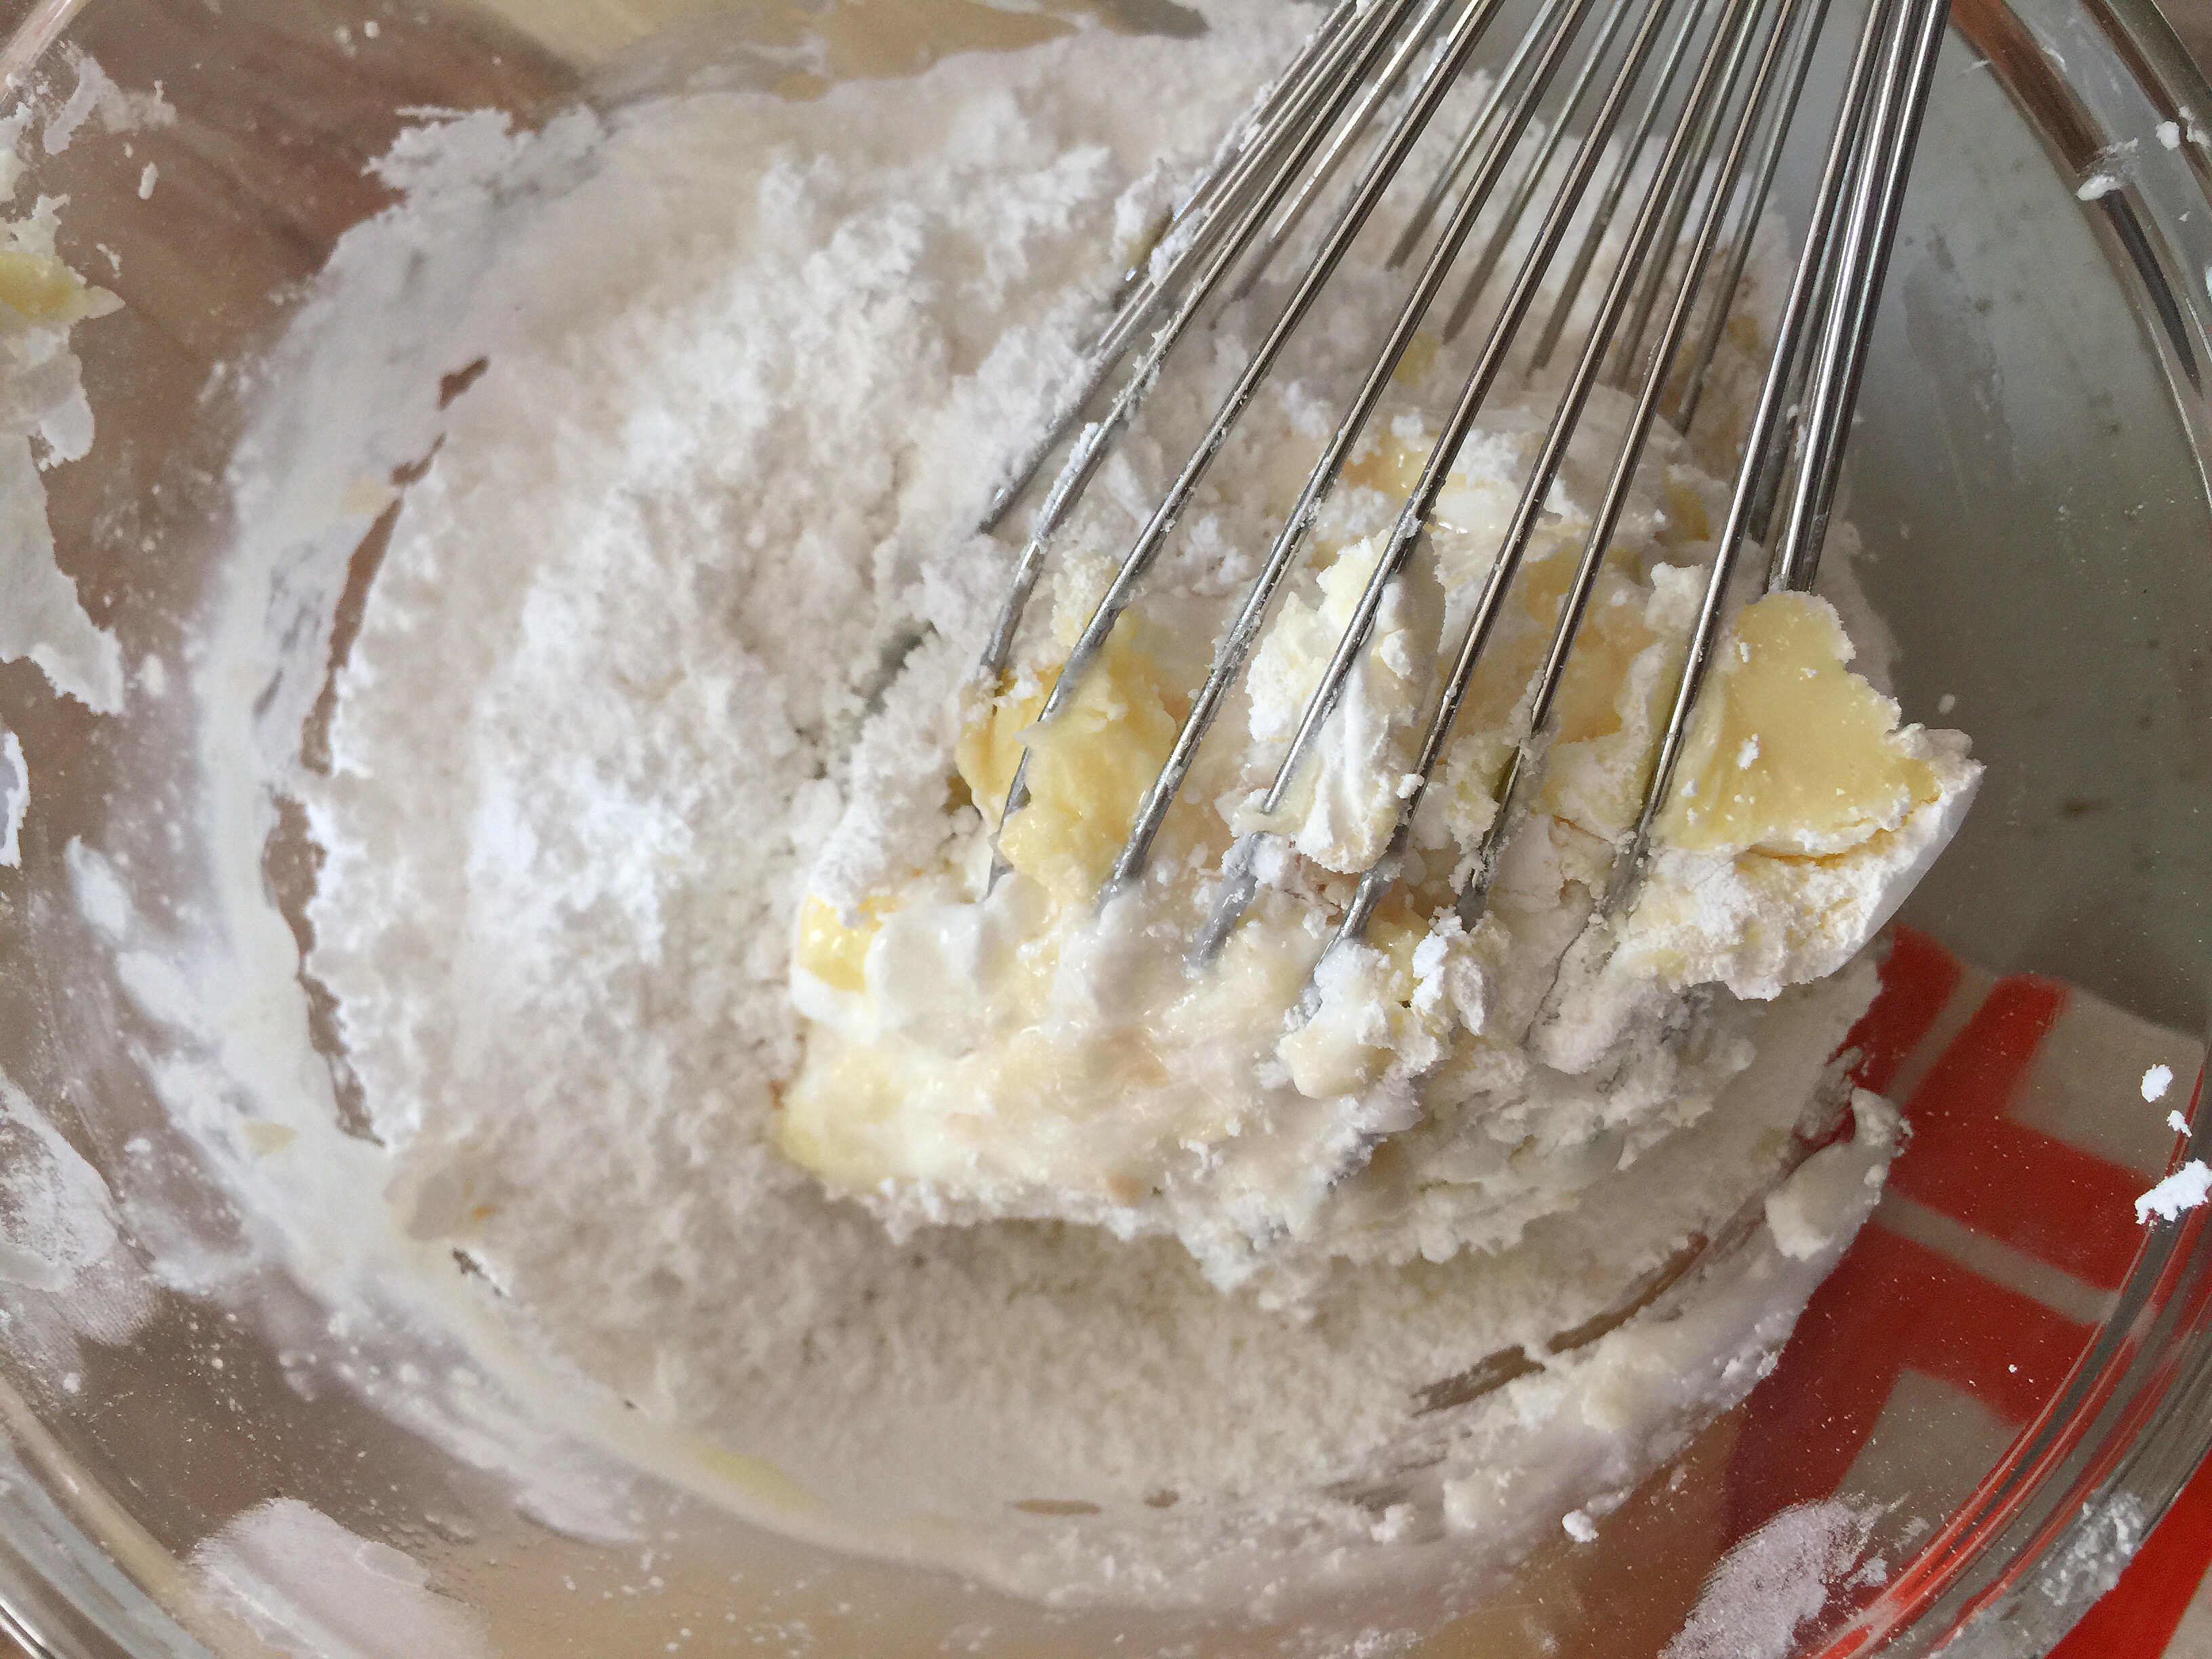
Add the milk in 2 teaspoon increments while whisking the ingredients together.
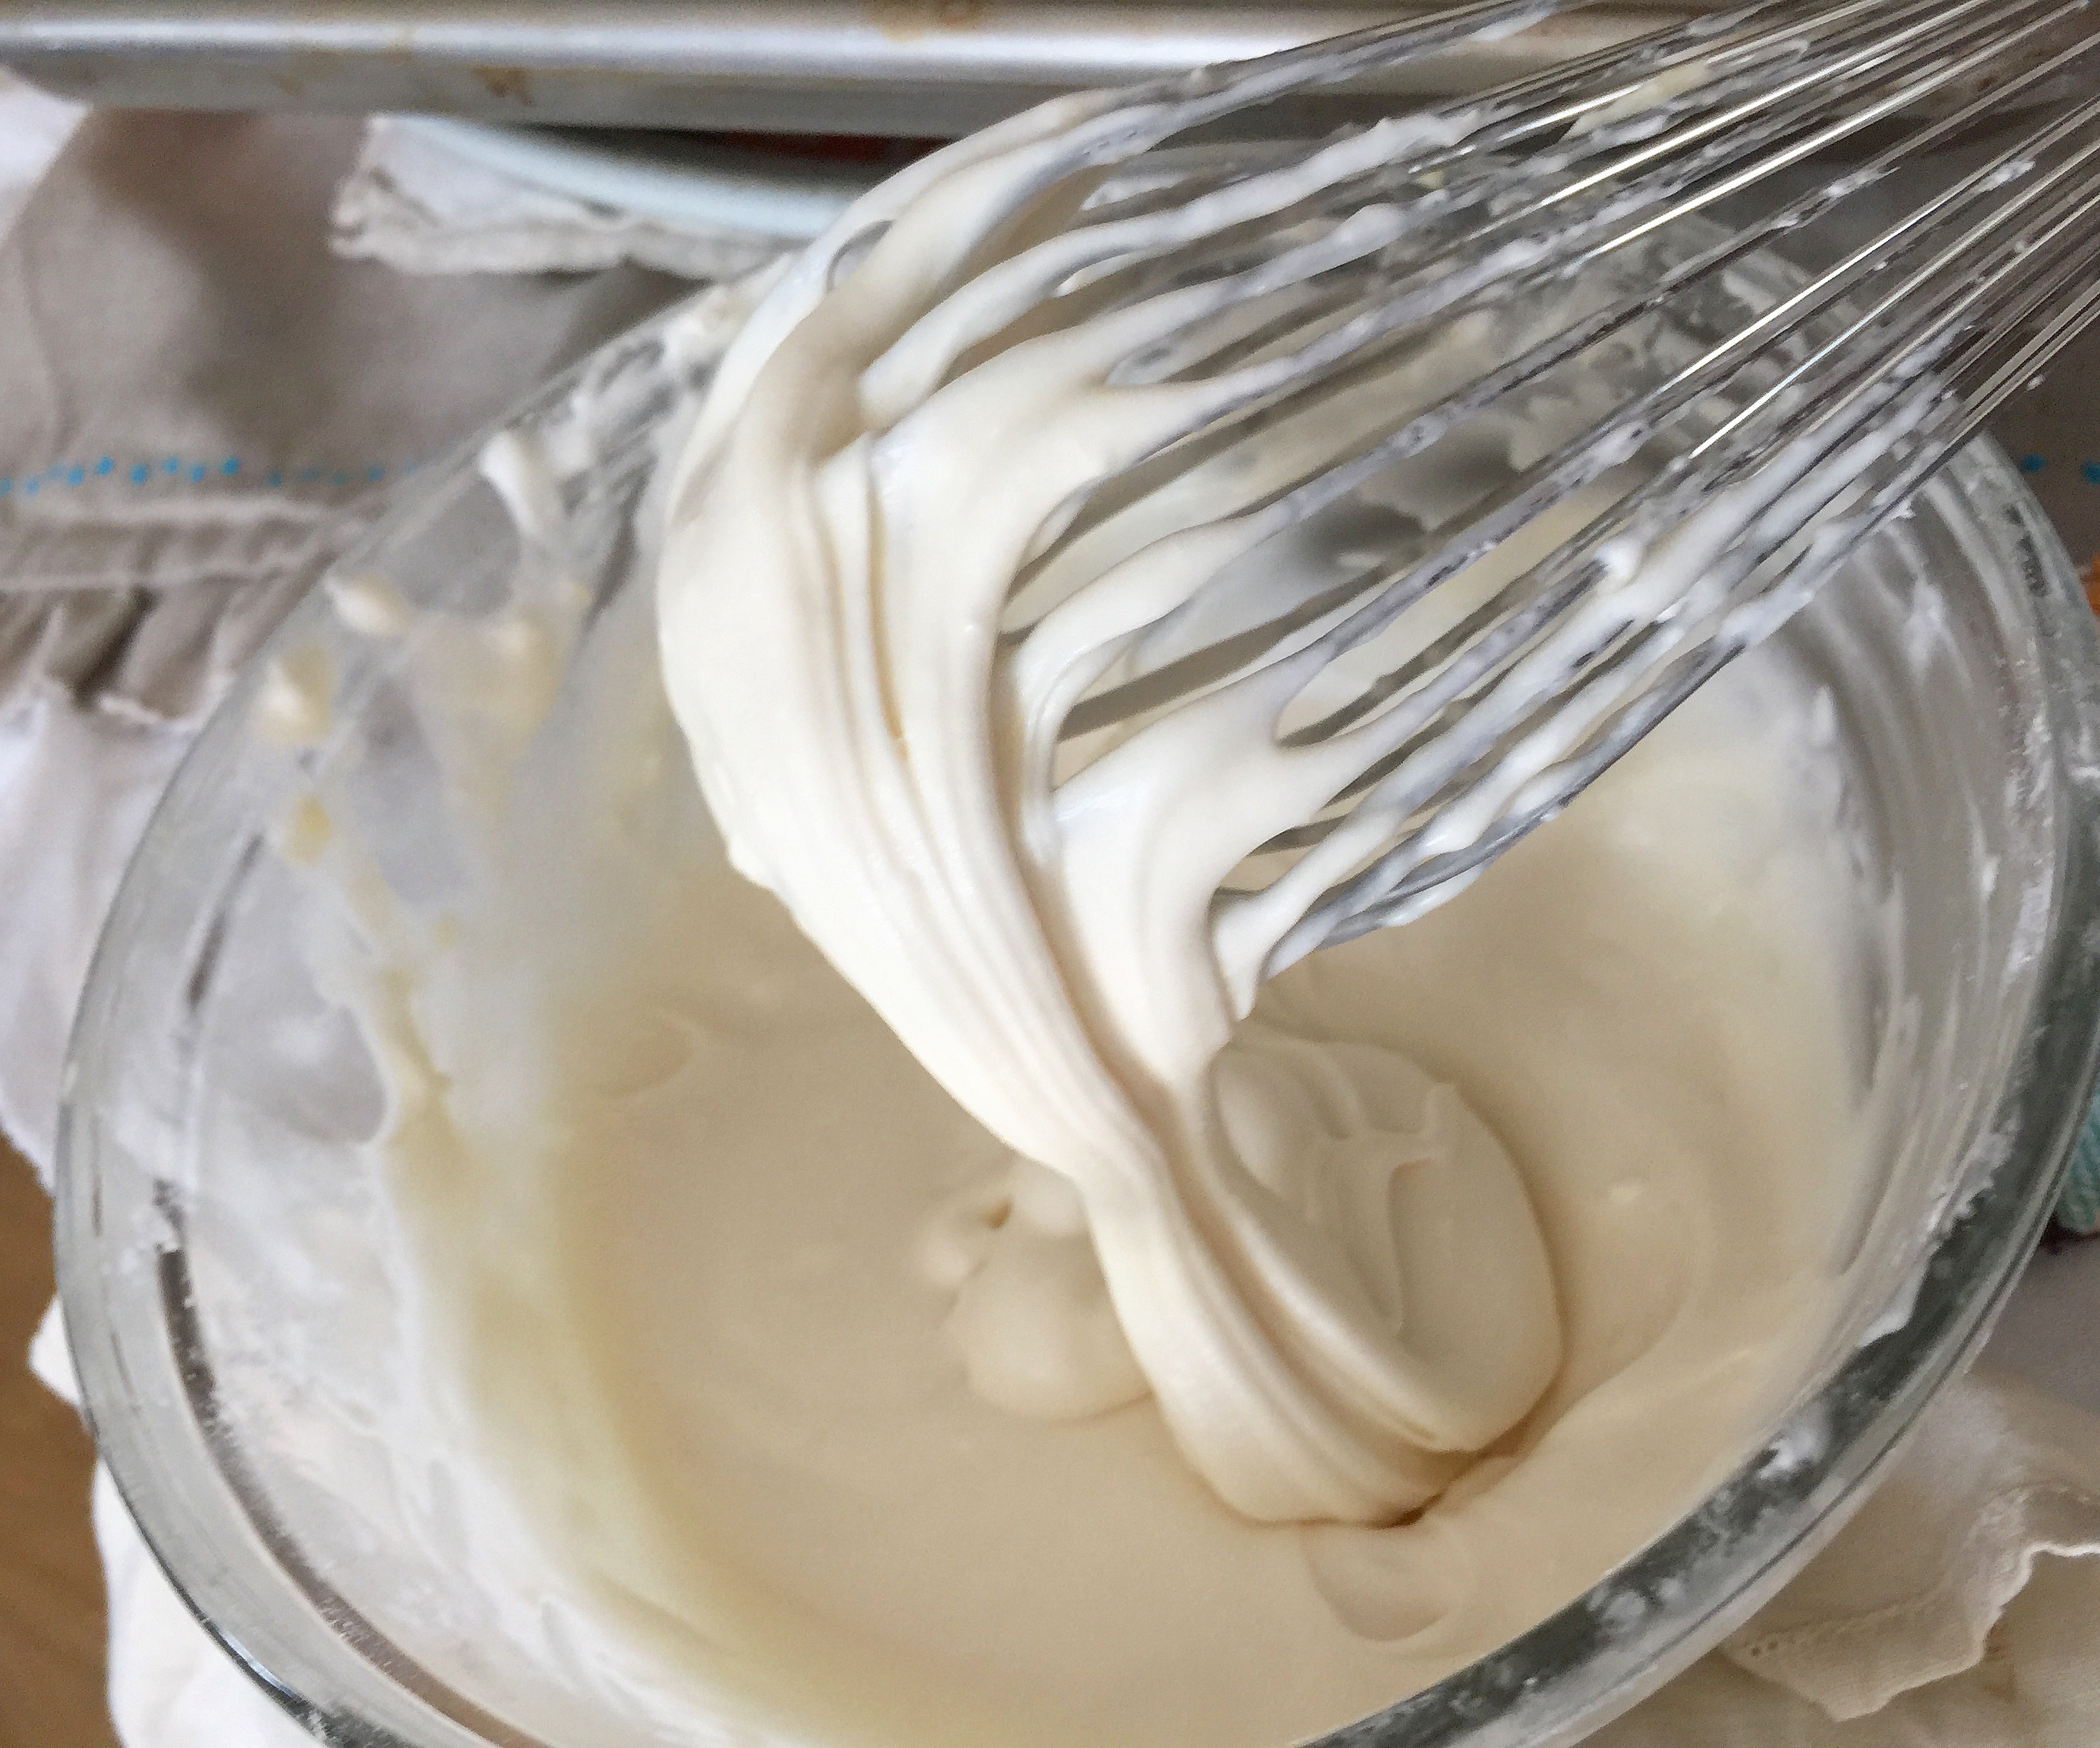
Continuing to whisk and add milk until the desired consistency is reached. Let’s just pause and appreciate just how delicious this drizzle looks!
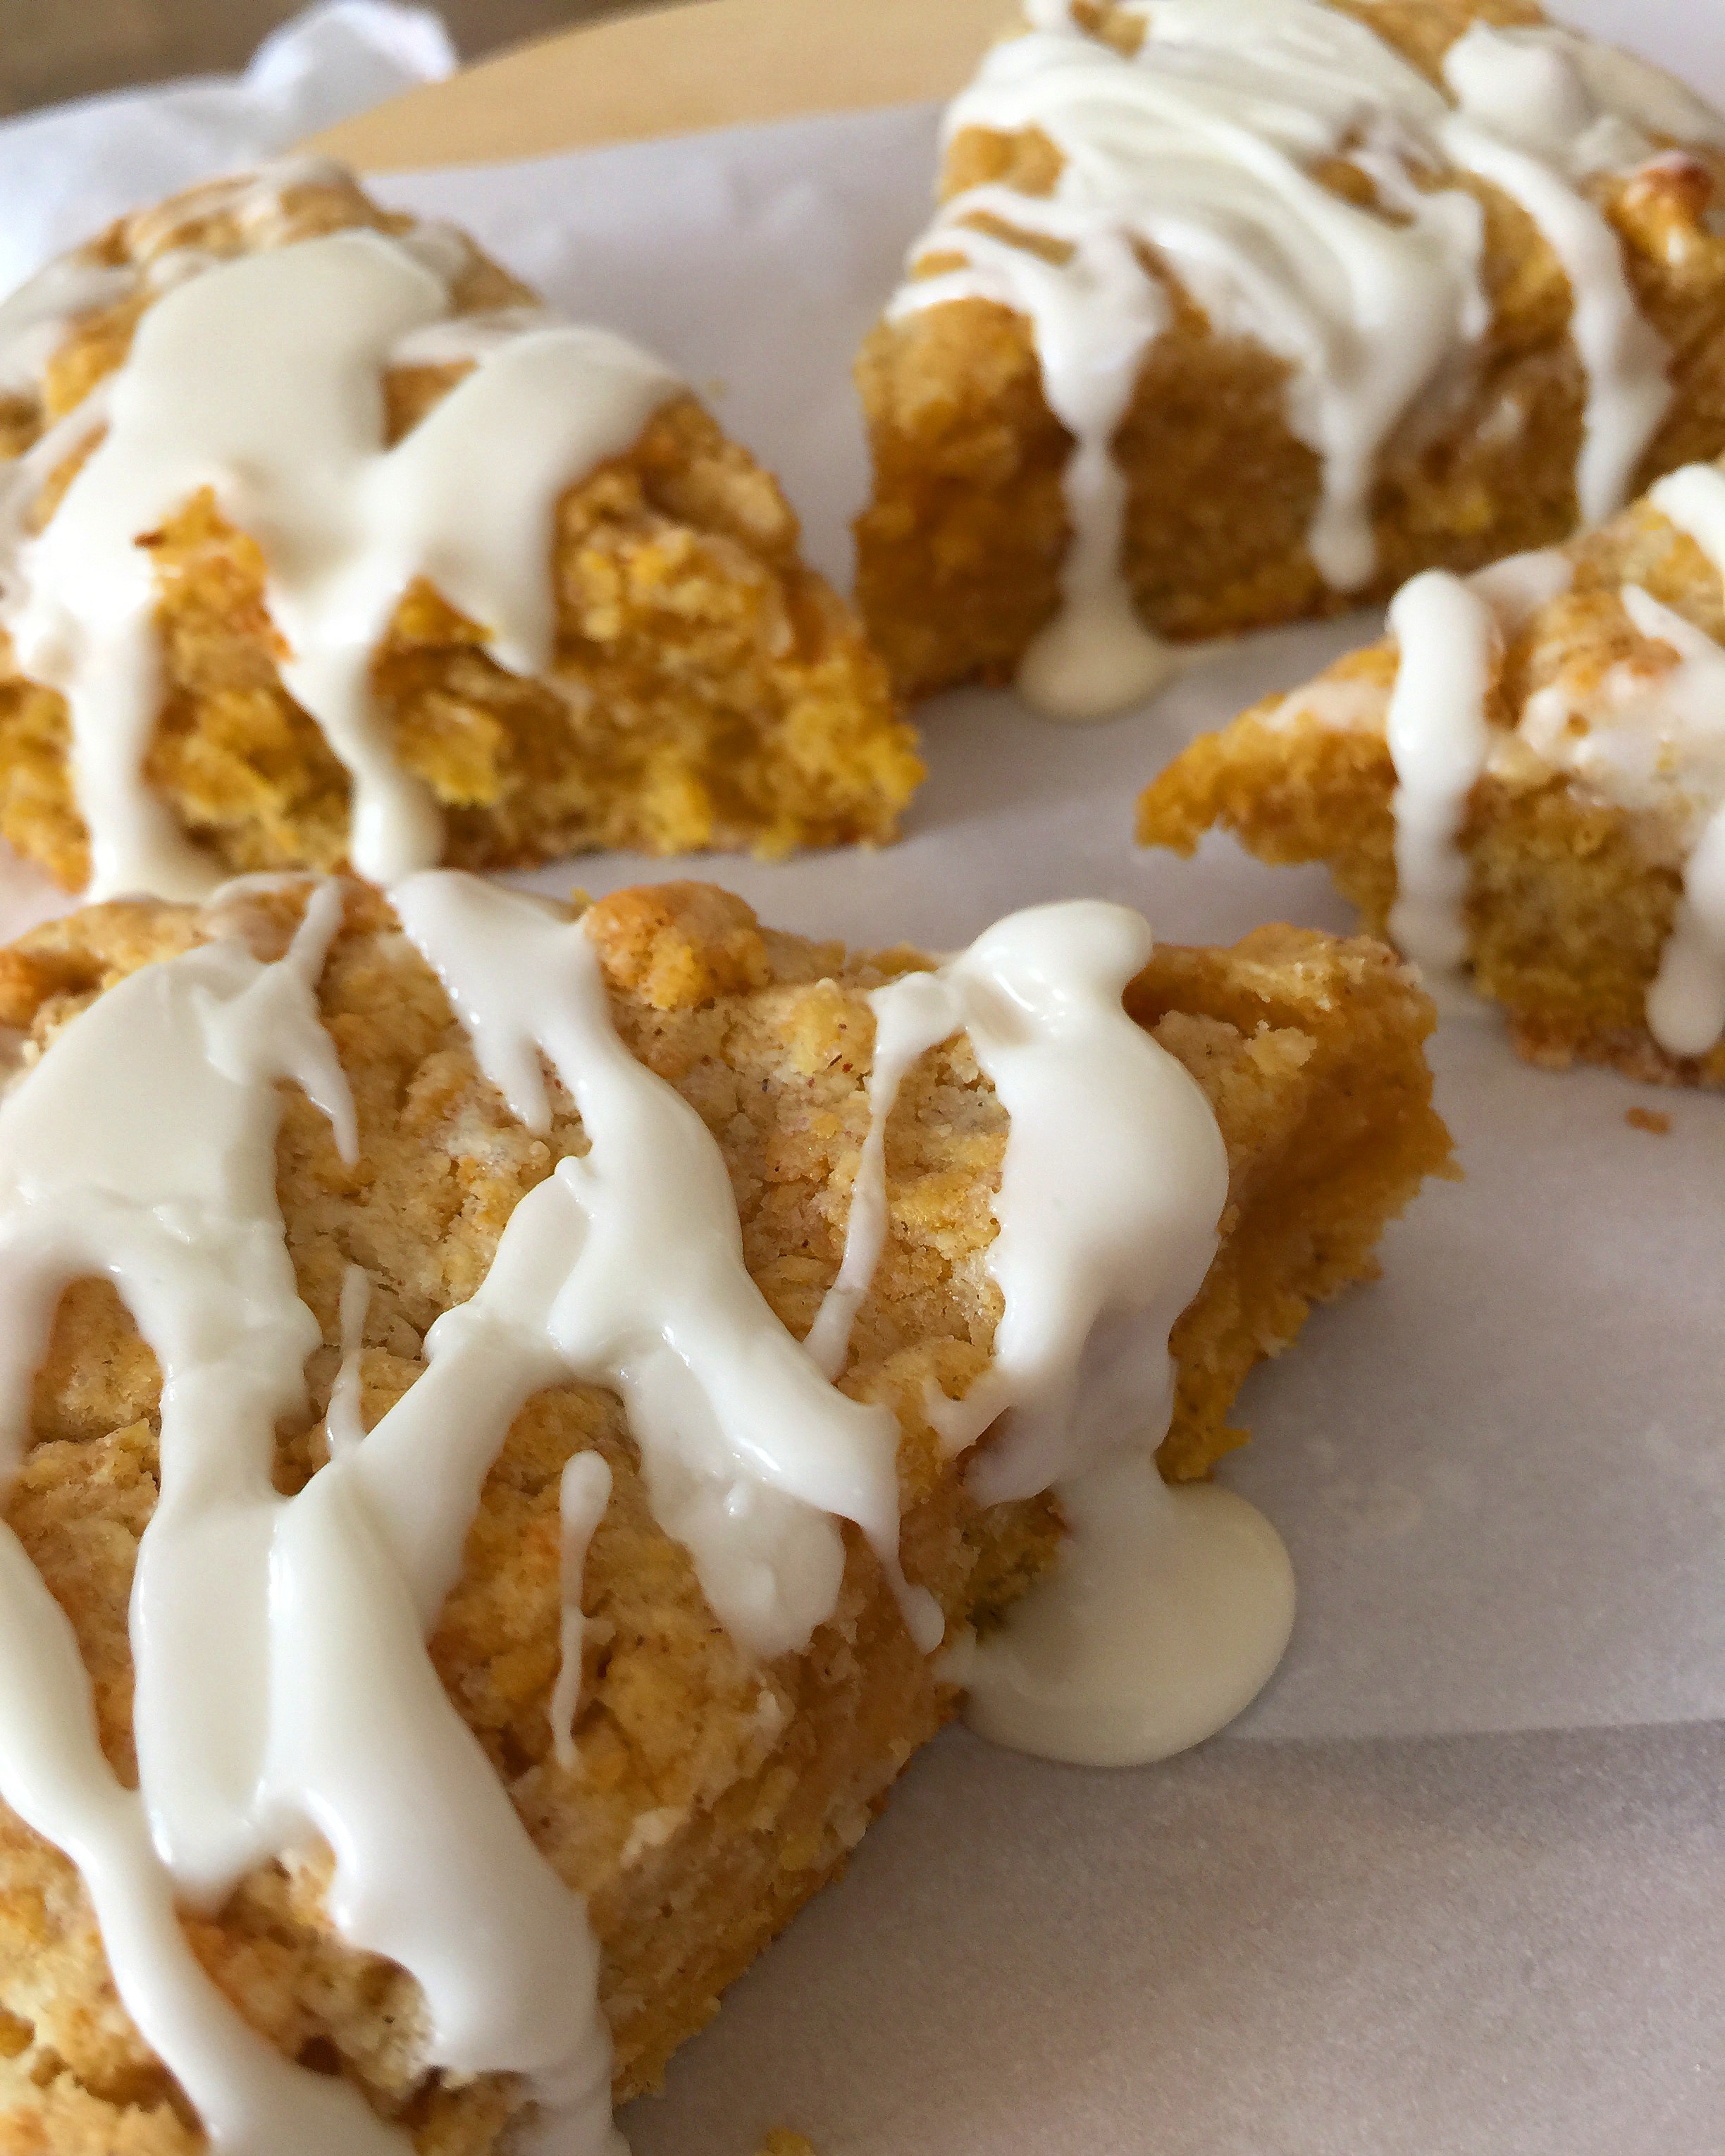
In under 15 minutes, the scones are finished baking. The aroma of warm spices baking away has traveled all through the house and it’s almost time to have a taste!
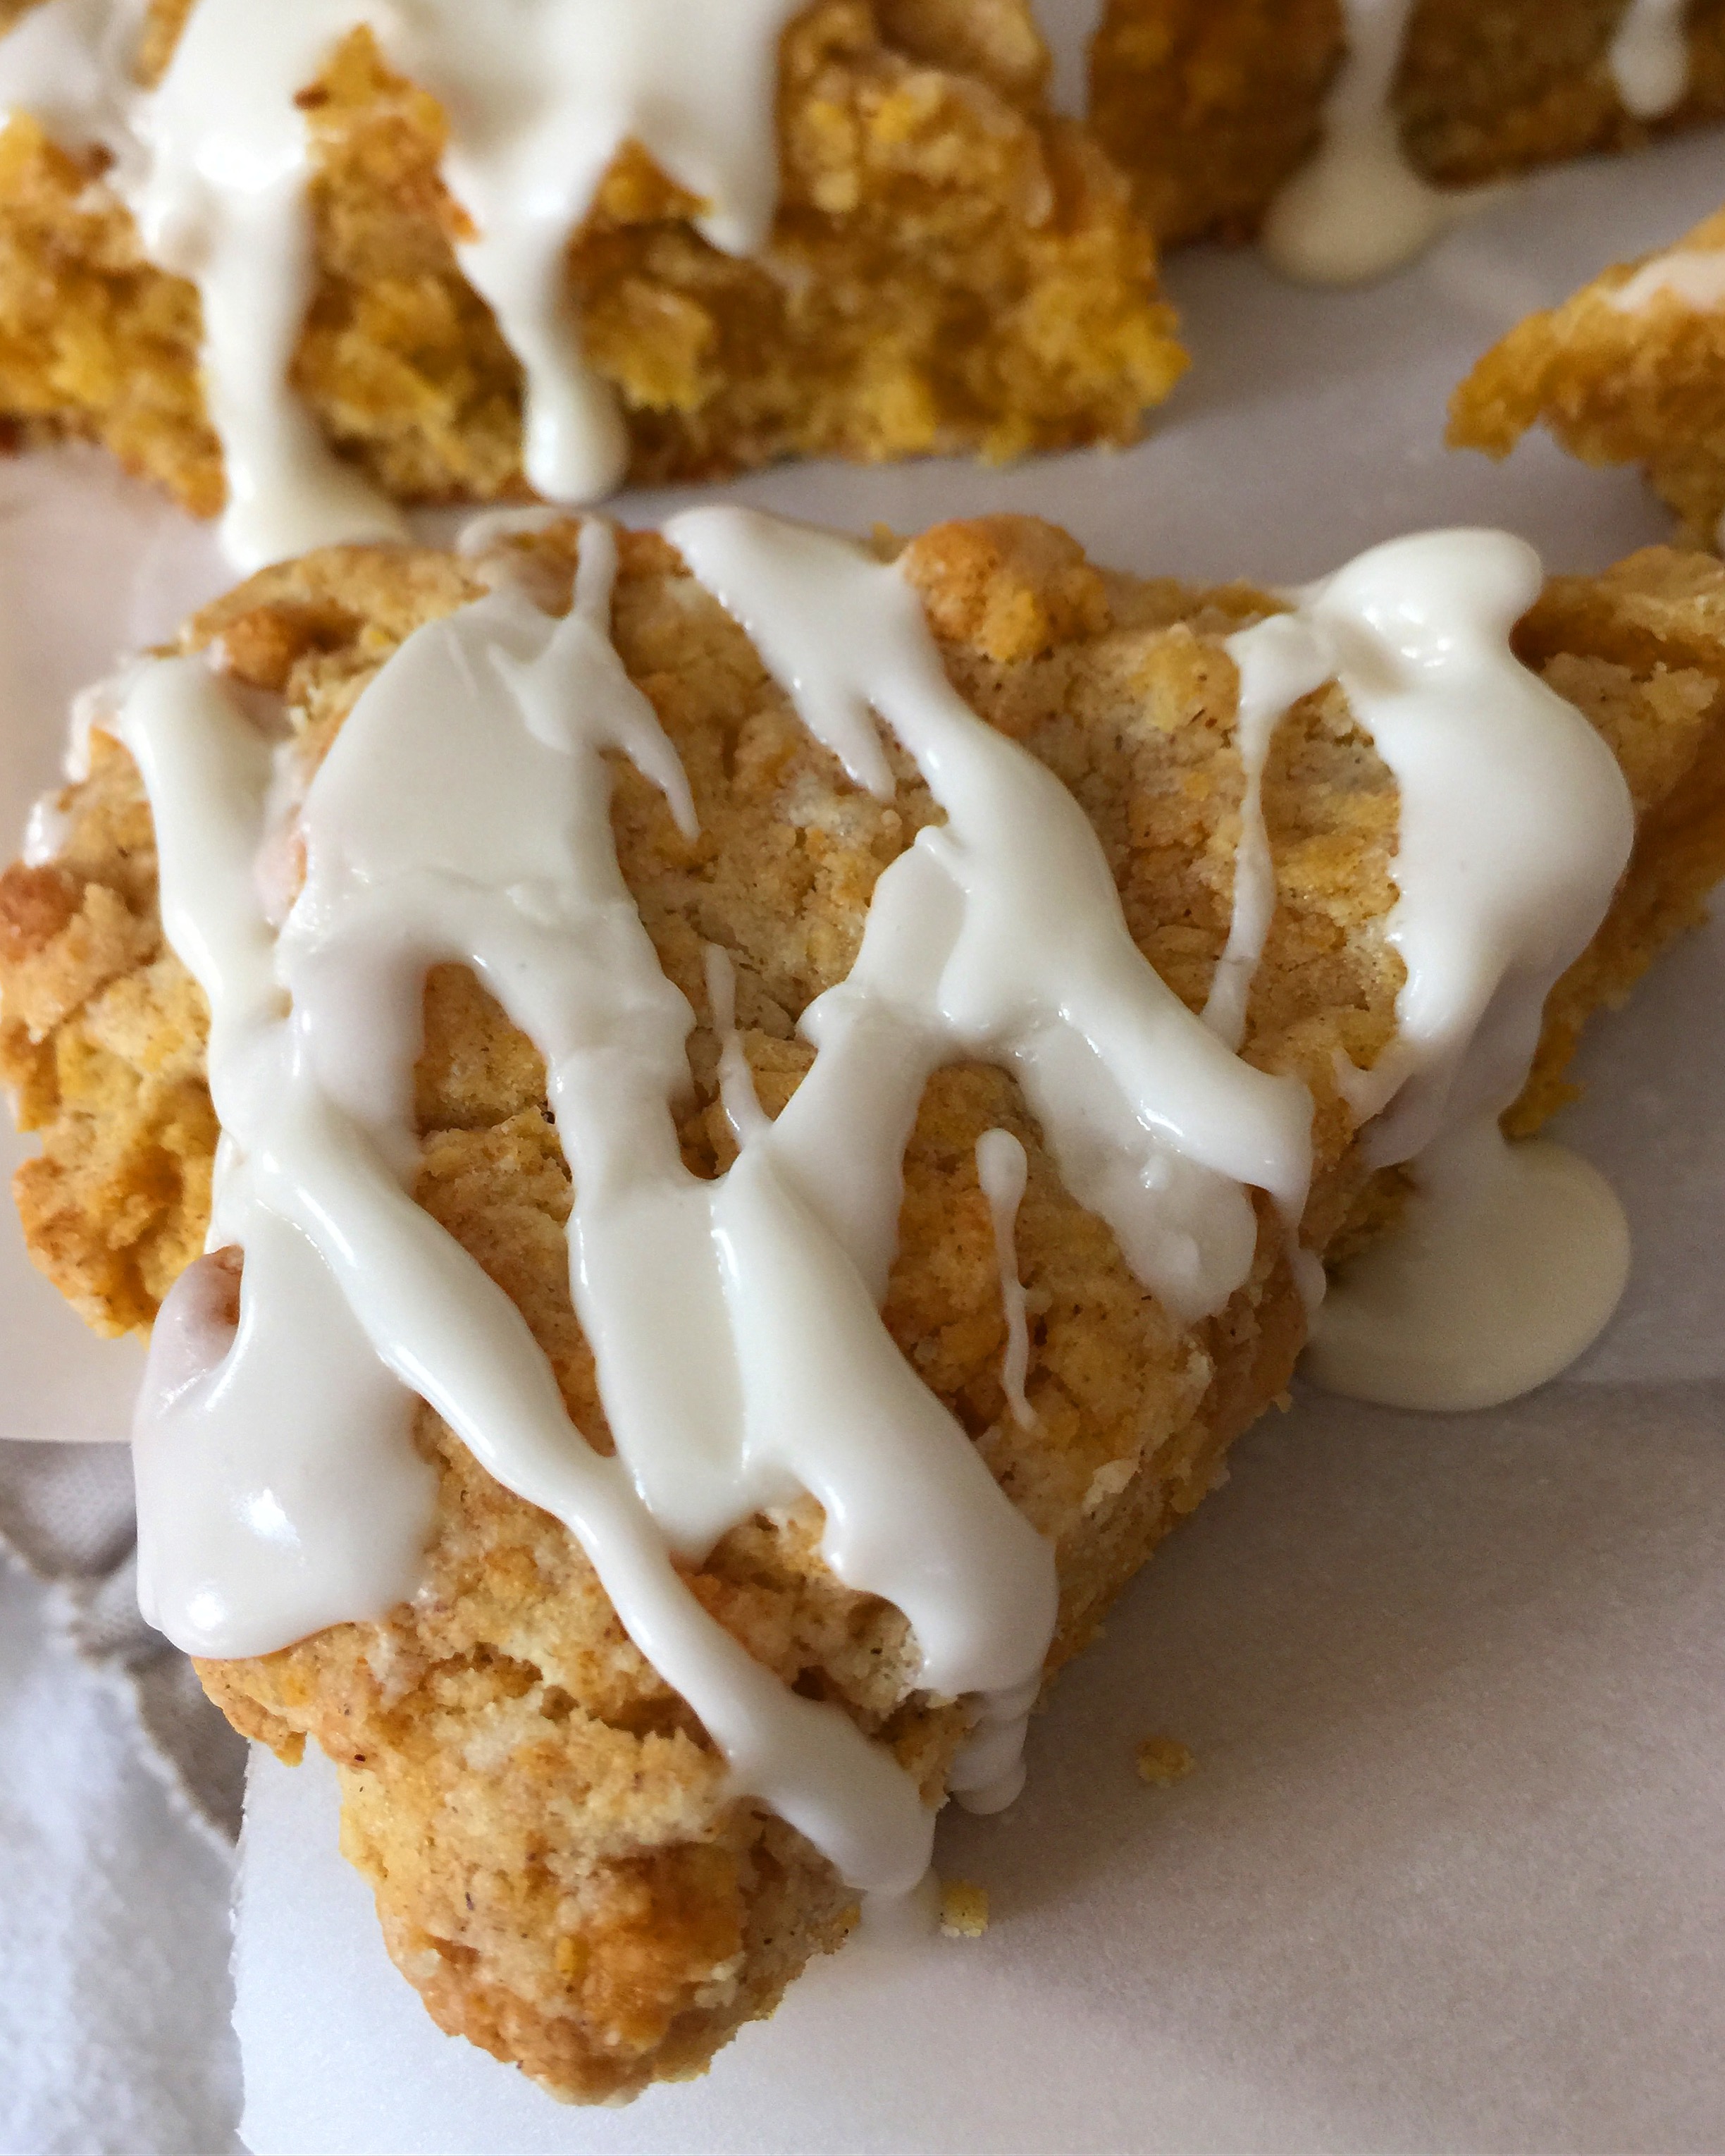
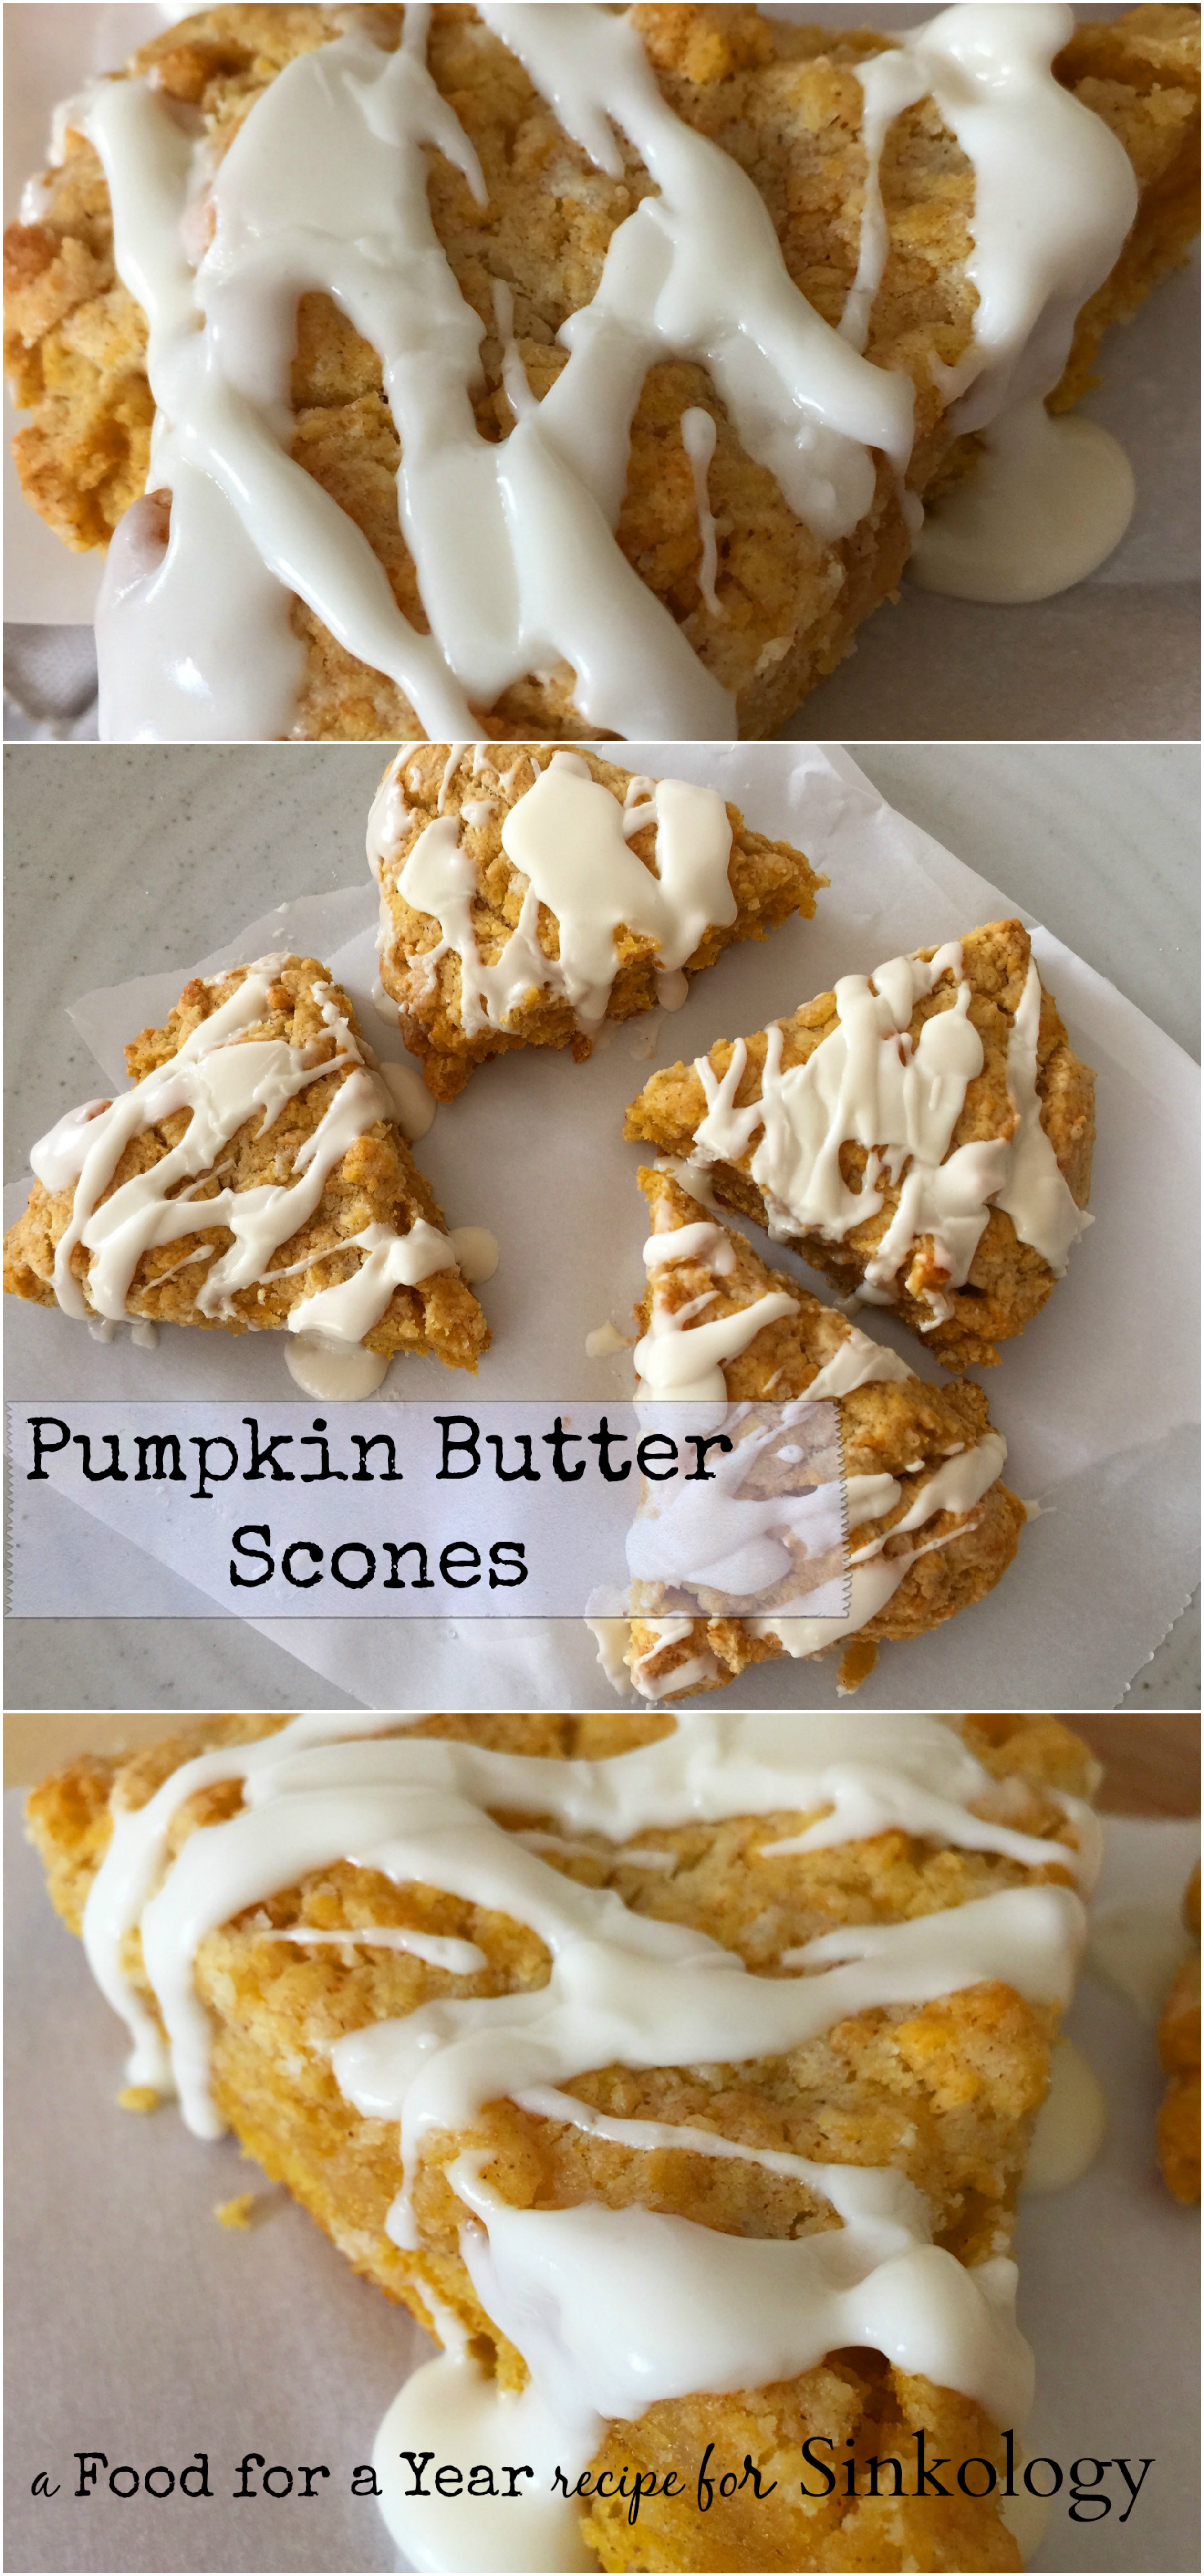
Just look at this closeup, the flecks of spices and golden orange pumpkin color — don’t these just scream FALL!
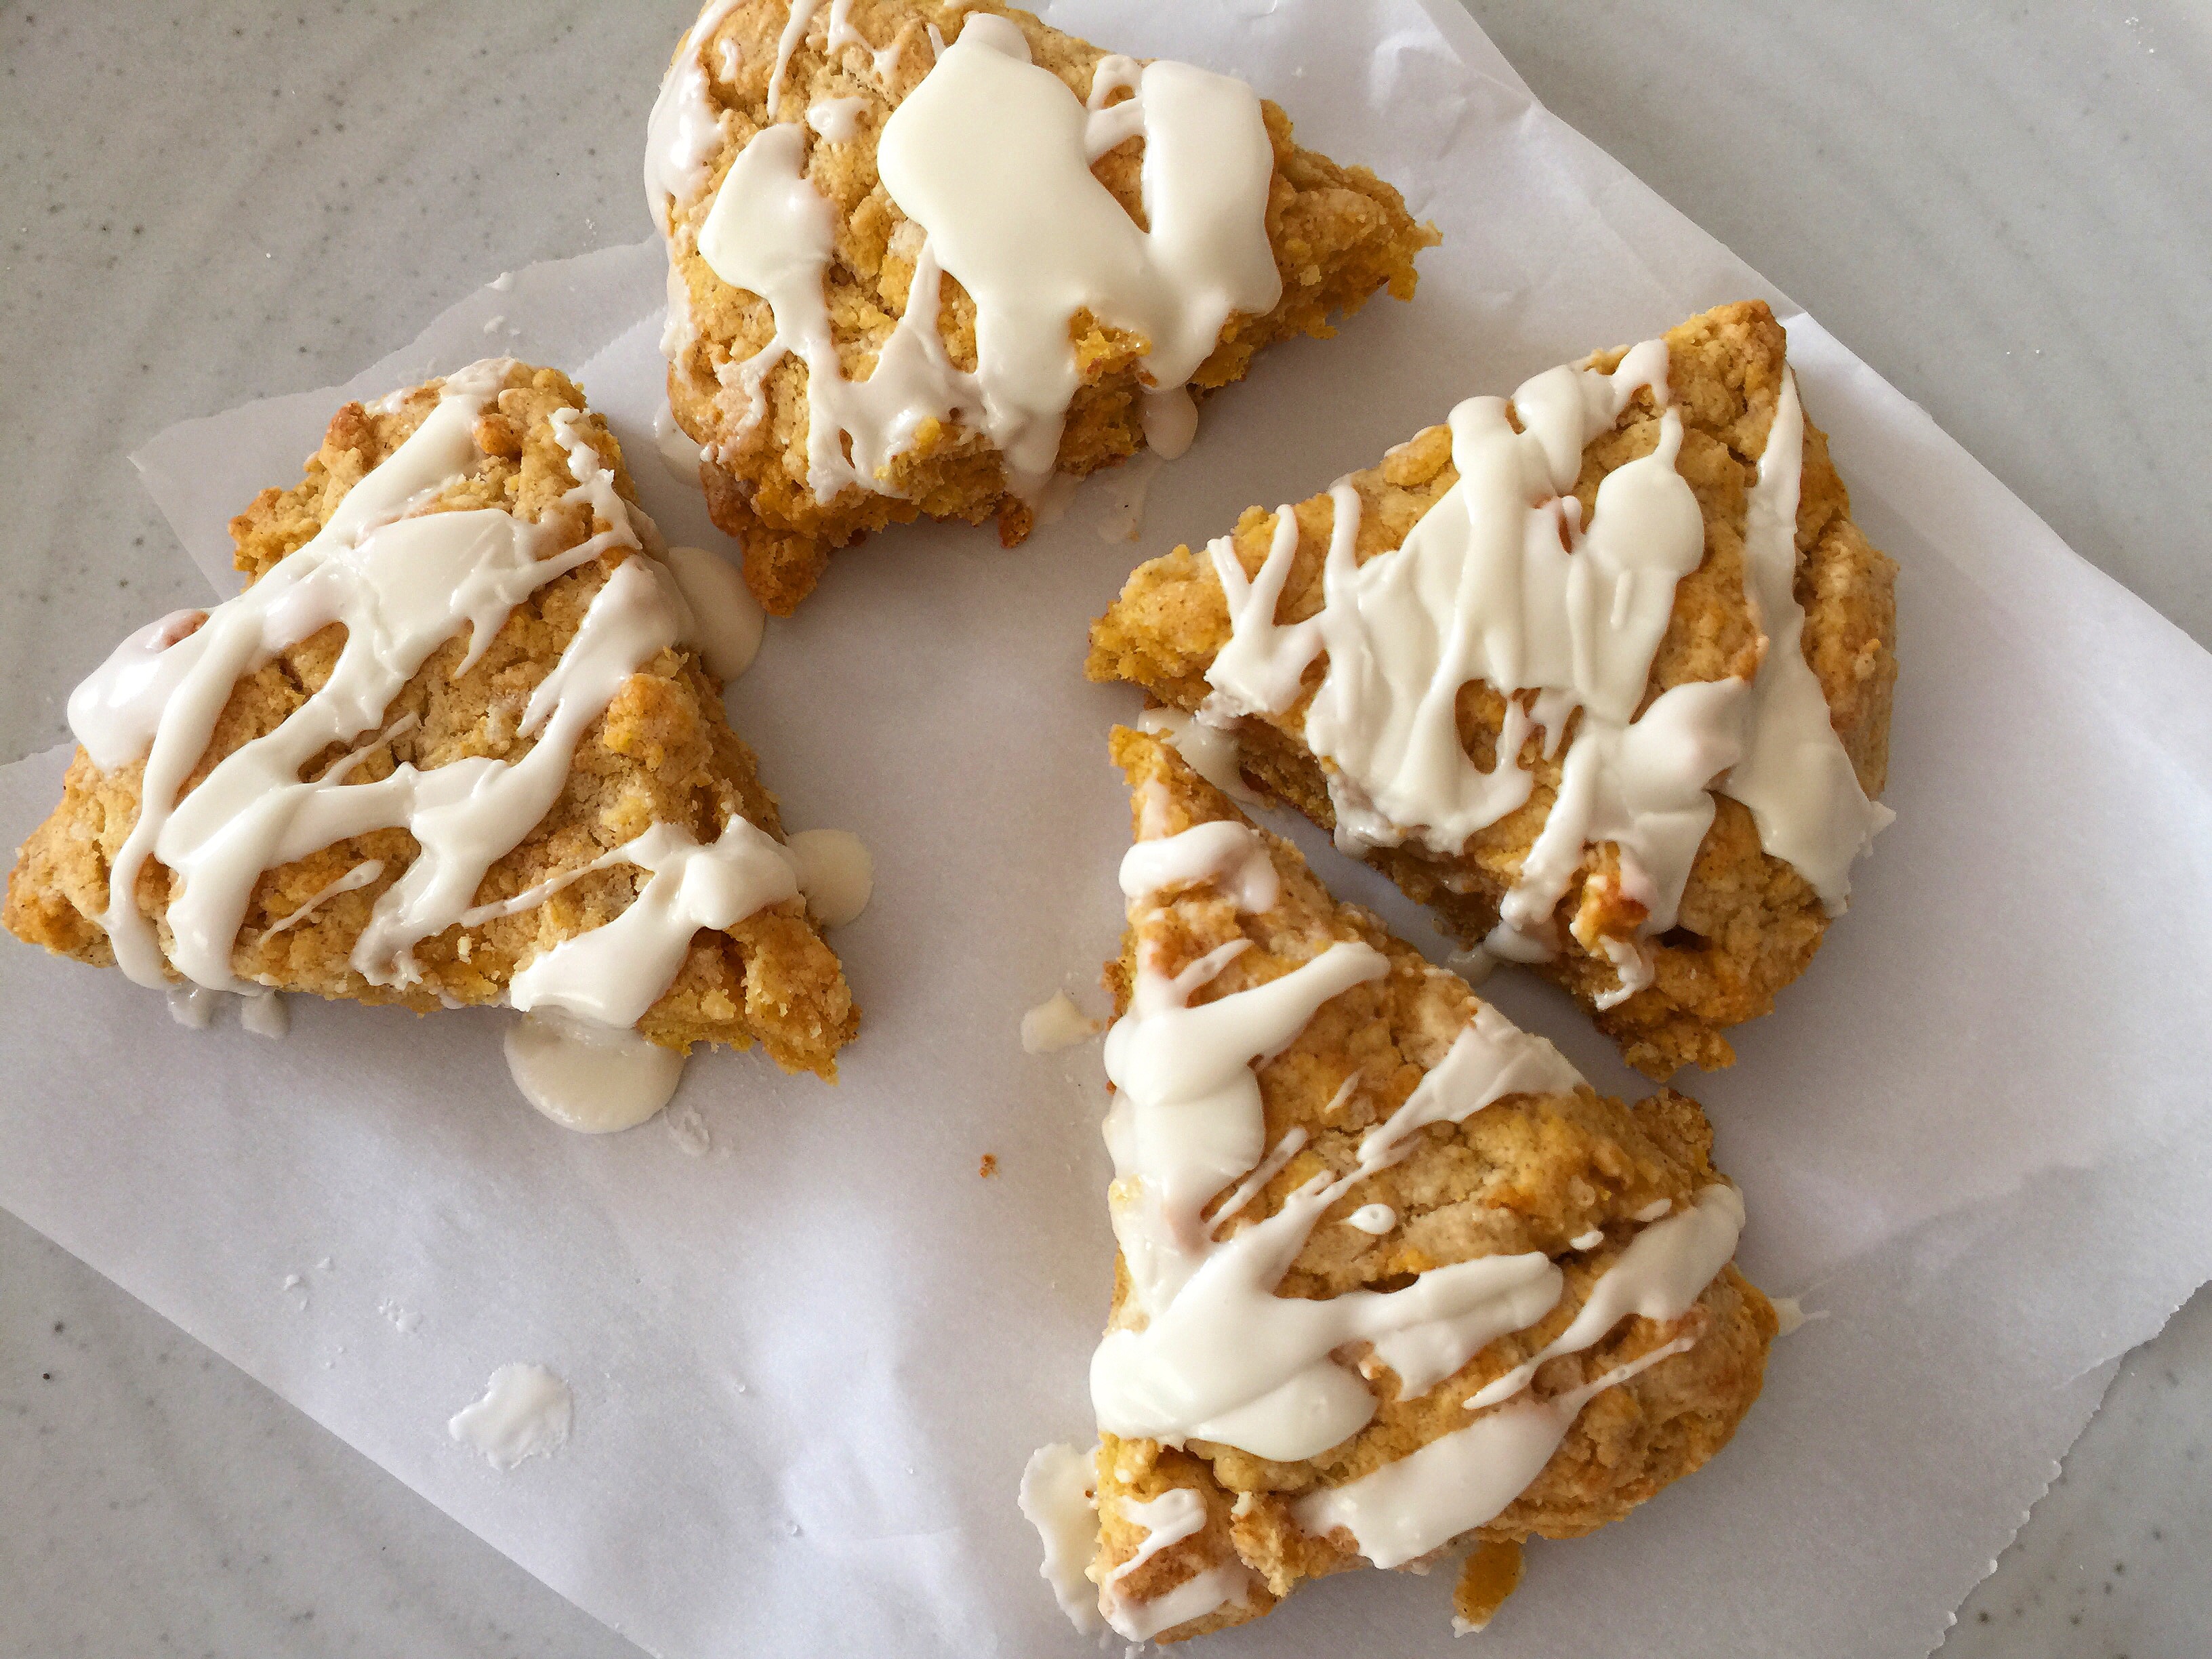
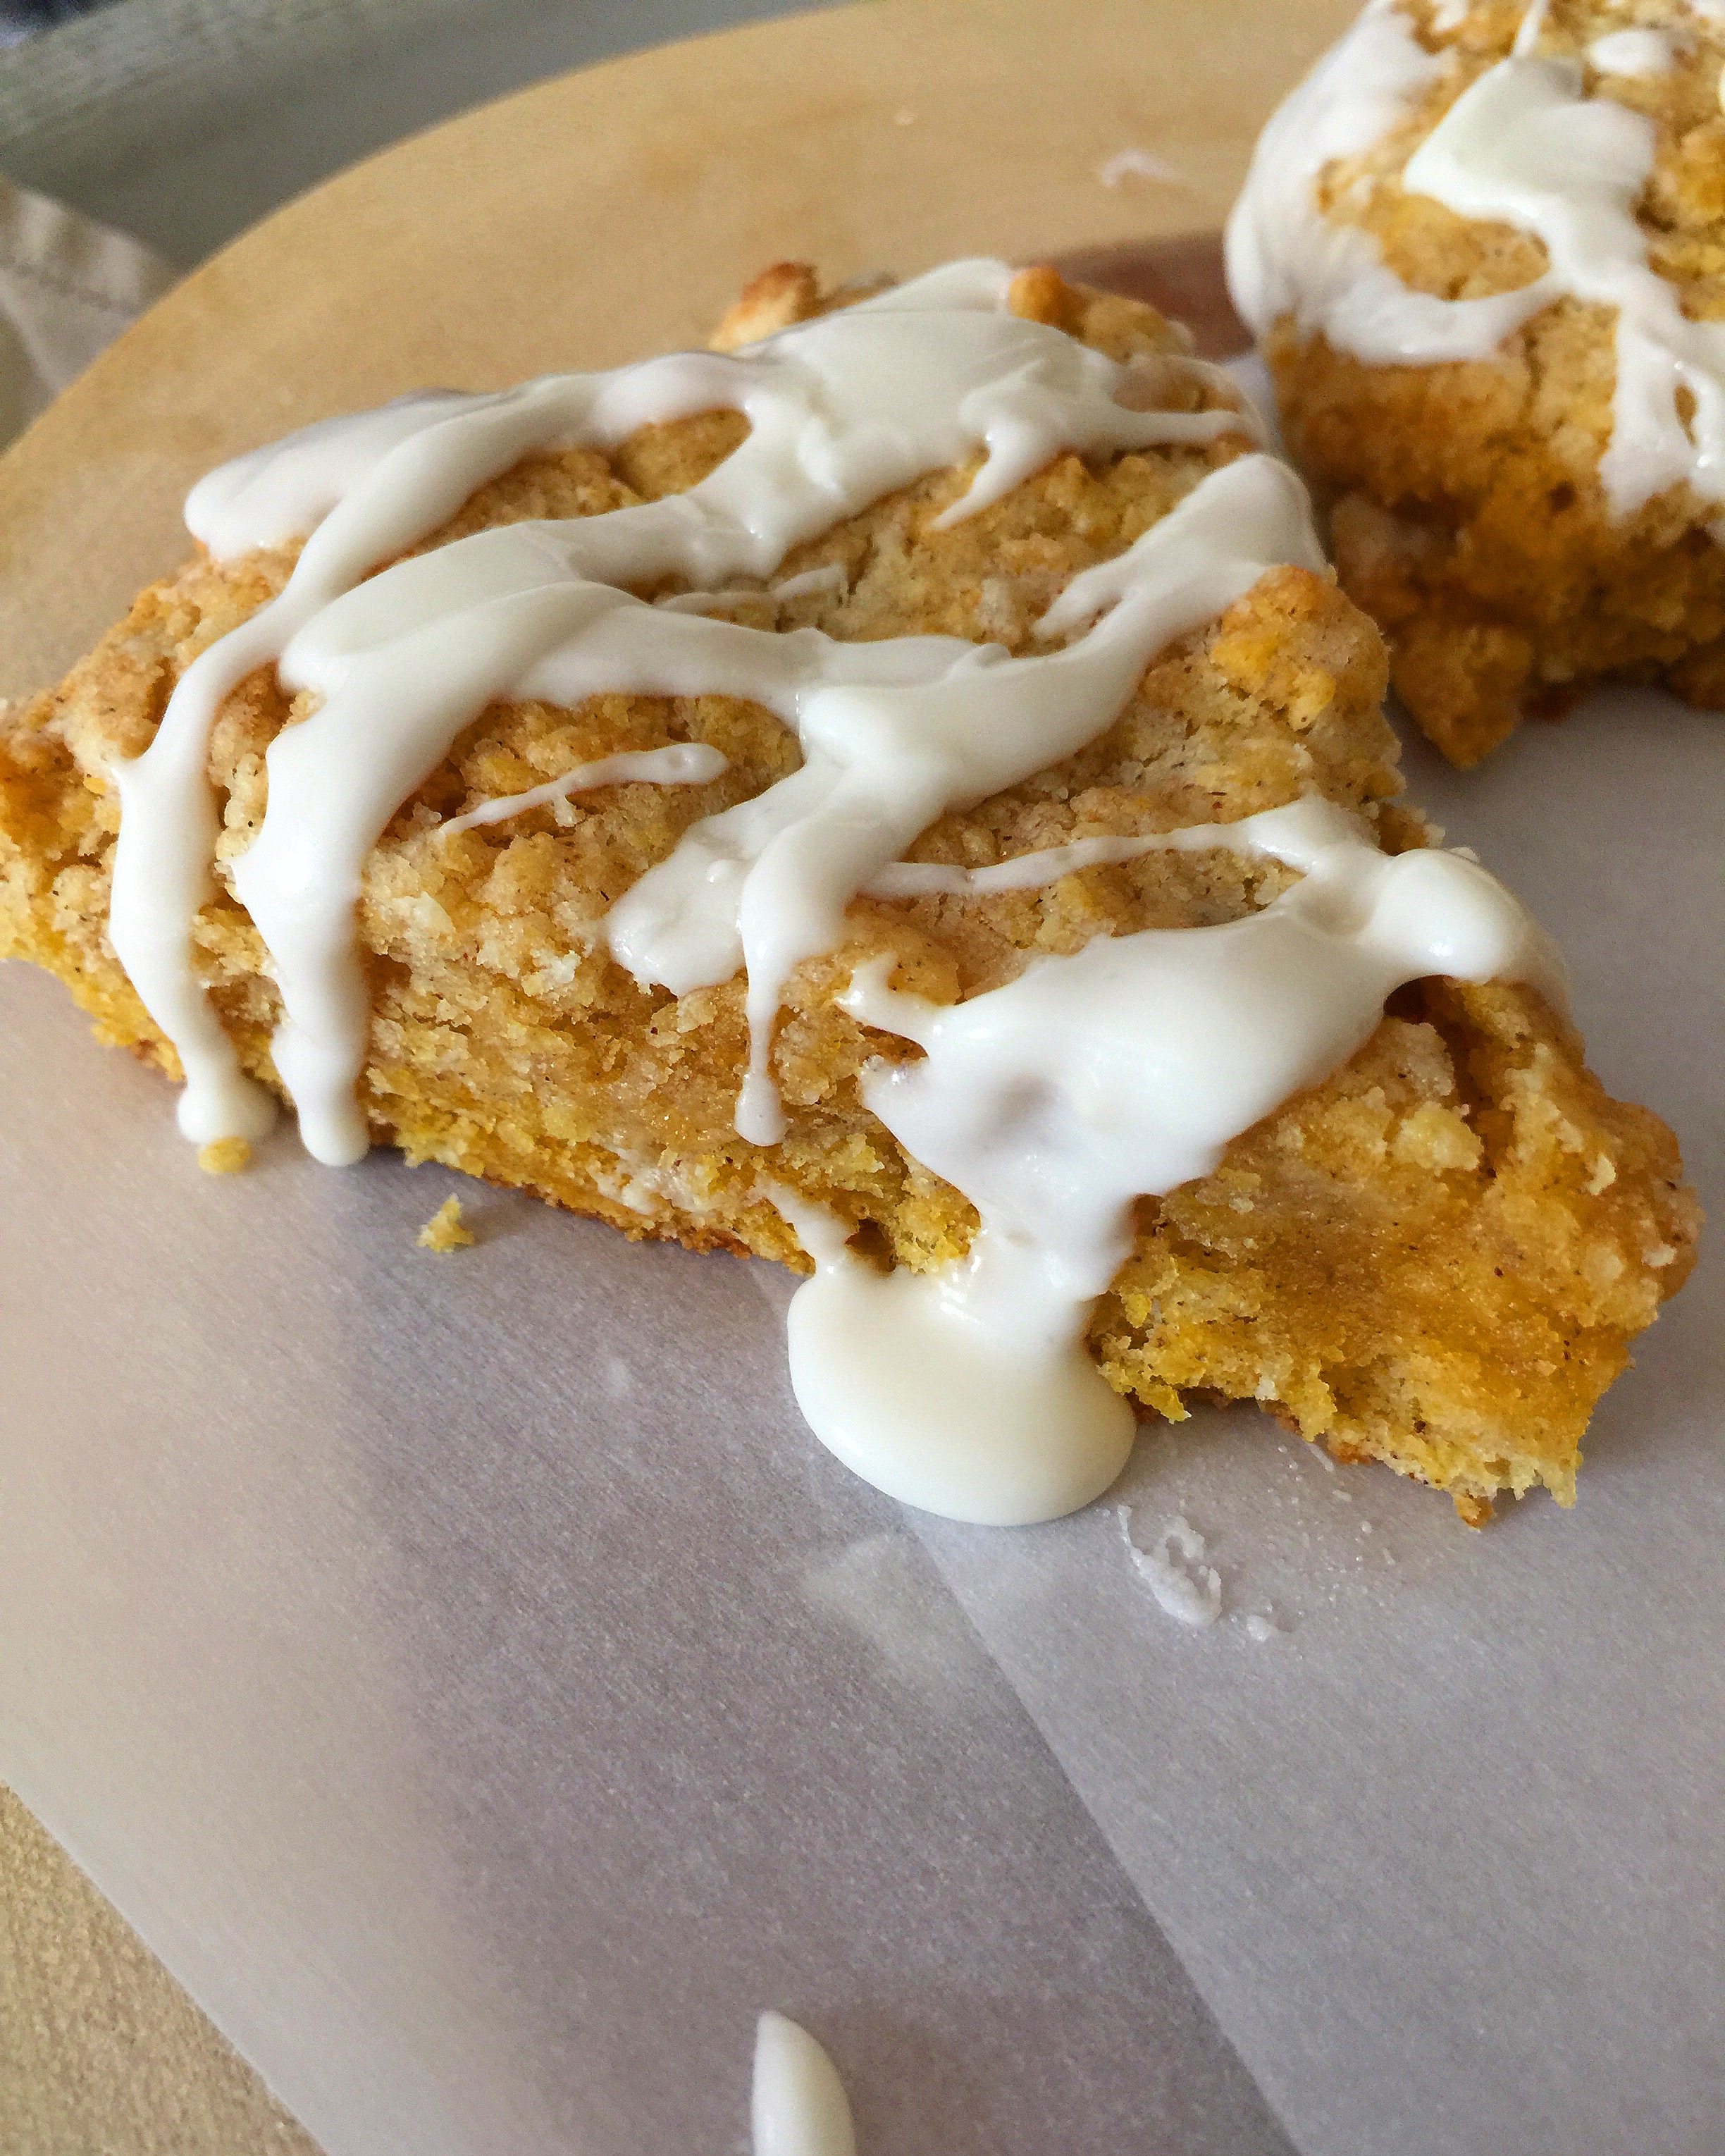
All that’s left is to drizzle the marshmallow fluff buttercream and enjoy.
These scones can either be made, iced and served immediately OR made ahead, stored in an airtight container or frozen. The buttercream can be made ahead & refrigerated too. To reheat, simply place the scones in a 350° oven for 3 minutes ((or a couple minutes longer if frozen)). Once the scones are heated through, drizzle the buttercream atop and serve.
Moist, creamy, spiced pumpkin scones?! I think this year I’ll skip the turkey and have a Pumpkin Butter Scone instead!
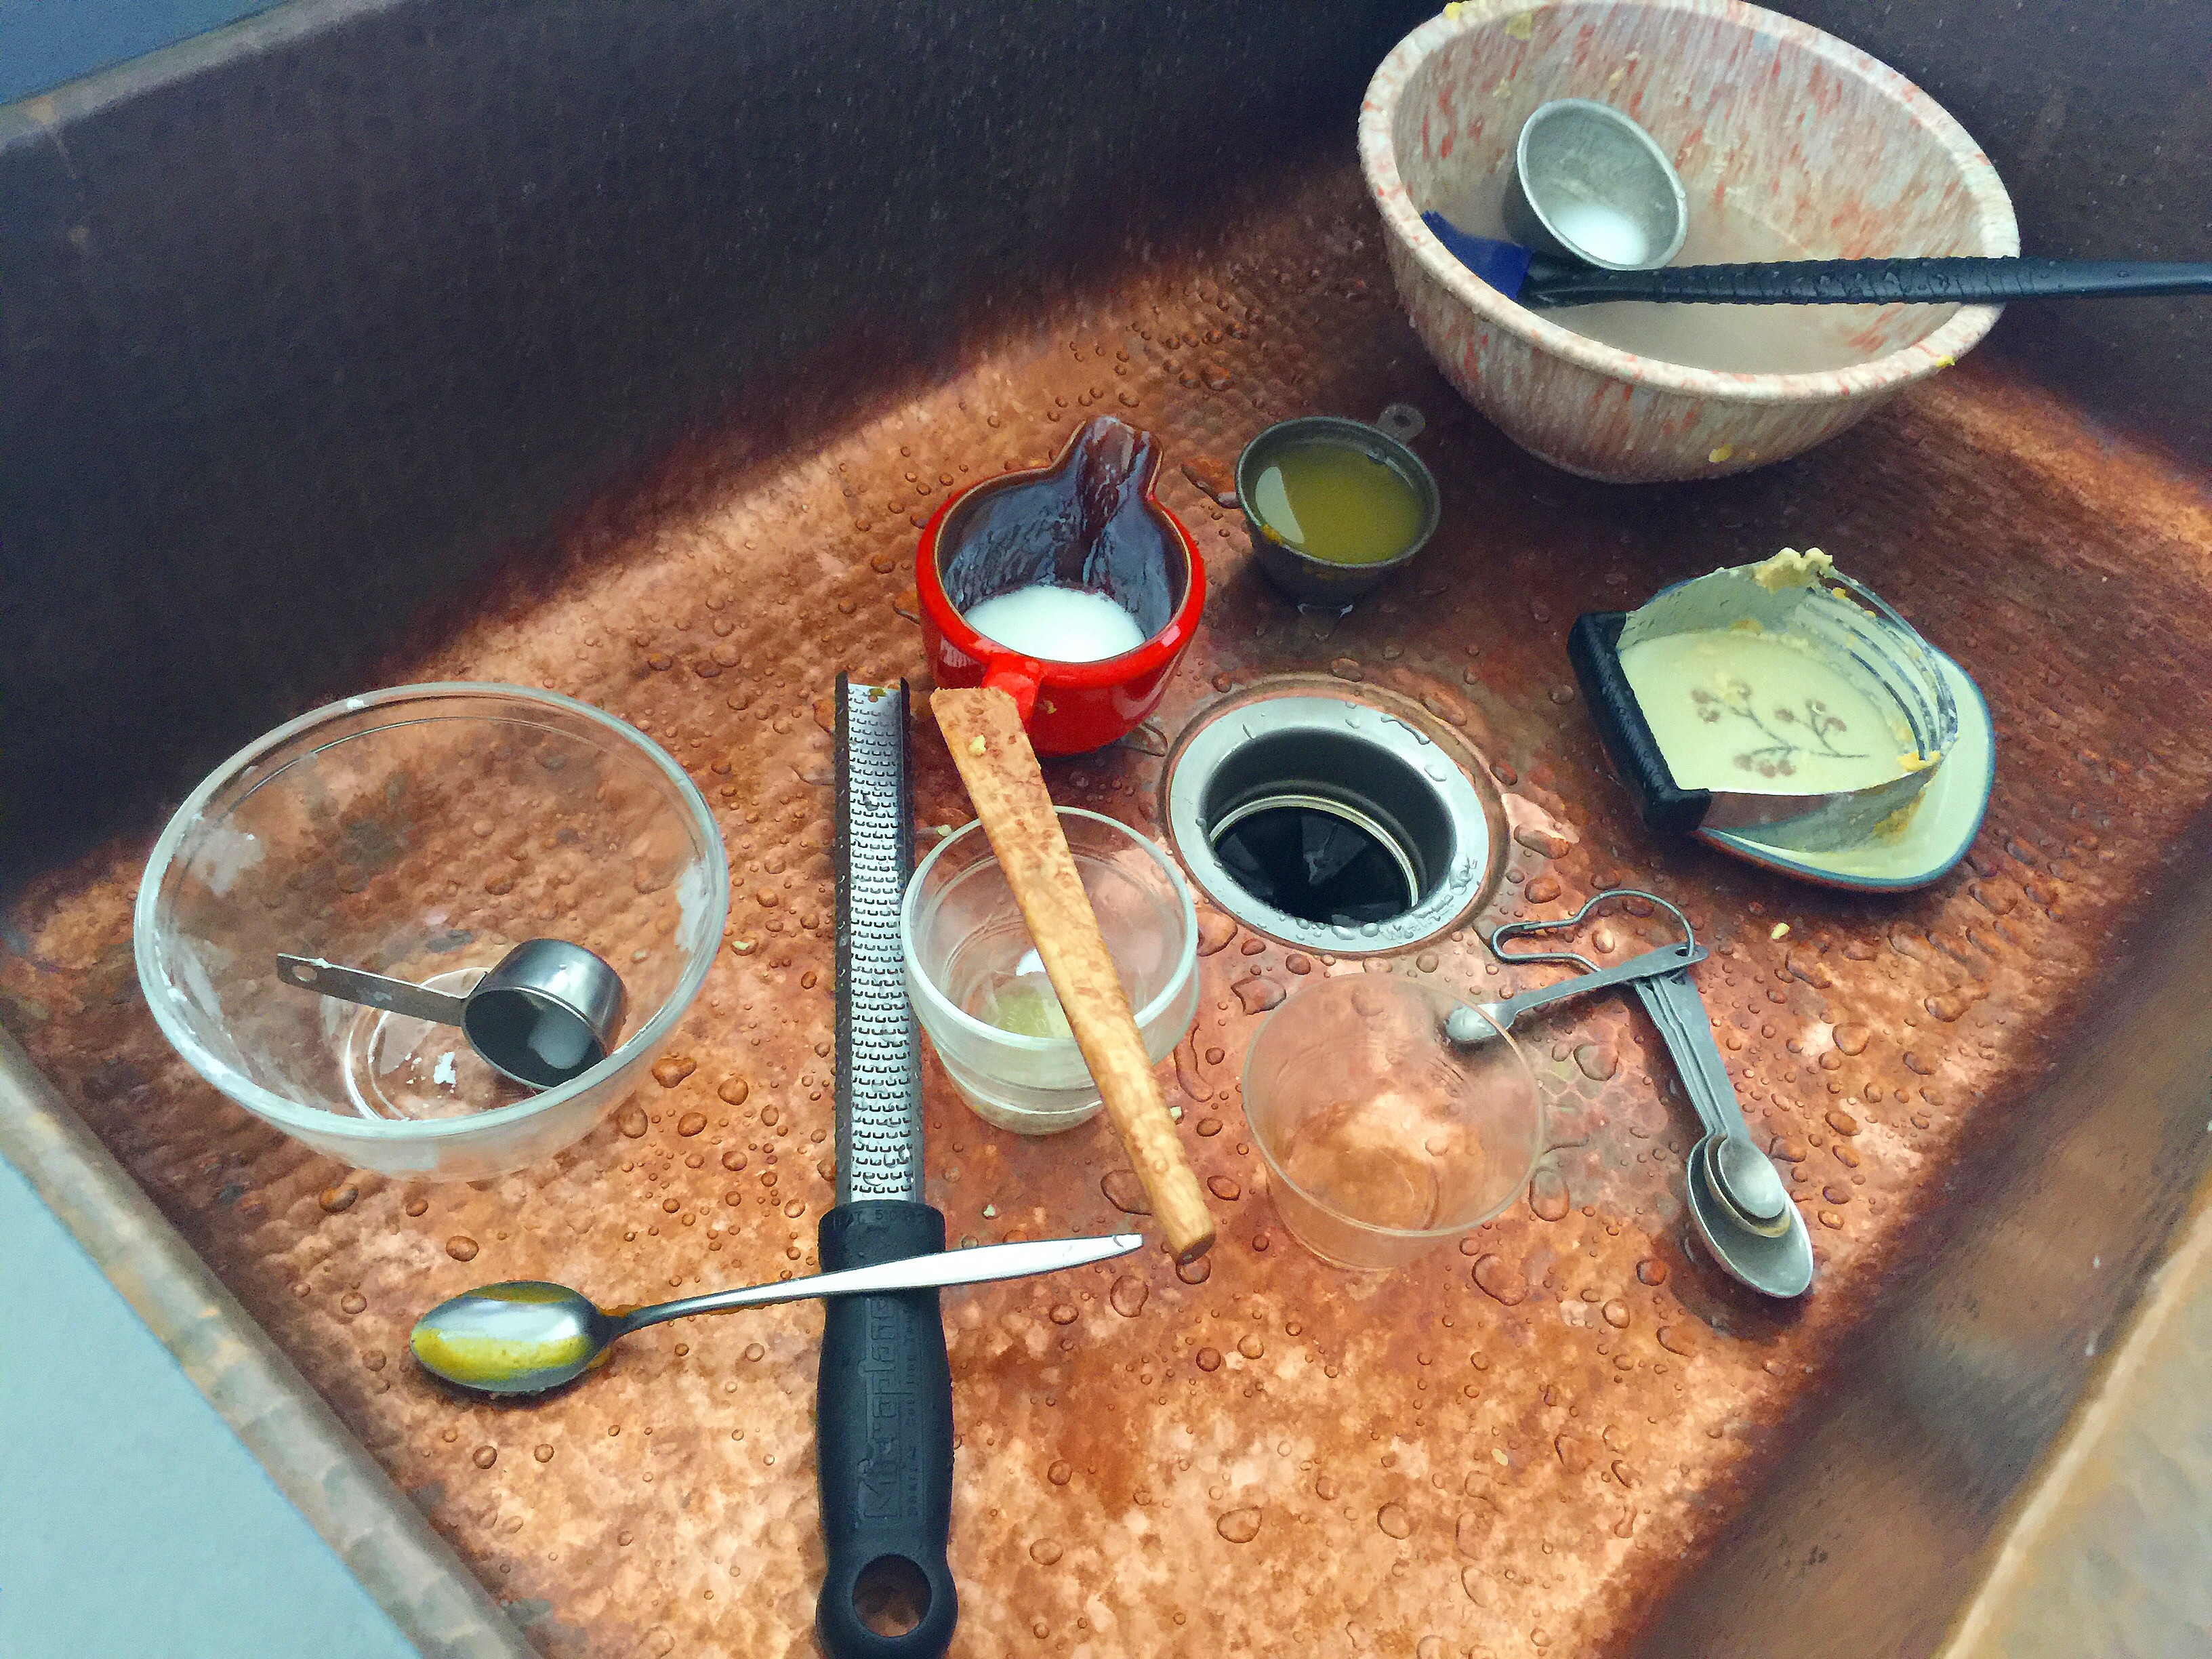
It’s after a morning of baking that two of my favorite Sinkology copper kitchen sink features can best be noticed. First, even full of dirty dishes, it’s still so gorgeous. Second, look how huge this single-basin sink is?! I could have cooked the entire Thanksgiving dinner and still had room to fit every dirty dish in that oversized farmhouse copper sink!
- 3 c flour
- 2 1/2 t baking powder
- 3/4 t baking soda
- 3/4 t kosher salt
- 1/2 c sugar, scant*
- 1 t ground cinnamon
- 1/8 t ground cloves
- 1/2 t ground nutmeg
- 3/4 c pumpkin butter**
- 1 1/2 sticks cold salted butter
- 1/2 c buttermilk
- 2 T melted butter
- 1 1/2 c powdered sugar
- 2 T softened salted butter
- 3.5 oz marshmallow fluff
- 1 t vanilla
- pinch of kosher salt
- 2 T milk
- Preheat oven to 425°. Line a baking sheet with parchment paper. In a medium mixing bowl, combine first 8 ingredients. Using a fork or a pastry knife, cut the butter into the dry ingredients, working until the texture is sandy with many pebble-sized clumps. Fold in the pumpkin butter and begin adding buttermilk in 2 T increments, incorporating by hand until the dough begins to hold in a ball shape. Be careful not to over work the dough (overworking creates a tough, dry scone). You may not use all of the buttermilk, so add incrementally until the dough begins to come together.
- Divide the dough into 2 equal portions and pat into 2 approximate 7" diameter, 1" thick disks. Cut the disks into sixths and brush with melted butter.
- Bake for 13-15 minutes, until golden and baked through.
- While the scones are baking, combine the buttercream ingredients, adding the milk in 2 t increments. Whisk and continue adding milk until the desired consistency is reached.
- Once the scones are finished baking, allow them to cool for 2 minutes before topping with the buttercream drizzle.
- Cut and serve.
- Makes 12
- *a scant 1/2 c sugar means it's 1 to 2 tablespoons shy of a full 1/2 c.
- **if you can't find pumpkin butter, apple butter will substitute nicely.
For more recipes from our copper-loving foodie, check out our blog. If you have any questions about copper or copper sinks, our Sinkologists are here to help. Contact us or follow us on Facebook, Twitter, Houzz, Pinterest, or Instagram for helpful tips, recipes, and design ideas.