Undermount Kitchen Sink Installation 101
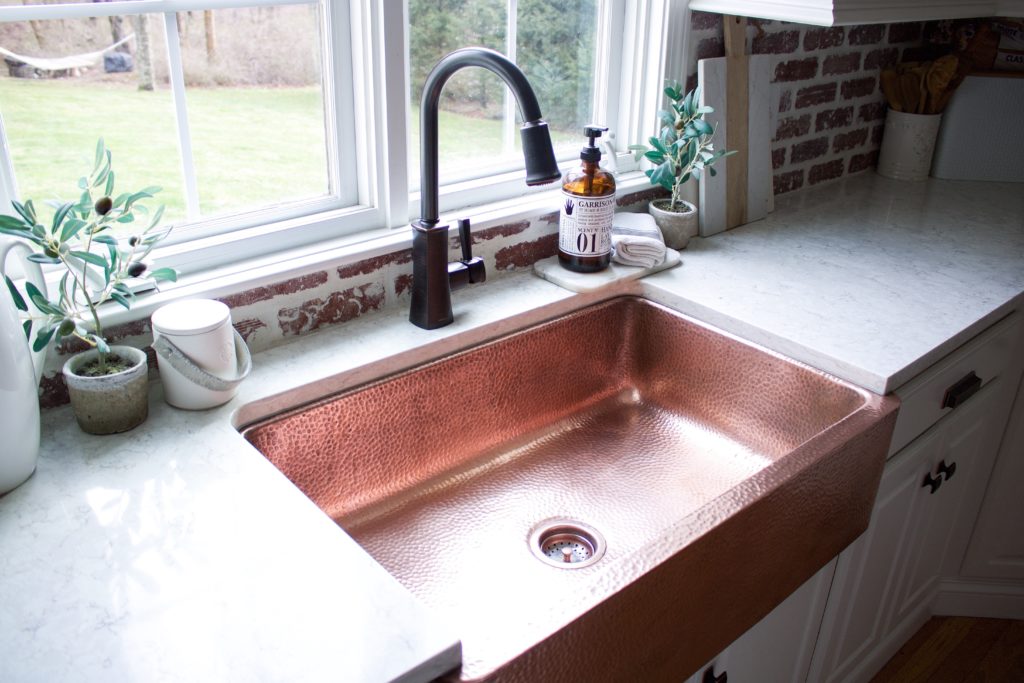
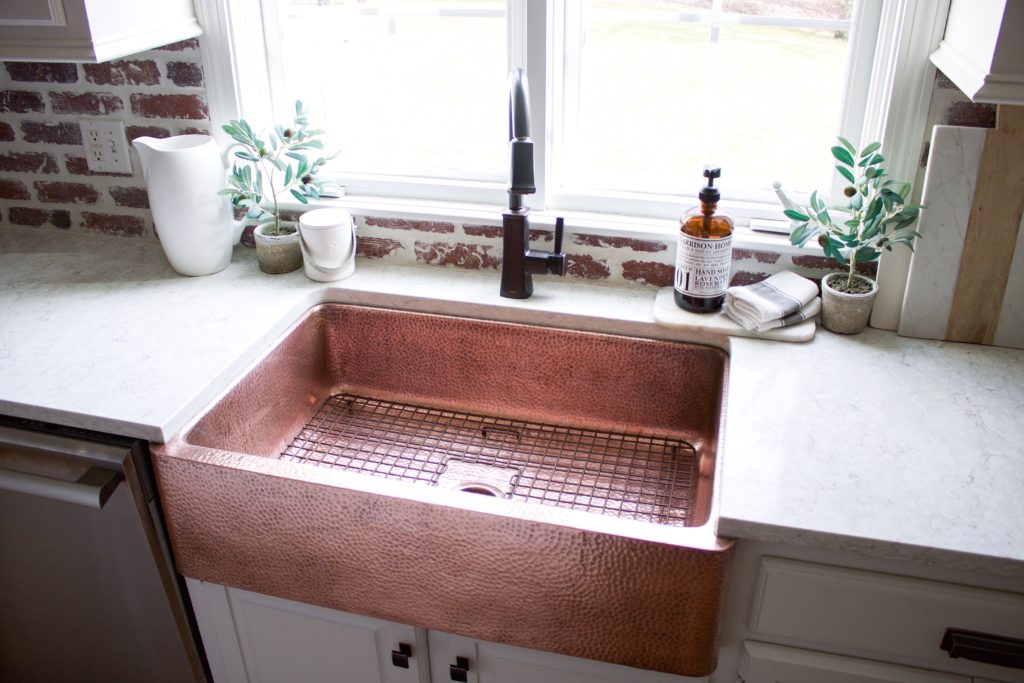
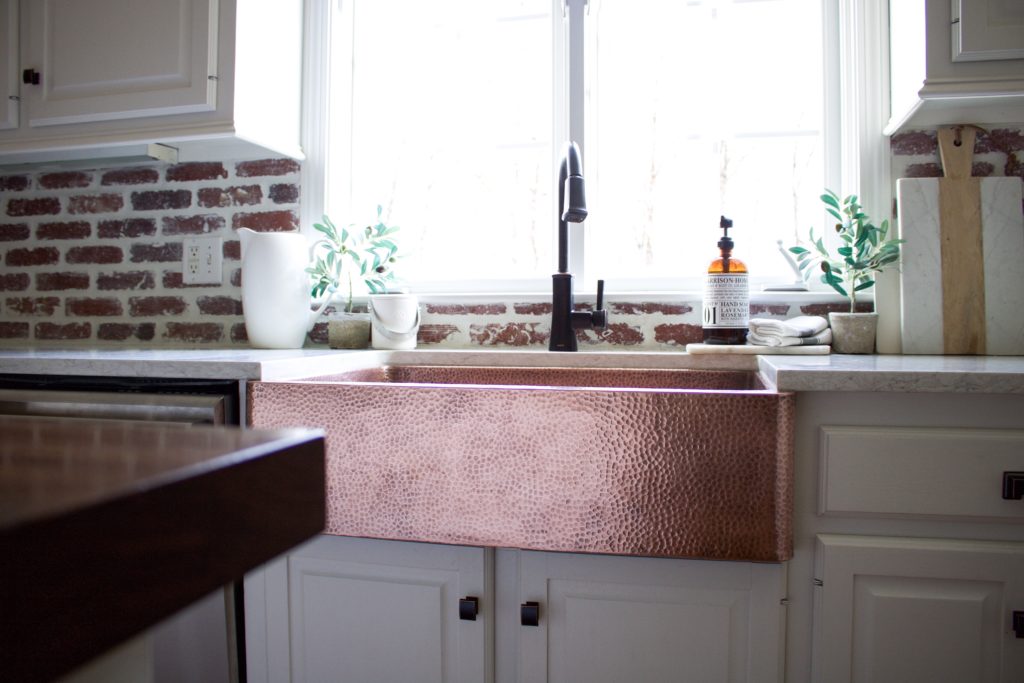
It’s easy to fall in love with Sinkology undermount kitchen sinks. There’s something so striking about the seamless look of a flush-to-counter finish. But it’s important to know that these sink styles require a bit more effort and expertise to install than their quick-fit and drop-in counterparts. But we believe that the sleek finish makes it worth the effort. Whether you call in the professionals or take this project on your own, today we break down the process you can expect to install your Sinkology copper or stainless steel undermount kitchen sink. Check out our blog page for more information on undermount fireclay farmhouse sink installation information.
Before you kick off your project, it’s important to note that Sinkology undermount kitchen sinks do not include mounting hardware. Be sure to talk with your countertop manufacturer about the approved mounting hardware and method.
1. Create a template.
For an undermount kitchen sink, you’ll need to choose your preferred countertop offset. (More on that in our detailed sink instructions.) Once you’ve made that decision, you’ll flip your Sinkology kitchen sink upside down on cardboard and trace along the outside rim. Then, you’ll measure the distance between the edge of the basin and the inside edge of the lip, adding a second line inside the first according to this measurement. To complete, cut along the second line.
2. Prepare your space.
Place the template on your kitchen countertops and cut to size. This is where professional support may be helpful!
3. Secure the sink.
Trace the rim of the sink with clear or Sinkology antique brown neutral cure 100% silicone and mount with the proper mounting hardware. Remember, your Sinkology undermount kitchen sink won’t include mounting hardware, given the wide range of mounting surfaces. Don’t forget to talk with your countertop manufacturer to ensure you have the correct mounting hardware for a successful installation.
4. Complete your project.
Once the sink is in place, it’s time for the finishing touches. Use plumber’s putty to install the drain. For more information on this step, check out our Kitchen Sink Drain Installation 101 post on our blog. Lastly, fill in any gaps between your new sink and countertop by applying a thin bead of Sinkology antique brown or clear neutral cure 100% silicone.

Now that you have a good idea of what you can expect in an undermount kitchen sink installation project, we hope you feel prepared to replace your existing sink. Keep in mind, we have thorough instructions included with every Sinkology sink. But if you need a bit more support, check out the BILT Intelligent Instructions® app. This interactive app provides step-by-step installation support specific to our Sinkology sinks. We love how user-friendly the BILT app is. It helps homeowners of every skill level take on their home improvement projects.
After your successful install, share a photo of your new undermount kitchen sink with us on social @Sinkology with #MyUndermountSink.
Still looking? Browse through our Sinkology undermount kitchen sinks on our website.
For more helpful how to’s, follow us on Facebook, Houzz, Pinterest or Instagram. If you are looking for personalized questions about your sink installation progress, contact us here.
_____________________________________________________________________
If you have any additional questions during your search for the perfect copper, fireclay farmhouse sink or crafted stainless steel sink, our Sinkologists are here to help. Contact us or follow us on Facebook, Houzz, Pinterest, Instagram, or TikTok for more helpful tips and design ideas.