Bar + Prep Sink Installation 101

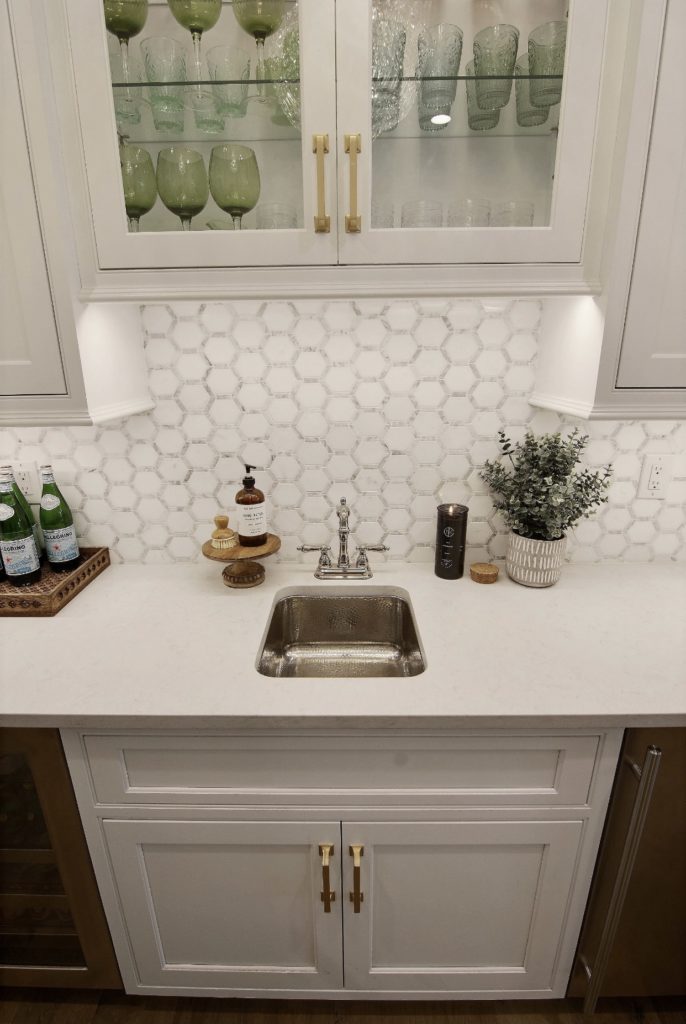
If you have the space for a spare sink, we say “go for it!” Sinkology bar + prep sinks are perfectly sized for wet bars and prep spaces alike. Though smaller than the standard sink, homeowners love the convenience these sinks provide, especially when preparing large meals or hosting parties. Not only do they add functionality to any home, but these bar + prep sinks also make a big impact in spaces of every size, no matter the mounting style.
What sets these mounting styles apart?
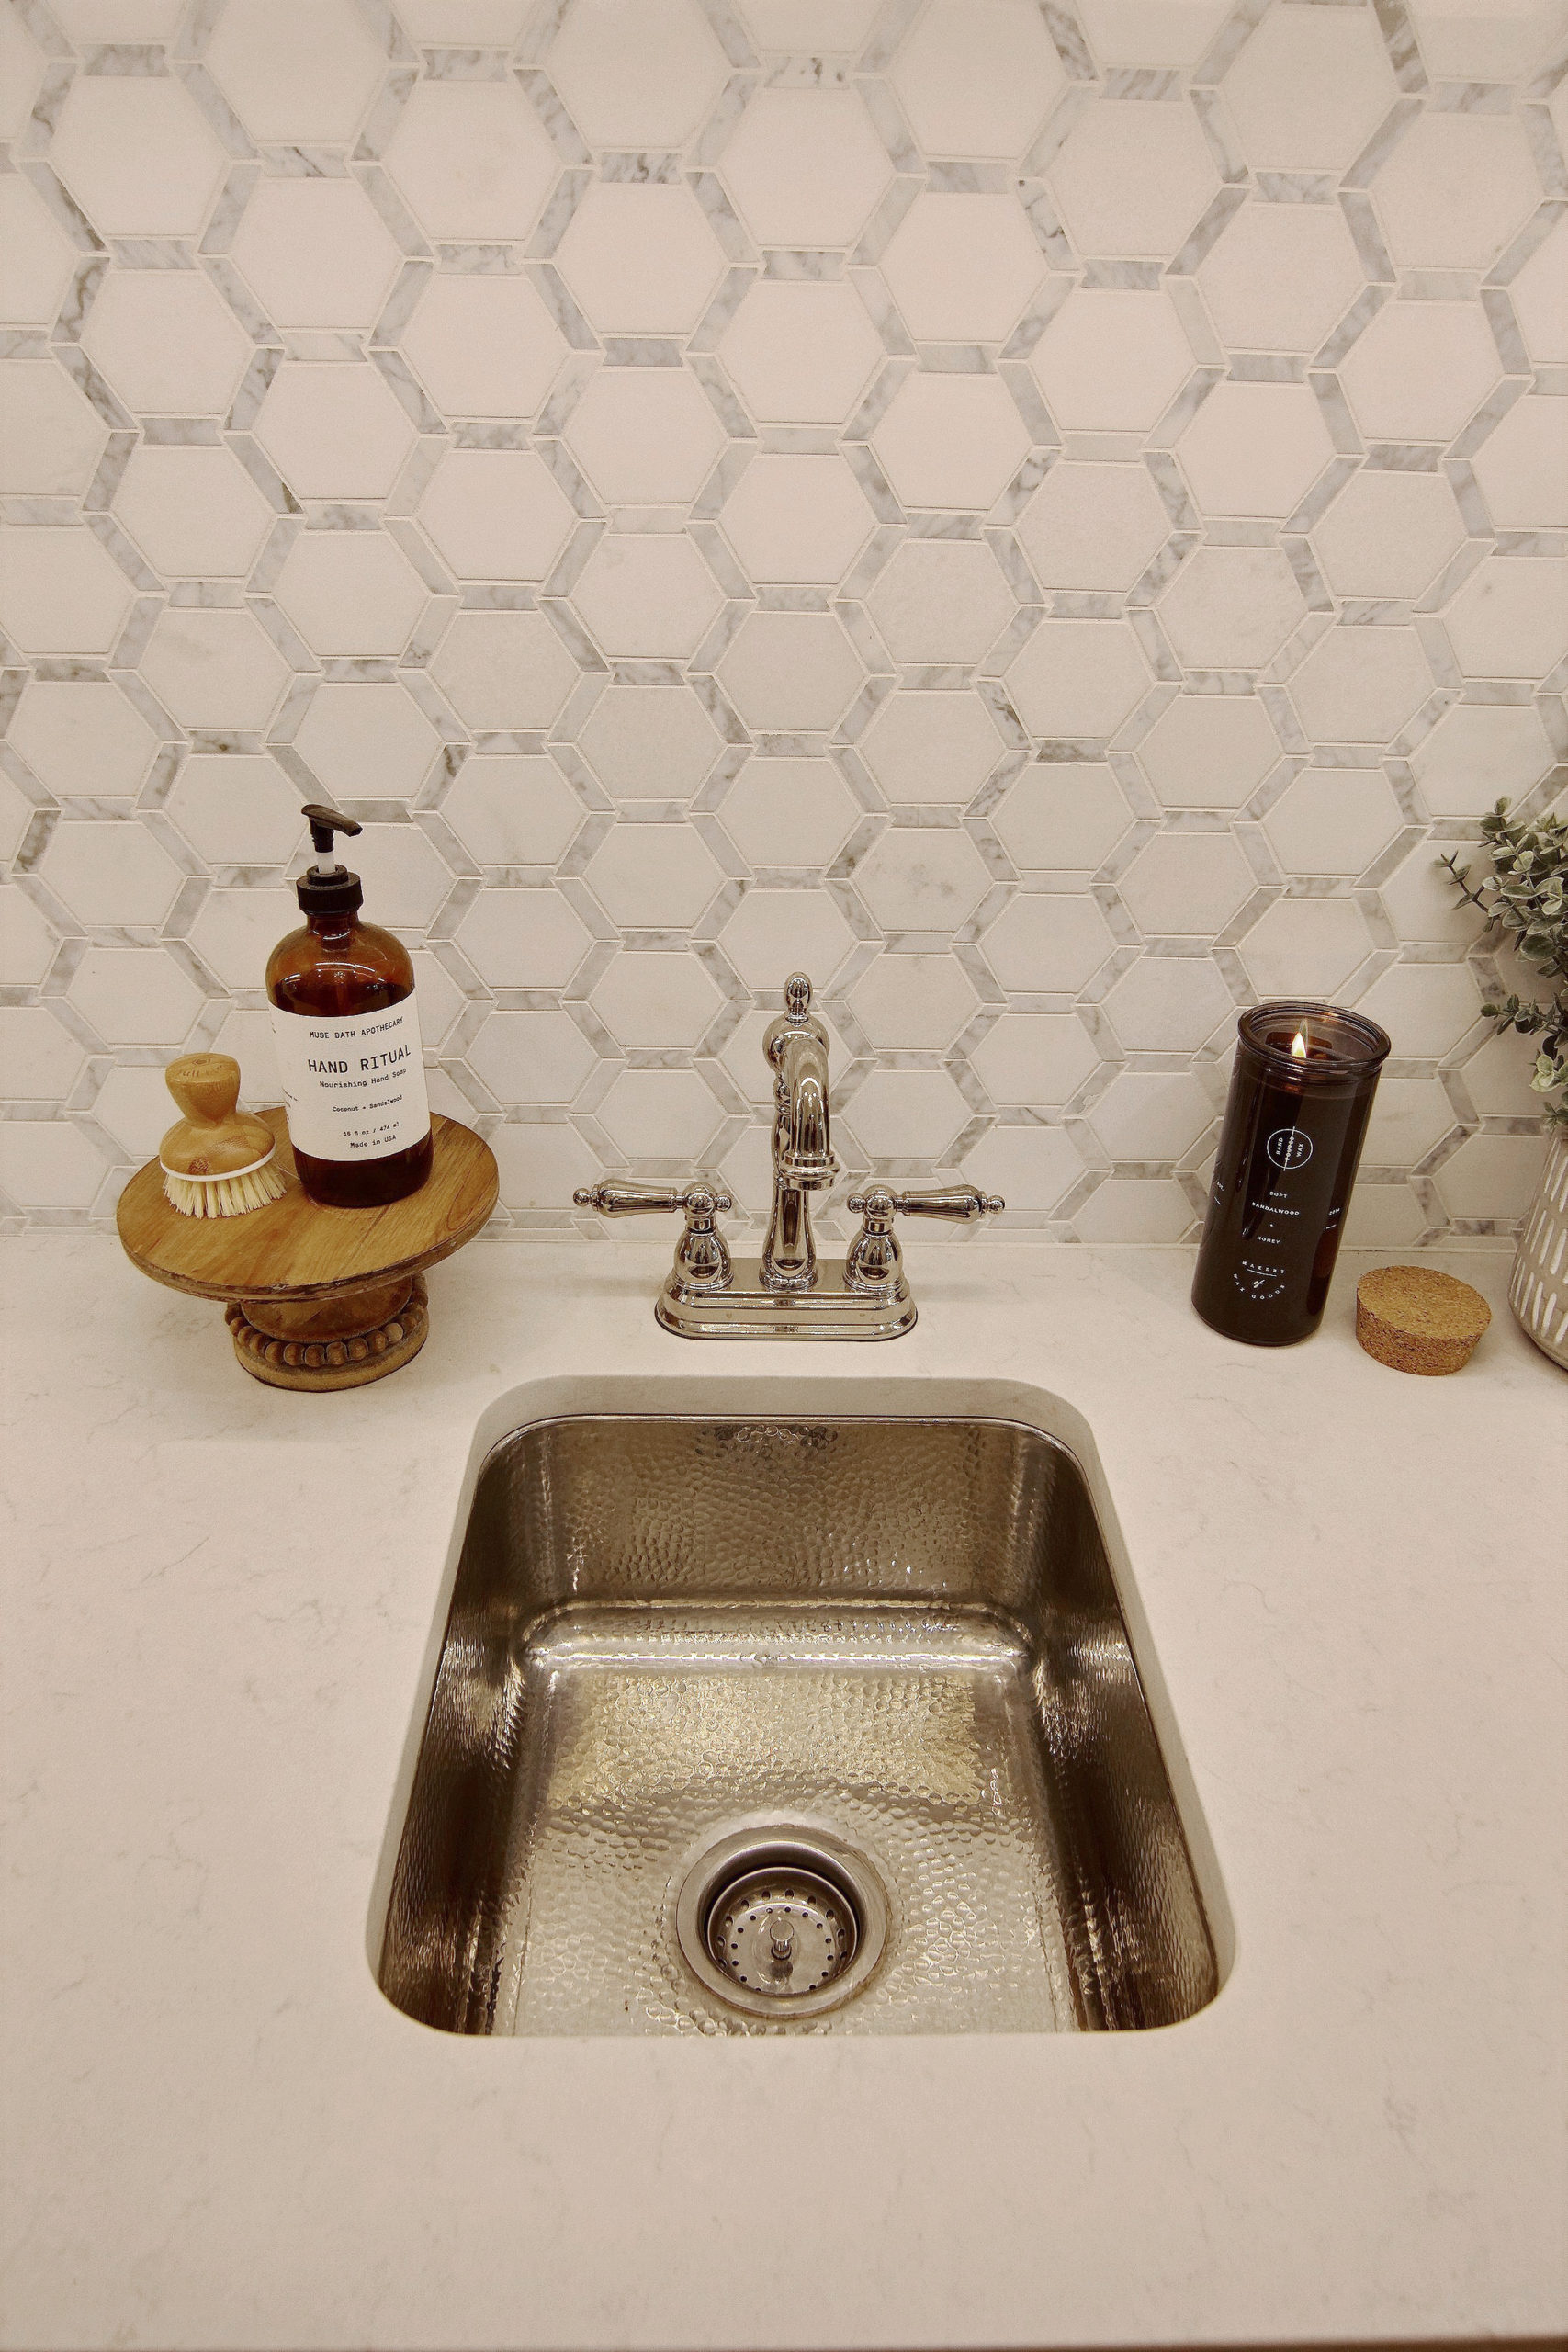
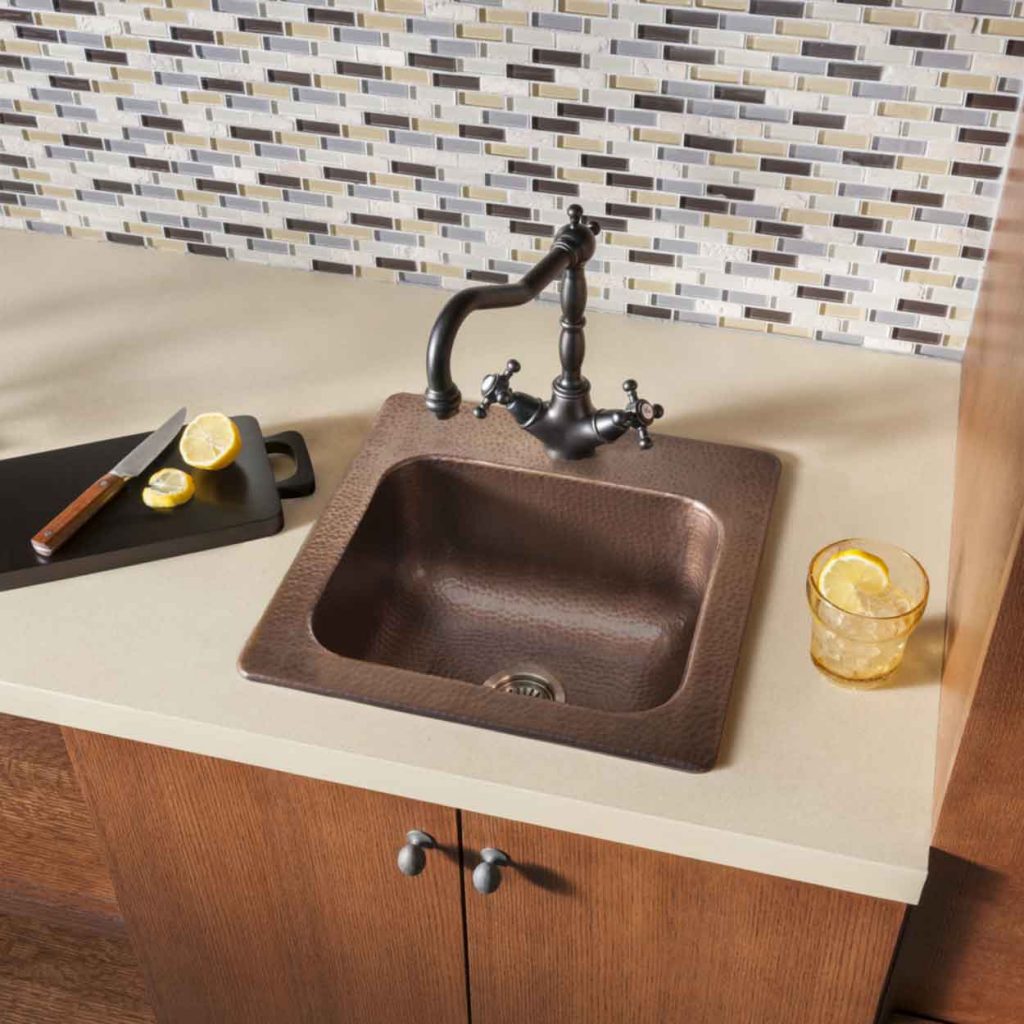
We love drop-in sinks because they make the installation process simpler. Some drop-in sinks even feature pre-drilled holes to make even faucet installation easier. Undermount sinks are great because they sit discreetly beneath the countertop.
When choosing a bar + prep sink, we recommend mirroring the mounting style and matching the same material as any nearby sinks for a cohesive look. If you installed these sinks on your own, you’ll be familiar with the steps. We’ve captured a few instructions below to help you get started in this intro to bar + prep sink installation.
For both drop-in and undermount sinks, we recommend beginning with a template made from craft paper or cardboard.
Drop-In Sinks: Flip the sink upside down and trace the outside edge. Then, add a second line that is ½” inside your first line. Cut the traced template along the second line.
Undermount Sinks: Flip the sink upside down and trace the outside rim. Before creating a second line, determine which countertop offset is preferred. (There’s more information on this in our detailed instructions that come with your sink). Based on your preference, you’ll measure the distance between the edge of the basin and the inside edge of the lip, marking with a second line. Like drop-in sinks, cut along the second line you created.
Once the template is created, place it on the countertop, aligning with cabinetry and plumbing connections and marking openings before cutting the countertop.
After ensuring that the sink fits snugly in the hole you’ve created, you are ready to install.
Drop-In Sinks: Before setting the sink into the countertop, apply a thick bead of Sinkology antique brown or clear neutral cure 100% silicone around the hole on the countertop. Then, install hardware by placing the notched end of all bolts into the keyhole slots. Once complete, you’re ready to lower the sink into the countertop, being mindful that the bolts enter without interference. After the sink is placed, turn the claws out 90 degrees so they can grasp the underside of the countertop and tighten.
Undermount Sinks: Apply clear or Sinkology antique brown neutral cure 100% silicone on the rim of the sink and mount with mounting hardware. After confirming the sink is mounted flush with the countertop, apply a thin bead of the 100% silicone cure to fill any gaps.
We hope today’s introduction has helped you get a general idea of what a bar + prep sink installation project might look like.
For more helpful how to’s, follow us on Facebook, Houzz, Pinterest or Instagram. If you are looking for personalized answers to your questions about your kitchen renovation project, contact us here.
_____________________________________________________________________
If you have any additional questions during your search for the perfect copper, fireclay farmhouse sink or crafted stainless steel sink, our Sinkologists are here to help. Contact us or follow us on Facebook, Houzz, Pinterest, Instagram, or TikTok for more helpful tips and design ideas.